Last updated: November 19, 2026
Quick Answer: 3 measurements — bust, waist, and hip — are the minimum starting point for sewing fit, but you also need finished garment measurements to choose the right size. Measuring, fitting, and sizing for sewing — The Complete Guide gets easier when you stop trusting ready-made sizes and start using your body measurements, garment measurements, and a few fit checks together. The right size is the one that matches the pattern’s measurement chart and your actual body shape, not the tag on a store-bought garment. The sections below settle what to measure, how to compare it, and where beginners usually go wrong.
Key Takeaways
- Body measurements tell you where you are now; pattern measurements tell you what the finished garment will actually measure.
- Bust, waist, and hip are only the start; shoulder width, rise, bicep, back waist length, and inseam can change the fit more than the size number does.
- Ease is not extra room by accident; it is built into the pattern on purpose.
- A muslin or test garment saves more time than guessing, especially for woven tops, dresses, and pants.
- Sizing by one measurement alone usually creates a new problem somewhere else.
I’ve worked with garment fit, pattern correction, and tailoring decisions for years, and the same mistake shows up every time: people pick a size before they check the chart. Don’t do that. Use the measurements first, then choose the pattern size, then fit the garment on the body. Measuring, fitting, and sizing for sewing — The Complete Guide works best when you treat sizing as a process, not a guess.
What measurements do you need before you cut fabric?
You need the measurements that match the pattern’s fit points, usually bust, waist, hip, and height, plus the ones that control trouble spots like shoulder width and inseam. If you skip those, you can still sew the garment—but the garment may not sit where it should.
For example, a 38-inch bust can point you to one size, while a 40-inch finished bust on the chart can tell you whether the pattern has enough room. That 2-inch gap may be right for a fitted woven blouse or too small for a looser style. Measuring, fitting, and sizing for sewing — The Complete Guide starts with those numbers, not with the label.
Start with these measurements:
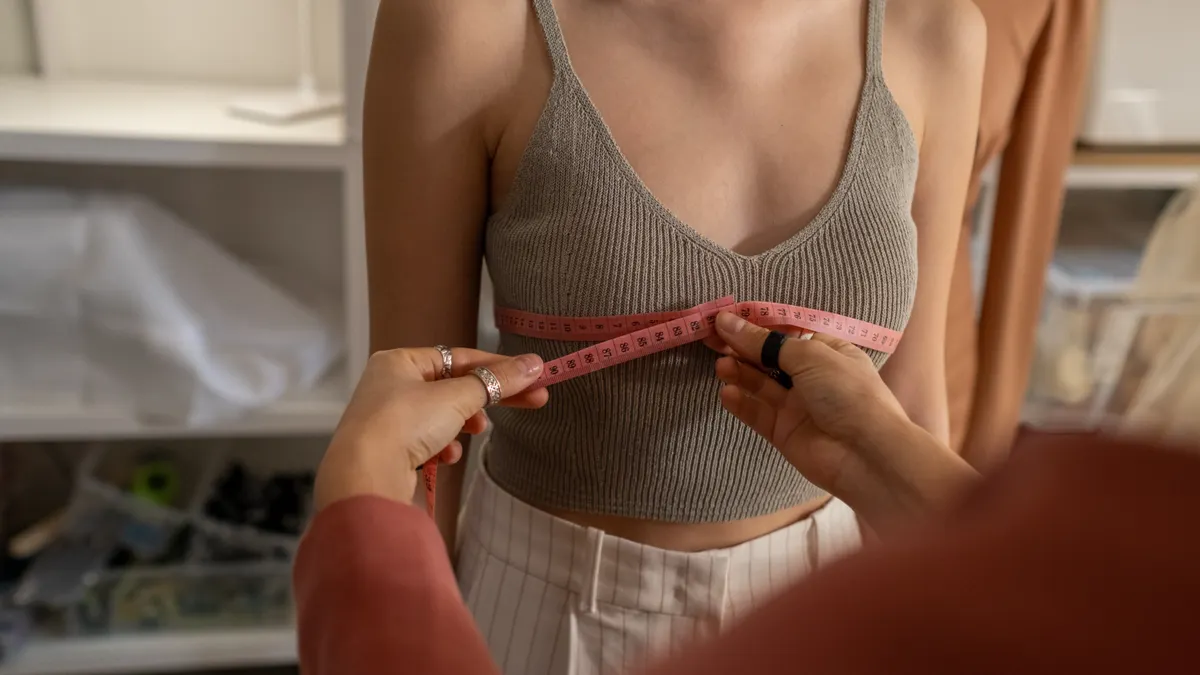
- Full bust: around the fullest part of the bust, tape level to the floor.
- High bust: above the bust, under the arms. This helps with pattern size for bust fit.
- Natural waist: the narrowest part of the torso, usually near the bend point when you lean sideways.
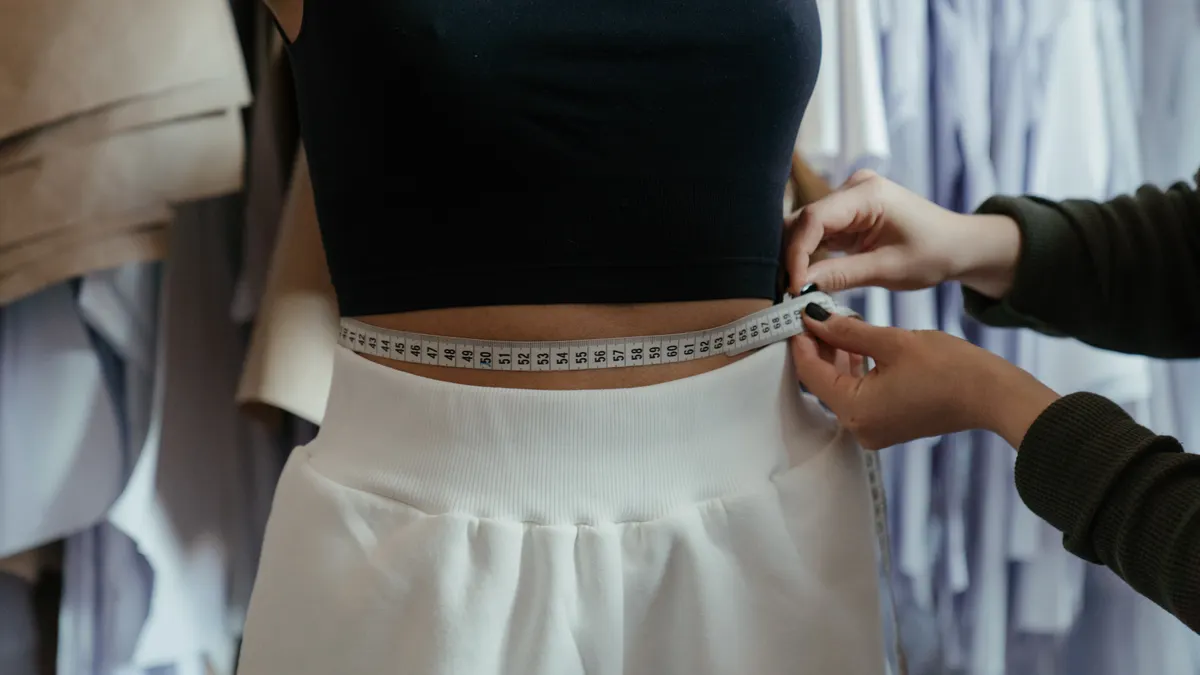
- Full hip: around the fullest part of the hips and seat.
- Height: useful for overall length and vertical balance.
- Back waist length: from the prominent neck bone to the waistline.
- Shoulder width: from shoulder point to shoulder point.
- Inseam: crotch to floor or to ankle, depending on the garment.
Use a soft tape measure, a mirror, and if possible a second person for the back and shoulder points. Write the numbers down. Memory lies. For a standard reference on accurate body measurement placement, see the American Sewing Guild.
How do you measure yourself accurately for sewing?
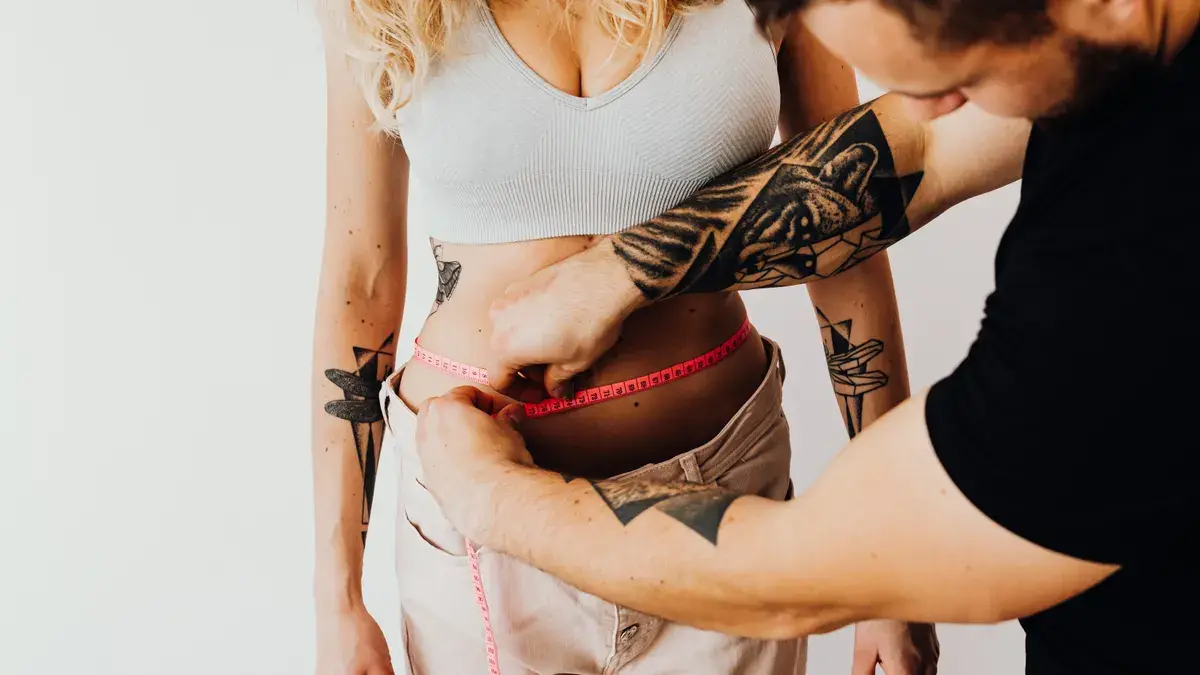
You measure yourself accurately by keeping the tape level, snug but not tight, and by measuring the same body point each time. If the tape dips in front or rides up in back, your size will drift and the garment will lie to you later.
Stand naturally. Don’t suck in your stomach. Don’t puff up your chest. That sounds obvious, but a lot of bad fitting starts there. The goal is the body as it exists, not the body after a pose.
Use these rules:
- Wear close-fitting clothes or underwear only.
- Keep the tape parallel to the floor.
- Measure over the underwear or layer you plan to wear under the garment.
- Breathe normally.
- Write every number immediately.
Now, you might be wondering whether body measurements are enough. They’re not. Body measurements help you choose a starting size, but the pattern can still hang differently because of ease, style lines, seam placement, and fabric type.
A few common measurement mistakes cause most fitting trouble:
- Measuring the waist where your pants sit, not your natural waist.
- Pulling the tape too tight and shaving off room.
- Measuring over bulky clothes.
- Using only bust and ignoring back length.
- Copying a size from another pattern company.
The useful part is that once you know your numbers, you can reuse them for almost every pattern. Recheck them every few months for children and after major body changes for adults.
Pattern sizing is not clothing sizing
Pattern sizing is its own system, and that is why a size 12 in one brand can be a size 8 or size 16 in another. Ready-to-wear tags are marketing. Pattern charts are drafting data.
For example, a pattern company may draft for knit, woven, curvy, tall, or petite lines, and each line can use a different size chart. Measuring, fitting, and sizing for sewing — The Complete Guide depends on comparing your numbers to the company’s chart, not to a store rack.
Before you cut, look at:
- The finished garment measurements
- The body measurement chart
- The amount of ease
- The pattern’s intended fit: close, semi-fitted, or loose
- Any notes about tall, petite, or plus sizing
Use the chart this way:
- Pick the size by the measurement that controls the tightest area.
- Compare the finished garment measurements to your body.
- Check whether the garment needs wearing ease and design ease.
Ease is the room built into the garment so you can move and breathe. A fitted blouse needs some. A coat needs more. A knit tee can appear small on the chart and still fit because the fabric stretches.
Here’s the catch: if you choose a size only by bust and ignore waist and hip, a dress may fit the top and pinch the seat. If you size up to fix the hip, the shoulders can become too wide. That is why the next step matters.
What is the difference between body measurements and garment measurements?
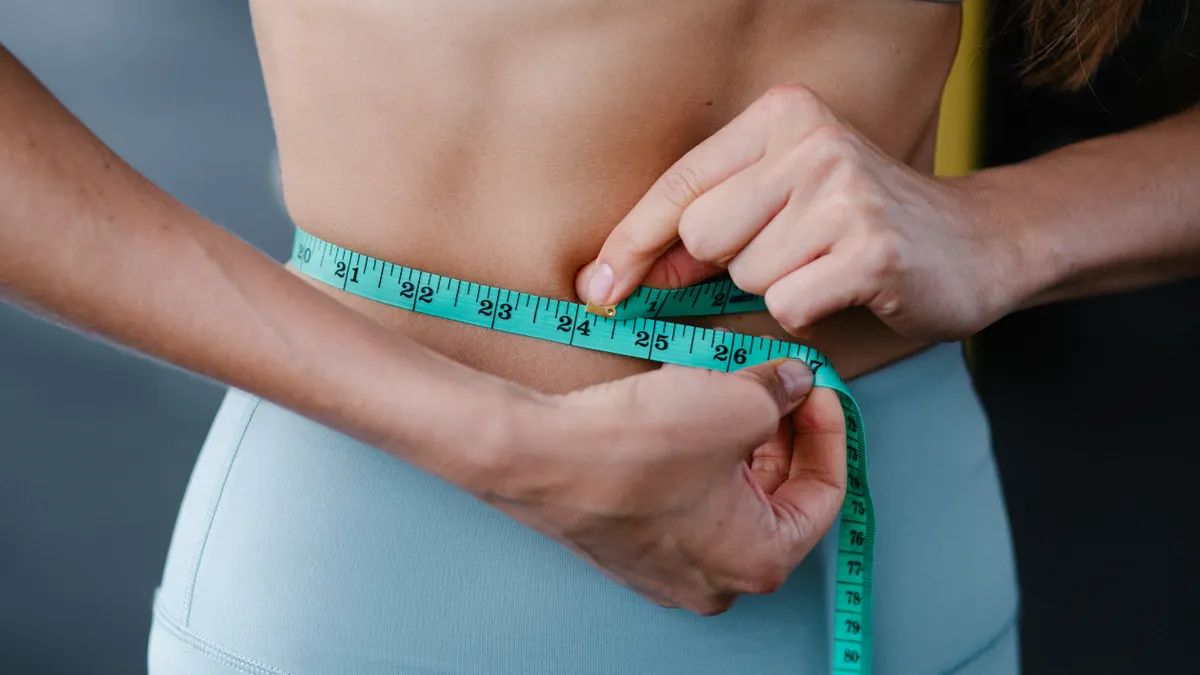
Body measurements tell you the body size you have; garment measurements tell you the finished size you will wear. That difference is the heart of fit. If you only compare your body to the pattern envelope, you are missing the built-in extra room.
Picture this: your bust measures 38 inches, and the finished blouse bust on the pattern chart is 40 inches. That 2-inch difference may be perfect for a woven blouse with light ease, or it may be too snug for a boxy style with a sleeve you need to raise. The number alone doesn’t tell the whole story.
Use the finished measurements to check:
- Chest or bust width
- Waist circumference
- Hip circumference
- Garment length
- Sleeve length
- Rise or crotch depth for pants
The finished garment chart is especially useful because it tells you what the pattern intends, not just who it was drafted for. Two patterns with the same size label can have very different finished measurements.
A good habit is to compare your measurements to the finished chart before you buy fabric. That can stop a bad project early. It also helps you know whether you need a larger size, a smaller size, or a different pattern block. Sewing pattern companies such as Simplicity and McCall’s publish size charts and finished measurements that make this comparison possible.
How much ease do you need?
You need enough ease to move, sit, breathe, and not tear a seam when you reach for a shelf. The exact amount depends on fabric, style, and body area, so there is no single number that fits every garment.
For example, a woven shirt needs more room than a stretch tee, and a jacket needs more room than either one. Measuring, fitting, and sizing for sewing — The Complete Guide uses ease to explain why one pattern can feel large on paper but right on the body.
There are two kinds of ease:
- Wearing ease: the minimum room needed for comfort and movement.
- Design ease: extra room added for style, such as a boxy silhouette or oversized look.
A close-fit knit top may have very little visible ease and still work well because the fabric stretches. A tailored jacket needs more room in the chest, upper arm, and back. Pants need ease in the seat, thigh, and crotch curve so you can sit.
If a pattern gives no finished measurements, be cautious. That is not a dealbreaker, but it means you must inspect the line drawing, the fabric recommendations, and similar styles before cutting. The absence of that data often causes more trouble than the pattern company admits.
How do you choose a sewing size when your measurements fall in different places?
You choose the size by the area that must fit first, then you blend or adjust the rest. That is the practical answer when your bust, waist, and hip land in different sizes, which is common.
For instance, your bust may match one size, your waist another, and your hip a third. That does not mean the pattern failed. It means you need to map the pattern to your body instead of forcing your body into one line on the chart. Measuring, fitting, and sizing for sewing — The Complete Guide is built around that kind of comparison.
A common approach:
- Use the largest critical measurement as your base size.
- Trace that size on the pattern.
- Blend to smaller or larger sizes at the side seams or crotch.
- Check the finished measurements again.
- Make a muslin if the garment is fitted.
This works best when the style lines allow it. Princess seams, side darts, and yokes can be adjusted more cleanly than a one-piece body without shaping. Pants often need separate adjustments for waist, hip, crotch depth, and thigh, because one size rarely fits all four well.
The truth is, this is where beginner sewers improve fastest. Once you learn to blend sizes, a lot of “I can’t wear patterns” problems disappear. They were fit problems, not body problems.
What should you fit first: bust, shoulders, waist, hips, or length?
You should fit the shoulders, bust, and crotch/hip depth first, then handle width and length. Those points anchor the garment on the body, and everything else hangs from them.
For example, a blouse can fit through the waist and still fail if the shoulder slides off. Measuring, fitting, and sizing for sewing — The Complete Guide works from the top down because shoulder placement controls the sleeve, bust shaping controls the front, and torso length controls where the garment sits on your body.
A practical fitting order:
- For tops and dresses: shoulders, bust apex, upper bust, waist length, then hip.
- For pants: waist rise, crotch depth, seat, thigh, then length.
- For skirts: waist, hip, and hem placement.
- For jackets and coats: shoulder, upper back, bust, upper arm, and armhole depth.
If the shoulders are wrong, the rest of the garment can twist. If the bust apex is wrong, darts miss their target. If the rise is wrong in pants, the crotch curve will pull and the seat will hang badly. Length issues are easier to fix later than structural fit points.
You don’t need to memorise every correction at once. Start by checking the fit points that affect how the garment hangs. That one habit cuts a lot of waste.
The Honest Side-by-Side
A straight size choice wins for simple, loose garments; a custom sizing and fitting approach wins for anything shaped to the body. If you want quick sewing, choose the easier route. If you want a garment you’ll actually wear, the extra steps pay off.
For example, two nearly finished shirts can come from the same pattern family and still look very different: one cut straight from the chart, one blended and adjusted after a muslin. Measuring, fitting, and sizing for sewing — The Complete Guide usually gives the second shirt the better shoulder, bust, and length match.
Straight pattern sizing
This is the faster method. You pick one size from the chart and sew it with minimal changes. It can work well for:
- Loose tops
- Wrap skirts
- Elastic-waist pants
- Oversized shirts
- Patterns drafted with forgiving ease
The downside is obvious: one size rarely fits the whole body. If your bust, waist, and hip differ from the company’s sample body, the garment may fit in one spot and fail in another. That leads to drag lines, tight seams, or excess fabric where you don’t want it.
Adjusted sizing and fitting
This is the better method for shaped garments. You trace multiple sizes, then change darts, side seams, rise, and length. It works best for:
- Fitted dresses
- Pants with zippers
- Tailored shirts
- Jackets
- Any pattern with princess seams or set-in sleeves
The downside is time. You may need a muslin, and you may need to make notes on every pattern piece. But the result is easier to move in and more likely to look like it belongs on your body.
| Criteria | Straight Sizing | Adjusted Sizing and Fitting | Winner for [condition] |
|---|---|---|---|
| Speed | Faster start and fewer pattern changes | Slower because of tracing and test fitting | Straight sizing for simple, loose projects |
| Fit through mixed measurements | Often misses one or more body zones | Handles bust, waist, and hip differences better | Adjusted sizing for shaped garments |
| Need for muslin | Sometimes skipped on casual garments | Usually worth doing before final fabric | Adjusted sizing for fitted clothing |
| Risk of wasting fabric | Higher if the size guess is wrong | Lower after a test fit, even though setup takes longer | Adjusted sizing for expensive fabric |
| Skill needed | Basic reading of the chart | Knowledge of blending, darts, and balance | Straight sizing for first projects |
| Best garment types | Unfitted or relaxed shapes | Tailored or body-skimming shapes | Depends on style line |
| Chance of shoulder and bust mismatch | Higher when using one size for everything | Lower because you can separate fit zones | Adjusted sizing for tops and dresses |
| Repeatability | Easy if the same pattern family is used again | Better once your notes are written down | Adjusted sizing for long-term sewing |
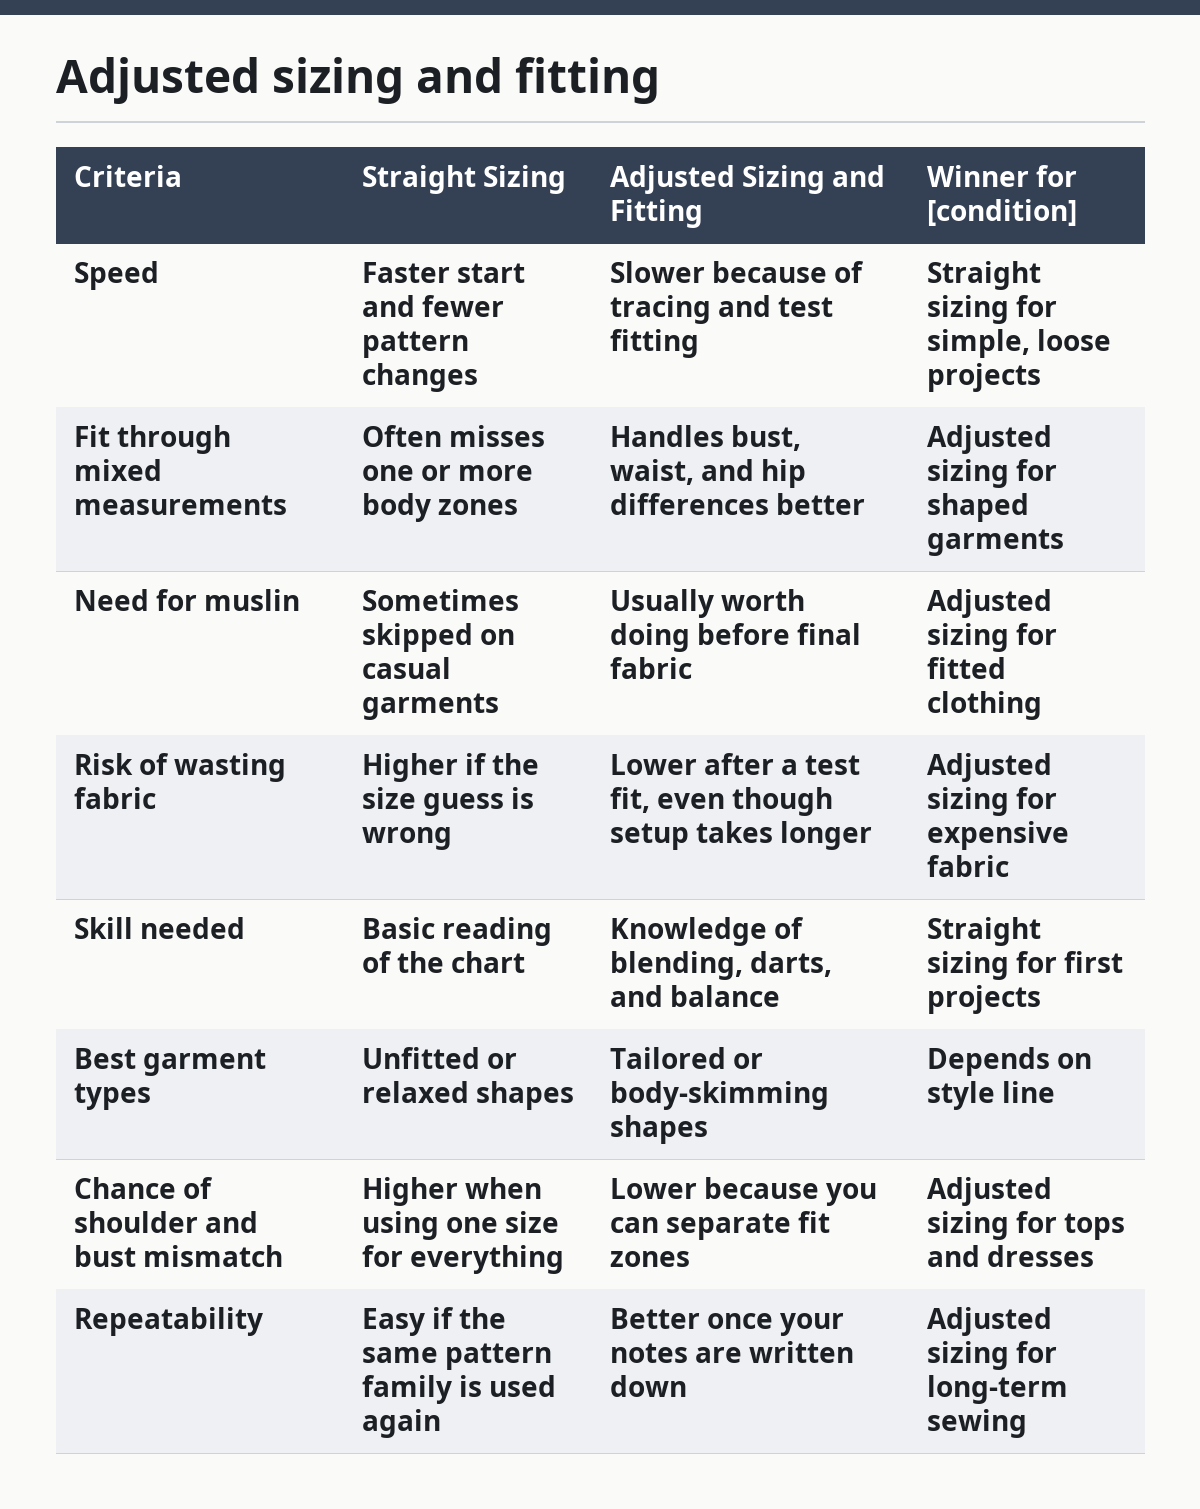
Here’s the catch: straight sizing is not wrong. It is just limited. If the garment is forgiving, it can be the smartest choice. If the garment is fitted, skipping fitting steps is usually the expensive mistake.
How do you fit a muslin without getting lost?
You fit a muslin by changing one thing at a time and writing every change on the paper pattern. That keeps you from fixing the wrong problem twice.
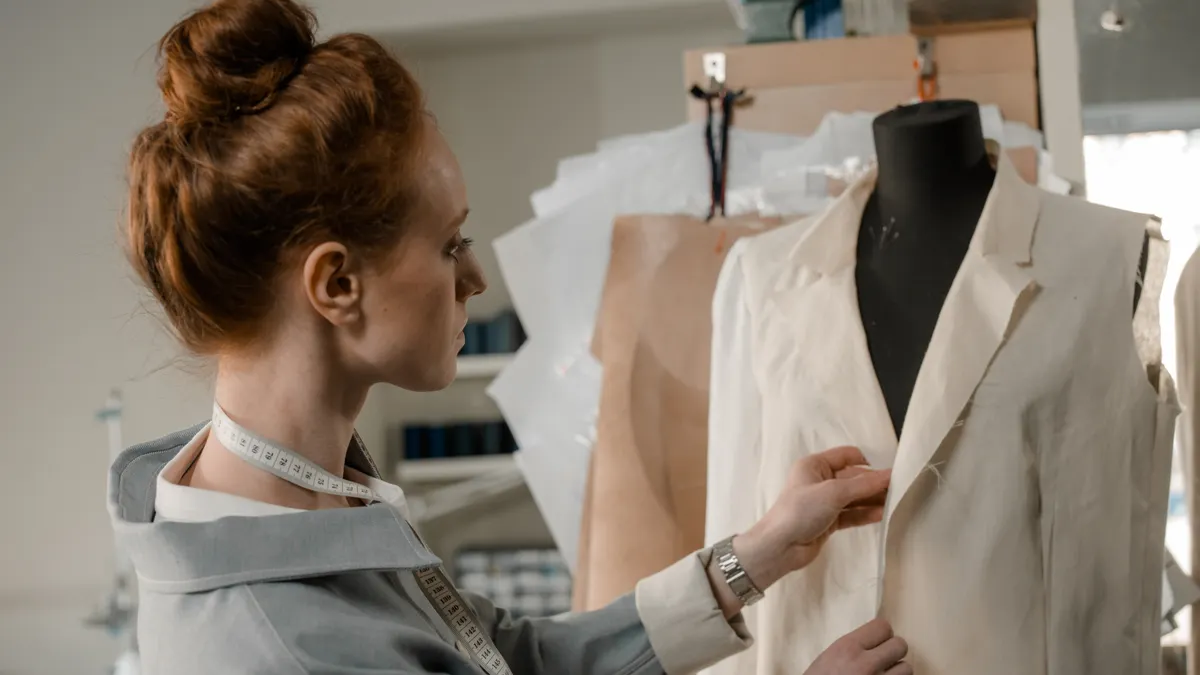
For example, a test garment can show whether the issue is length, width, or placement, but not every wrinkle means the same thing. Measuring, fitting, and sizing for sewing — The Complete Guide works best when you mark the muslin, rip only the relevant seams, and transfer the correction back to the pattern.
A clean fitting process looks like this:
- Sew the muslin in a fabric close to the final garment’s drape.
- Use the same seam allowance the pattern assumes, often 5/8 inch in many commercial patterns.
- Mark grainlines, notches, bust point, waistline, and hip line.
- Try the garment on and pin where the fit is off.
- Take notes on the paper pattern, not just the muslin.
- Keep the changes small and repeatable.
Do not fit a muslin on wrinkles from poor fabric choice alone. A stiff test fabric can lie about the final drape. A very stretchy one can hide a real fitting problem. Choose something stable enough to show shape without pretending to be the final cloth.
A muslin is not wasted time. It is the cheapest place to make mistakes.
What are the most common fitting problems and what do they mean?
The most common fitting problems are usually signs of one thing: the pattern is out of balance with the body, not that the sewer failed. That matters, because it tells you where to look first.
For example, a waistband can gap at the back while the front crotch pulls, and each symptom points to a different fit issue. Measuring, fitting, and sizing for sewing — The Complete Guide treats those flaws as clues, not random flaws.
Common problems and likely causes:
- Bust drag lines: not enough room at the bust, bust point in the wrong place, or the wrong bust dart position.
- Shoulder slope wrinkles: shoulder slope mismatch or the wrong shoulder width.
- Waist gaping: waist too large, swayback, or back length mismatch.
- Tight seat or thigh: not enough room in pants through the hip or thigh.
- Crotch pull: rise too short, crotch curve wrong, or seat length off.
- Hem twisting: grainline off or leg balance issue.
- Sleeve strain: armhole too tight, bicep too small, or sleeve cap mismatch.
The useful move is to ask: is this a width problem, a length problem, or a placement problem? That question cuts through a lot of beginner guesswork. A wrinkle can point to all three, but usually one leads.
When should you stop sizing and start pattern grading?
You should stop sizing and start pattern grading when the garment’s structure no longer matches a standard size path. If the shoulders fit but the waist and hip do not, grading between sizes is normal. If the whole pattern block is wrong for your body, a different pattern company or block may work better.
For example, after you blend sizes and try a muslin, the same problem may keep showing up in the same place. Measuring, fitting, and sizing for sewing — The Complete Guide says that can mean the pattern block itself suits a different body shape, such as fuller bust, straighter hip, long torso, or petite proportions.
Signs you need a different pattern approach:
- The bust apex sits far from yours.
- The shoulder seam lands repeatedly off the shoulder point.
- Pants crotch depth is wrong even after adjustments.
- You need more than ordinary size blending every time.
- The garment’s style lines block simple fixes.
This is where a lot of people waste time. They keep altering a pattern that was never close to the right base shape. A better block saves time on the next five projects. If your measurements are consistent but the fit is not, a new pattern family may solve more than another round of tweaking.
What should a beginner do first?
A beginner should take accurate body measurements, compare them to the pattern chart, and sew a muslin before cutting expensive fabric. That one sequence prevents the most common fitting errors.
For example, a first project works best when it is a relaxed top, elastic-waist skirt, or unfitted dress. Measuring, fitting, and sizing for sewing — The Complete Guide is easier when the pattern has clear finished measurements and a basic silhouette.
Begin with this order:
- Measure bust, waist, hip, height, and inseam.
- Read the pattern chart and finished measurements.
- Choose the base size by the largest critical area.
- Blend sizes if needed.
- Make a muslin.
- Mark the fit changes.
- Transfer changes to the paper pattern.
- Cut the final fabric.
Keep the first project forgiving. A relaxed top, elastic-waist skirt, or unfitted dress teaches measurement and fit without punishing every small mistake. Save the sharply fitted blazer for later.
The truth is, sewing gets calmer after you stop treating sizing as a guess. With a pattern chart, a tape measure, and a test garment, it becomes a sequence. Measure, compare, test, adjust.
What should you do when measurements change?
You should remeasure before each new project if your body, posture, or intended layer has changed. Even a small change can affect fit in a garment with narrow ease.
For example, a pattern that fit last season may sit differently at the waist or bust if your body or underlayers have changed. Measuring, fitting, and sizing for sewing — The Complete Guide works best when you check again before cutting.
Recheck measurements when:
- You’ve changed weight.
- You’re sewing for a different season.
- You plan to wear a thicker bra, blouse, or base layer.
- You’re moving from woven to knit or from knit to woven.
- The pattern is for a very close fit.
Keep old pattern notes, but don’t trust them blindly. Measurements are cheap to retake. Recutting fabric is not.
What do authoritative sewing sources say?
They agree that fit starts with body measurements, finished measurements, and ease, not with the size label. The major pattern and sewing organizations also stress that pattern charts vary by company, which is why the same body can wear several different pattern sizes.
For deeper technical reference, two solid places to check are:
- The Simplicity/Butterick/McCall’s pattern size guides on the pattern company sites, which show body and finished measurement charts.
- The American Sewing Guild, which publishes practical fitting and construction guidance for home sewers.
- The Threads Magazine archives and fitting articles, which explain bust, shoulder, and garment-balance adjustments in plain terms.
These sources won’t hand you one magic size. They will show the same rule from different angles: measure the body, read the chart, and fit the pattern to the body you have. For current technical guidance on fit concepts, see Threads Magazine and the American Sewing Guild.
FAQ
How do I know what sewing size to cut?
You cut the size that matches the measurement that must fit first, usually bust for tops and hip or waist for bottoms. Then you blend to other sizes if the rest of your body falls elsewhere on the chart. That is safer than choosing a size by your ready-made clothing label.
Is a muslin really necessary?
A muslin is necessary for fitted clothes, expensive fabric, or any pattern you have not sewn before. It is less important for very loose garments where a little extra room will not ruin the shape. If the project is meant to fit close to the body, skipping the test garment is a gamble.
Why do I need finished garment measurements if I already know my body size?
You need finished garment measurements because they show the actual room the garment will have on your body. Body size alone does not tell you how much ease is built in, and ease changes everything. Two garments can share a size label and still fit very differently.
Why do my pants fit in the waist but not the seat?
Your waist and seat are likely asking for different amounts of room, or the rise and crotch curve are off. Pants are especially sensitive to vertical fit, so a waist that feels fine can still hide a bad seat fit. Check crotch depth, rise length, and thigh width before changing the waistband.
Can I use my jeans size for sewing patterns?
You should not use your jeans size as your sewing size. Jeans sizes vary by brand, cut, stretch, and vanity sizing, while sewing patterns use their own measurement chart. Start with your body measurements and finished garment measurements instead.
Choose straight sizing if you’re making a loose garment from a forgiving pattern and you want speed. Choose measured fitting and size blending if the garment is shaped, close to the body, or made from costly fabric. Neither if you refuse to measure first—the pattern chart is the first tool in the box, and ignoring it is how good fabric gets ruined.
Drafted with AI; not yet reviewed by a person.