Last updated: November 19, 2026
Key Takeaways
- A neat pivot keeps the needle planted at the corner so the fabric turns in place.
- Stop at the corner, lower the needle, lift the presser foot, turn, and sew on the new line.
- Use the needle as the anchor and the presser foot as the release point.
- Outside corners stay cleaner when you stop before the stitch crosses the line and pivot on the needle.
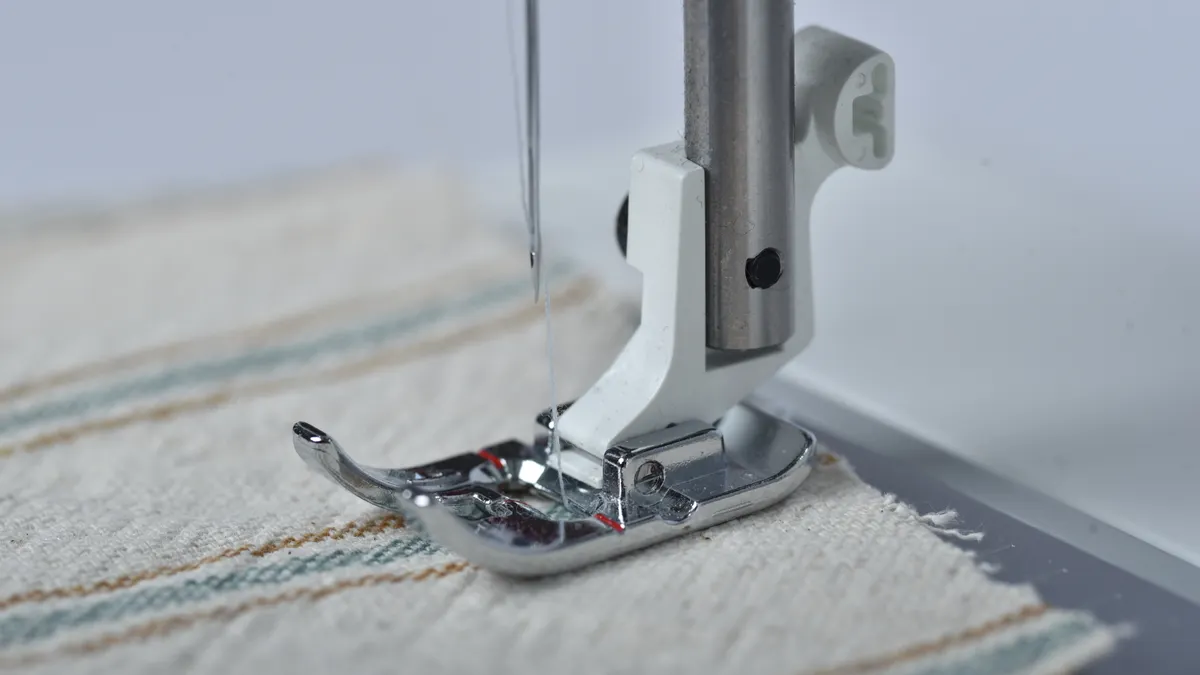
A sloppy corner usually means the needle stayed up, the presser foot never lifted, or the fabric got dragged instead of turned. The clean fix is to stop with the needle down at the corner, lift the presser foot, turn the fabric on the needle, and keep sewing. This guide to How to Sew Corners and Pivot Neatly on a Sewing Machine shows that method for outside corners, inside corners, and tight turns.
What a neat pivot actually looks like
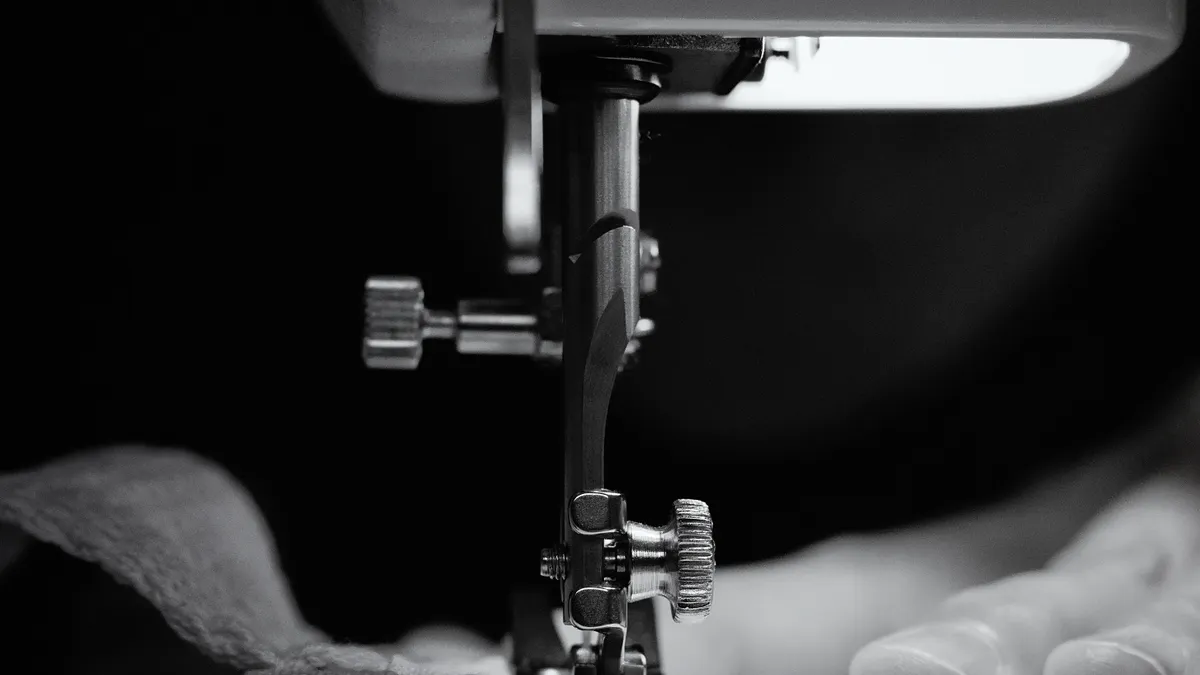
A neat pivot leaves the needle planted at the exact corner point, with the fabric turning around that point instead of sliding away from it. That gives you a sharp angle, a square corner, and a seam line that meets itself cleanly.
For example, if you’re stitching a pouch, a pillow cover, or a pocket edge, you can usually see the corner coming in about 1/4 inch of seam before you reach it. You do not need fancy feet or a special stitch. You need control, not speed.
Most bad corners come from trying to turn while the needle is above the fabric. That lets the layers drift.
- Keep the presser foot pressure light enough that the fabric still moves.
- Stop with the needle in the fabric, not hovering.
- Turn on the needle, not beside it.
- Resume at the same seam allowance, often 1/4 inch or 5/8 inch depending on the pattern.
In contrast, corners are not all the same. An outside corner, like the corner of a tote bag, turns differently from an inside corner, like the angle in a neckline facing.
How do you turn a corner while sewing?
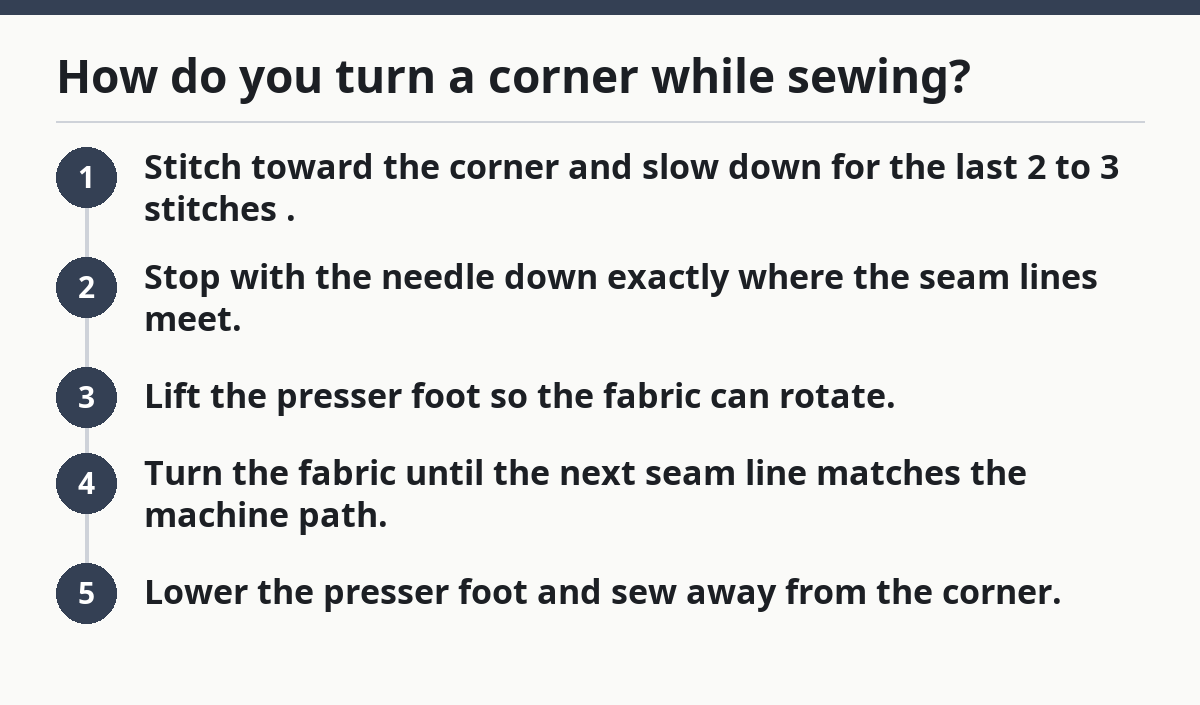
You turn a corner by stopping at the corner point, lowering the needle into the fabric, raising the presser foot, rotating the fabric, and continuing on the new line. That is the whole move.
If you’re sewing a rectangular seam and the next line turns 90 degrees, keep going only until the turning point. If you keep stitching past it, the corner gets rounded off or the seam allowance runs short. If you stop too early, the corner looks pinched.
Use this order every time:
- Stitch toward the corner and slow down for the last 2 to 3 stitches.
- Stop with the needle down exactly where the seam lines meet.
- Lift the presser foot so the fabric can rotate.
- Turn the fabric until the next seam line matches the machine path.
- Lower the presser foot and sew away from the corner.
That works best when the needle is on the outside edge of the fabric turn, because the needle acts like a hinge. If the seam allowance is 5/8 inch, stay on that guide line until the pivot point, then keep that same distance after the turn.
How do you pivot at a corner?
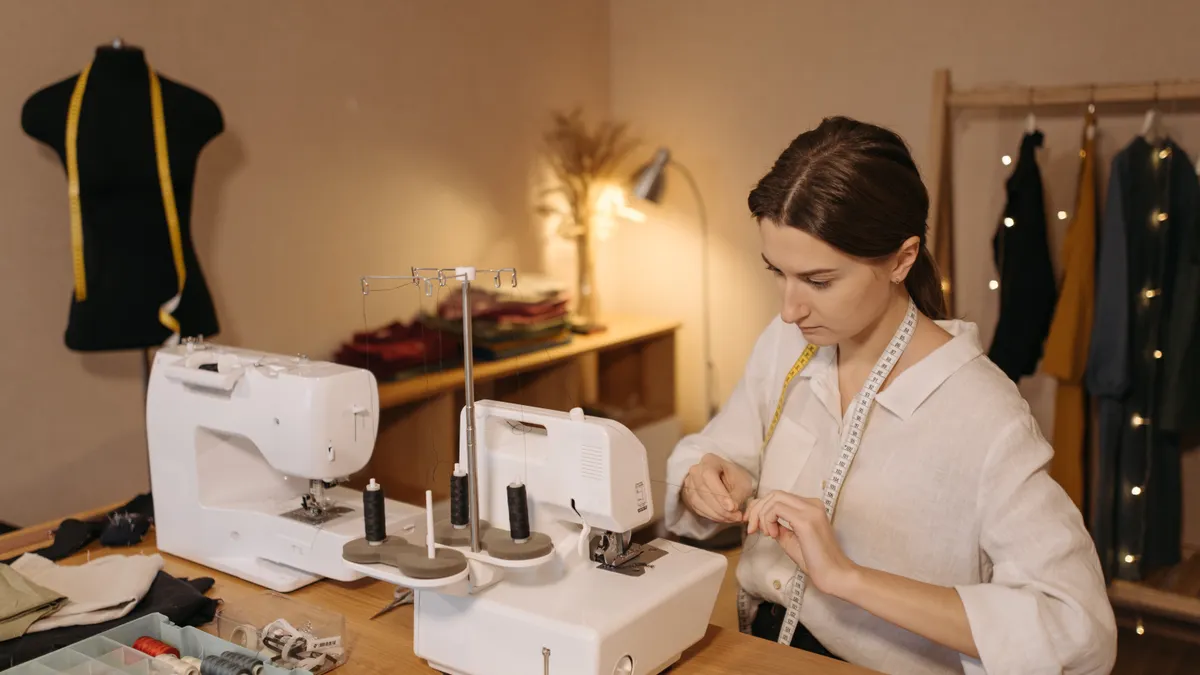
You pivot at a corner by using the needle as the anchor and the presser foot as the release point. That keeps the seam line fixed while the fabric changes direction.
If you’re at the end of a seam on a bag panel and the machine is one stitch from the corner, leave the needle up and the fabric shifts. If you yank the cloth around with the foot still clamped, the corner twists. The pivot is a small controlled reset.
A clean pivot follows these checks:
- The needle stays fully inserted before the turn.
- The presser foot comes up just enough to free the fabric.
- The fabric rotates on the needle hole, not away from it.
- The new line starts with the same seam allowance you used before.
If the fabric is thick, hand-crank the last stitch into place instead of powering through. That matters on denim, canvas, or quilted layers, where a fast stop can leave the needle off the corner by a hair. A hand wheel gives you the last bit of control.
If your machine has a needle-up/needle-down setting, set it to stop needle down for corner work. That one setting removes a lot of guesswork, especially on repeat turns.
How to sew outside corners cleanly
You sew outside corners cleanly by stopping at the turn point before the stitch crosses the line and then rotating the fabric around the planted needle. Outside corners are the easiest place to show off control, because the angle is exposed.
If you’re sewing the edge of a napkin, a cushion cover, or a pocket flap, the corner sticks out, so every wobble shows. If the stitch line overshoots the point, the corner gets blunt. If you turn too soon, the seam bends early.
A clean outside corner comes from timing and one short pause:
- Sew straight to the exact corner point.
- Stop with the needle down.
- Raise the presser foot.
- Pivot the fabric 90 degrees.
- Lower the presser foot and stitch the next side.
The corner will look sharper if the last stitch before the turn ends exactly where the seam allowance lines meet. A 1/4 inch seam on small home items gives a tight, visible corner; a 5/8 inch seam gives more room but needs a steadier turn.
Do not try to “steer” the corner while sewing through it. That usually makes a little curve where you wanted a square.
How do you handle inside corners without bunching?
You handle inside corners by stopping at the point, pivoting on the needle, and then easing the fabric so the next edge lies flat before you sew. Inside corners need less turning drama than outside corners, but they punish bulk if you rush.
If you’re sewing an L-shaped neckline facing or a gusset edge with an inward notch, the fabric wants to stack at the turn. If you twist too hard, the seam line kinks. If you fail to reposition the layers, the second leg of the seam starts crooked.
Use this sequence at an inside corner:
- Sew to the corner point and stop.
- Leave the needle in the fabric.
- Lift the presser foot.
- Shift the fabric just enough to align the next seam line.
- Lower the foot and take the first stitch on the new direction slowly.
A small back-and-forth of the hand wheel helps on bulky fabric, because you can place the first stitch after the turn exactly where the corner wants it. Keep the fabric flat with your left hand and guide the exit line with your right.
Inside corners usually look better when you slow the restart more than the turn. The pivot is quick. The first 2 stitches after the pivot are the ones that decide whether the corner stays flat.
Common corner mistakes and what they cost
Most bad corners come from three habits: sewing too fast, lifting the needle before the turn, or forcing a pivot without enough control. Each one changes the shape of the seam in a different way.
If you’re halfway through a seam and the corner is near, but the machine is still running at the same speed as the straight edge, tiny errors start there. A missed stop makes the corner round off. A bad restart makes the next edge wobble.
Watch for these mistakes:
- Needle up at the turn: the fabric shifts and the corner loses its point.
- Turning before the last stitch: the seam bends early and looks crooked.
- Dragging the fabric: the feed dogs can’t do their job, so the stitch length changes.
- Restarting too fast: the first stitch after the turn lands off the new line.
The fix is plain. Slow down within the last 2 stitches, stop with the needle down, lift the foot, rotate on the needle, and restart one stitch at a time if needed. If your machine tends to pull the top layer, shorten the stitch slightly for the corner area rather than muscling the fabric through.
Corner control is not about perfect speed. It is about repeatable motion.
What settings help a corner look sharp?
The right settings help a corner look sharp by making the machine easier to stop, turn, and restart without shifting the seam. A standard straight stitch, a visible seam guide, and a stopped-needle option do most of the work.
If you’re at a machine with a marked throat plate and a seam allowance you can actually see, that setup is calmer than guessing by eye alone. A clear guide lets you keep the corner line straight before and after the pivot.
Use these setup points:
- Pick a straight stitch for most corners.
- Match the seam allowance to the pattern, often 1/4 inch or 5/8 inch.
- Set the machine to stop with the needle down if that option exists.
- Use a fresh needle if the fabric is thick or the point is dull.
A standard presser foot works fine for most corner turns. A special foot is not the answer to a basic pivot problem. What matters more is that you can see the edge of the foot against the seam guide and stop exactly at the turn.
For more machine control basics, the hub on machine sewing setup and stitch control covers the larger setup choices that make this easier. See also the machine sewing basics guide and the presser foot guide for related setup details.
How to keep corners sharp on the first try
You keep corners sharp on the first try by treating the last stitch before the turn like a parking spot and the first stitch after the turn like a reset. That keeps the shape square instead of soft.
If you’re making a boxy seam on cotton and the fabric wants to wander just as you reach the corner, speed will blur the corner. Control keeps the shape.
A sharp corner usually comes from these habits:
- Stop at the exact point, not one stitch past it.
- Keep the needle in the fabric through the turn.
- Lift the presser foot only long enough to rotate.
- Sew the new line slowly for the first 1 to 2 stitches.
- Keep the fabric flat instead of tugging it toward you.
Sharp corners are not always possible on very bulky seams without extra handling, and that is fine. The goal is a clean angle, not a perfect printed square. If the fabric layers are thick, the corner may need a little hand easing at the machine, and a sewing instructor or pattern guide can help with the safest approach for that fabric.
A neat corner is mostly a discipline problem. Once the needle stops being a guess and starts being the hinge, the sewing gets much cleaner.
How do you turn a corner while sewing?
You turn a corner while sewing by stopping with the needle down at the corner, lifting the presser foot, rotating the fabric, and sewing off in the new direction. That keeps the stitch line from drifting. A 90-degree turn is the clearest example, but the same move works for gentler angles too.
How do you pivot at a corner?
You pivot at a corner by using the needle as the pivot point and the presser foot as the release. The fabric turns around the needle hole, not in front of it. If your machine has a needle-down stop option, use it for this task because it makes the turn steadier.
How do you keep corners sharp when sewing?
You keep corners sharp when sewing by slowing down for the last few stitches, stopping exactly at the corner, and restarting slowly after the turn. A 1/4 inch or 5/8 inch seam guide helps, because it gives you a fixed line to follow. Fast stitching is the main reason corners go soft. See the sewing machine manual for your model and the Singer guide to pivoting for machine-specific help.
Drafted with AI; not yet reviewed by a person.