Last updated: November 19, 2026
Quick answer: use 2 measurements from the selvage to confirm fabric grainline before cutting. Fabric grainline tells you how a piece will hang, stretch, and stay square after you cut it. In How to Measure Fabric Grainline Before Cutting, the safest approach is to measure from the selvage and use a crossgrain or pull-thread line as your reference. The steps below show how to find grainline, check it, and mark it before you cut.
Key Takeaways
- The grainline runs parallel to the selvage on most woven fabric.
- Crossgrain runs across the fabric at a right angle to the selvage.
- Bias sits on a 45-degree angle and stretches the most.
- A measuring tape, pins, and a pulled thread can give you a straight reference line.
- If your mark is off grain, the finished piece can twist, sag, or fit strangely.
What grainline means on fabric
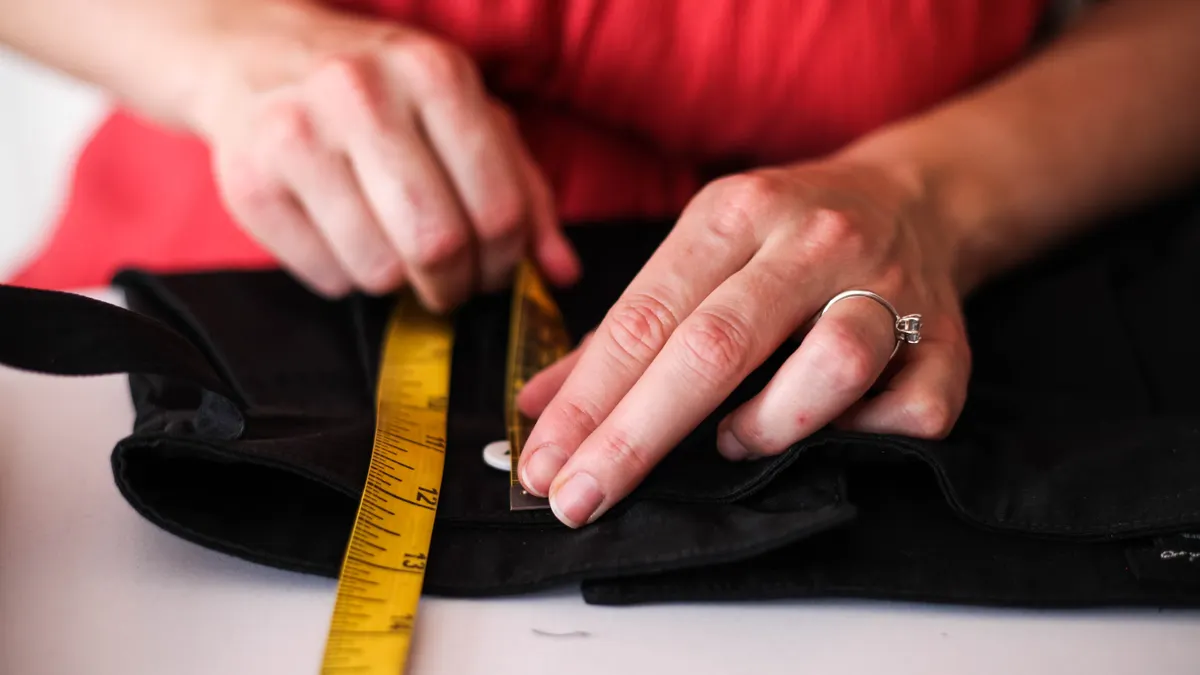
Fabric grainline is the direction of the threads in the cloth, and it matters because cutting on the wrong angle changes how the piece behaves. On woven fabric, the lengthwise grain runs parallel to the selvage, crossgrain runs side to side, and bias cuts across both at about 45 degrees.
Picture this: you have a yard of cotton on the table, and the edges are curling just enough to make the lines hard to trust. You need one clear reference before the scissors come out, because grainline decides the hang of the final piece.
- Lengthwise grain: runs along the fabric from top to bottom, next to the selvage.
- Crossgrain: runs from selvage to selvage.
- Bias: sits diagonally and gives more stretch.
- Selvage: the finished edge that comes from the loom.
That last point trips people up. The selvage is not the cut edge, and the cut edge is not a grain reference if the fabric has been torn, washed, or distorted. If the cloth has been on a bolt for a while, the edges may be a little crooked.
The best shortcut is to trust the woven structure, not just the look of the edge. If the thread direction is obvious, use it. If it is not, measure it.
How do I find fabric grainline before cutting?
You find fabric grainline by measuring from the selvage, then confirming that your marked line sits at a true right angle to the crossgrain or at a true 45-degree angle if you need bias. The goal is a line that follows the weave, not the edge of the cloth.
Picture this: you are laying out a front bodice or a pant leg, and the fabric keeps drifting a little as you smooth it flat. One crooked setup can ruin the cut, so this is the place to slow down and make the line honest.
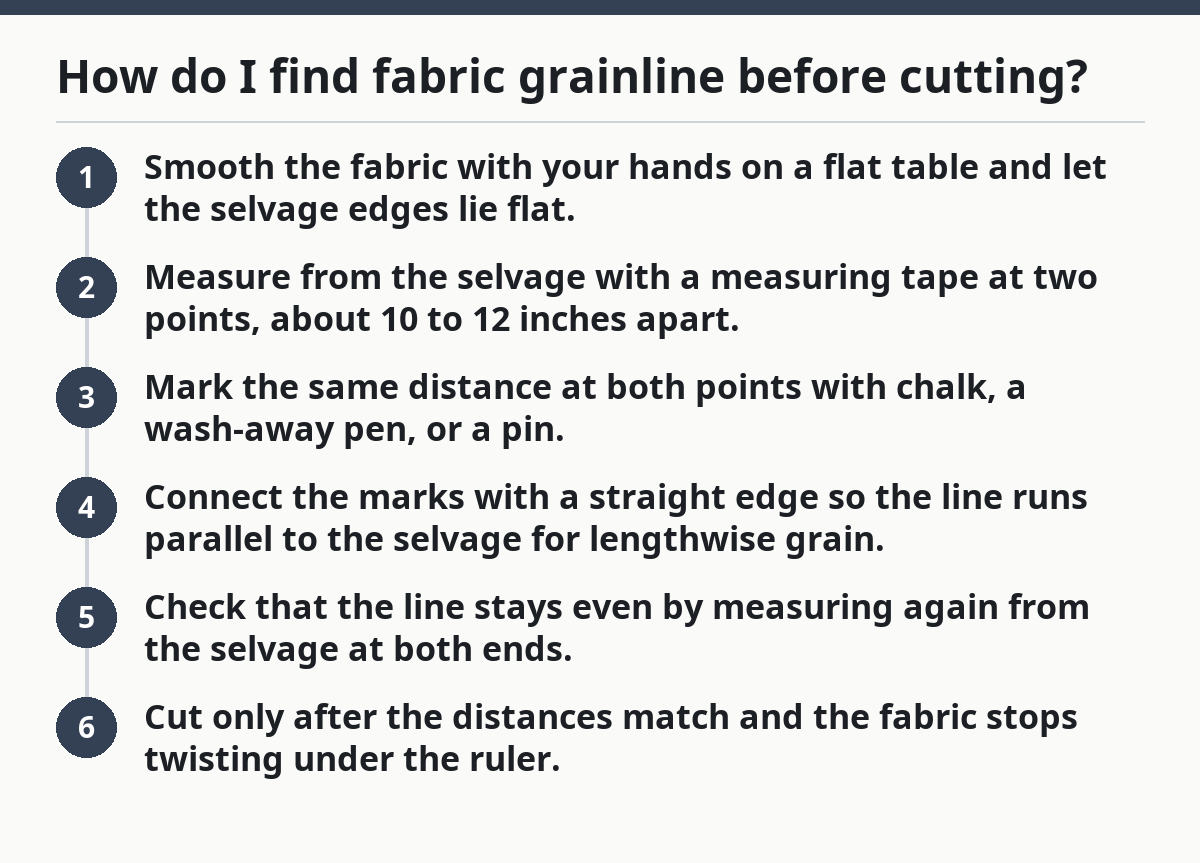
- Smooth the fabric with your hands on a flat table and let the selvage edges lie flat.
- Measure from the selvage with a measuring tape at two points, about 10 to 12 inches apart.
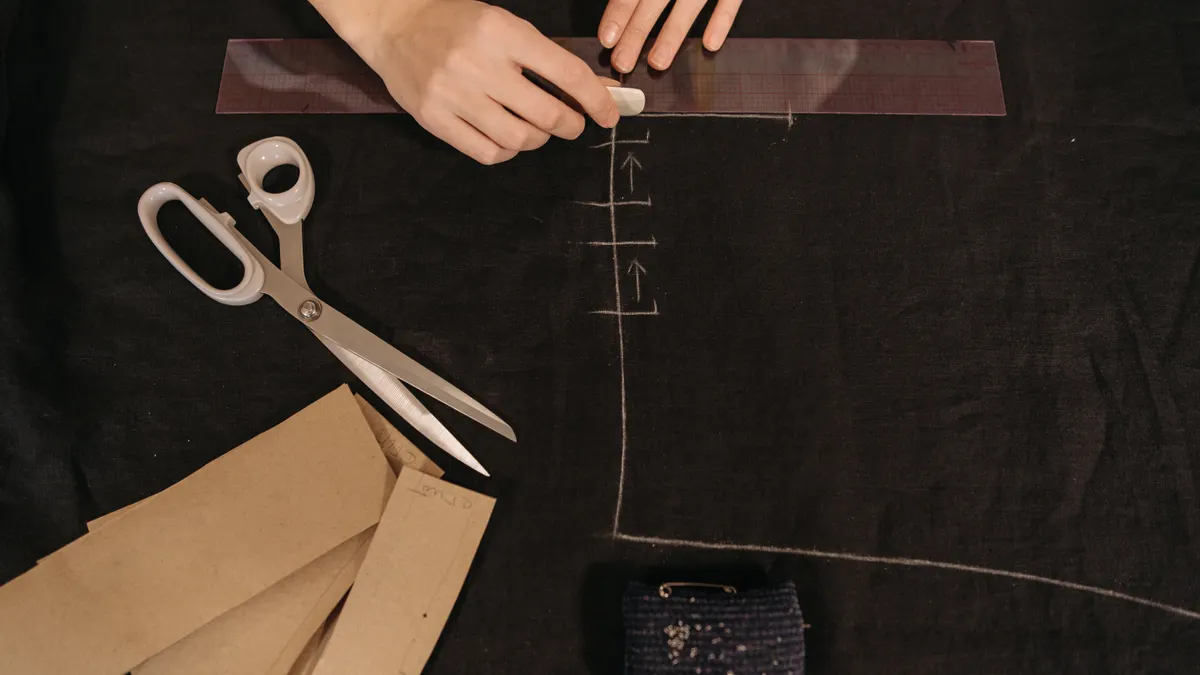
- Mark the same distance at both points with chalk, a wash-away pen, or a pin.
- Connect the marks with a straight edge so the line runs parallel to the selvage for lengthwise grain.
- Check that the line stays even by measuring again from the selvage at both ends.
- Cut only after the distances match and the fabric stops twisting under the ruler.
A measuring tape does the first job, but a ruler or yardstick gives you a cleaner line once the distance is set. Pins help if the cloth shifts while you work. On slippery fabric, place the pins through both layers if the fold needs to stay aligned.
Here’s the catch: if the selvage itself is wavy, don’t copy that wave. Use several measurements, not one. A line that agrees at 2 spots but drifts at the center is not true grain.
Use the selvage as your main reference
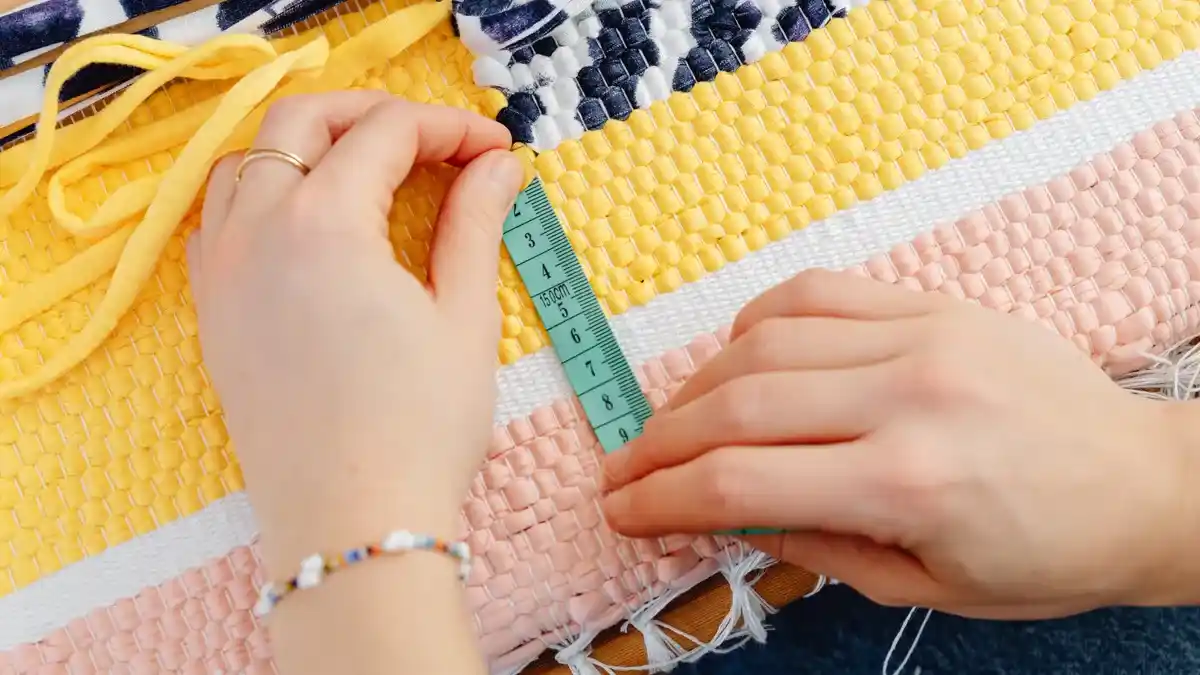
The selvage is often the fastest way to measure grainline because it gives you a built-in straight edge on woven fabric. When the fabric is not distorted, the lengthwise grain should run exactly parallel to it.
Picture this: you unroll a bolt, and the selvage is clean but the body of the fabric has a soft ripple from storage. You still can use the selvage, but only if you confirm that the ripple is surface distortion and not a pulled weave.
- Place the fabric flat with both selvages visible if the width allows.
- Measure from one selvage to the same point on the opposite side.
- If the distance changes, the fabric is off grain or stretched.
- Use pins to anchor the fabric before marking a long line.
A long piece of cotton or linen often shows grain clearly. Rayon challis, silk, and other drapier fabrics can be trickier because the edge shifts under light pressure. In those cases, use the selvage as a starting point, then verify with a second measurement across the width.
The truth is, the selvage can fool you on damaged fabric. A torn edge, a clipped edge, or a fabric that was tugged on the bolt may not run true. If the selvage is itself crooked, measure from the woven threads instead of trusting the edge alone.
How do I check crossgrain and bias before I cut?
You check crossgrain and bias by measuring at right angles and at 45 degrees so the fabric sits where you expect it to sit. Crossgrain should run straight across the width, while bias should angle diagonally and feel noticeably looser.
Picture this: you have a pattern piece that needs the grainline arrow marked before cutting, and you want to know whether the cloth can support that placement. A quick square check tells you more than guessing ever will.
- For crossgrain: measure from one selvage straight across to the other selvage at the same height.
- For bias: fold or mark a diagonal line so it crosses both grain directions evenly.
- For square alignment: compare the diagonal with a ruler or tape at 2 points.
- For stability: tug gently on the bias and feel the extra give.
A 90-degree check is useful when the fabric edge is suspicious. If the crossgrain measurement shifts by even a small amount across the length of the piece, the fabric may be out of square. That matters most on long skirts, trousers, jackets, and any cut that needs a clean hang.
Bias is the opposite of stable. It stretches more than lengthwise grain or crossgrain, which is why it can shape curves but also distort quickly. If you accidentally cut a piece closer to bias than you meant to, the result may twist after hanging.
Big mistake. A reader who wants a crisp side seam should not “fix” a crooked piece by stretching it straight. That only hides the problem for a minute and leaves the cloth to relax later.
Measuring tape, pins, and the pull-thread method
The pull-thread method gives you the straightest grainline mark when the weave is visible and the fabric can spare one thread. A measuring tape and pins are enough for most layout jobs, but a pulled thread gives you a line you can trust on woven cloth.
Picture this: the fabric is solid-colored, the weave is tight, and chalk marks keep disappearing into the texture. You need a line that won’t fade while you cut, so a pulled thread becomes the cleanest answer.
- Pick one thread near the edge of the fabric and lift it with a pin or needle.
- Pull that thread gently until it forms a straight line across the width.
- Mark along the empty channel left by the pulled thread.
- Press the mark flat so the line stays visible while you cut.
- Align your pattern piece to that line before the fabric shifts.
This method works best on stable woven fabric like cotton, linen, or poplin. It is slower than measuring, and it can snag delicate cloth if you rush. That is the trade-off. On fragile silk or loosely woven fabric, a pulled thread can leave a damaged path, so a measured chalk line is safer.
Pins still matter here. Two pins placed on the intended line can hold a fold or keep a long fabric panel from sliding while you finish the mark. Use the pins as anchors, not as the line itself. A pin line looks neat until the cloth moves 1 inch and the whole mark is wrong.
If the fabric is patterned, check the print repeat too, but do not let the print override the weave. A straight stripe that sits off grain is still off grain.
Common mistakes that throw grainline off
The most common mistake is measuring from a distorted edge and calling it the grainline. That mistake costs you a straight hang, a clean seam, and sometimes the whole piece. The fix is simple: measure from the woven structure, not from a cut edge that has already wandered.
Picture this: you are near the end of layout, and the fabric looks square because the print is square. That is where people get caught, because a print can look straight while the weave underneath is drifting.
- Mistake: trusting a rolled or folded edge.
- Cost: the cut can twist after washing or hanging.
- Better move: measure from the selvage or a pulled thread.
- Mistake: marking once and cutting fast.
- Cost: a single bad mark turns into a crooked panel.
- Better move: check the same distance at 2 points.
- Mistake: using the bias when the pattern calls for straight grain.
- Cost: too much stretch and a loose shape.
- Better move: align the piece parallel to the selvage.
- Mistake: smoothing from the center only.
- Cost: hidden ripples stay trapped under the pattern.
- Better move: smooth from selvage to selvage.
A fabric that has been washed, starched, or left on the bolt for a long time may need more than one check. If the cloth is slippery, pin the corners first and work in short sections. A 36-inch skirt panel is much easier to keep true than a 2-yard length if you try to measure all at once.
You do not need special gear. A measuring tape, a few pins, and a firm reference line solve most grainline problems before they start.
How to keep fabric aligned while you cut
You keep fabric aligned by locking the grainline before the first scissor stroke and rechecking the fabric after every shift in position. Once the cloth moves, the line can drift even if it looked perfect a minute ago.
Picture this: your scissors are open, the pattern is pinned, and one corner keeps sliding a fraction of an inch. That small drift is enough to throw off a long cut, so the fabric has to stay anchored.
- Place the fabric on a flat surface with no drag at the edges.
- Keep the selvage visible while you position the pattern.
- Use pins at the grainline and at the corners that tend to shift.
- Recheck the measuring tape at the top and bottom of the piece before cutting.
- Cut in long, controlled strokes so you do not tug the cloth sideways.
If the fabric is folded for cutting, match the fold to the grainline first, then pin the fold in place. If the fold is off, the two layers will disagree and the cut piece will never hang evenly. That mistake shows up fast in wide hems, front facings, and long seams.
This is also where a clear workspace helps. A 30-inch table edge can distort a long panel if the cloth hangs off it and gets pulled by its own weight. Support the fabric so the full piece lies flat.
The fastest way to check grainline on tricky fabric
The fastest reliable check on tricky fabric is a two-point measurement from the selvage, followed by a quick pull-thread or square check if the cloth still looks uncertain. That combination catches most problems without slowing the whole layout.
Picture this: the fabric is slippery, the weave is fine, and the edge wants to curl back on itself. You need a quick decision, not a long debate with the cloth.
Use this order:
- Measure from the selvage at the top and bottom of the intended line.
- If the numbers match, set the pattern along that line.
- If they do not, correct the fabric before cutting.
- If the fabric still looks doubtful, pull a thread or check the crossgrain.
A fast check is not a lazy check. It is a repeatable one. On a simple cotton, 2 measurements may be enough. On something fluid, like rayon or silk, the extra minute you spend confirming the line can save the whole cut.
If you want a deeper planning guide for fabric choice and prep, the hub on fabric and pattern selection has the broader context. This page stays with the measuring job, which is where most cutting errors begin.
What is the fabric grainline?
The fabric grainline is the direction of the threads in woven fabric, and it usually runs parallel to the selvage. It tells you how the cloth will hang and how much it will stretch when cut. Straight grain, crossgrain, and bias are the three directions to keep straight in your head.
How do I find grain on fabric?
You find grain on fabric by locating the selvage, measuring from it at two points, and checking that the distance stays even. If the weave is hard to read, a pulled thread can give you a clearer straight line. Pins and a measuring tape make the check faster and more accurate.
Why does grainline matter when cutting?
Grainline matters because it controls drape, stretch, and fit. A piece cut off grain can twist, sag, or hang unevenly after sewing. On a straight skirt panel or pant leg, even a small error can show up in the finished shape.
Drafted with AI; not yet reviewed by a person.