Last updated: November 19, 2026
Key Takeaways
- Your checklist should cover pattern pieces, fabric, thread, scissors, pins, and a measuring tape before cutting starts.
- Build it from the pattern envelope or instructions, then add only the materials and tools this project needs.
- Check the fabric, pattern pieces, and layout one item at a time before any cuts are made.
- List every notion and tool the pattern calls for, plus what you need to prepare, mark, press, and finish.
A sewing project checklist for How to Make a Sewing Project Checklist Before You Start keeps you from cutting the wrong piece, missing a notion, or realizing at the machine that your thread does not match your fabric. Quick answer: use a 10-minute checklist before you cut. Make the checklist before you touch the scissors. The steps below sort the pre-cutting check, the notion list, the tool list, fabric prep, and the final verify.
What should go on a sewing project checklist?
A sewing project checklist should cover pattern pieces, fabric, thread, scissors, pins, and a measuring tape before you start cutting. That is the core set that prevents most early mistakes, and it belongs on every project, from a simple tote to a lined shirt; if you are unsure what to include, consult the pattern instructions or a sewing professional. According to the Sew4Home Project Planning page, a project plan should gather materials and tools before construction begins.
Picture this: you’re standing at the table with fabric spread out, and the pattern is already open. A good checklist catches the quiet problems first—wrong grain line, missing interfacing, dull scissors, the wrong needle size, or a zipper that never made it into the pile. Here’s the catch: the list is not just a memory aid. It is a stop sign.
Use the checklist to gather three groups of things:
- Pattern and instructions: pattern envelope, printed pages, size traced or marked, seam allowance notes, and any alteration marks.
- Materials: fabric, lining, interfacing, thread, buttons, zippers, elastic, bias tape, and labels if you use them.
- Tools: scissors or rotary cutter, pins or clips, measuring tape, ruler, marking tool, seam ripper, iron, and pressing cloth.
A useful checklist is specific enough to stop guesswork. “Thread” is too vague; “polyester thread in the garment color” is better. “Pins” is fine, but “glass-head pins for pressing near heat” can save trouble if your project needs it. The best part is that you do not need a long list to be effective. You need the right list, in the right order.
How do I build the checklist so it fits the project?
You build it by starting with the pattern envelope or instructions and then adding only the materials and tools that this one project actually needs. This keeps the list tight and prevents the common beginner mistake of buying a general sewing kit full of things that never get used; if you are unsure, consult the pattern instructions or a sewing professional. The Spruce Crafts sewing supply lists also show how project-specific supplies can vary by garment or accessory.
Start with the project type. A skirt, a zip pouch, and a quilt block do not ask for the same prep. Then write the checklist in the order you will use it. That means the items for cutting come before the items for sewing, and the items for pressing come before topstitching. If you keep a master list, update it for each project instead of copying it blindly.
Use this order:
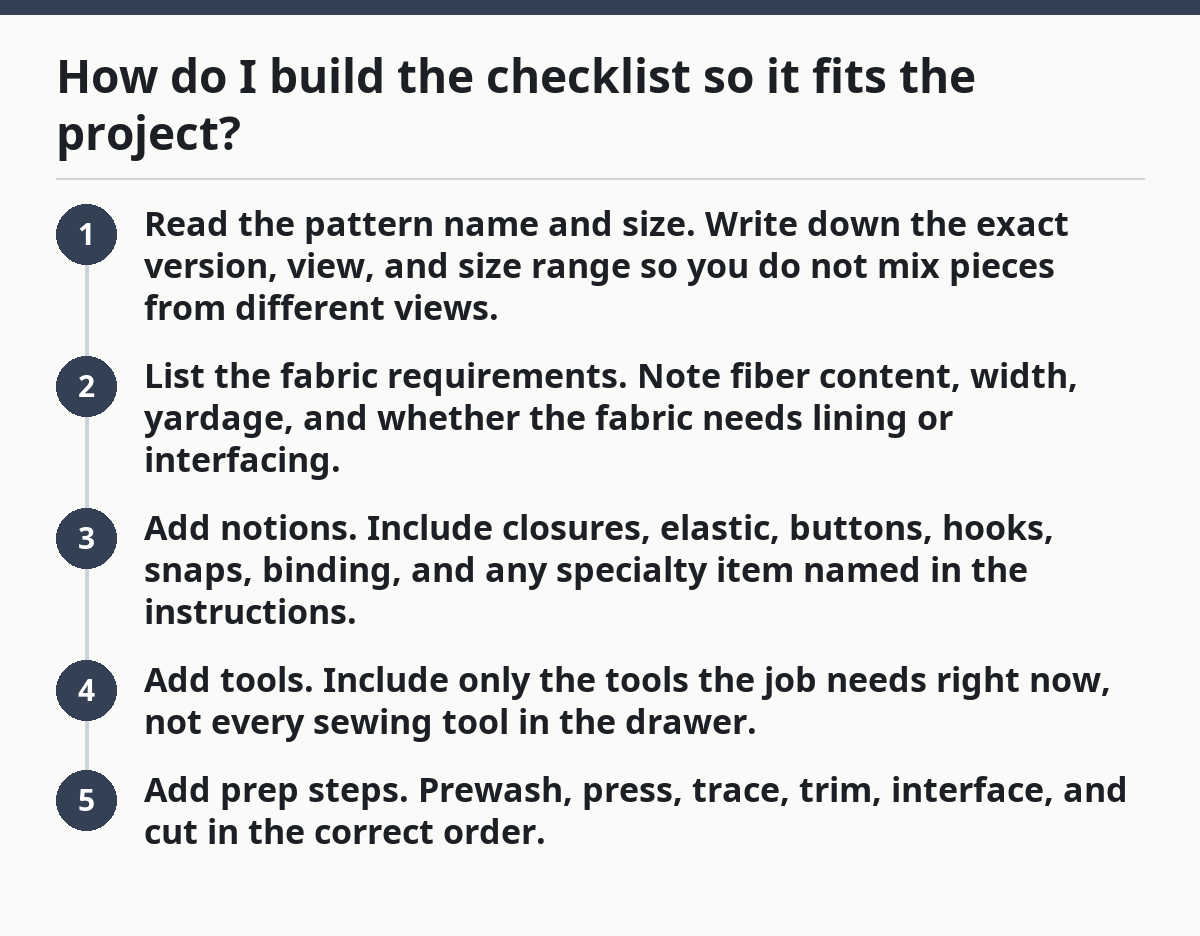
- Read the pattern name and size. Write down the exact version, view, and size range so you do not mix pieces from different views.
- List the fabric requirements. Note fiber content, width, yardage, and whether the fabric needs lining or interfacing.
- Add notions. Include closures, elastic, buttons, hooks, snaps, binding, and any specialty item named in the instructions.
- Add tools. Include only the tools the job needs right now, not every sewing tool in the drawer.
- Add prep steps. Prewash, press, trace, trim, interface, and cut in the correct order.
Now, you might be wondering why this matters if the pattern already has a supply list. Because the pattern list tells you what is needed in theory; your checklist tells you what is in your room. A pattern can say “one zipper,” but your checklist should say whether it is 22 cm or invisible, whether you have the right foot, and whether the zipper is still in its package.
How do I make a sewing project checklist before cutting fabric?
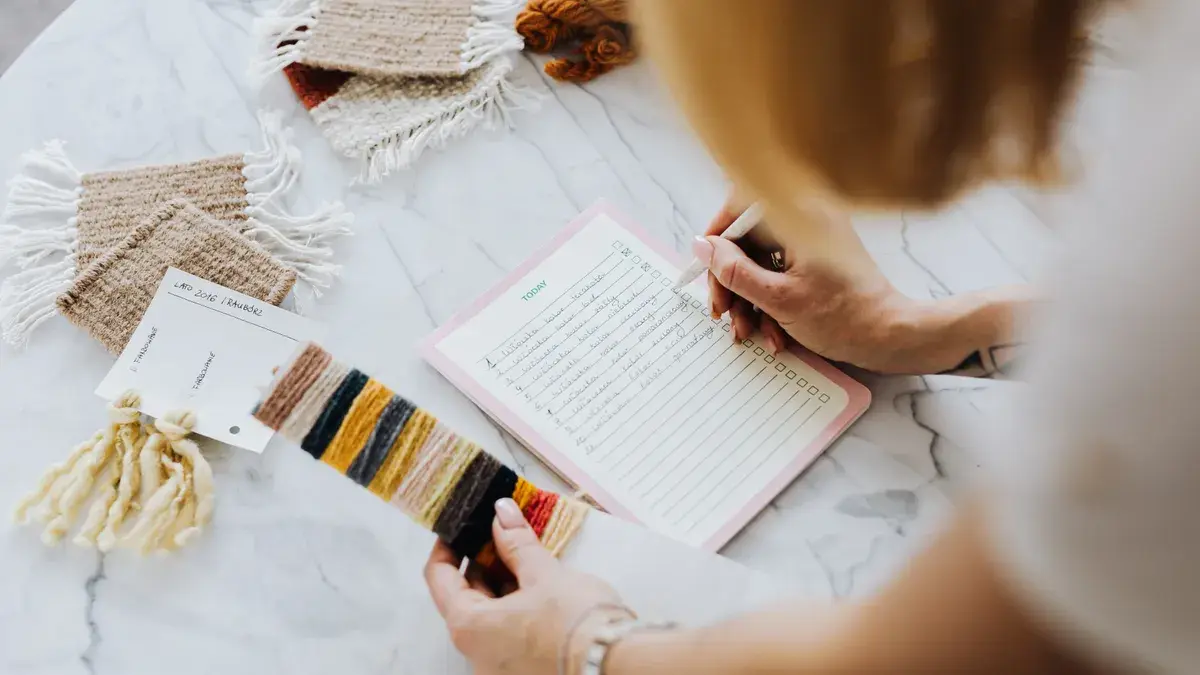
You make the pre-cutting checklist by checking the fabric, the pattern pieces, and the layout one item at a time before any cuts are made. This is the moment that saves the most fabric, because one wrong snip can turn a clean project into a patchwork repair job.
Picture this: you’ve steamed the cloth flat and the table is clear. The only thing between you and a good cut is a short, careful check. That is the right moment to slow down. Cutting is fast; fixing a cut mistake is not. A 10-minute review can save hours.
Use this pre-cutting list:
- Confirm the pattern version, size, and seam allowance.
- Check that every pattern piece is present, labeled, and not taped onto the wrong page.
- Match the fabric to the project’s direction, stretch, pile, or nap.
- Check yardage against the width on the pattern envelope.
- Prewash or pre-treat the fabric if the project calls for it.
- Press the fabric flat before laying out pieces.
- Verify grainline arrows and fold lines.
- Check if interfacing, underlining, or lining needs to be cut too.
- Mark notches, darts, and placement lines before the first cut if your method requires it.
The mistake to avoid here is rushing past the layout. If the fabric has a nap, a one-way print, or a directional weave, you need more space and more attention than a plain cotton square. A checklist makes that visible before the scissors open. If the fabric is slippery, thick, or expensive, this step matters even more.
Which notions and tools should I list?
You should list every notion and tool that the pattern calls for, plus the ones you need to prepare, mark, press, and finish the project. This is where a lot of sewing projects stall, because the fabric is ready but the zipper, needles, or thread color is not.
Picture this: you are halfway through assembly and the machine is threaded, but the elastic is the wrong width or the interfacing has not been cut. That pause costs time and focus. A solid checklist names the small pieces that are easy to forget because they are not folded in the fabric stack.
Use separate lines for these categories:
- Cutting tools: fabric scissors, paper scissors, rotary cutter, cutting mat, shears.
- Measuring tools: measuring tape, ruler, seam gauge, French curve.
- Marking tools: chalk, fabric pencil, tailor’s tacks, washable marker.
- Holding tools: pins, clips, pin cushion, weights.
- Machine supplies: matching thread, bobbin, needle type, presser foot, seam ripper.
- Construction notions: zipper, buttons, snaps, hooks, elastic, cord, bias binding, interfacing.
- Pressing tools: iron, ironing board, pressing cloth, sleeve roll if needed.
The honest trade-off is that a longer notions list takes a little longer to build, but it prevents dead ends at the machine; if you are not sure what belongs on it, consult the pattern instructions or a sewing professional. A shorter list feels faster and often fails on the first missing part. If you sew often, a checklist also shows what you are always borrowing from another project. That is a useful pattern.
What mistakes does a checklist prevent?
A sewing project checklist prevents mismatched fabric, missing notions, cut-piece confusion, and last-minute tool hunts. Those are the mistakes that waste the most time because they show up after the project has already started, not while you are still planning it.
Here’s the catch: most sewing mistakes at the start do not look dramatic. They look like “I’ll remember that later” or “this zipper is probably fine.” Later is where the trouble starts. A checklist turns those half-remembered details into a visible line item.
Common mistakes and what they cost:
- Skipping fabric prep. Fabric can shrink, shift, or press badly after cutting. Fix: prewash or pre-treat before layout if the fabric type calls for it.
- Forgetting interfacing. Collars, waistbands, facings, and button plackets can lose shape. Fix: add interfacing to the notion list and cut it with the fabric.
- Using the wrong thread or needle. Stitching can look weak or skip on the machine. Fix: list thread weight and needle type before sewing.
- Missing pattern pieces. You may cut one side twice and miss the mirrored piece. Fix: check every piece against the instructions before scissors touch cloth.
- Ignoring grainline or nap. Garment pieces can hang or shade differently. Fix: mark the layout rules on the checklist before cutting.
A checklist is not a creative brake. It is a guardrail. If the project is simple, the list may be short. If the fabric is pricey, the print is directional, or the pattern has many pieces, the checklist should get longer, not shorter. A single-page checklist is enough for many projects; it just has to be specific.
How do I use the checklist on project day?
You use the checklist on project day by checking off each item in order and stopping when something is missing. That is the whole point: the checklist gives you permission to pause before a small problem becomes a big one.
Picture this: you have an hour before dinner and want to cut quickly. A project-day checklist keeps the work moving because you are not searching drawers for a seam ripper or guessing whether the interfacing is fusible. It turns prep into a quick sequence instead of a hunt.
A good project-day routine looks like this:
- Lay out the pattern, fabric, and tools in one place.
- Tick off every notion before the fabric is cut.
- Confirm the fabric has been pressed and is lying flat.
- Check that the right scissors or rotary cutter are sharp enough for clean cuts.
- Verify the pattern pieces are complete and labeled.
- Mark any notes you need near the top of the page, not buried in the margin.
- Put the checklist where you can see it while you work.
The best part is not perfect completion. It is catching what is missing before the machine starts. If you can only do one thing, do the final verify: pattern, fabric, notions, tools, and prep all present. That 30-second check is better than discovering a missing zipper after the lining is sewn.
What does a final verification look like?
A final verification is a last pass through the checklist that confirms you have the right pattern pieces, the right fabric, the right thread, and the right tools before you cut or sew. It is the last gate, and it should be short enough to do every time.
Use a final check like this:
- Are the pattern pieces complete and in the correct size or view?
- Is the fabric prepped, pressed, and laid out correctly?
- Do you have every notion named in the instructions?
- Is the thread matched and the correct needle installed?
- Are scissors, pins, measuring tape, and marking tools within reach?
- Have you marked any special steps, like interfacing or lining, on the checklist?
If the answer to any of those is no, stop and fix it. That is not wasted time. That is the time that keeps the rest of the project from wobbling. The trade-off is plain: a checklist adds a few minutes at the start, but it saves far more when the project gets complicated.
The strongest version of this habit is a reusable checklist template with blanks for project name, fabric, notions, tools, and prep steps. Keep one for garment sewing and one for small accessories if you make both. That split keeps the list relevant and avoids page-long clutter. A clean, repeatable checklist beats a loose memory every time.
Sewing project checklist template you can copy
A sewing project checklist template gives you a fast starting point you can reuse for any project. Copy this into a notebook, a notes app, or a printed sheet, then fill it in before you cut.
Use this structure:
- Project name:
- Pattern version / view / size:
- Fabric:
- Lining / interfacing:
- Thread:
- Notions:
- Tools:
- Pre-cutting steps:
- Final verify:
You can add project-specific lines for zippers, buttons, elastic, topstitching thread, or extra pattern pieces. If you sew often, keep one version for garments and one for bags or home projects. A two-template system is usually enough for most sewists.
This is also the best place to write a note about the pattern pieces themselves. If piece A is cut on the fold, if piece D needs two layers of interfacing, or if the fabric is directional, put that on the checklist where it can’t hide. The checklist should do one job: keep the start of the project clean.
What should i check before cutting fabric?
Check the pattern pieces, fabric prep, layout direction, and any needed interfacing before you cut fabric. That is the shortest version of the rule, and it saves the most trouble. If the pattern is missing a piece, the fabric needs washing, or the grainline is off, stop and fix that first.
The first sentence of your pre-cutting check should be simple: “Do I have everything I need to cut this once?” If the answer is no, the checklist is doing its job. A final 2-minute pass is enough for many projects, and it is worth it.
What belongs on a sewing project checklist?
A sewing project checklist should include the pattern, fabric, thread, notions, tools, and prep steps for that exact project. That means pattern pieces, scissors, pins, a measuring tape, and anything else the instructions name, plus notes about pressing, interfacing, and cutting order.
If you keep the list too broad, it stops being useful. If you keep it too narrow, you miss the parts that cost time later. The sweet spot is a list that matches one project, not every sewing job you might do in a month.
how do i avoid forgetting sewing supplies?
You avoid forgetting sewing supplies by listing them in the order you’ll use them and checking them off before cutting starts. That works better than relying on memory because sewing projects fail in small gaps: no bobbin, wrong needle, missing zipper, or a ruler that is still in another room.
A good habit is to review the checklist twice—once when gathering supplies and once right before cutting. That second pass catches the items that get set aside during cleanup. Keep the checklist near the fabric, and the missing pieces become obvious fast.
Drafted with AI; not yet reviewed by a person.