Last updated: November 19, 2026
Quick answer: in most sewing patterns, you need the pieces named for your chosen view, your size line, and the cutting line on the tissue. This guide to How to Identify Which Pattern Pieces You Need to Cut shows how to find them before you cut fabric.
You’re staring at a sewing pattern and can’t tell which pattern pieces belong on your fabric. Cut only the pieces named by your chosen view, size line, and cutting line on the pattern tissue. The steps below sort out the pattern envelope, view choice, notches, and markings so you do not cut the wrong parts.
Start with the view named on the envelope
Picture this: the envelope is open, tissue paper sprawls across the table, and the front sketch shows three versions of the same garment. One view only. That’s the whole game here.
The pattern envelope is your map. On the front, you’ll usually see separate drawings labeled view A, B, C, or by version name; the back often spells out what each one includes. Match the picture on the envelope to the one you want to sew, then ignore the pieces that belong to the other views. It is cleaner, and honestly less annoying, than trimming extra parts you’ll never use.
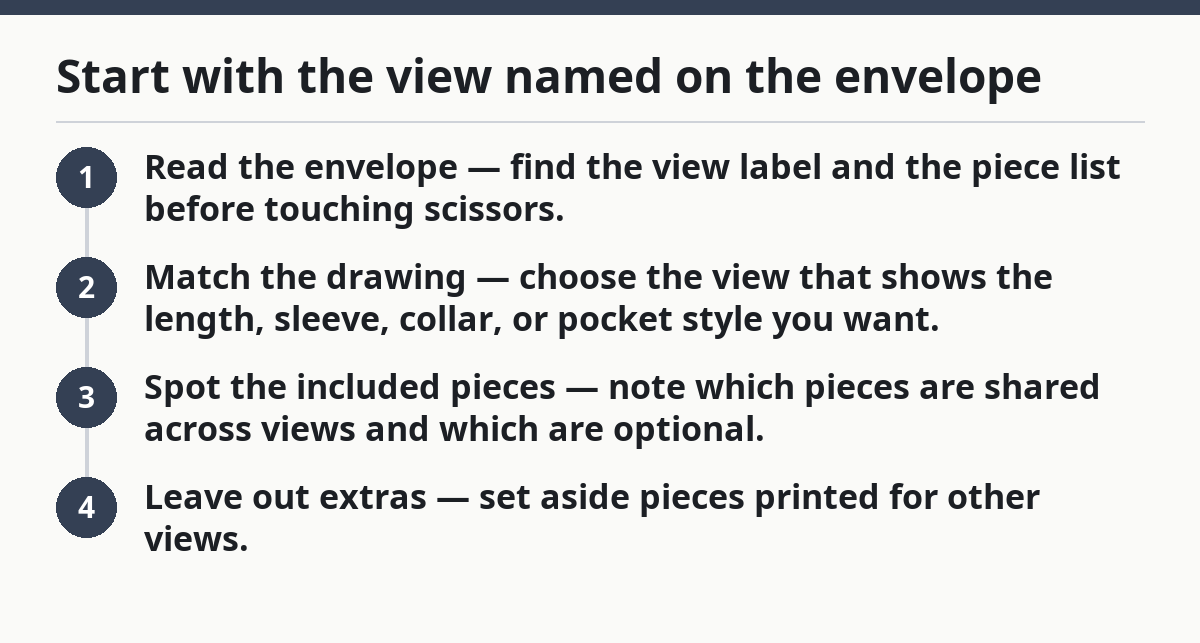
- Read the envelope — find the view label and the piece list before touching scissors.
- Match the drawing — choose the view that shows the length, sleeve, collar, or pocket style you want.
- Spot the included pieces — note which pieces are shared across views and which are optional.
- Leave out extras — set aside pieces printed for other views.
The catch? Many patterns print every version on one tissue sheet. So one sheet may hold a bodice for every view, plus a sleeve or hem band for just one version. Cut too fast, and you’ll be left with orphaned pieces that never make it into the garment.
How do I know which pattern pieces to cut?
Match the view, size line, and cutting line before you cut anything. Simple enough; still, that’s where most bad cuts begin.
Picture this: you’re kneeling by the table, finger tracing a tangle of lines, trying to figure out which one belongs to your size. The answer is on the tissue itself — but only if you read it in the right order.
Start with the view printed on the envelope, then find only the pieces listed for that view. Next, locate the correct size line on each of those pieces. Last, follow the cutting line, not the stitching line, when you trim the paper. On many commercial patterns, the sizes are nested, so one piece may show 6, 8, 10, 12, and more all at once. Busy, messy, slightly maddening.
- Check the envelope — confirm the view you plan to sew.
- Find the tissue piece number — match the number to the instruction sheet.
- Locate the size line — use the line for your chosen size, or the graded line if the pattern says so.
- Follow the cutting line — cut on the outer line unless the instructions tell you to cut a different line.
- Mark the notches — transfer every notch that helps pieces fit together later.
Pause if you are unsure. Compare the pattern sheet to the instructions before cutting. A missing notch, wrong size line, or wrong view can wreck the fit before a single seam is sewn.
Which markings tell me a piece belongs to my version?
Notches, dots, grainlines, and labels tell you which piece belongs where. They are not decoration; they show what belongs to your garment and how the parts go together.
Picture this: one pattern piece has a single notch near the armhole, another has two, and a third has a square corner for a pocket bag. Those marks help you tell pieces apart even when the shapes look similar.
Look for these clues on the tissue:
- Piece number or name — matches the cutting chart or instructions.
- Notches — small triangles or marks that show where pieces align.
- Grainline arrow — shows how to place the piece on the fabric.
- Placement dots — show where a pocket, dart, or opening starts.
- Fold line — means the piece is cut on the fold, not doubled in full.
A piece with the right number but the wrong marking pattern may belong to another view or another size range. On a sleeveless top, for example, one front piece may be for a facing while another is for a lining. One notch can make the difference between a neckline that lies flat and one that twists. Tiny mark, big consequence.
Once you start reading the marks, the tissue sheet stops looking random. It becomes a list of parts.
Follow the cutting line, not the printed edge
Follow the cutting line because the printed edge of the tissue is not always the size you need. The line you cut on may sit inside or outside the printed shape, depending on the pattern company and size range.
Picture this: you’re holding scissors over a piece that has four nested outlines. One line is thin, one is dotted, and one is bold. The piece you need is the one named for your size, not the most obvious one.
Some patterns print the seam allowance inside the cutting line, and others leave it out of the tissue shape. So the instructions matter. If the pattern says “cut on size 14 line,” do that, even if the outer edge looks cleaner. If the pattern says “cut 2 of fabric” or “cut 1 on fold,” the cutting line and the quantity note work together.
Use this quick check:
- One piece, one line — cut the line assigned to your size.
- Fold symbol present — cut only half the shape against the fold.
- Cutting chart note — if the note says “cut interfacing” or “cut lining,” keep those pieces separate from the main fabric.
- No size overlap — if your size is between lines, use the pattern’s grading instructions, not a guess.
A common mistake is choosing the biggest visible outline because it is easiest to follow. That gives you the wrong size and changes the fit before you start sewing. Smaller scissors help here. So does tracing the line with chalk or a pencil before you touch fabric. That extra minute saves a headache later.
Which pieces are for your size, and which are for other sizes?
The right pieces are the ones that carry your size line and the quantity called for in the instructions. Everything else stays on the sheet unless your view needs it too.
Picture this: one tissue sheet holds several sizes, plus a few pieces that repeat for different views. The trick is not to hunt every shape on the paper. Build a list for your version instead, and leave the rest alone.
Use the instruction sheet as the final check. A typical pattern will tell you something like “cut 2 front, cut 2 back, cut 1 sleeve,” then add extras for facings, cuffs, waistband, or collar pieces. If a piece is marked “optional,” it belongs only to the version that uses it. If a piece is marked “self,” it gets cut from the main fabric. If it says “contrast,” “lining,” or “interfacing,” that piece comes from a different material.
That list is the part many readers skip.
- Your size line — trace or cut only that line.
- Your view pieces — use the pieces listed for the chosen version.
- Quantity notes — “cut 2” means you need a mirrored pair or a doubled piece.
- Fabric type notes — self, lining, interfacing, and contrast are separate jobs.
On the flip side, if a piece appears in the instructions but not in your view, do not cut it just because it looks important. Some pieces exist for alternate necklines, longer sleeves, or a gathered finish you are not making.
What should I do before I cut the tissue?
Sort, label, and flatten the tissue before you cut so you can see the view, size line, and notches clearly. Ten minutes now can save time later.
Picture this: the pattern tissue is wrinkled from the envelope, and one corner curls over the size numbers. Cut before flattening it, and you may miss a notch or trim the wrong outline. That is how mixed-up pieces happen.
Lay the tissue flat under pattern weights, books, or pins if the paper tolerates it. Then locate the pieces for your chosen view and circle or highlight them lightly if the pattern paper allows marking. Some sewists copy the needed pieces onto separate tracing paper, which is smart when the original tissue is crowded or fragile.
Use a prep pass like this:
- Flatten the tissue — remove folds so lines are visible.
- Count the pieces — compare them with the instruction sheet.
- Mark your view — note which pieces belong to the version you chose.
- Trace if needed — copy crowded pieces before cutting the original.
- Cut last — only after every needed line and notch is clear.
If the tissue is printed on both sides or the lines overlap badly, tracing is often cleaner than cutting the original. That matters on multi-view patterns where one piece serves three versions and the next piece serves only one. Tracing also protects the master pattern if you plan to sew the design again.
Common mistakes that make the wrong pieces get cut
The wrong pieces get cut when the reader trusts the outline instead of the instructions. The usual mistakes are simple, but they cost time, fabric, and fit.
Picture this: you have already cut your fabric, then notice the sleeve cap does not match the armhole. That usually means a different view, size line, or notch set was used on the paper pattern itself.
Here are the mistakes that cause the most trouble:
- Picking the wrong view — you get extra pieces or miss required ones.
- Cutting the wrong size line — the garment fits too tight or too loose before sewing begins.
- Ignoring notches — pieces still go together, but alignment gets harder and slower.
- Missing fold lines — you end up with an unbalanced or doubled piece.
- Using the edge of the paper — the printed edge is not always the cutting line.
Read the envelope, read the piece list, read the tissue, then cut. If the pattern has a size key or view chart, use it every time. That habit matters more than speed.
For a broader guide on the order of reading a pattern, the hub on reading sewing patterns sits next to this topic and fills in the bigger picture without repeating this page.
How do I choose the right pattern pieces?
Choose the right pattern pieces by matching the pattern envelope, the view, and the piece list before you touch the scissors. Then verify the size line and cutting line on each needed piece.
Picture this: you are ready to cut, but the instructions mention front, back, sleeve, facing, and collar in different places. Don’t guess from shape. Match each piece to the version you want and the fabric you are using.
A clean way to decide is to build a short checklist from the pattern itself:
- What view am I making?
- What pieces does that view require?
- What size line am I cutting?
- Which pieces need self fabric, lining, or interfacing?
- Which pieces have notches or fold lines that must be copied?
If a piece fails any one of those checks, it does not belong in your stack yet. One rule, fewer mistakes.
Key Takeaways
- The pattern envelope tells you which version you’re making before you cut anything.
- The tissue sheet tells you which numbered pieces, size lines, and notches belong to that version.
- The cutting line is the line to follow; the printed edge is not always the right outline.
- Pieces for other views should stay on the sheet unless your chosen version calls for them.
- A quick pre-cut check beats fixing a miscut piece later.
How do I know which pattern pieces to cut?
Match the pattern envelope to the view you want, then check the tissue for the piece numbers, size line, and notches that belong to that version. If a piece is listed for another view or another fabric type, leave it out. The instruction sheet is the final check.
What does view mean on a sewing pattern?
A view is one version of the same pattern. One envelope can include several views with different sleeves, lengths, necklines, or pocket options. The view label tells you which pieces to use and which pieces to ignore.
How do I choose the right pattern pieces?
Choose the pieces listed for your view, then cut only the size line named in the instructions. After that, confirm the quantity notes, fold line, and any fabric-type notes such as self, lining, or interfacing. If the piece does not match those details, it is not the right one.
Drafted with AI; not yet reviewed by a person.