Last updated: November 19, 2026
Quick answer: How to Grade Between Sewing Pattern Sizes usually means marking one size at the shoulder or bust and another at the waist or hip, then redrawing the seam so the change stays smooth across 1 to 4 inches of the pattern.
Pattern grading between sizes is the clean way to combine a smaller shoulder with a larger waist, larger hips, or any other mix of sewing pattern sizes on one garment. In How to Grade Between Sewing Pattern Sizes, start by choosing the seam or hem where the size change needs to happen, then redraw the pattern so the new lines stay smooth through the bust, waistline, armhole, or hip.
What grading between pattern sizes actually does
Pattern grading between sizes changes one part of a pattern while leaving another part alone. It is not full pattern grading for a size range; it is the small, controlled adjustment you make when a multi-size pattern gives you one size at the shoulder and another at the waist or hip.
The goal is shape, not just bigger or smaller numbers. If the shoulder seam fits your upper body in one size but the waistline needs more room, grading lets you keep the shoulder and expand only below it. That matters on fitted tops, close jackets, skirts, and pants where one section can fit well while another does.
A good blend usually follows the pattern’s own grading line, or a line you draw parallel to it. That line often runs through the side seam, center back, princess seam, or darts. The key is to keep the transition gradual so the side seam does not kink and the armhole does not lose its shape.
This method is useful on multi-size patterns, especially when the size chart puts you between sizes in more than one place. It is less useful on very loose styles, where a straight size often works better than extra shaping. If the garment has a highly shaped armhole, a tailored shoulder, or a close waist, careful grading matters more than a rough “add a little here” approach.
For broader fit issues, this page sits under the sewing pattern fit and alteration hub, but here I am keeping the focus on blending sizes on one garment only.
What you need before you start grading

You need the tissue or PDF pattern, the size chart, a ruler, a pencil, and a long French curve or hip curve before you make the first mark. A tracing wheel, pattern paper, and tape help if you want a clean copy instead of writing on the original.
The size chart is not optional here. It tells you which pattern sizes you are blending, and it keeps you from guessing at the transition. If the pattern company uses standard grading increments, the size chart and printed nested sizes usually give enough information to blend accurately without inventing your own numbers.
Before you mark anything, locate the seamlines that control fit:
- shoulder seam
- armhole
- waistline
- side seam
- hipline
Those five references keep the blend believable. If the garment has princess seams, use those seams instead of the side seam where possible, because they carry shape more cleanly through the bust and waist.
One honest limitation: this method does not replace proper sizing when the base pattern is wildly wrong for your frame. If the shoulder seam is several sizes off, or the armhole sits too low before you blend anything, grading between sizes may only hide a deeper fit problem. In that case, a full alteration is the better tool.
How to grade between sewing pattern sizes step by step
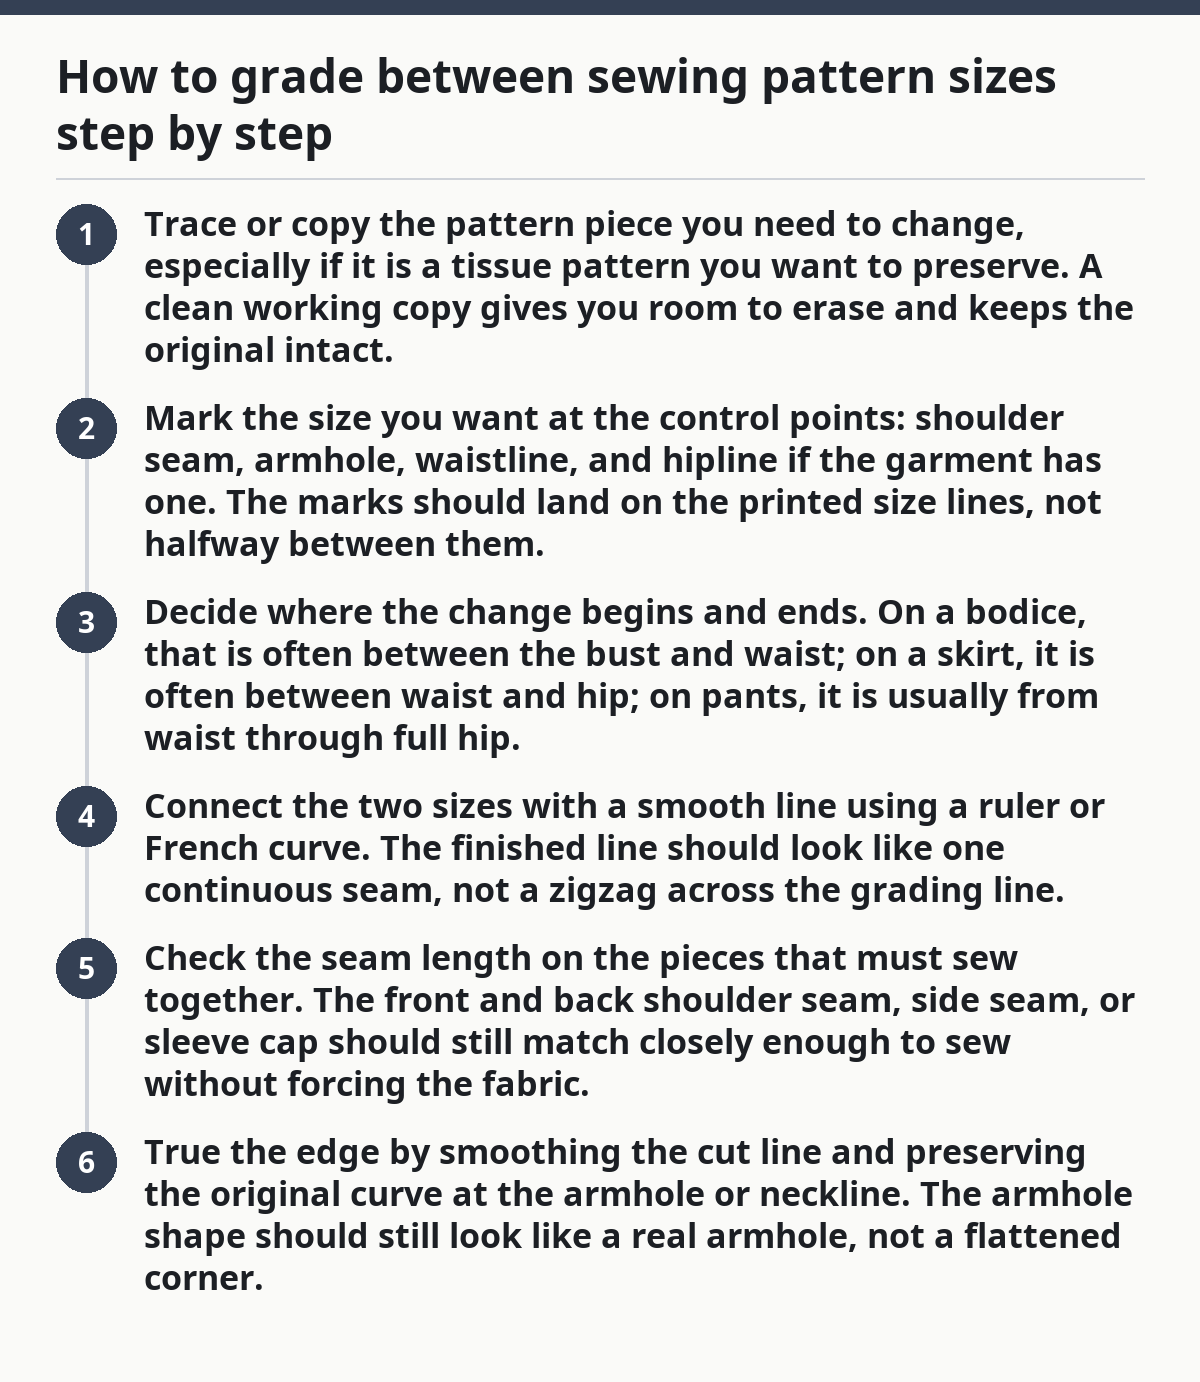
You grade between sewing pattern sizes by marking the size you want at each body zone, then redrawing the connecting line so it flows through the pattern without sharp corners. Do it in this order.
- Trace or copy the pattern piece you need to change, especially if it is a tissue pattern you want to preserve. A clean working copy gives you room to erase and keeps the original intact.
- Mark the size you want at the control points: shoulder seam, armhole, waistline, and hipline if the garment has one. The marks should land on the printed size lines, not halfway between them.
- Decide where the change begins and ends. On a bodice, that is often between the bust and waist; on a skirt, it is often between waist and hip; on pants, it is usually from waist through full hip.
- Connect the two sizes with a smooth line using a ruler or French curve. The finished line should look like one continuous seam, not a zigzag across the grading line.
- Check the seam length on the pieces that must sew together. The front and back shoulder seam, side seam, or sleeve cap should still match closely enough to sew without forcing the fabric.
- True the edge by smoothing the cut line and preserving the original curve at the armhole or neckline. The armhole shape should still look like a real armhole, not a flattened corner.
The most important thing to watch is the transition point. If the size change happens too high, the bust or chest area can look pinched. If it happens too low, the waist may stay too tight and the lower section balloons out.
When the pattern includes a bust dart, the dart can help guide the blend. A smooth line through the dart area often works better than trying to bend a side seam alone. On a princess-seamed bodice, blend along the princess seam and side seam together so the curves still fit each other after sewing.
A quick check after you redraw: place the altered front against the altered back at the shoulder and side seam. If one piece suddenly looks dramatically longer, the blend is too steep and needs a gentler curve.
How do I blend from one size to another without warping the shape?
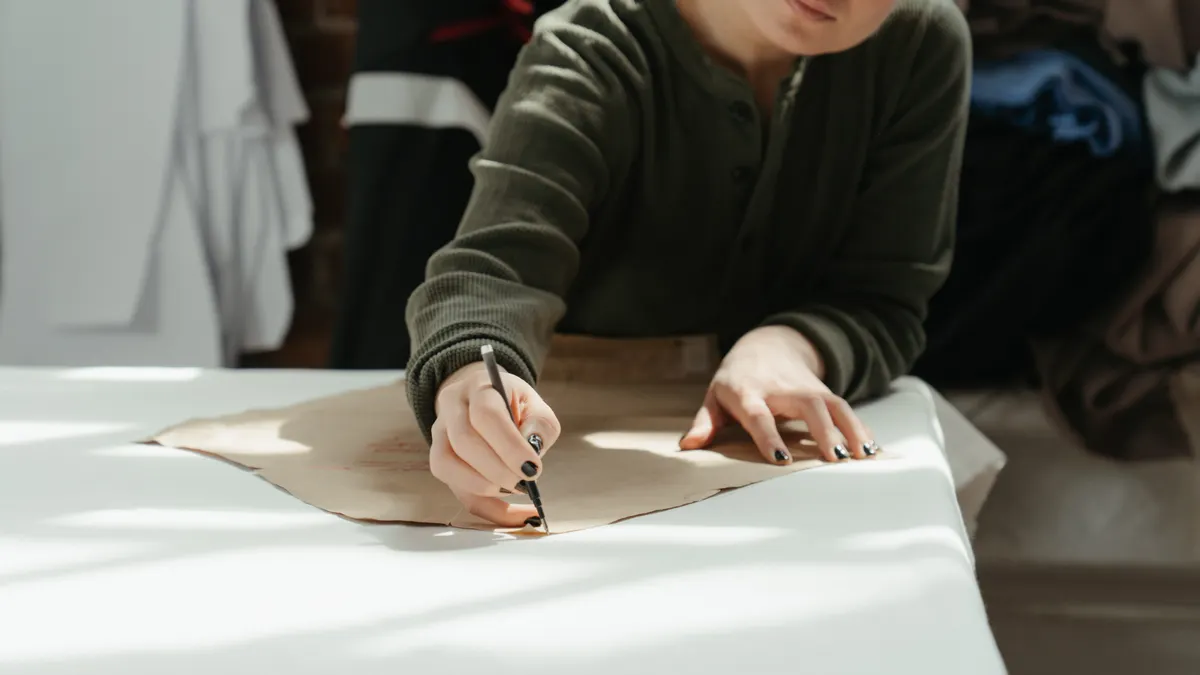
You blend from one size to another by changing the pattern in a gradual arc, not by drawing a straight diagonal across every printed line. That keeps the shoulder seam, armhole, and waistline from turning into three different angles.
Start at the control point where the smaller size still fits, then shift to the larger size over the distance where the body changes. For example, a bodice might stay in the smaller size at the shoulder and armhole, then move to the larger size somewhere between the bust and waist. The line between those points should be smooth enough that you could trace it with a French curve in one pass.
The biggest mistake is connecting size lines at the nearest point on each line and calling it done. That creates a hard angle, which can distort the side seam and make the garment pull at the armhole. On skirts and pants, the same mistake can produce a bulge over the hip or a dip at the waistline.
If the pattern has nested sizes with clear lines, use them as a guide rather than fighting them. If the lines are crowded, trace the relevant sections first and mark your own blend line in pencil. A 1/4-inch or 5/8-inch seam allowance is not the place to improvise the fit line; make the alteration on the cutting line and leave the seam allowance alone unless the pattern instructions say otherwise.
This is also where you decide what not to force. A straight, boxy design does not need a perfect hourglass blend. A fitted blazer or sheath dress does need more precision. The more structure the garment has, the more care the blend needs.
Where to blend on bodices, waists, shoulders, and hips
You blend at the body zone that actually changes, and you keep the shoulder seam and armhole as intact as possible. For many tops, that means keeping one size through the shoulder and bust, then moving to another size at the waistline. For skirts and pants, the transition usually happens from waist to hip.
On a bodice, the shoulder seam is often the anchor. If the shoulder fits in one size, leave it there unless the neckline or upper chest is clearly too tight or too loose. Then blend below the armhole or through the side seam so the waist can expand without distorting the upper chest.
On skirts, the waistline and hipline are the main reference points. A common blend is smaller at the waist and larger at the hip, with the change spread over the side seam. That keeps the top edge neat while giving enough room for sitting and walking.
On pants, the same principle applies, but the crotch and upper hip make the shape more sensitive. A small change spread over several inches is usually better than a single abrupt jump. If the pattern uses a 5/8-inch seam allowance, keep the alteration on the stitching line and preserve the seam allowance as drawn.
Shoulders need special care because a bad blend shows immediately. If you change the shoulder size, recheck the armhole shape afterward. The armhole should keep its original curve; otherwise the sleeve cap may no longer fit. That is why preserving armhole shape is not a cosmetic detail but part of the fit itself.
How to preserve armhole shape while changing sizes
You preserve armhole shape by blending below the armhole instead of reshaping the armhole itself unless the upper body truly needs it. The armhole is one of the most sensitive curves on a sewing pattern, and even a small flattening can affect sleeve fit.
If the upper bust fits and only the waist needs more room, leave the armhole line alone. Move the size change down to the side seam or princess seam and let the extra room appear there. This is usually the safest approach on many woven tops, jackets, and dresses with set-in sleeves.
If you must blend near the armhole, redraw the curve with a French curve so the shape stays continuous. The front armhole usually needs a smoother, slightly deeper curve than the back, but both should still look like a true armhole when you step back from the page. A jagged line here can make the sleeve hang poorly or pinch at the underarm.
A good test is visual rather than mathematical. Hold the altered front piece against the original armhole shape and compare the curve from shoulder point to side seam. If the new line looks like it has a flat spot or a sudden dip, redraw it before cutting fabric.
This matters most on close-fitting garments. A loose shirt can tolerate a small armhole irregularity better than a fitted blouse or tailored jacket. If the sleeve is drafted very close to the armhole, keep the changes modest and blend the surrounding seam instead of carving into the armhole itself.
Common grading mistakes that cost you fit
The biggest grading mistake is moving sizes too abruptly, which costs you a clean seam and can create a visible bump at the waist or hip. The fix is to spread the change over more distance, usually 2 to 4 inches on a bodice or more on trousers, so the line stays smooth.
Another mistake is changing the shoulder and waist at the same time without checking the armhole. That can trap movement in the upper body and make the sleeve feel short or tight even when the waist fits. Keep the shoulder stable unless you have a reason to alter it.
A third mistake is ignoring the back piece. If you grade only the front, the side seams may no longer match and the garment can twist on the body. Front and back need to be altered as a pair whenever they share the same seam.
A fourth mistake is trusting the printed sizes more than the seam lengths. A pattern can look right on paper and still sew badly if the shoulder seam or side seam lengths no longer align. Always compare the matching seams after the blend.
Who this method is not for: anyone trying to fix a pattern that is off by several sizes in the upper body, or a garment with dramatic style lines that should not be altered casually. In that case, a more complete pattern adjustment is safer than a quick blend.
For more on the rest of the fitting process, the sewing pattern fit and alteration hub covers the larger decision tree without turning this page into a second copy of it.
Key takeaways
- Blend between sizes on the pattern, not in your head; the paper line is what controls the garment.
- Keep the shoulder seam and armhole steady unless the fit problem is truly in the upper body.
- Spread the change across a smooth curve so the waistline or hip does not jump suddenly.
- Recheck the front and back seam lengths after every alteration.
- If the fit issue is large, a size blend may not be enough on its own.
How do I blend from one size to another?
Blend from one size to another by marking the smaller size where it still fits and the larger size where more room is needed, then connecting those points with a smooth curve. The line should move gradually through the side seam, princess seam, or waist area so the garment keeps its original shape.
Should I grade at the bust or waist?
Grade at the point where the fit changes, which is often the bust for a shaped bodice and the waist for a straighter top. If the shoulder and upper bust already fit, leave them alone and move the change lower. That keeps the armhole and shoulder seam from getting distorted.
Can I grade between sizes on a tissue pattern?
Yes, you can grade between sizes on a tissue pattern if you trace carefully and leave the original intact. A tracing paper copy makes the work easier, especially when the printed lines are close together. Use a ruler or French curve so the new line stays smooth and easy to sew.
Drafted with AI; not yet reviewed by a person.