Last updated: November 18, 2026
Quick Answer: Choose the size from the sewing pattern size chart first, then check the finished garment measurements before you cut. This is the fastest route to avoiding a garment that fits the chart but misses your body.
Key Takeaways
- Start with the pattern chart, then compare finished measurements before cutting.
- Match body measurements to the chart first, not to ready-to-wear labels.
- Finished measurements show the garment’s actual room and fit.
- Ease should suit the fabric, style, and closure.
Pattern numbers often look “wrong” beside store labels. That’s normal. Sewing pattern sizing is built around measurements, not retail tags, so one size at the bust and a different one at the waist or hip is often the sensible answer.
Start with the measurements the pattern company uses
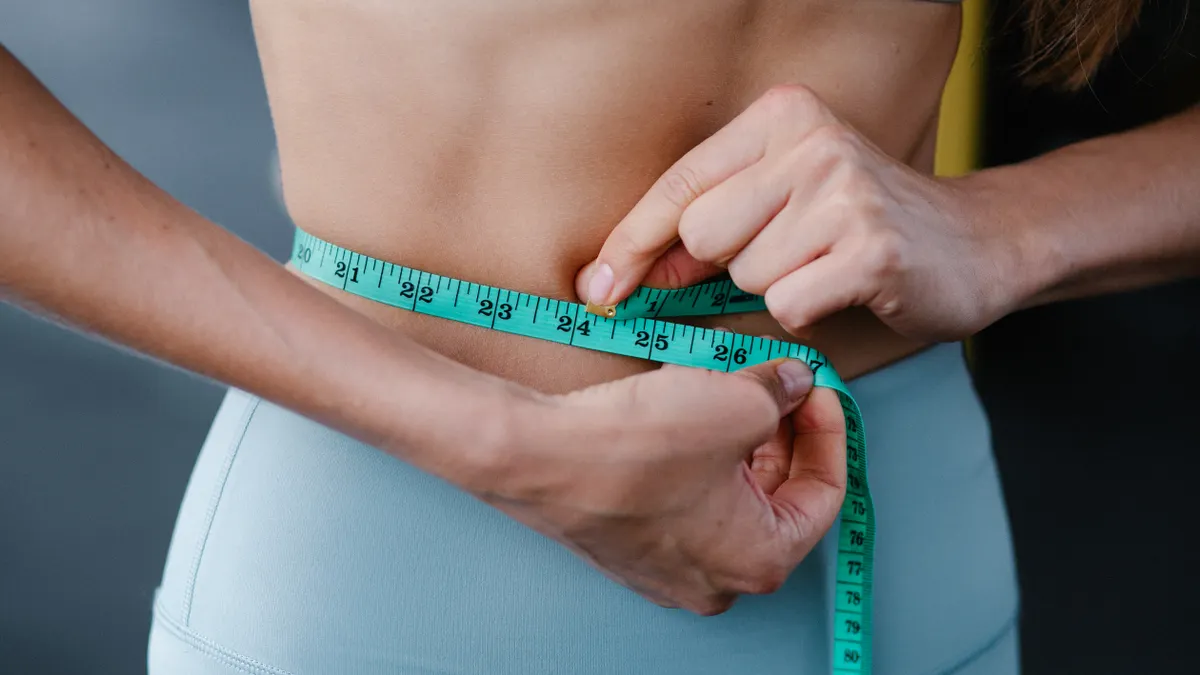
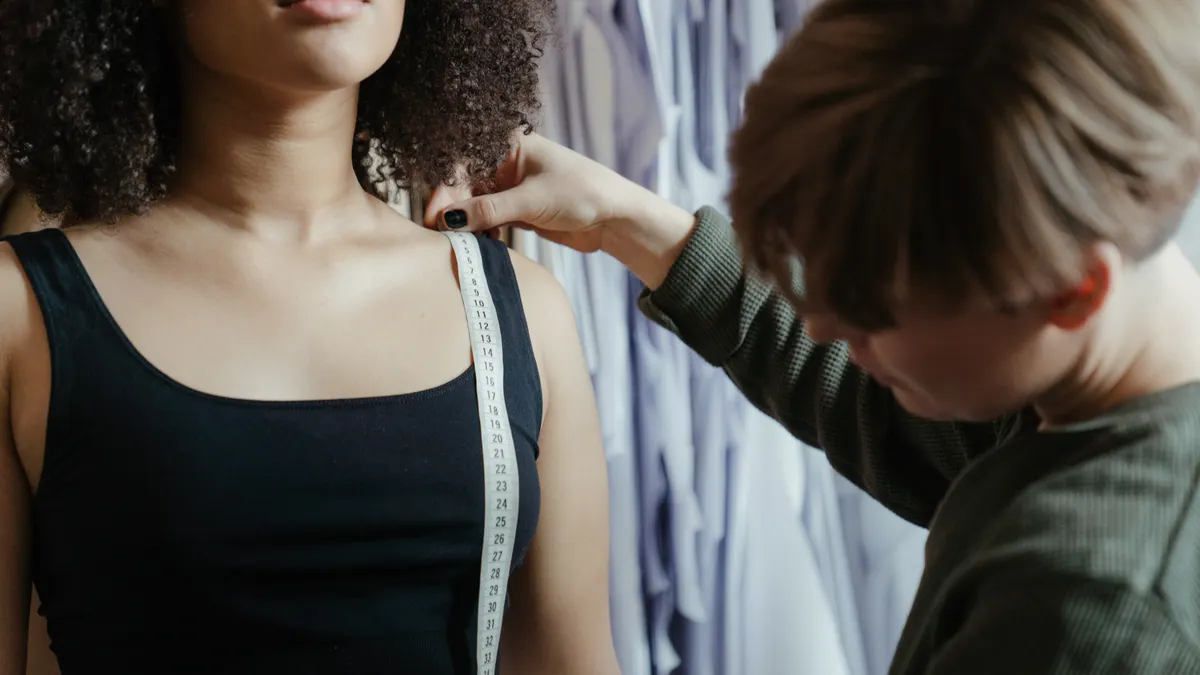
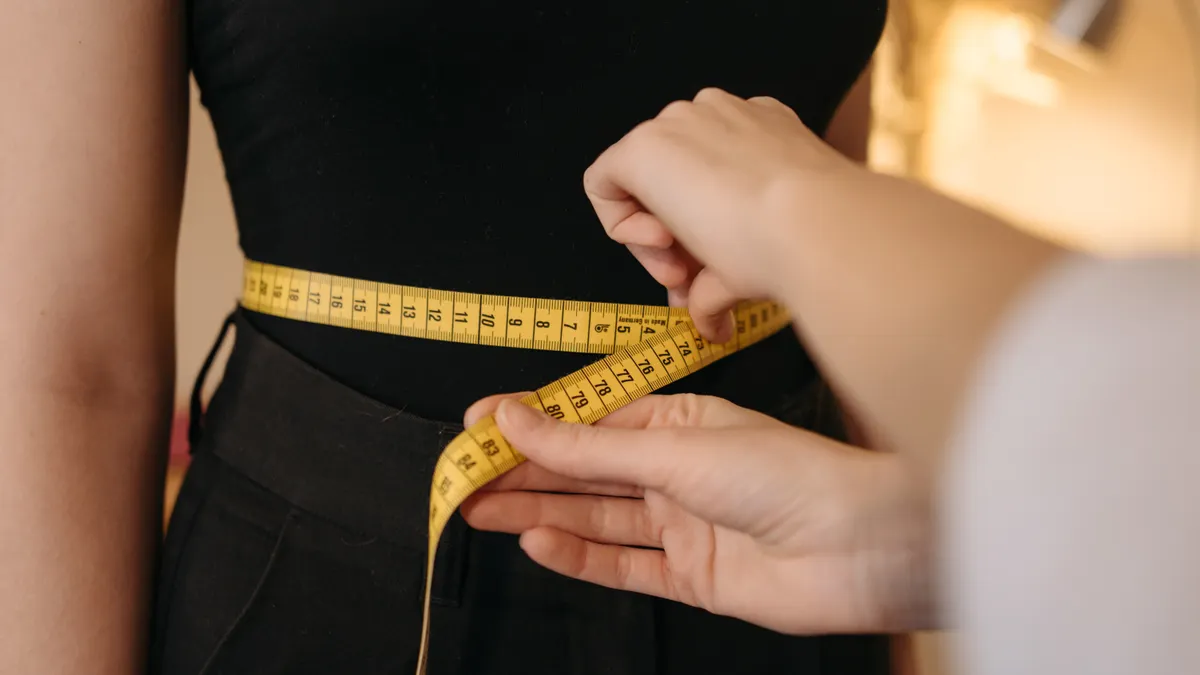
The right size starts with the measurements printed on the pattern envelope or in the PDF instructions, not the size you buy in a shop. Most pattern companies list body measurements for bust, waist, and hip, often in inches and centimetres, and the chart is the first filter for size selection.
Measure yourself first if you already have those numbers. Otherwise, this page assumes you have them ready from another guide and can move straight to the pattern chart. Line up each measurement against the chart, one by one. A bust of 38 inches does not automatically mean a size 14, because one company’s size 14 may be a different set of numbers from another company’s size 14.
Start with the largest relevant measurement for fitted garments, especially woven tops, dresses, and trousers. Say your bust is 38 inches and your waist is 31 inches; you may land in two different sizes. Good. That is useful, not a problem. It tells you where the pattern will need adjustment later.
A common mistake is choosing by the size you usually wear in ready-to-wear. That often produces a garment that is several inches too small or too large in the wrong places. Another mistake is picking the smallest number on the chart because it feels safer. That usually creates strain across the fullest part of the body and makes later adjustments harder.
Keep two sources close at hand: the Simplicity pattern size chart and the Burda size chart. They are not the same, and that is exactly the point. Pattern companies set their charts differently, so the chart on the envelope matters more than the number printed on your shopping tag. For a broader reference, see the Sewing Pattern Review pattern-sizing discussions and BurdaStyle sizing guidance.
How do I read a sewing pattern size chart?
A sewing pattern size chart tells you which size lines correspond to your body measurements, and the chart should drive the decision before anything else. Read it as a map, not as a verdict.
Here is the order that works best:
- Find the body measurement chart for that exact pattern or brand. Use the chart printed on the envelope, instruction sheet, or PDF page. The result you want is a set of size lines, usually in 2-inch or 5-cm jumps, that match your bust, waist, and hip.
- Circle the sizes that match each measurement. If your bust is 36 inches, waist 29 inches, and hip 39 inches, you may circle three different sizes. That is a normal result, not a mistake.
- Pick the size that fits the area most difficult to change. For many garments, that is the bust in a fitted top or the hip in trousers and skirts. The result should be a size that gives enough room where the pattern is least forgiving.
- Check whether the pattern uses a high bust measurement. Some fitted women’s patterns include both full bust and high bust. If the chart gives a high bust line, use it because it often points to a better shoulder and armhole fit. If it does not, expect to make a broader bust adjustment later.
- Compare your chosen size to the finished garment measurements. This step tells you whether the chart size will actually give the ease you want. The result should be a size that is close, but not necessarily equal, to your body measurements.
A useful benchmark is the pattern’s size range itself. Many commercial patterns cover several sizes on one sheet, such as 6–14 or 8–18, and that range only tells you the drafting span, not your final fit. The size chart still decides the starting point.
This is where grading starts to matter. If your bust matches one size and your hips another, you may grade between sizes instead of forcing one number across the whole pattern. That is often better than choosing the larger size everywhere, because it keeps the shoulder and armhole closer to the intended shape. A blunt truth: one number rarely tells the whole story.
What finished garment measurements tell you that the chart cannot
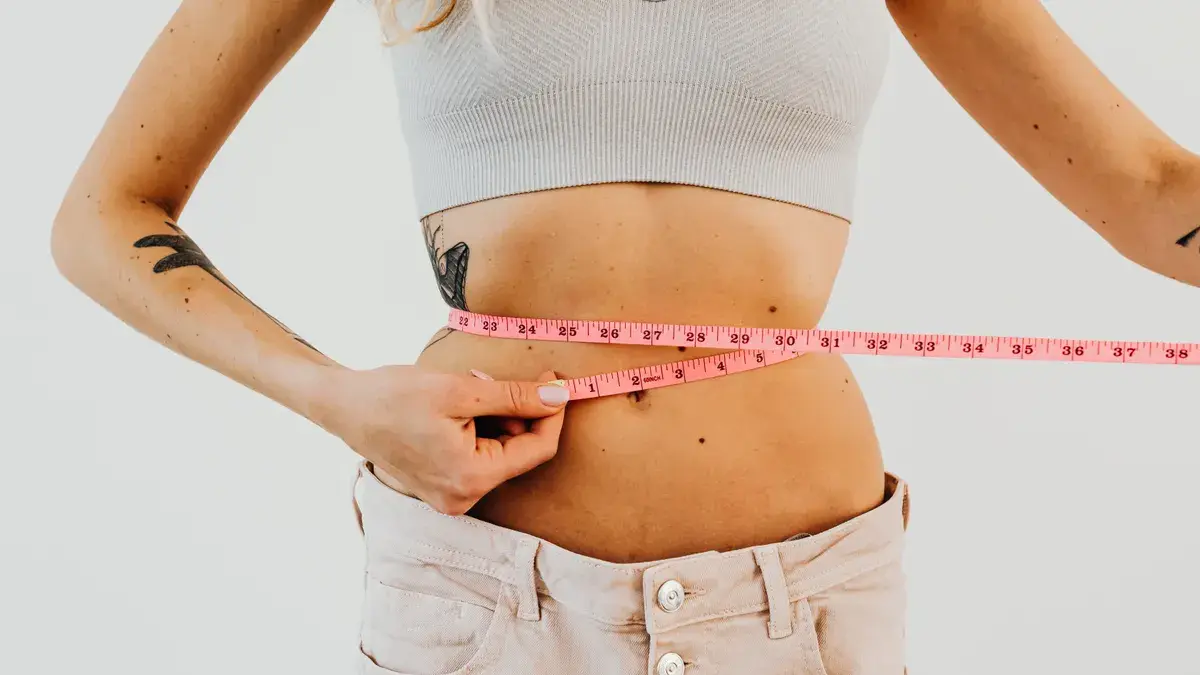
Finished garment measurements tell you how much room the sewn garment will actually have, and that is often more useful than the body chart alone. The chart tells you where you fit; the finished measurements tell you how the garment will sit.
Look for the pattern’s finished bust, waist, and hip measurements, if they are provided. These numbers show the garment’s actual dimensions before seam allowances and styling changes are added in. If the finished bust on a blouse is 41 inches and your bust is 38 inches, the blouse has 3 inches of ease at the bust before you consider stretch or fabric choice.
That ease matters. Ease is the difference between the body and the garment. Too little ease can make a woven garment pull, ride up, or refuse to close. Too much can make it boxy, swampy, or loose in the wrong way. The right amount depends on the design: a tailored shirt needs less than a loose overshirt, and a coat needs more than a summer dress.
One trap is assuming the finished measurement should be identical to your body measurement. That can work for very fitted knits in some circumstances, but it is not automatic. A woven skirt with a 30-inch waist on a 28-inch body needs room to breathe, sit, and fasten.
Another trap is ignoring the measurement with the most visible consequence. If the pattern’s hip is fine but the waist is tight, you may still be unhappy because the closure fails. If the bust is correct but the upper arm is too snug, the sleeve may stop you from wearing the garment comfortably.
Here’s the trade-off in plain language: a size that matches your chart measurement may still need alteration if the finished garment measurements do not create the fit you want. That is normal sewing, not failure.
How much ease do you need for this pattern?
You need enough ease for the garment’s fabric, style, and closure, and the finished measurement tells you whether the pattern includes it. There is no single number that fits every design.
For a close-fitting knit top, the finished bust may be only slightly larger than the body measurement, because stretch fabric supplies the rest. For a woven button-up shirt, the finished bust usually needs more room so the garment can move and the buttons can lie flat. For coats and jackets, the amount of ease is larger again because layers sit underneath.
Ask what the garment is supposed to do. If it is meant to skim the body, choose a size with modest ease at the main measurement point. If it is meant to drape, choose a size with more room in the finished chart. The result should match the design line, not just the numbers on the chart.
Use the fabric type as part of the decision. A pattern drafted for woven fabric usually expects less give from the cloth, while a knit pattern often assumes stretch percentage and recovery. If the fabric choice changes the way the garment moves, the same size may fit very differently.
A common mistake is taking the size with the least ease because it looks close on paper. That often produces a garment with pull lines, strain at the armhole, or gaps at the closure. The fix is simple: compare the finished measurement to the intended fit, then decide whether the pattern size already includes the room you need. Otherwise, the math falls apart fast.
The phrase to watch is “finished garment measurement,” not “body measurement.” The first predicts the garment; the second predicts the wearer. Both matter, but they answer different questions.
How do I grade between sizes without guessing?
Grade between sizes by following the pattern’s size lines from one measurement area to another, and keep the transition gradual. The goal is a smooth blend, not a sharp jump from one size to another.
Start by choosing the size for the area that needs the most control. If your bust matches a smaller size and your hip matches a larger one, mark both sizes on the tissue or digital pattern. Then connect them through the waist or side seam with a gentle line. The result should look like a natural transition, not an angle.
Use grading when your measurements land in different sizes on the same pattern. A fitted dress might need a size 10 at the bust, size 12 at the waist, and size 14 at the hip. That is exactly the kind of case grading is built for. It is especially useful on princess seams, side seams, and waist seams where the pattern can be eased from one size to the next.
Do not grade just because one number feels better than another. Grade only when the chart shows a real difference across areas of the body. If the size lines are within a small amount, and the design is loose, one size may be enough.
A useful caution: grading is not the same as altering the pattern after cutting. Grading happens before cutting and keeps the shape consistent from the start. If the pattern is already cut, the options change.
This is also where you decide whether the size chart is trustworthy for your shape. Some patterns are drafted for a different body proportion than yours. If every size is off in the same place, grading alone will not solve it. You may still need a shoulder, bust, or rise adjustment after the size decision is made.
For a broader path through the rest of the process, this page fits into the larger Reading Sewing Patterns guide without repeating it.
What mistakes ruin size selection before the first cut?
The biggest mistakes are choosing by label, ignoring finished measurements, and treating ease like an afterthought. Each one costs fit, fabric, or time.
Choosing by ready-to-wear size can leave you several inches off the pattern chart. That mistake usually shows up as a garment that is too tight across the bust or too loose at the waist. The fix is to rely on the pattern company’s chart, not the shop label on your clothes.
Ignoring finished measurements creates a different kind of problem. A size may match your chart numbers and still produce a garment that feels wrong because the ease is too small or too large. The cost is often a muslin you did not need to make, or a garment that looks nothing like the design sketch.
Overlooking grading between sizes is another expensive error. If your bust and hip fall in different sizes, forcing one size across the pattern can create drag lines or excess fabric. Grading gives a cleaner base shape and usually reduces the amount of alteration later.
A smaller but still common mistake is forgetting that different pattern companies draft differently. A size 12 from one brand is not automatically equivalent to a size 12 from another. That is why the chart matters every time, even if you have sewn the company before.
The honest limitation here is that size choice cannot fix every fit issue. Shoulder slope, posture, bust shape, and rise all affect the final garment. A correct size may be the best starting point, not the final fit. If the pattern is meant for a body shape far from yours, the chart can only get you part of the way. For detailed fitting help, see a pattern fitting guide or consult a sewing professional.
The safest order for choosing your size
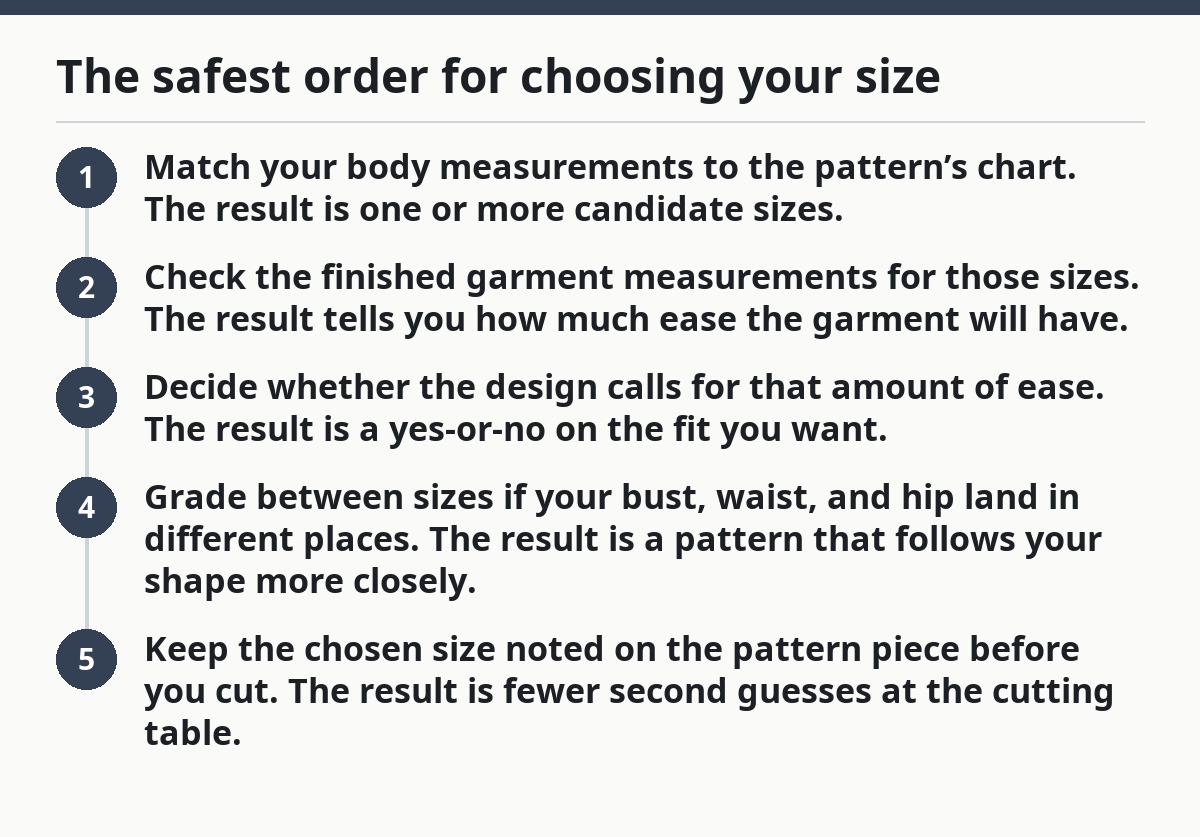
The safest order is chart first, finished measurements second, grading third, and fabric last. That sequence gives you a size choice that is based on the pattern itself rather than habit.
Use this simple workflow:
- Match your body measurements to the pattern’s chart. The result is one or more candidate sizes.
- Check the finished garment measurements for those sizes. The result tells you how much ease the garment will have.
- Decide whether the design calls for that amount of ease. The result is a yes-or-no on the fit you want.
- Grade between sizes if your bust, waist, and hip land in different places. The result is a pattern that follows your shape more closely.
- Keep the chosen size noted on the pattern piece before you cut. The result is fewer second guesses at the cutting table.
If the pattern gives you a size range, like 8–16, that does not mean you should pick the middle by default. If your measurements place you at one end of the range, start there and only move if the finished chart proves you need more room. The number on the envelope is not a promise; it is a drafting system.
The size you choose is the one that gives the right starting shape with the least correction. That is not always the size you hoped for, and it is not always the size you wear in a store. It is the size that agrees with the chart, the finished measurement, and the garment’s intended ease.
Why is my pattern size different from ready-to-wear?
Pattern size is different from ready-to-wear because sewing patterns use their own chart, and that chart is based on body measurements, not retail labels. A store size 12 can correspond to a very different measurement set than a pattern size 12. The pattern chart is a reliable starting point.
Should I size up or down in sewing patterns?
You should not size up or down by habit; you should choose the size that matches the chart and the finished garment measurements. If you are between sizes, use the measurement that controls fit in that garment and grade where needed. Sizing up blindly often adds too much ease. For reference, many commercial patterns use size jumps of 2 inches or 5 cm.
What are finished measurements?
Finished measurements are the dimensions of the sewn garment, usually listed for bust, waist, hip, or length. They show how much room the garment will have compared with your body. That number is useful because it tells you the actual fit, not just the size label on the pattern envelope.
Drafted with AI; not yet reviewed by a person.