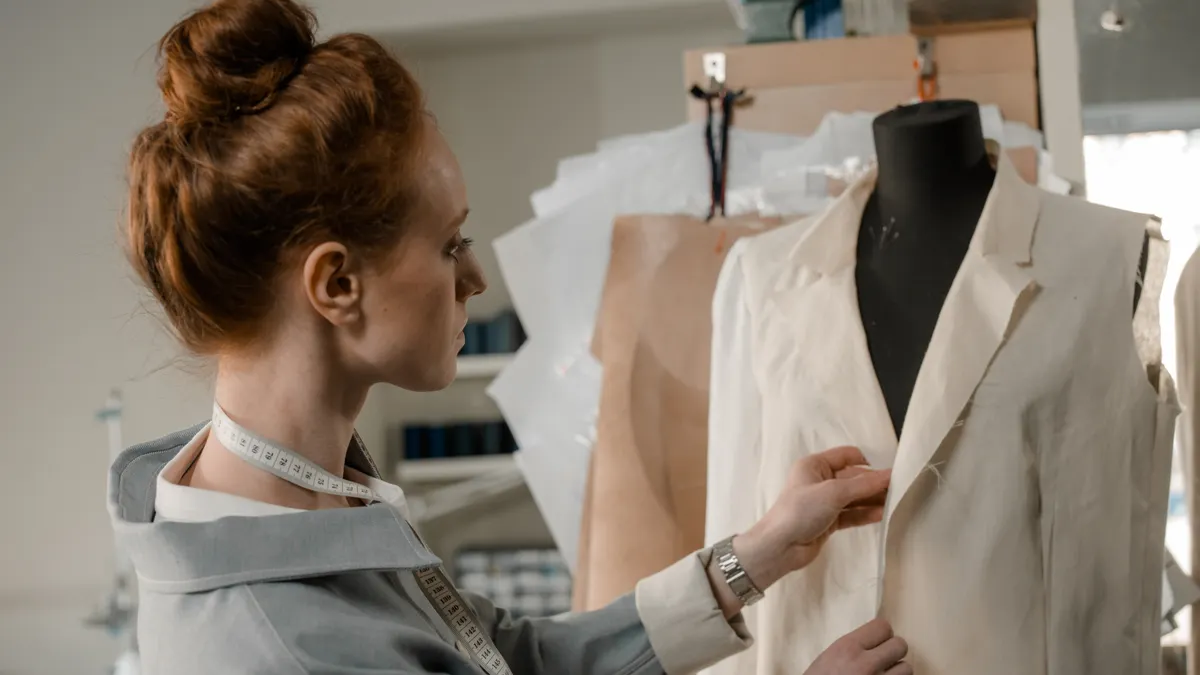
Last updated: November 18, 2026
Quick Answer: Use 1 muslin mockup to check fit before you cut the final fabric, then pin, chalk, and transfer each change back to the sewing pattern. That is one reliable way to avoid a neckline that sits wrong, a waist that pulls, or sleeves that twist. A muslin mockup tells you what the pattern does on your body, not what it looks like on paper.
Key takeaways
- A muslin mockup is a trial version of the garment, made in plain fabric so fit problems show up early.
- Fit checking starts with the big shapes: shoulders, bust, waist, hips, sleeve length, and ease in movement.
- Pin one change at a time so you can see what each adjustment does to the fit.
- Mark every alteration on the muslin with chalk before you remove it from the body.
- Copy the changes back to the sewing pattern piece by piece, or the next garment will repeat the same fit problem.
What does a muslin mockup do?
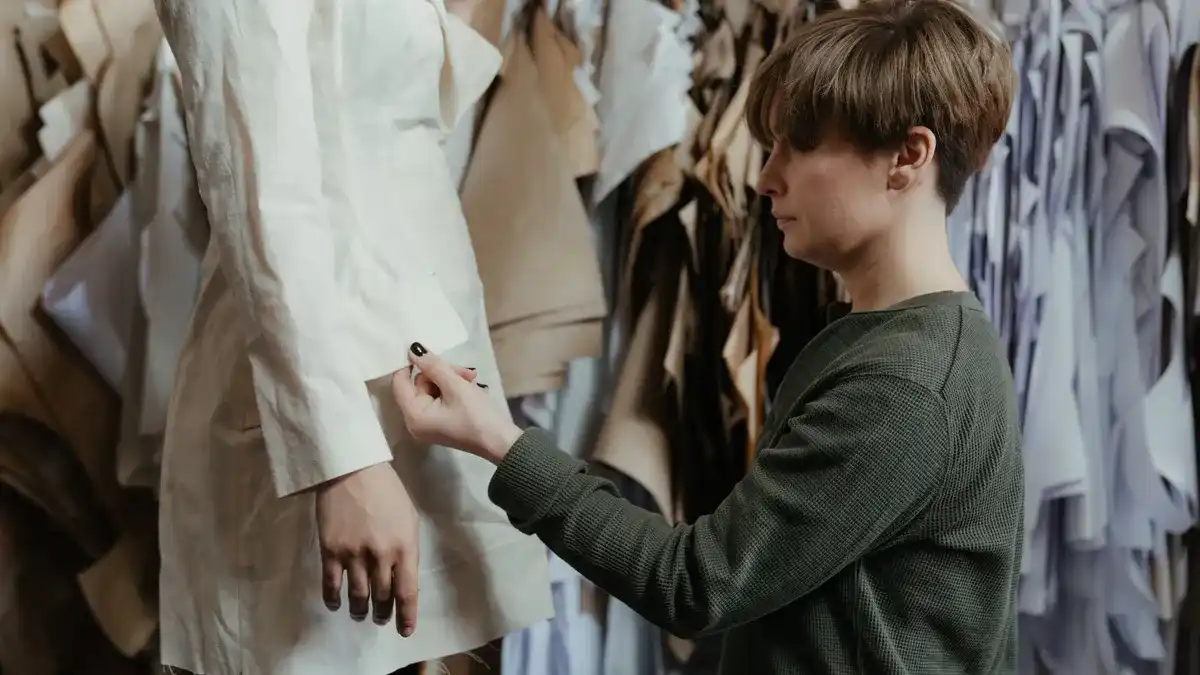
A muslin mockup shows where a sewing pattern fits, pulls, hangs, or gaps on your body. It is the trial garment that can help you see problems before you cut good fabric, and it is often the fastest way to make a pattern match the shape you actually have.
For fitting work, use muslin or another plain woven fabric that behaves close to your final fabric. If the finished garment will be a knit, a woven muslin can still help with shape, but it will not show stretch behavior. That trade-off matters, and it is one reason a mockup is a fitting tool, not a finished sample.
The mockup should include the major pattern pieces and enough seam allowance to pin changes. Leave the seams easy to reach. A side seam, shoulder seam, and center back opening often give enough room to adjust without fighting the garment.
This stage is for fit, not polish. Skip buttons, hems, linings, and decorative topstitching unless they affect fit. A clean, simple muslin makes the problem easier to read. For basic fitting terms, the pattern alteration guide and the fit check list are the two sections to revisit first.
How do you use a muslin to fit a pattern?
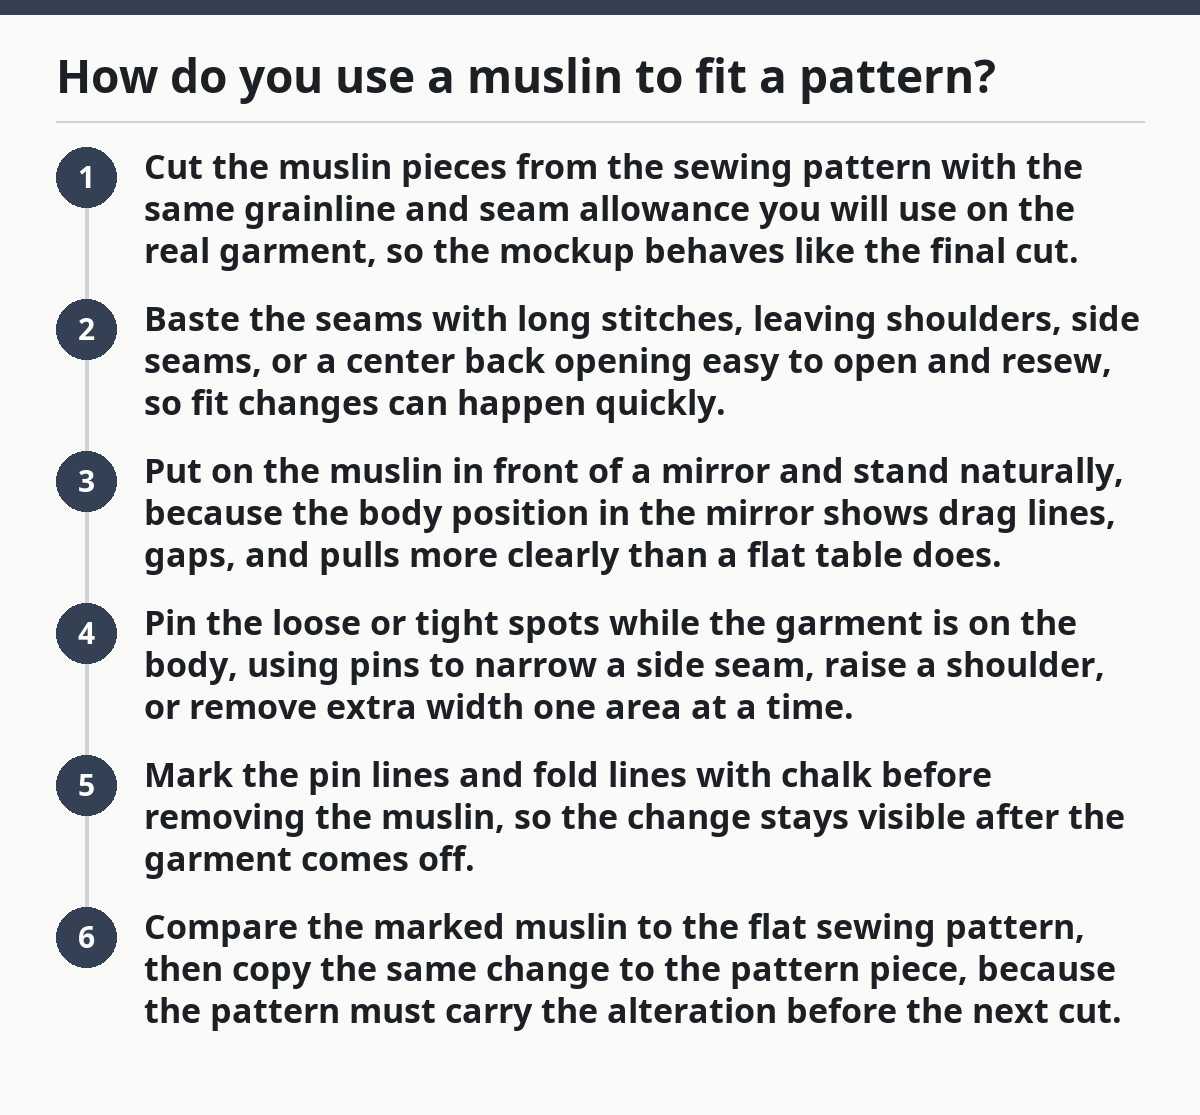
You use a muslin to fit a pattern by sewing the trial garment, putting it on, checking the body lines, and pinning changes before you redraw the pattern. That is the whole process, and it works best when you change one area at a time instead of chasing every wrinkle at once.
- Cut the muslin pieces from the sewing pattern with the same grainline and seam allowance you will use on the real garment, so the mockup behaves like the final cut.
- Baste the seams with long stitches, leaving shoulders, side seams, or a center back opening easy to open and resew, so fit changes can happen quickly.
- Put on the muslin in front of a mirror and stand naturally, because the body position in the mirror shows drag lines, gaps, and pulls more clearly than a flat table does.
- Pin the loose or tight spots while the garment is on the body, using pins to narrow a side seam, raise a shoulder, or remove extra width one area at a time.
- Mark the pin lines and fold lines with chalk before removing the muslin, so the change stays visible after the garment comes off.
- Compare the marked muslin to the flat sewing pattern, then copy the same change to the pattern piece, because the pattern must carry the alteration before the next cut.
A quick fit check takes less time than a full remake. The goal is not to make the muslin pretty; the goal is to make the next version fit better.
What should i check in a fitting mockup?
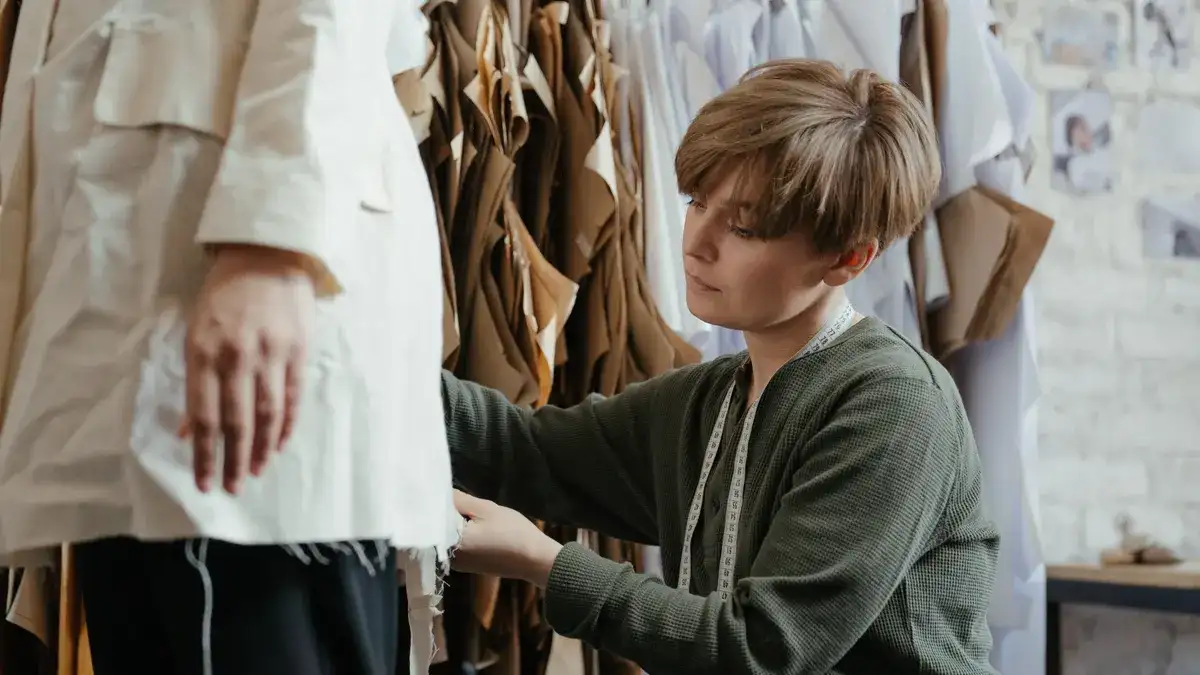
You should check the shoulders, bust, waist, hips, sleeve length, and balance in a fitting mockup first. Those are the lines that tell you whether the pattern sits where the body needs it to sit, and they usually reveal the biggest problems within a few minutes.
Start at the shoulders. A shoulder seam that falls too far off the shoulder can drag the armhole out of position, while a seam that sits too far in can make the garment feel cramped. Then look at the bust area. If the fabric pulls across the chest, you may need more room there; if it caves in or bubbles, the shape may be too full.
Move to the waist and hips. A waist that rides up, twists, or hangs unevenly often means the pattern length is wrong through the torso. A hip line that feels tight usually shows as horizontal strain or a hem that kicks out. Sleeve fit matters too: check whether the sleeve can move without binding and whether the underarm feels too high or too low.
Use a mirror for the front, side, and back. A side view often shows more than the front does, especially in the waist and upper back. If you can only check one thing, check balance first, because a garment that hangs crooked will make every other fitting note harder to read. For more detail on shoulder and sleeve balance, the mockup setup and the pin-and-baste process work together.
How do you pin and baste changes without losing the shape?
You pin and baste changes without losing the shape by making small adjustments, working on one seam at a time, and keeping the grainline and seam line visible. That keeps the muslin useful as a fitting record instead of turning it into a tangle of random folds.
Use pins to test the change before you sew it. Pin out extra fabric in a side seam, center back, princess seam, or shoulder seam, depending on where the issue sits. Keep the pin line smooth and close to the body, because a jagged pin line gives a false reading.
Baste the same change once it looks right. Long basting stitches let you open the seam again if the fit still needs work. If the garment needs a larger change, unpick and repin instead of forcing the muslin into place. A bad fix can hide the real problem.
Because the shape still needs to read clearly, keep your changes symmetrical when the body is symmetrical, but do not force both sides to match if the body does not. Many people need a different adjustment on the left and right side. That is normal, and the muslin should show it. If you need a second pass, return to the fit checklist before you sew anything permanently.
How do you mark alterations on the muslin?
You mark alterations on the muslin with chalk, not guesswork, so the changes can be copied back to the sewing pattern exactly. Chalk gives you a visible line for the new seam, hem, dart, or fold before the muslin comes off the body.
Mark both sides of a changed seam if possible. If you pin out 1 cm on a side seam, mark the new stitching line and note the amount removed. If you change a dart, mark the dart legs and the new point. If you shorten a sleeve, mark the new cut line and keep the original line visible until the change is transferred.
Write notes directly on the muslin if the change is not obvious. A short note such as “raise shoulder,” “add 1 cm at side seam,” or “shorten sleeve” keeps the fitting record clear. If you do several rounds of fitting, label each version so you do not mix old and new marks.
Do not trust your memory after the muslin comes off. A fitting change that looks obvious on the body can be hard to reconstruct flat, especially after seam lines have been opened and repinned. Chalk and notes save that step. For a second opinion, compare your marked muslin to the pattern transfer step before you cut anything else.
How do you transfer muslin changes to a pattern?
You transfer muslin changes to a pattern by laying the pattern piece beside the marked muslin, then copying the new seam lines, fold lines, and length changes onto the paper pattern. That is the point where fitting work becomes a usable pattern, and it has to be done carefully or the same mistake will come back next time.
Use the muslin as the map. Match grainlines, dart points, seam lines, and notches to the paper piece. If you shortened the hem, mark the same amount on the paper pattern. If you changed the side seam, redraw the seam line smoothly rather than just cutting along the chalk line.
Keep the original pattern intact if you can. A tracing paper copy gives you a clean version to revise without losing the base pattern. That matters when you want to compare versions later or fit the same design again in a different size.
Check adjoining pieces after each change. A change to the bodice can affect the sleeve, armhole, facing, or collar. If one piece is altered and its partner is not, the garment can become harder to sew and harder to fit. When you need a broader patternmaking reference, pair this step with the mockup overview and a trusted sewing reference such as the Fashion Institute of Technology and Threads Magazine, both of which discuss fitting and pattern adjustment practices.
What mistakes make a muslin fitting misleading?
A muslin fitting becomes misleading when the trial garment is too different from the final fabric, when you change too many things at once, or when you ignore the grainline. Those mistakes cost time because they create false fit signals and send you back into the same adjustment twice.
One common mistake is using a fabric that is much stiffer or softer than the final fabric. That can make a pattern look tighter or looser than it will really be. Another is fitting in a slumped pose or with the arms held awkwardly. The garment may look wrong only because the body position is wrong.
People also often overfit. If a wrinkle appears, the first impulse is to pin every extra fold out of the muslin. That can remove the ease the garment needs to move. A better move is to ask whether the wrinkle comes from length, width, or balance, then adjust only that area.
Skip the urge to “fix” the muslin until it looks neat. A muslin does not need to look beautiful. It needs to tell the truth. If you want a broader guide to the planning side of garment work, the measuring, fitting, and sizing for sewing hub can sit alongside this step-by-step fitting process. For a practical next step, move from this section back to what should i check in a fitting mockup? and then repeat the transfer step on the paper pattern.
FAQ
How do you use a muslin to fit a pattern?
A muslin lets you test the garment shape before you cut the final fabric. Sew the mockup, put it on, and pin the spots that do not sit right, then mark those changes with chalk and transfer them back to the sewing pattern.
What should i check in a fitting mockup?
Check the shoulders, bust, waist, hips, sleeves, and overall balance first. Those areas show the biggest fit problems fastest, and they tell you whether the pattern needs more room, less room, or a different length through the body.
How do i transfer muslin changes to a pattern?
Copy the altered seam lines, dart changes, and length changes from the marked muslin onto the paper pattern. Keep the original pattern piece nearby, use the grainline and notches to line things up, and redraw the new line smoothly instead of cutting blindly.
Drafted with AI; not yet reviewed by a person.