Last updated: November 19, 2026
Quick answer: a sway back adjustment usually removes 1 to 2 cm at center back above the waistline so the bodice lies flat from shoulder blade to waistline. How to Adjust a Sewing Pattern for a Sway Back removes the extra fabric pooling at the back waist and fixes the horizontal fold or little bubble that appears above the back waist, especially on a fitted bodice or dress.
Key takeaways
- A sway back adjustment shortens the back length between the waistline and upper back, not the whole garment.
- The easiest place to spot the problem is in a muslin, where a horizontal fold sits above the back waist.
- Keep the change small and centered at the center back first; that preserves side seams and darts better than a big side-seam fix.
- If the fold is low and the garment is already short at the hem, you may need a different fit change instead.
- This adjustment works best on fitted bodices, princess seams, and waist seams; it is less useful on loose tops with 10 cm or more of ease.
What a sway back adjustment fixes
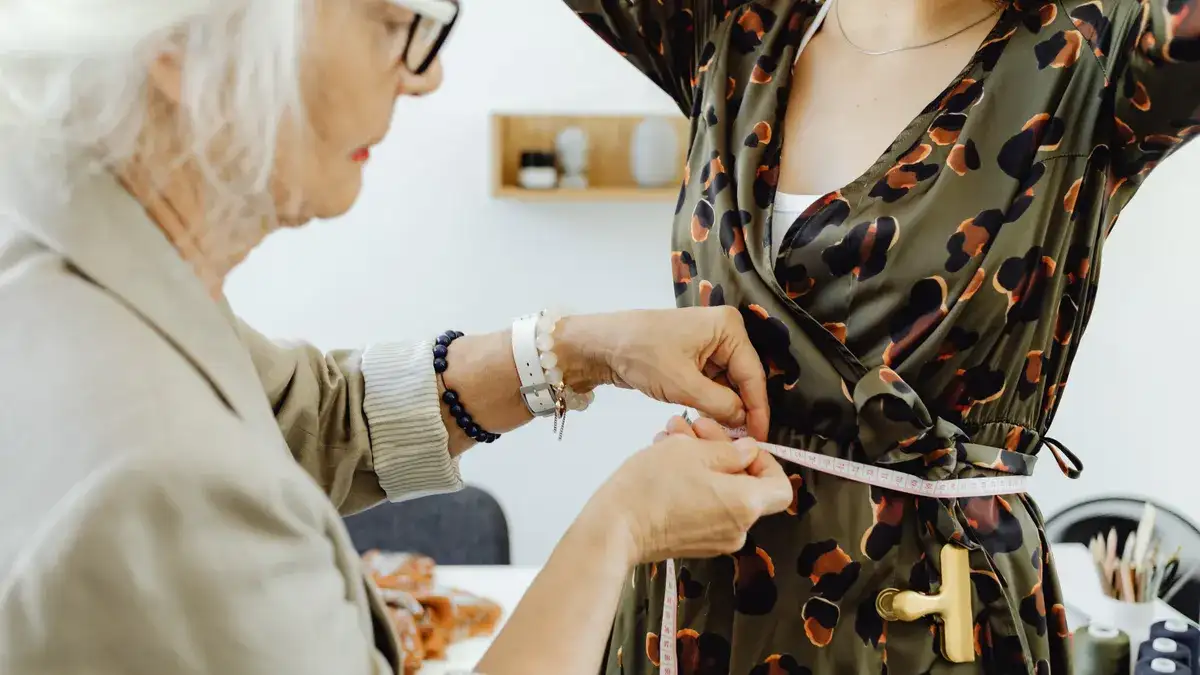
A sway back adjustment fixes excess fabric at the back waist by shortening the center back length above the waistline. The result is a smoother line from the shoulder blades down to the waist, with less bunching across the small of the back.
This is not the same as adjusting for a big waist measurement or changing your pattern size. A person with a sway back often needs less length through the back waist area even when the rest of the body matches the pattern size. The giveaway is usually a horizontal fold that forms 2 to 5 cm above the waistline on a muslin, especially in a close-fitting bodice.
The adjustment is most useful on garments with a clear waistline: a princess-seamed bodice, a shirtwaist dress, or a fitted knit top. It is less useful on boxy styles, dropped-waist shapes, or designs with 12 cm of ease at the back, because the loose shape already hides the extra room.
Two good reference points help here. The Craft Yarn Council and the American Sewing Guild both describe fit changes in terms of body shape rather than size alone; that is the right mindset for this alteration. For pattern fitting principles, the hub article on sewing pattern fit and alteration can sit beside this guide.
How do you tell if you need a sway back adjustment?
You likely need a sway back adjustment if your muslin shows a horizontal fold above the back waist while the shoulders, bust, and side seams still look right. The fold usually points to extra vertical length in the back bodice, not to a problem at the hem.
Put the muslin on and stand naturally. Pin the front if needed, then look at the back in a mirror. A true sway back issue usually shows three things at once: fabric pooling just above the waistline, a slight blousing at center back, and a relatively smooth fit at the side seam. If the waistline itself rides up in back, the pattern may be too short there, which is the opposite problem.
A quick check is to pinch the excess where the fold forms. If the fold disappears when you pinch out about 1 to 2 cm at center back, that is a strong sign the adjustment belongs there. If you have to pinch much more than that, or the fold starts near the armhole, the issue may be broader than sway back alone.
This is where a muslin earns its place. Skip guessing from the flat paper alone if the garment is fitted or if the fabric is crisp. A woven bodice in cotton muslin or similar test cloth will show the fold clearly, while a stretchy knit may disguise it.
For more fitting context, the Sewing Pattern Fit and Alteration hub can help you separate back-waist excess from other shape issues. The American Sewing Guild also offers fitting guidance that supports starting with the body’s shape, not the pattern number.
What you need before you start
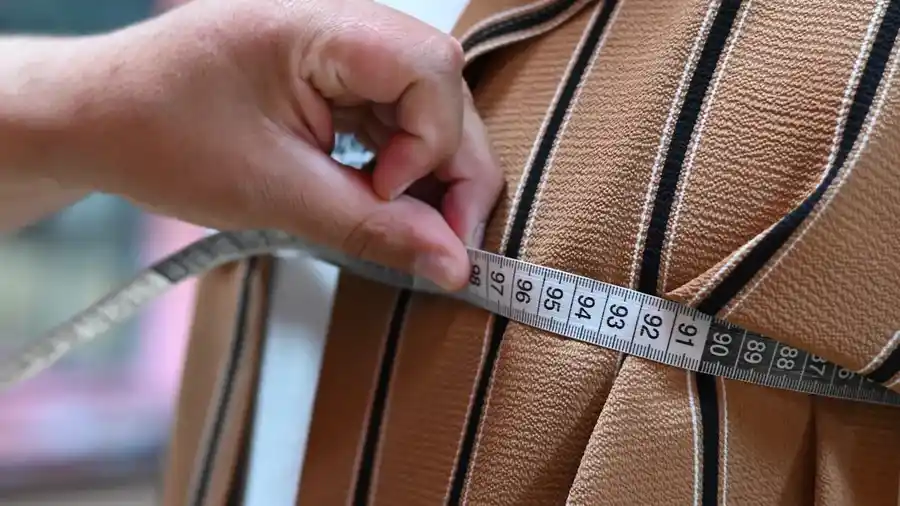
You need a bodice pattern, a muslin, pins, a ruler, pattern paper, and a pencil before you make the change. A French curve helps, but a clear straight ruler and a tape measure will do the job for most patterns.
Choose a muslin with enough contrast to show the fold. Lightweight cotton or a stable interfacing-like test fabric works better than slippery fabric, and it is worth using the same seam allowance as the final pattern, usually 1.5 cm on many commercial patterns. If the pattern uses a different standard, follow the printed instructions so the altered piece still matches the rest of the garment.
Have the garment sewn to the point where you can judge fit: shoulder seams joined, side seams basted, and the zipper or center back opening handled enough to wear the bodice on the body. You do not need sleeves for this fitting, and adding them too early can hide the back problem.
Keep the hem unfinished if possible. That makes it easier to see whether the garment is hanging level before and after the change. If the design has a waist seam, mark the seamline on the muslin with chalk or a washable pen before fitting. That line becomes your anchor.
How to adjust a sewing pattern for a sway back
You adjust a sewing pattern for a sway back by removing a small horizontal wedge at the center back above the waistline, then blending the change into the side seam and any dart or princess seam. The procedure below works for most fitted bodices.
- Put on the muslin and pin it so the shoulders and side seams sit where they should. The back fold should be visible above the waistline, usually 2 to 5 cm high. That fold tells you where the excess fabric lives.
- Mark the fold with chalk while the muslin is on the body, then take it off. A clean line across the back gives you a map for the adjustment instead of guessing from memory.
- On the pattern piece, draw a horizontal cut line across the back bodice just above the waistline, usually 5 to 8 cm above center back for a typical bodice. Stop short of the armhole and side seam so the outer edges stay intact.
- Slash from center back almost to, but not through, the side seam. Leave a small hinge at the side seam. This lets the pattern close in the middle while preserving the shoulder and armhole shape.
- Overlap the cut edges at center back by 1 to 2 cm to start. The amount removed should match the fold you saw in the muslin; a small change often solves the problem without distorting the whole bodice.
- Tape the overlap in place and redraw the center back seam so it is smooth. The new line should run cleanly from the neck or shoulder area down through the waistline without a sharp corner.
- Blend the side seam and waistline with a ruler or French curve. You want the waistline to remain level, not dip in the back. If the piece has a dart, check that the dart legs still point neatly to the bust point or waist area.
- Retest with a new muslin or a basted sample. The back should lie flatter, the horizontal fold should shrink or disappear, and the waistline should no longer drag upward in back.
If the fold is very low, close to the waist seam, you may need only 0.5 to 1 cm removed. If the fold is deeper than that or appears only on one side, make a smaller adjustment first. Large changes can throw off the balance of a bodice and create a new wrinkle somewhere else.
One useful standard here is restraint: a sway back fix is usually modest. A pattern that needs 3 cm or more removed at center back may also need a full back-length or posture check before final cutting. The American Sewing Guild’s fitting advice reflects this same principle: change the pattern only as much as the body actually needs.
Where the correction should go on the pattern
The correction should go at center back above the waistline, not at the hem, when the wrinkle sits high on the back waist. That placement shortens the bodice where the body curves in, which is what a sway back adjustment is meant to do.
For a plain bodice, the cut usually crosses the back piece horizontally and removes a wedge that is deepest at center back. For a pattern with a waist dart, the correction can be distributed so the dart still points properly after the change. For princess seams, the reduction may be split between the center back panel and the side back panel so the seam lines keep their shape.
Do not chop length from the hem first unless the muslin proves the whole bodice is too long. Hem changes affect the skirt or shirt length and can leave the real problem untouched. The back waist fold will still be there, only higher or lower relative to the hem.
If the pattern has a back yoke, the fix may belong below the yoke seam, not above it. The same rule applies: remove length where the wrinkle appears. On a shirt with a 1 cm yoke seam allowance and a curved yoke, you may need to alter both the yoke and the lower back piece so the seam still matches.
The center back line is the anchor because it is the line most likely to show the body’s curve. If you shift the correction off center, you risk twisting the garment. Keep the first change simple, then add a second round only if the muslin still shows a fold.
Common mistakes that make the fold worse
The most common mistake is removing too much length at once. That costs you balance: the waistline can tilt, the side seam can pull, and the back neck may feel tight even though the original fold is gone. Start with 1 cm or less if the wrinkle is mild, then refine.
Another mistake is fixing the hem instead of the back waist. That shortens the wrong part of the garment and can make a shirt or dress look cropped without solving the puddle of fabric. If the fold sits 4 cm above the waistline, the correction belongs near that fold.
A third mistake is slashing through the armhole or shoulder before you know the back problem is really sway back. That can change the sleeve fit and create a new gaping issue. Keep the slash low and controlled unless the muslin shows a broader posture change.
The last mistake is ignoring fabric type. A stiff linen or cotton canvas shows back folds clearly; a drapey rayon or a knit may not. A loose top in jersey may not need a sway back adjustment at all, because the fabric will hang away from the body. In that case, forcing a fitted correction can make the garment cling in the wrong place.
When a sway back adjustment is the wrong fix
A sway back adjustment is the wrong fix when the back fold comes from size, posture, or style ease instead of a true back-waist curve. If the garment is already loose by 8 to 12 cm at the waist, the fold may be part of the intended silhouette and should be left alone.
If the wrinkle runs diagonally from the armhole toward the center back, the issue may be shoulder slope, upper back length, or bust balance. In that case, removing a wedge at the back waist can make the garment worse. Likewise, if the center back rides up and the side seams pull backward, the bodice may need more length, not less.
This is why a muslin matters. It shows whether the fold is centered and horizontal, which is the pattern for a sway back fix, or whether the problem is coming from somewhere else. On a close-fitting dress with a defined waist seam, the adjustment is often worthwhile; on a relaxed blouse with a 14 cm ease allowance, it may be unnecessary.
If the fit problem is complex, a fitting reference such as the Sewing Pattern Fit and Alteration hub can help you decide which change to make first. When in doubt, change one thing, baste again, and reassess. That slower method usually saves more fabric than trying to solve everything at once.
What is a sway back adjustment?
A sway back adjustment is a pattern change that removes extra fabric at the back waist. It shortens the bodice between the shoulder blades and the waistline so the back lies flatter and the horizontal fold disappears or shrinks.
How do I remove folds at the back waist?
Remove the excess where the fold appears, usually by overlapping a small horizontal wedge at center back above the waistline. The fold should be marked on a muslin first, then transferred to the pattern so the change stays small and accurate.
Do I need a sway back adjustment on a loose top?
Usually not. A loose top with generous ease often skims over the back waist without showing a fold, so the adjustment can be unnecessary or even harmful. If the style is meant to drape, leave the pattern alone unless the muslin shows a clear, centered wrinkle.
Drafted with AI; not yet reviewed by a person.