Last updated: November 18, 2026
Quick answer: you can test fabric drape at home in about 10 minutes with a 25 cm to 40 cm square sample, a table, and a measuring tape. The fabric drape test is the quickest way to see how cloth hangs before you cut it, and you can do it on a table with a cutting mat, a measuring tape, and a few minutes. If the fabric collapses into soft folds, stands away from the body, or twists at the fold line, that tells you more than the bolt label usually does. How to Test Fabric Drape at Home is the best home check for seeing whether cloth will fall softly or hold shape.
Key takeaways
- Drape is about how fabric falls and shapes itself, not just how thick or soft it feels.
- A flat-hand test, a hang test, and a body test reveal different parts of the same behavior.
- Use simple tools: a cutting mat, a measuring tape, and a straight edge if you have one.
- Fabric that looks supple in your hand may still hold a sharp shape when it hangs.
- The same cloth can drape differently on grain, on bias, and after a first wash.
- If the test looks stubborn or stiff, the fabric is usually better for structured garments than fluid ones.
What the fabric drape test is telling you
The fabric drape test shows how a cloth behaves under its own weight, and that matters for whether a sleeve, skirt, blouse, or scarf will fall softly or hold shape. Drape is not the same thing as hand feel. A fabric can feel smooth and light in the hand yet still stand away from the body in a firm arc. It can also feel crisp but still curve gracefully if it is cut on the bias or has enough looseness in the weave.
A useful home test is not one dramatic motion. It is three small checks done in about 10 minutes: how the fabric bends in your hands, how it hangs over an edge, and how it behaves when you place it against your body. That combination gives a clearer picture than pinching the cloth once and guessing. It also keeps you from overreading labels like “lightweight” or “soft,” which can mean different things across cotton lawn, viscose, rayon challis, linen, or a polyester blend.
The goal here is not to match the fabric to a sewing pattern. Another page on this site covers fabric and pattern selection in the broader sense. This one stays with the drape test itself: what to do, what to look for, and when the result points toward fluid garments or toward more structured ones.
A simple rule helps: if the cloth forms long, relaxed folds with little fight, it has more fluid drape; if it springs back, pokes out, or keeps a sharp edge, it has more body. That is the difference the test is meant to expose.
What you need first
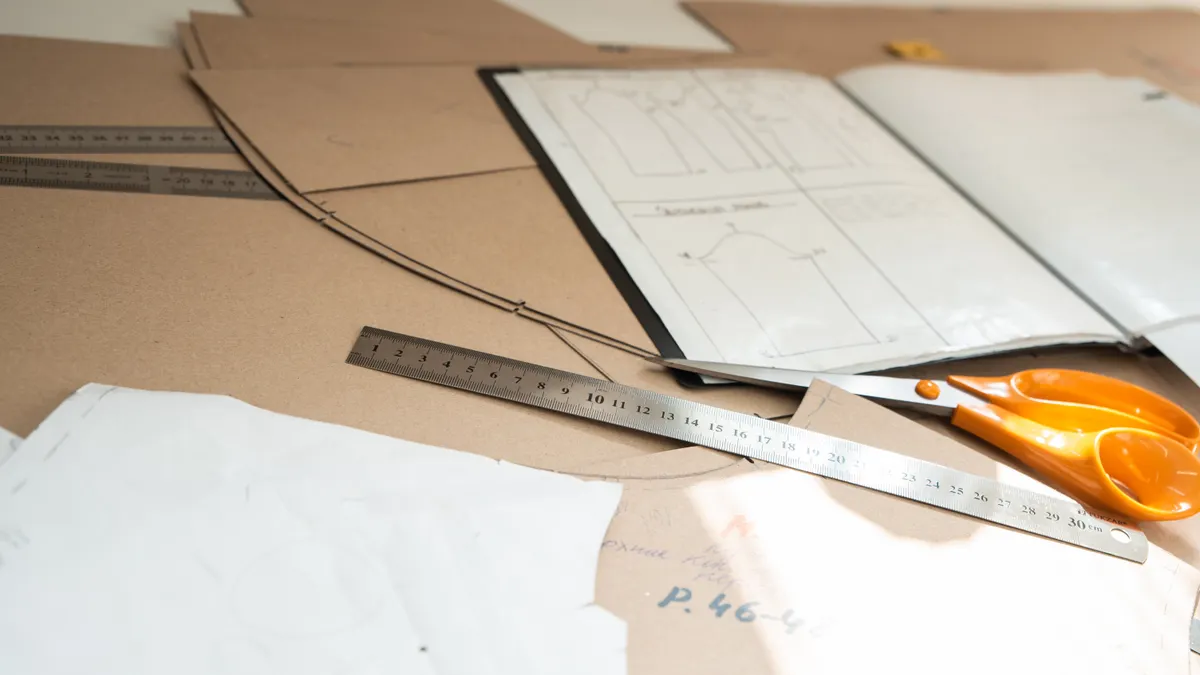
You only need a few tools to test fabric drape at home, and none of them is specialized. A cutting mat makes it easier to keep the sample square. A measuring tape helps you repeat the same size test, which matters because a 20 cm square and a 40 cm square will not behave the same way. A clean table, a chair back, or a flat counter edge works for the hang test. If you have a ruler or straight edge, that helps with keeping the sample aligned.
Cut a sample at least 25 cm square if the fabric is wide enough. A larger piece, around 30 cm to 40 cm square, usually shows the folds more clearly, especially in slippery fabrics like viscose or silk-like blends. If the fabric is narrow or expensive, a 20 cm square can still tell you something, but it will give a rougher read.
Prepare the sample the way you plan to use the fabric. If the fabric will be washed before sewing, wash and dry the sample first. If it will be pressed before cutting, press it. If it has a clear grain or a printed direction, mark the grain line with chalk or a washable pen so you can tell whether the behavior changes on bias. That matters because the bias often adds more swing and hang than the straight grain.
You do not need special tools like a drape coefficient rig or a laboratory setup. Those belong in textile testing, not a kitchen table. What you need is a consistent sample size, a known edge, and enough light to see the fold shapes. If you can also keep a notebook or a phone note beside you, write down what you see in plain words: crisp, soft, limp, springy, angular, or slippery. Those words are more useful than vague impressions later.
How do you test fabric drape at home?

You test fabric drape at home by combining a fold test, a hang test, and a body test, then comparing how the fabric behaves in each one. The steps below use the same sample so the results are easier to read.
- Cut a square sample, usually 25 cm to 40 cm on each side, and lay it flat on a cutting mat. A clean square makes the folds easier to compare, and if the edges are cut straight you should see an even perimeter rather than wavy corners.
- Hold the sample by two opposite corners and let the center sag for 5 to 10 seconds. If the fabric drapes well, it will form a smooth curve with soft folds; if it is stiff, it will resist bending or hold a boxy angle.
- Place one edge of the sample over the edge of a table or chair back and let 15 cm to 20 cm hang freely. A fabric with more fluid drape will fall into rounded folds, while a firmer fabric will jut outward before settling.
- Fold the sample in half twice, then release it onto the mat. You should see whether it collapses into loose ripples or stays creased in sharp lines. Sharp memory usually means less fluid drape and more structure.
- Hold the folded sample lightly against your body at chest or hip level for 10 seconds. If the cloth follows the body line and breaks into soft folds, it will usually behave better in garments that need movement. If it stands away from the body, the fabric will read more sculptural.
- Turn the sample on the bias and repeat the hang test. Many fabrics show a different fall at 45 degrees, and the change can be obvious: the same square may swing from stiff to fluid simply by changing the direction.
- Write down the result in one line, such as “soft hand, moderate drape, better on bias.” A short note gives you something useful the next time you compare fabrics in a shop or from an online order.
You should end this test with a plain judgment, not a perfect score. “Fluid,” “moderate,” and “structured” are enough. The fabric does not need to be one extreme or the other to be useful. Plenty of good garments need a middle ground.
What the fold test shows that hand feel misses
The fold test shows whether the fabric remembers a crease, and that often reveals more than rubbing it between your fingers. Hand feel can be misleading because finishing chemicals, brushing, and surface softness can make a fabric seem friendlier than it really is. A rayon challis may feel silky but still collapse into deep, quick folds; a cotton poplin may feel crisp and smooth yet keep a firm edge that resists swing.
To do the fold test properly, fold the sample in half, then in quarters, and place it on the cutting mat for about 30 seconds. Watch the edges. If the cloth slowly relaxes outward, it has a more relaxed drape. If the folds stay stacked and angular, the fabric has more body. If the corners curl or twist, you are seeing the cloth’s internal tension, which often matters in garment seams and hems.
This test also helps you spot fabric that is likely to fight pressing. A very springy cloth can look neat flat on the table and still push back when sewn into a dart or pleat. That creates bulk where you wanted flow. On the other hand, a fabric that drops into soft layers may need lining, stabilization, or a pattern with fewer sharp corners so it does not look limp.
The fold test is not perfect. Very heavy fabrics can look less drapey simply because of weight, and tiny samples can exaggerate creasing. Even so, it is one of the fastest ways to separate “soft to the touch” from “good for movement.” That distinction is why the test earns a place in a sewing room.
How to read drape on the body
You read drape on the body by holding the fabric against the same curved surfaces a garment will cover, usually the bust, shoulder, waist, or hip. This is the test that shows whether the cloth hangs away, skims close, or clings in places you may not want. A 25 cm square is enough for a quick check, but a 30 cm to 40 cm piece gives a better read because more of the fabric can fall naturally.
Drape against the body works best when the fabric is cut on grain first, then on bias. Hold the sample at the shoulder and let it fall over the chest. Then repeat at the waist or hip. If the cloth creates a clean line with soft folds beneath the anchor point, it is likely to behave well in tops, dresses, or skirts that rely on movement. If it sticks out in a shell around the body, it is telling you that it wants shape, seams, or structure.
This step matters because garment shape changes with gravity. A fabric that looks perfect flat can behave badly once it crosses a curve. The shoulder line is especially revealing: a stiff cloth may create a sharp edge, while a more fluid cloth will curve and settle. The hip line shows whether the fabric has enough fall to avoid a boxy hem.
The body test also shows who the fabric is not for. If you want a soft, close, liquid silhouette, a sample that stays rigid against the body is the wrong choice. If you want a jacket, a crisp shirt, or a garment that stands away from the frame, the same sample may be exactly right. A home test should help you reject fabrics as clearly as it helps you choose them.
What to do when the fabric behaves differently on grain and bias
You note the grain difference because many fabrics drape better at 45 degrees than they do straight down the grain. This is normal, not a defect. Bias stretch and bias swing are why bias-cut skirts and scarves can look so fluid while the same cloth cut straight looks dull or boxy.
To check it, mark one corner of your sample and rotate it so one edge runs diagonally. Repeat the hang test for 10 seconds. Watch whether the diagonal version forms deeper curves or longer folds. If the change is obvious, your fabric is responsive to cut direction. That means the final garment may need careful handling in areas like necklines, hems, or side seams, because the fabric may drop more after hanging for a day.
This is also the place to spot the trade-off in drapey cloth. A fabric with excellent bias movement can be harder to cut accurately, harder to stabilize, and more likely to grow as you handle it. A fabric with little bias change is easier to control, but it may never give you a fluid silhouette. Neither result is bad. They just suit different garments.
If you are comparing fabrics, keep the same sample size and the same test surface. A 40 cm square on a padded surface can look more forgiving than the same sample on a hard cutting mat. Consistency matters more than drama. The point is to see the fabric’s behavior, not to coax a preferred answer from it.
Common mistakes that distort the result
The biggest mistake is judging drape from a tiny swatch, because a 5 cm square can feel completely different from a 30 cm square. Small pieces do not show how the fabric hangs under real weight, and they often mislead people into choosing cloth that will not move the way they expect. Use a larger sample whenever possible.
Another mistake is skipping the wash or press step. A fabric that has been sized, wrinkled, or stored tightly on the bolt may behave differently after a single wash or a firm press. If your finished garment will be washed, the sample should be washed the same way first. Otherwise you may approve a fabric that changes shape later.
A third mistake is confusing softness with drape. Softness is about surface and touch; drape is about fall. A brushed flannel may feel soft but hold plenty of body. A slippery woven may feel cool and smooth yet collapse beautifully. If you only use one sense, you will miss that difference.
A fourth mistake is testing only flat on the table. Flat tests show crease memory, but not gravity. If you skip the hang and body checks, you can miss a fabric that looks ordinary flat but becomes attractive once it is on a shoulder or over a hip.
The last mistake is expecting one test to answer everything. The fabric drape test gives a practical read, not a lab-grade number. If the sample seems borderline, that is useful information. Borderline cloth often works best in simpler garments, with fewer seams and less tension at the hem.
For a broader planning step, the hub on choosing fabric for sewing projects can sit above this page; the job here is the test itself, not the full selection process. Two references worth knowing are the Textile Institute, which defines fabric-related terms, and ASTM textile methods used in industry; if you need a formal interpretation, consult a textile professional and check the Textile Institute and ASTM. Neither changes the home method, but both explain why drape is treated as a measurable property in textile work.
What is fabric drape?
Fabric drape is how cloth hangs, curves, and falls under its own weight. It describes the shape the fabric makes when it is suspended, held, or worn, and it is different from thickness or softness. A fabric can feel smooth and still drape stiffly, or feel firm and still fall in a graceful line.
How does drape affect sewing patterns?
Drape affects how a garment silhouette looks once the cloth is cut and sewn. A fluid fabric softens seams, gathers, and hems, while a structured fabric holds sharper lines and more volume. A pattern designed for drapey cloth may look boxy or heavy if the fabric is too stiff, and the reverse can make a tailored design collapse.
Can you test drape without tools?
Yes, you can test drape without tools by holding the fabric between both hands, letting it hang from a chair edge, and observing how it folds. A measuring tape and cutting mat make the result easier to compare, but they are not required.
Drafted with AI; not yet reviewed by a person.