Last updated: November 19, 2026
Quick answer: for most beginners, a good starting set for Sewing tools and supplies — The Complete Guide is 8 to 12 items: sharp fabric scissors, pins or clips, seam ripper, tape measure, marking tool, needles, thread, and an iron. Start with a basic kit, then add specialty tools only when a project demands them.
Sewing tools and supplies are the small decisions that make sewing pleasant instead of frustrating: the right cutting tool, the right way to mark fabric, the right needles, thread, and measuring tools. Sewing tools and supplies — The Complete Guide starts with the basics, then adds specialty tools only when a project demands them.
For anyone new to sewing, the real question is not “What exists?” It is “What do I actually need first, what can I skip, and what is worth buying better quality the first time?” This guide answers that plainly.
Key takeaways
- A starter sewing kit only needs a few reliable tools: sharp fabric scissors, pins or clips, seam ripper, tape measure, marking tool, needles, thread, and an iron.
- Buy tools for the fabric and project you sew most. Knitwear, denim, quilting cotton, and home décor each ask for slightly different supplies.
- The biggest beginner mistake is buying a giant kit full of weak extras instead of 8 to 12 strong basics.
- Cutting tools, pressing tools, and needles affect results more than decorative gadgets do.
- Specialty supplies such as rotary cutters, rulers, chalk wheels, or tailor’s hams matter when a project calls for them, not before.
- Cheap consumables can cost more in frustration than they save in money.
What belongs in a real beginner sewing kit?
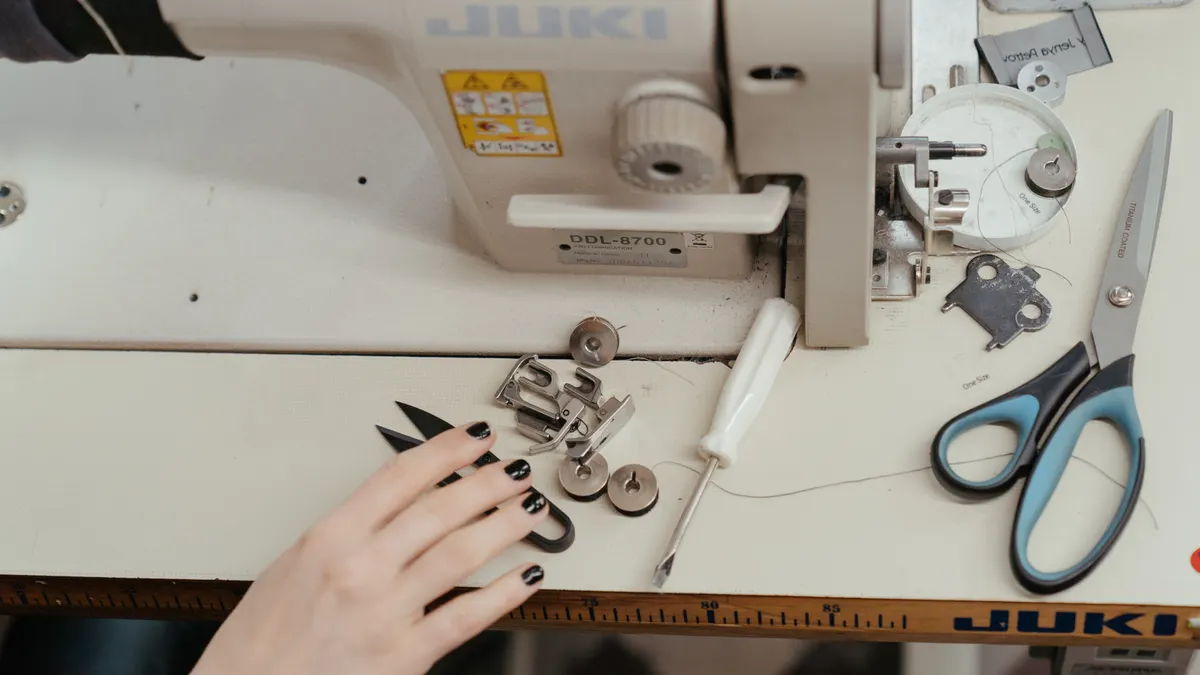
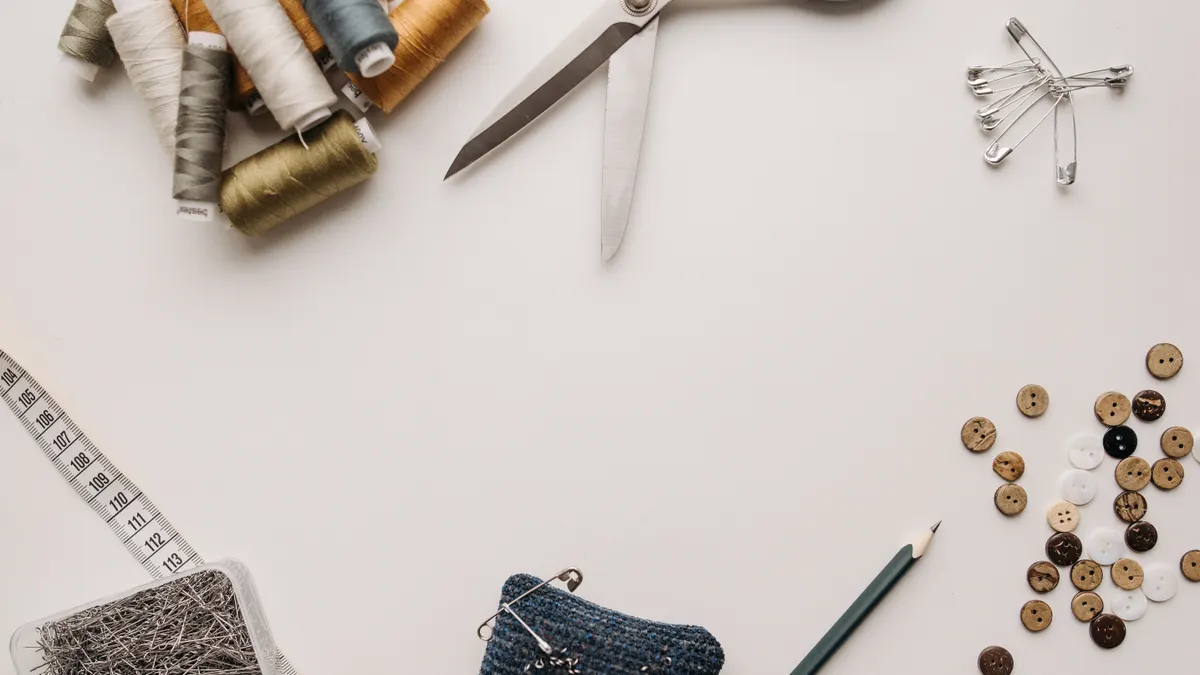
A real beginner sewing kit is small, not impressive. A good starting set often includes a measuring tape, seam ripper, pins or clips, fabric shears, hand-sewing needles, machine needles if you use a machine, thread, marking tools, and an iron. That covers nearly every first project, from hemming trousers to sewing a pillowcase.
The first purchase should be cutting tools. A pair of dedicated fabric scissors matters because paper dulls blades fast, and dull blades distort fabric edges. A second cutting option is useful too: a small pair of thread snips or embroidery scissors for trimming threads. A seam ripper sounds humble, but it saves projects that would otherwise be abandoned after one crooked seam. A measuring tape gives you flexible measurements on curves and garments where a ruler fails.
If you sew by machine, add universal machine needles in a common size range such as 80/12 and 90/14, since those sizes cover many woven fabrics. For hand sewing, a basic pack of sharps and a few ballpoint needles for knits will go farther than an enormous mixed box with unclear labels. Thread should match the fabric weight, and a good all-purpose polyester thread is often the most practical default for everyday sewing.
What does not belong in the first kit? A dozen specialty presser feet, a dress form, multiple rulers, craft-only scissors, novelty gadgets, and giant multipacks of weak thread. Those items look helpful in a starter kit photo, but they do not solve a beginner’s real problem. A beginner needs fewer tools, not more.
A useful rule: if a tool cannot explain its job in one short sentence, it is probably not a first purchase. That test keeps the kit focused and keeps the drawer usable.
Which sewing tools deserve the most money first?
Sharp cutting tools and an iron deserve the most money first because they affect every project, every time. If the budget is limited, spend on the three things that touch the fabric most often: scissors, needles, and pressing equipment.
Fabric scissors are usually not the place to choose the cheapest option, because a poor blade frays edges, chews through corners, and makes the cutter work harder than it should. A decent pair from a known sewing brand, a tailor’s shear, or even a solid dressmaker’s shear is often a better use of money than a box of decorative extras. Keep them for fabric only. Even a small amount of paper cutting can shorten their useful life.
Needles are the next high-value purchase because the wrong needle can cause skipped stitches, snags, or broken thread. The right needle type matters more than many beginners expect. Universal needles work for many woven fabrics. Ballpoint or stretch needles are better for knits because they slide between loops instead of piercing them. Denim needles, topstitch needles, and quilting needles each solve a narrower problem. A small organized needle case is more useful than a huge random assortment.
An iron matters because sewing is not only about stitching; it is about shaping. Pressing seams open, setting hems, and flattening interfacing all make finished work cleaner. A steam iron with adjustable temperature is enough for most home sewing. An ironing board or pressing mat makes that iron usable.
What should stay low on the budget list? Fancy scissors for tiny tasks, novelty measuring tools, overpriced kits with 50 pieces you cannot name, and duplicate tools that do the same job. The money belongs where the fabric meets the tool, not where the packaging looks busy.
Do you need a rotary cutter, mat, and ruler?
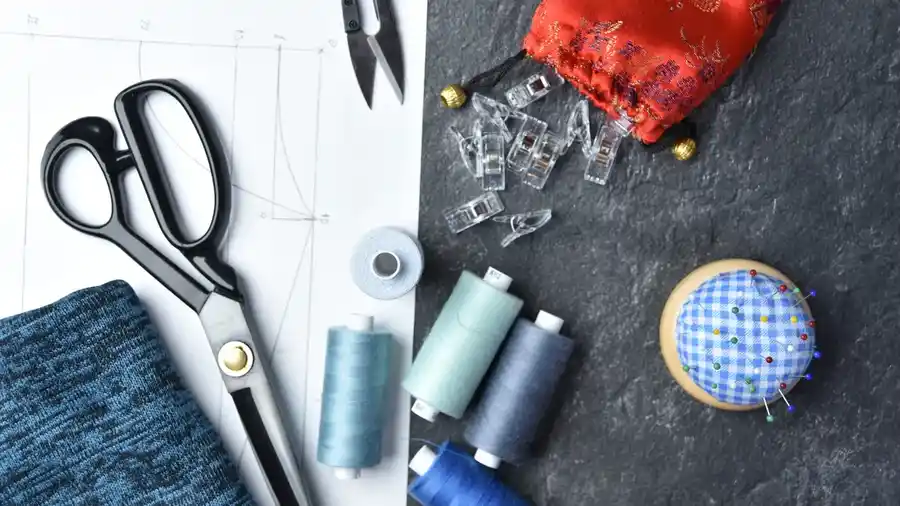
A rotary cutter, cutting mat, and quilting ruler are essential for some sewists and unnecessary for others. They win for quilting, strips, and repeated straight cuts; they are not the first choice for every project.
A rotary cutter shines when the project needs clean straight cuts through multiple layers, especially quilting cotton. Used with a self-healing mat and an acrylic ruler, it speeds up cutting and improves repeatability. That matters when you are cutting long strips, patchwork squares, or bias strips. Many quilters prefer a 45 mm rotary cutter because it balances control and coverage, though smaller blades can feel easier in tight curves.
The trade-off is real: rotary cutters require more caution than scissors, and the blade needs replacing when it dulls. A dull rotary blade can skip threads and create ragged edges. The mat is not optional, either. Cutting on a table damages the blade and the surface. An acrylic ruler adds precision, but only if the user keeps fingers well away from the blade path.
For garment sewing, a rotary cutter is helpful but not mandatory. Curved armholes, necklines, and irregular pattern pieces are often easier to cut with shears. For home décor, the cutter becomes useful again when the project involves straight panels, binding, or repeated measurements. For knits, it helps when cutting pattern pieces flat, but the fabric can slide if the mat and ruler are not used carefully.
If the reader only sews occasionally, a rotary setup can wait. If the reader quilts, makes tote bags, or cuts large quantities of fabric, it jumps from “nice to have” to “worth owning.” A cheap cutter with a poor blade is a false economy; a decent cutter with replacement blades and a mat is the useful version of the tool.
How do you choose needles, thread, and pins without guessing?
The right needle, thread, and pin choice depends on fabric type, seam stress, and whether the fabric stretches. That sounds technical, but the decision is usually simple once the material is identified.
Needles first. For woven cottons, poplin, linen, and many home-decor fabrics, a universal needle in sizes like 80/12 or 90/14 covers a lot of ground. For jersey, rib knit, interlock, and other stretchy fabrics, a ballpoint or stretch needle reduces skipped stitches because the rounded tip pushes between loops instead of cutting them. For thick layers such as denim hems or canvas seams, a denim needle has a stronger shaft and sharper point. If topstitching needs to look crisp and prominent, a topstitch needle with a larger eye can help heavy thread pass more cleanly.
Thread should match the task, not just the color. All-purpose polyester thread is the standard default because it works across many fabrics and tolerates some stretch. Cotton thread has its place in quilting and some natural-fiber projects, but it is less forgiving on seams that need resilience. Heavy-duty thread is for specific stress points, not every seam. A thread that snaps easily, fuzzes excessively, or sheds lint causes more problems than it solves.
Pins and clips are a choice based on fabric behavior. Fine glass-head pins work well for many woven fabrics because they are easy to see and tolerate brief pressing. Clips are better for bulky layers, vinyl, leather-look materials, or thick seams where pins leave holes or bend. Very fine silk pins are useful for delicate fabrics, but they are easy to misplace and not essential for a beginner.
The safest general choice is not a single universal pin or marking system. The better rule is to choose a method that can be removed cleanly from the specific fabric. Sewing tools and supplies work best when the tool matches the textile, not when the tool is assumed to work on everything. A small organized selection beats a drawer full of unlabeled extras.
What marking and measuring tools actually matter?
A flexible tape measure, a clear ruler, and one reliable marking tool are enough for most sewing tasks. The rest are optional until a specific project calls for them.
A soft measuring tape is the first measuring tool most people need. It handles body measurements, hems, curves, and pattern checks. A 15-inch or 30-centimeter ruler is useful for shorter work, while a transparent quilting ruler helps when cutting straight lines or checking seam allowances. For garment sewing, a hip curve or French curve becomes helpful when adjusting patterns, but it is not necessary on day one.
Marking tools are where many beginners get stuck because the choices look similar but behave differently. Tailor’s chalk, chalk pencils, water-soluble pens, air-erase pens, and wax-based markers all exist for a reason. A removable marking method is usually the best general choice for Sewing tools and supplies, but the specific fabric still decides the final option. On light cotton, a water-soluble pen can be practical. On dark fabric, a tailor’s chalk or chalk pencil may be easier to see. On delicate or textured fabric, test the marking tool on a scrap before touching the main piece.
The catch is that not every mark disappears reliably from every textile. That is the part generic guides often skip. A marker that vanishes on one cotton can leave a shadow on another, especially if heat is applied. A chalk line that brushes away too easily can disappear before the seam is sewn. Testing on a scrap is not fussy; it is standard practice.
A seam gauge also earns its keep. It is a small sliding ruler used for hems, pleats, button placement, and seam allowances. It does not look impressive, but it solves repetitive measuring far better than guessing with a tape measure every time.
What extra tools belong in a better-equipped sewing space?
A better-equipped sewing space needs pressing tools, specialty trimming tools, and a few shaping aids, not a giant box of gimmicks. Once the basics are covered, the next useful items are the ones that improve accuracy and finish.
A tailors ham is a curved pressing aid that helps shape darts, princess seams, sleeve caps, and other rounded areas. A sleeve roll does something similar for narrow tubes and hard-to-reach seams. These tools are not glamorous, but they produce cleaner shaping than trying to flatten a curved seam on a flat board. A seam roll or pressing cloth can also protect delicate fabric from shine or heat marks.
Snips, pinking shears, and tailor’s shears each solve a different trimming job. Snips are for threads. Pinking shears cut a zigzag edge that can reduce fraying on some woven fabrics, though they are not a substitute for proper seam finishes on high-wear garments. A serger or overlocker is a different category entirely; it trims and finishes seams in one pass, but it is a specialty machine rather than a universal must-have.
A bodkin is useful for threading elastic, cords, or casing materials. A loop turner helps with narrow straps or fabric tubes. A point turner or turning tool sharpens corners in collars, cuffs, and bags. These are small tools, but they save time on tasks that otherwise turn into pin-and-pull frustration.
The honest limit is simple: these extras matter once the reader knows what kind of sewing appears most often. A quilter benefits from ruler and rotary-system additions. A garment sewer benefits from pressing aids and curves. A bag maker may want clips, an awl, and sturdier needles. A beginner does not need all of them at once.
The honest side-by-side: basic kit or expanded kit?
The basic kit wins for most beginners because it covers the first 10 to 20 projects without overbuying. The expanded kit wins only when the reader already knows the projects are specific enough to justify specialty tools.
| Criteria | Basic sewing kit | Expanded sewing kit | Winner for this condition |
|---|---|---|---|
| Upfront complexity | 8–12 core items, easy to store and learn | 20+ items, often with overlap | Basic kit for first-time sewists |
| Project coverage | Good for mending, hems, simple garments, pillows | Better for quilting, bags, tailoring, advanced garment work | Expanded kit for a defined specialty |
| Cost control | Lower risk of paying for unused tools | Higher risk of duplicate or unused pieces | Basic kit for tight budgets |
| Precision | Enough for most simple seams and repairs | More accurate for curves, repeats, and specialty tasks | Expanded kit for precision-heavy work |
| Learning curve | Easier to understand and maintain | Requires knowledge of what each tool does | Basic kit for beginners |
| Storage | Fits in a small box or drawer | Needs a dedicated station or organizer | Basic kit for small spaces |
| Special fabric handling | Limited for knits, heavy denim, vinyl, and bulk | Better with specialty needles, clips, awls, and cutters | Expanded kit for nonstandard materials |
| Maintenance | Fewer blades and tools to replace | More parts to keep sharp and labeled | Basic kit for low-maintenance sewing |
| Best use case | General household sewing | Regular, targeted sewing practice | Depends on project type |
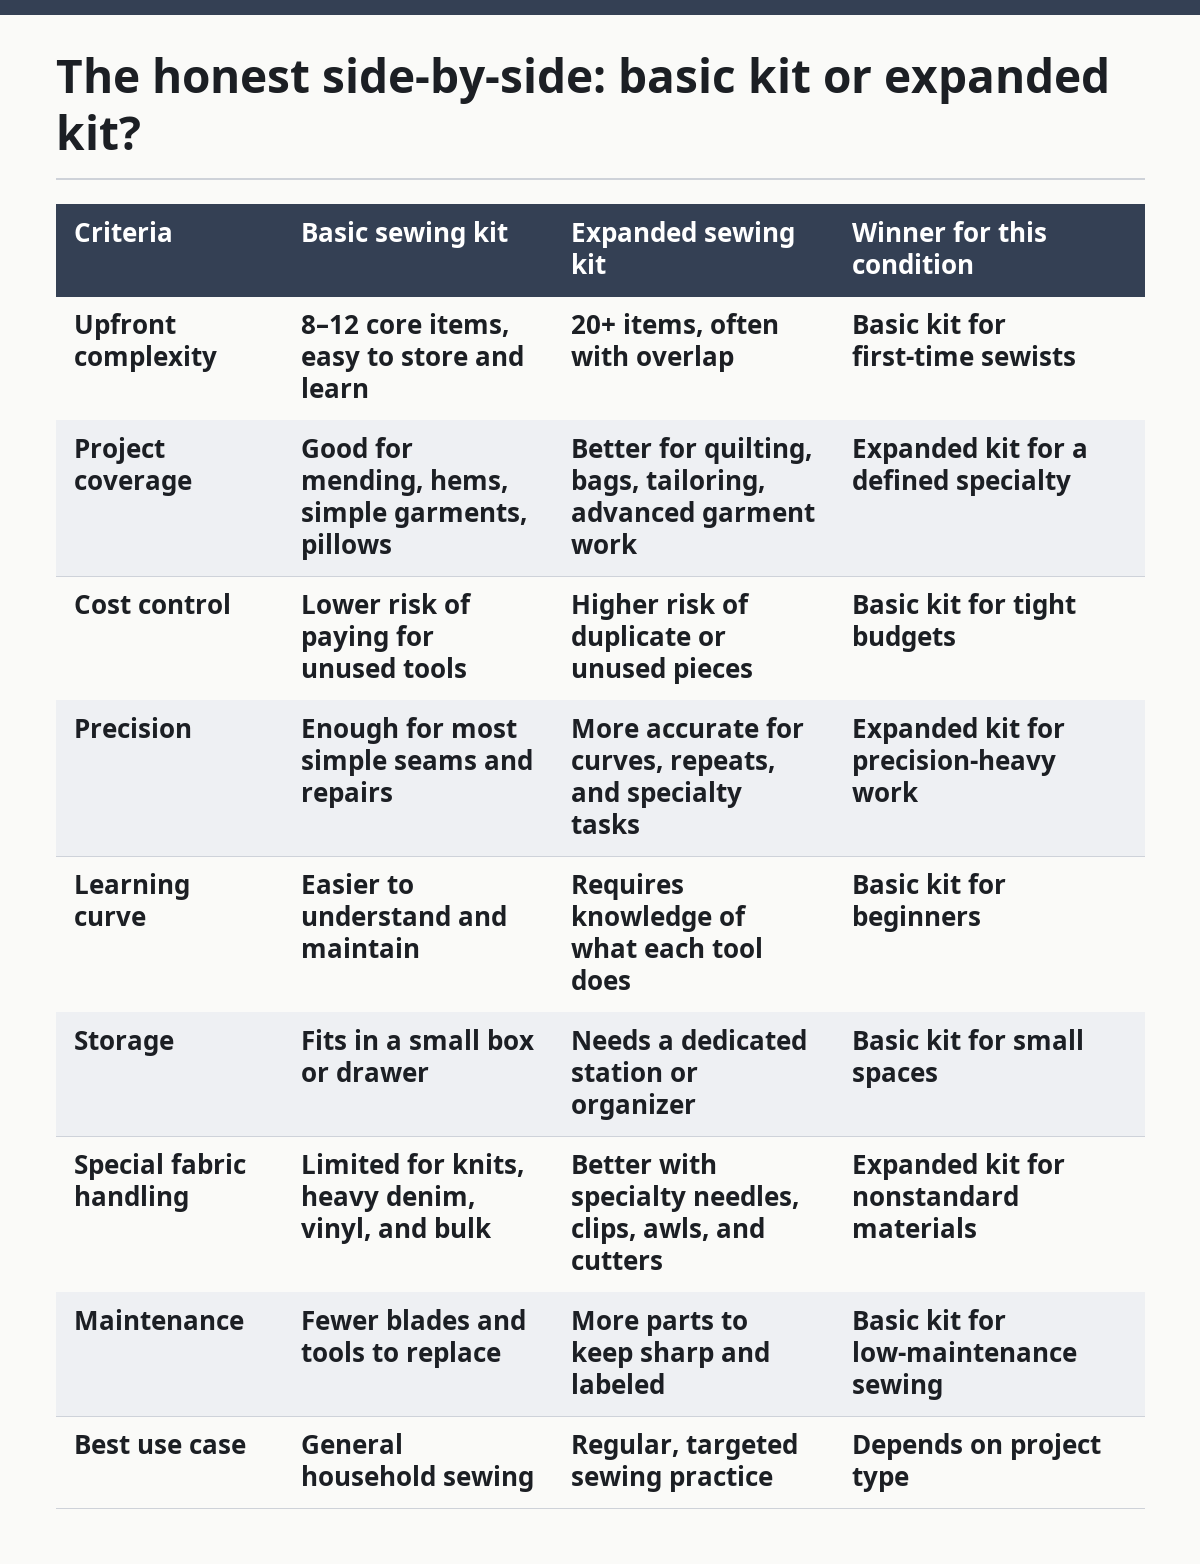
The basic kit wins for anyone who wants to mend clothes, hem curtains, sew simple accessories, or learn the craft without committing to a specialty path. The expanded kit wins when the reader already makes quilts, bags, tailored garments, or frequent knitwear and needs tools that reduce mistakes. A generic “starter kit” with 50 pieces is often the least efficient option: too broad for beginners, too weak for serious work.
The practical recommendation is blunt. Start with the basic kit unless at least half the upcoming projects already point toward one specialty. If the next six projects are quilts, the rotary system becomes worth it. If the next six projects are garments, invest in better needles, pressing tools, and a clear pattern-marking system.
When should you buy better tools, and when should you skip them?
Buy better tools when a tool failure slows every project; skip them when the tool is still doing its job and the problem is your skill level, not the equipment. That distinction saves money and frustration.
A better pair of scissors is worth buying when the current pair crushes fabric instead of cutting it, or when the blades snag on dense cloth. A better iron is worth buying when temperature control is inconsistent, steam output is weak, or the soleplate leaves residue. A better seam ripper is rarely about luxury; it is about a sharp point and a comfortable handle, not a luxury finish.
Skip upgrades when the tool is simply unfamiliar. Many beginners blame a ruler, needle, or marking pen when the real issue is technique. For example, a skipped stitch on knit fabric is often a needle-choice problem, not a sign that the machine needs replacing. Fraying edges may point to the fabric choice, seam finish, or handling, not a defective pair of pinking shears.
This is also where many expensive kits go wrong. They offer broad quantity but not quality control. A thread spool may look fine in a package and perform badly on tension. A pair of snips may feel sharp in the hand but fail after light use. The buyer has to ask: will this tool solve a repeated problem, or will it just add another object to sort?
One useful benchmark is repetition. If the same issue appears on three projects in a row, the tool behind that issue deserves scrutiny. If the issue appears once, the answer is often practice or a different fabric, not a new purchase.
The verdict: what should most people buy first?
Choose a basic sewing kit if the goal is mending, beginner garments, or general household sewing. Choose an expanded kit if the goal is quilting, bag making, or regular specialty work with knits, denim, or heavy layers. Neither is right if the only plan is to sew once or twice a year and every task can be handled by a needle, thread, and local alterations service.
A practical first kit should include fabric scissors, thread snips, a seam ripper, measuring tape, pins or clips, a marking tool, hand needles, a small set of machine needles if needed, all-purpose thread, and a pressing tool. From there, the next tool should match the project, not the hype. That rule keeps the drawer lean and the sewing more enjoyable.
For readers building from zero, the spending order is usually cutting, stitching, pressing, then specialty aids. That order reflects how sewing actually works at the table, not how kits are packaged in a box.
What should I buy first if I’m starting from zero?
Buy a seam ripper, fabric scissors, measuring tape, pins or clips, needles, thread, and an iron first. Those items solve the basic problems every beginner faces: cutting fabric cleanly, joining pieces, checking size, fixing mistakes, and pressing seams flat.
If the budget only allows a few purchases, start with good scissors and a decent iron. Those two tools affect almost every project. Add needles and thread next, then a marking tool and seam gauge once you begin following patterns or making hems.
Do I need a sewing machine to use these supplies?
No, many sewing tools and supplies are useful for hand sewing, mending, and pressing even without a machine. Hand needles, thread, pins, scissors, measuring tools, and marking tools all still matter.
If machine sewing is part of the plan, then machine needles, bobbins, and the correct thread become necessary. Without a machine, the list stays smaller, but the quality of cutting and pressing tools still matters.
What sewing tools are worth buying better quality?
Fabric scissors, needles, and an iron are the tools most worth buying better quality first. Those three affect accuracy, comfort, and finish on nearly every project.
A cheap ruler or spare pin box is usually less damaging than weak scissors or a poor iron. A bad blade or inconsistent heat shows up in every seam, while storage accessories do not.
What tools can I skip at the beginning?
Skip specialty rulers, dress forms, rotary systems, tailor’s hams, and advanced presser feet until a project clearly needs them. Those tools are useful, but they are not required for a first set of projects.
Also skip giant novelty sewing kits with dozens of tiny items you cannot identify. A smaller, clearer setup teaches faster and wastes less money.
Is it better to buy a sewing kit or build one piece by piece?
Building one piece by piece is usually better because it prevents duplicate tools and weak fillers. A kit is only worth it if the parts are clearly named, reasonably sturdy, and suited to the same kind of sewing.
A pieced-together starter set lets the buyer choose scissors, thread, needles, and marking tools that match the actual fabric and projects. A kit makes sense only when the contents are transparent and the reader wants convenience more than customization.
Sources and standards worth knowing
The Needle and Thread page from Coats Group is a useful primer on thread and needle matching, and the Prym and Schmetz product guidance pages are helpful for needle types and fabric compatibility. For cleaning and care of a sewing space, the Occupational Safety and Health Administration’s guidance on ergonomics is a sensible reference point for posture and workstation setup, even though it is not sewing-specific.
Two useful external references:
- Schmetz needle guidance: https://www.schmetzneedles.com/pages/needles-guide
- OSHA ergonomics overview: https://www.osha.gov/ergonomics
Drafted with AI; not yet reviewed by a person.