Last updated: November 19, 2026
Quick answer: A small bust adjustment on a sewing pattern usually removes about 1/2 inch to 1 1/2 inches of fullness from the front bodice so it fits closer without changing the whole garment. This guide explains how to do a small bust adjustment on a sewing pattern, how to keep the shoulder and neckline stable, and how to check the result before you cut fabric.
A small bust adjustment on a sewing pattern removes excess fabric from the bust area so the bodice sits closer to the body without wrecking the neckline, shoulder, or waist. The easiest way to do it is to slash the bodice, remove a measured wedge or dart amount, and then true the pattern so the bust dart and side seam still match.
Key takeaways
- A small bust adjustment, often shortened to SBA, is for removing extra room over the bust while keeping the rest of the bodice in place.
- The bust apex is the pivot point for the adjustment, so you need to mark it first.
- The bust dart usually gets smaller; sometimes it disappears if the original pattern has very little dart shaping.
- Keep an eye on bodice length, because removing width does not always remove length.
- The neckline and shoulder should stay stable if you move only the bust area.
- This method is not the right fix if the whole bodice is too large; that calls for a broader sizing or fit change, not a bust-only alteration.
What a small bust adjustment actually changes
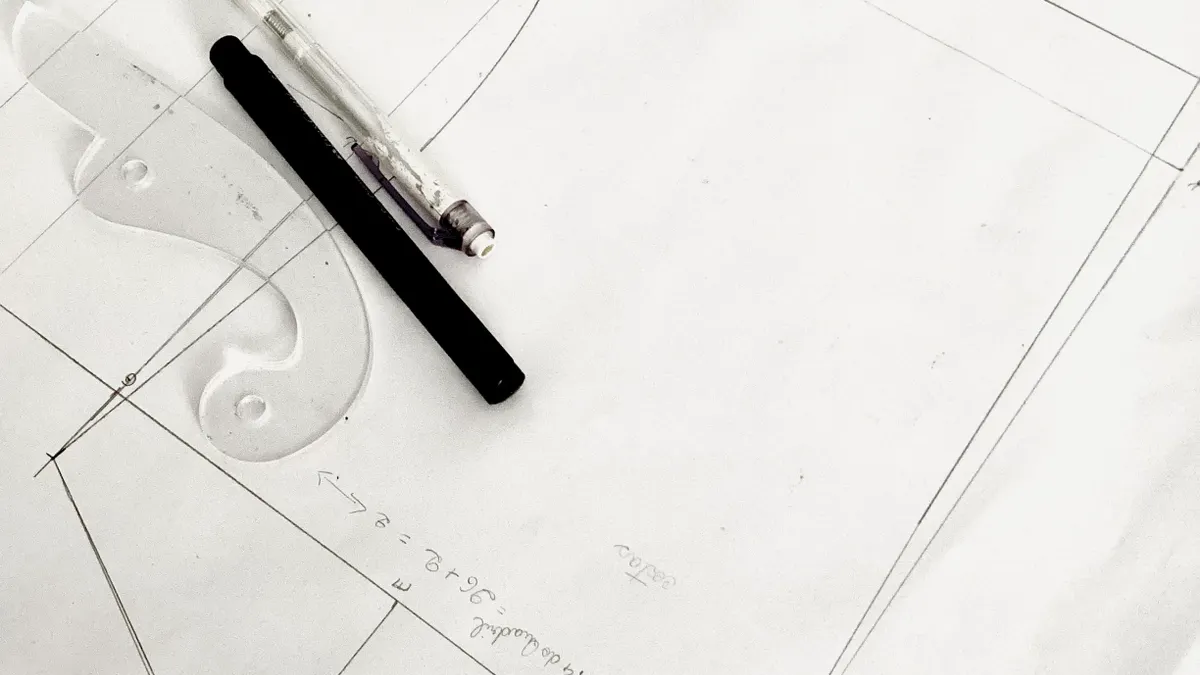
A small bust adjustment changes the amount of fabric over the bust without changing the rest of the pattern size. On a bodice with a bust dart, the adjustment usually reduces dart intake and the full width across the front. On a princess seam, the same idea applies, but the shaping is moved through the seam lines instead of a dart.
This matters because many patterns draft for a fuller bust than the reader needs. If the bust has excess fabric, the garment can wrinkle above the bust, gape at the armhole, or pool at the lower bust. The goal is not to make the whole front smaller. The goal is to remove just enough room that the fabric lies flat over the bust apex and still hangs cleanly from the shoulder and side seam.
A small bust adjustment is usually done on a bodice front, not on the skirt, sleeve, or back. That keeps the change local. It also means the adjustment should be planned around the bust apex, the bust dart, the neckline, and the side seam all at once. If you move one of those points blindly, the front edge can twist or the armhole can become lopsided.
This is the right fix when the pattern fits the shoulders and upper chest fairly well but the front has too much room through the bust. It is the wrong fix when the entire garment is simply too big everywhere, because trimming only the bust can leave the shoulder width, waist, and neckline off in a way that is hard to rescue.
What you need before you start
You need the bodice front pattern piece, a ruler, a pencil, paper or pattern tissue for tracing, tape, and a way to mark the bust apex. A clear French curve helps when you true the dart and side seam, though a small curved ruler can work. A tape measure marked in inches or centimetres is enough for the measuring part.
Before you cut anything, trace the original bodice front. Do not alter the master pattern if you still want the original size later. Copy the stitching lines if they are shown, not just the cutting lines, because the sewing lines are what matter when you check the fit at the side seam and neckline.
You also need the bust apex location. If the pattern includes a bust point marking, use it. If it does not, line the front up against your body or a well-fitting bodice and transfer the point where the bust projects most. The exact spot matters because the slash lines revolve around it. If the apex is marked 1 inch too high or too low, the adjustment can distort the dart angle and pull the fullness to the wrong place.
Have a bit of extra paper under the pattern before you begin so the slash-and-spread step does not leave holes in your work surface. A piece at least 8 by 10 inches is usually enough for a basic bodice front. That gives room to move the pieces, tape them down, and redraw the side seam without crowding the shape.
How do you make a small bust adjustment on a sewing pattern?
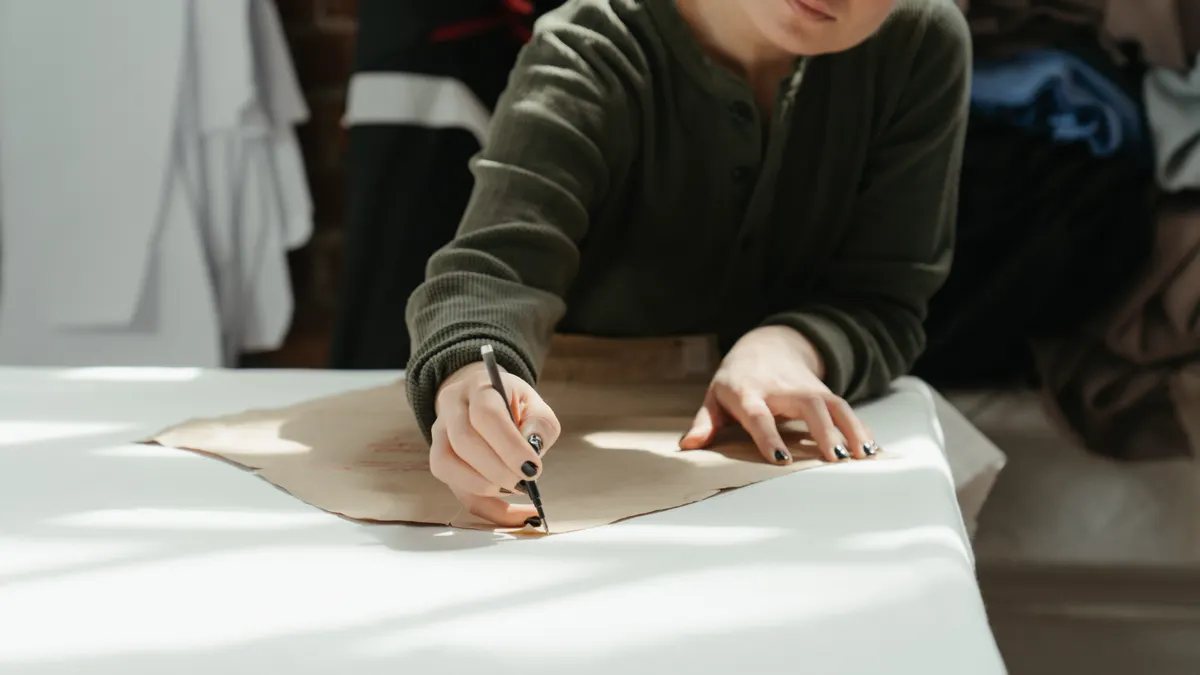
You make a small bust adjustment by tracing the bodice, marking the bust apex, slashing to the apex, closing out the extra width, and then truing the dart, neckline, and side seam. The usual reduction is modest—often about 1/2 inch to 1 1/2 inches of full bust room on the pattern piece, though the exact amount depends on the pattern and the amount of excess fabric you need to remove.
-
Trace the bodice front and mark the bust apex.
Copy the entire front bodice, including the dart legs, grainline, neckline, shoulder, armhole, and side seam. Mark the bust apex on the tracing with a dot and label it clearly. When this step is right, the dart and slash lines can pivot around a point that matches the body shape instead of a guess. -
Draw the adjustment lines from the bust apex.
Draw one line from the middle of the bust dart to the apex, one line from the apex to the side seam, and one line from the apex toward the armhole if the pattern’s draft calls for it. Some sewists use a single slash-and-spread line through the dart. The key is that the apex remains the pivot, so the shape changes there and not at the shoulder. -
Slash one line and keep the hinge at the apex.
Cut along the chosen line from the side seam or dart leg to the apex, but leave a tiny paper hinge at the bust point if possible. This lets the pattern rotate cleanly. When the slash is correct, the front section will open or close without tearing the neckline or shoulder away from the rest of the bodice. -
Overlap the paper to remove the extra fullness.
Close the slash by overlapping the paper the amount you want to remove, then tape it in place. For a small bust adjustment, the overlap is often in the range of 1/2 inch to 1 inch at the slash line, but the pattern shape decides the final amount. The front will look flatter over the bust, and the dart intake will shrink. -
Redraw the dart, side seam, and neckline.
Use a ruler or French curve to smooth the dart legs, side seam, and any line that became jagged. The neckline should stay almost unchanged unless your slash moved it slightly; if it did, redraw only the disturbed edge. A clean result here means the front seam lines meet the back seam lines without a kink. -
True the pattern and check the bodice length.
Measure the seam length at the side seam and compare it with the back piece if the pattern asks for matching seams. Also check the center front or bust length if the bodice has become shorter after the overlap. If the bodice is now too short, add length above the waistline before cutting fabric. -
Test the paper against the body or a fitting shell.
Pin or tape the altered bodice front to the body, a test garment, or another bodice block and see whether the bust area lies flatter. You want the extra fabric at the bust to be gone without the neckline digging in or the armhole pulling tight. If you still see a bubble below the dart, the adjustment was too small; if the front has become tight across the bust, it was too large.
This procedure works best on woven bodices with a standard bust dart. It can be adapted for knit tops, princess seams, and less obvious shaping, but the slash lines change. If the pattern has a bust dart that points too close to the apex, you may need to shift it slightly before or after the adjustment. That is still part of the same fit problem, but it is not the same cut.
How do I keep the neckline and shoulder fit from changing?
You keep the neckline and shoulder fit from changing by moving only the bust area and leaving the shoulder seam and neck edge anchored. The shoulder should remain the same length and slope unless you already know it needs a separate correction. If those edges move, the adjustment has spread too far.
A careful slash line usually stays below the shoulder line and through the bust area. That keeps the upper bodice stable. After the overlap, check the neckline curve against the original tracing. If the neckline shifted by more than a very small amount, redraw only the disrupted section and preserve the original shape as much as possible.
The side seam needs the most attention after the bust is reduced because it can swing inward. That is normal. What matters is that the seam still flows smoothly from the armhole to the waist. Use a ruler to connect the new points rather than forcing the old line to stay in place. A sharp angle at the side seam can create a pucker when sewn.
Shoulder fit is the part most people worry about, and the good news is that a properly placed small bust adjustment usually leaves it alone. If the shoulder starts to sit too wide or too narrow after your change, the slash was probably too high or too far toward the shoulder. In that case, re-trace and move the adjustment lower, closer to the bust apex and dart.
What to check after the adjustment
You should check the bust dart, side seam, bodice length, and neckline before you cut into fabric. This is the part that saves the most grief. A neat paper alteration can still fail if one seam no longer matches its partner or the dart points to the wrong place.
Start with the bust dart. Its intake should be smaller, but the dart point should still end short of the bust apex by the pattern’s usual gap. If the dart ends at the apex, it can create a pointy shape or a stress line. If the dart was almost removed entirely, make sure the front still has enough shaping to follow the body instead of hanging straight and wrinkled.
Next, compare side seam lengths. If the front side seam became noticeably shorter than the back, add or remove length in the bodice before sewing. A mismatch here can change where the garment hangs at the waist. A difference of even 1/4 inch can show up in a fitted top, so checking this on paper is worth the few extra minutes.
Then check the neckline. It should keep its original curve and width unless the adjustment touched it. If the front neckline now dips differently from the back, the bodice may sit oddly on the body. That is especially visible on a sleeveless or low-neckline style, where the edge gets a lot of attention.
Finally, confirm the overall length from shoulder to waist. A small bust adjustment often removes some vertical room along with the width. If the bodice is now 1/2 inch or more shorter than the original, add the length back where needed so the waist still lands where the pattern intends.
Common small bust adjustment mistakes and what they cost
The most common mistake is taking too much width out of the front. That makes the bodice tight over the bust, and the garment can pull diagonally from the bust apex toward the side seam. The cure is usually to restore a little width on the paper before cutting fabric, then check the drape again; if the result is still unclear, consult a professional fitter or sewing teacher and compare it with a trusted sewing source.
Another mistake is placing the bust apex in the wrong spot. That shifts the whole adjustment off target and can make the bust dart point to an odd place. The cost is a bodice that still has drag lines, even though the paper change looked correct. Re-mark the apex before you cut anything else.
A third mistake is ignoring bodice length. When the front is shortened by an overlap, the waistline can creep up. On a fitted top, that changes the silhouette more than many people expect. If the waistline moved, add the missing length back above the waist, not at the hem unless the design allows it.
A fourth mistake is trimming the neckline or shoulder to “clean up” the altered edge without checking the fit. That can turn a bust-only change into a shoulder problem. Redraw the original shape instead of cutting away extra paper at random. If you are working on a style with a princess seam, remember that the same logic applies, but the seam lines have to be trued with extra care.
For a broader sewing pattern fit and alteration path, the hub on fitting changes belongs alongside this page, but this article stays with the bust area only.
When a small bust adjustment is the wrong fix
A small bust adjustment is the wrong fix when the whole bodice is too large, the shoulder is off, or the pattern size is wrong in more than the bust. In those cases, the bust-only change can hide the real problem and leave the garment harder to fit. If the side seam is far too long, the waist is swimming, and the shoulder drops, a full bodice refinement is needed instead of a single SBA.
It is also the wrong fix when the pattern is designed with minimal bust shaping and the fit issue is really caused by style ease. A loose boxy top may have more fullness than a fitted blouse by design. Removing that room can change the garment’s intended shape in a way that looks cramped rather than better.
If the garment uses a complex cup-seam construction or very precise tailoring, the adjustment may need to be moved into the seam structure rather than handled as a simple slash. That is especially true when the bust dart is already split or partly absorbed into another seam. The principle is the same, but the method needs more pattern-reading.
For most straightforward bodices, though, the small bust adjustment is a clean, controlled fix. It removes extra fabric where it belongs and leaves the rest of the pattern intact, which is exactly what a reader wants when the bust is the only part that does not sit right. For related fit issues, see the bust apex guide, the dart manipulation basics, and the pattern grading overview.
How do I know if I need a small bust adjustment?
A small bust adjustment is likely if the bodice fits the shoulders and upper chest but has extra fabric over the bust. The usual signs are a loose front, wrinkling above the bust, or a dart that seems too deep for the shape. If the problem runs through the whole bodice, a different alteration is more likely needed.
Will a small bust adjustment change the shoulder fit?
A small bust adjustment should not change the shoulder fit much if it is placed correctly. The shoulder stays stable when the slash lines are kept in the bust area and the neckline is redrawn carefully. If the shoulder changes a lot, the adjustment was probably placed too high or the apex was marked incorrectly.
Can I do a small bust adjustment on a princess-seam pattern?
Yes, you can do a small bust adjustment on a princess-seam pattern by reducing the fullness through the seam lines instead of a dart. The same fit goal applies, and the seams still need to be trued after the change. For many sewists, the process is easier to verify if they compare the front seam lengths before cutting fabric.
What does a small bust adjustment do to dart size?
A small bust adjustment usually makes the dart smaller, and sometimes it removes the dart entirely if the original shaping is slight. The dart still needs to end before the bust apex, because a dart point at the apex can cause a point. A fit check on paper helps confirm that the new dart shape still supports the bodice.
Is 1/2 inch enough for a small bust adjustment?
Yes, 1/2 inch can be enough for a small bust adjustment when the excess is mild. Some patterns need 1 inch or 1 1/2 inches instead, especially if the front has noticeable extra room. The best amount is the one that removes the excess without tightening the bust or changing the shoulder.
Drafted with AI; not yet reviewed by a person.