Last updated: November 19, 2026
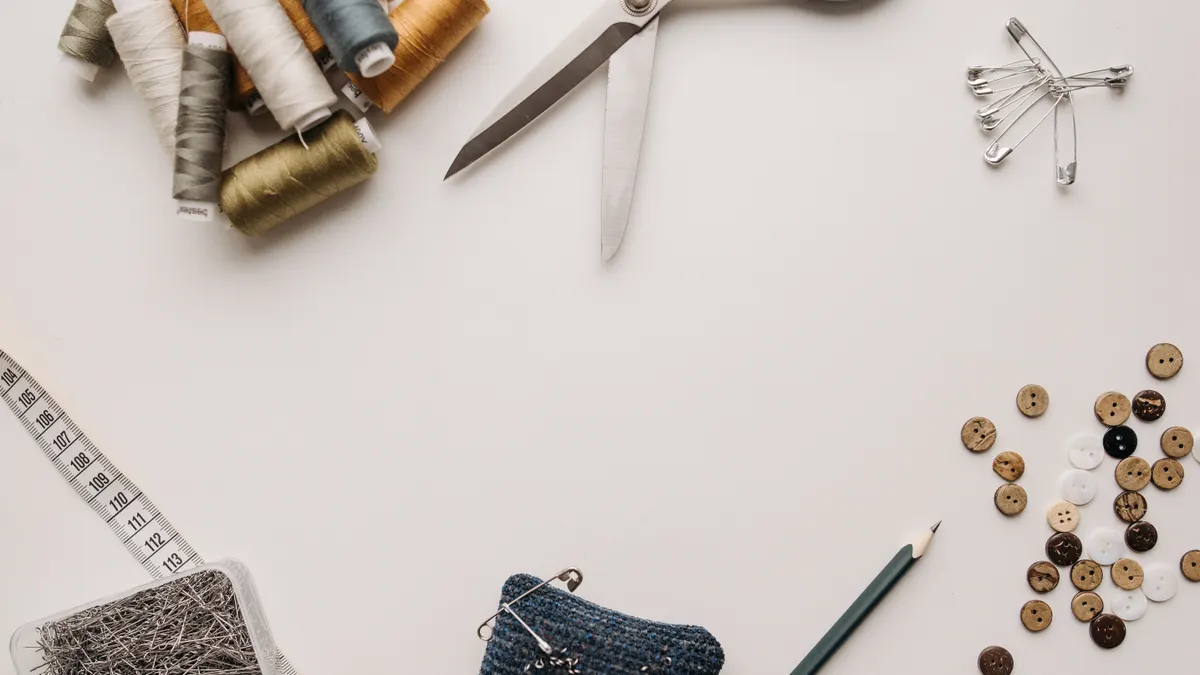
Quick Answer: A beginner sewing kit needs 8 core items. Those basics are fabric scissors, pins or clips, a 60-inch / 150 cm tape measure, a seam ripper, tailor’s chalk or another fabric marker, hand-sewing needles, thread, and a small storage case. Set up How to Set Up a Sewing Kit for Beginners in one pass, then keep it simple enough that you can find everything in under 10 seconds.
What a beginner sewing kit needs first
A beginner sewing kit starts with the basics, not a full craft-room spread. The goal is to cover measuring, marking, cutting, pinning, and fixing mistakes with a small set of tools that fit in one box or pouch.
Start with these core items:
- Scissors for fabric: one sharp pair used only on cloth.
- Pins or clips: pins are standard; clips help on thick fabric.
- Tape measure: flexible, usually 60 inches / 150 cm.
- Seam ripper: for undoing stitches cleanly.
- Tailor’s chalk or another fabric marker: for marking seam lines and notches.
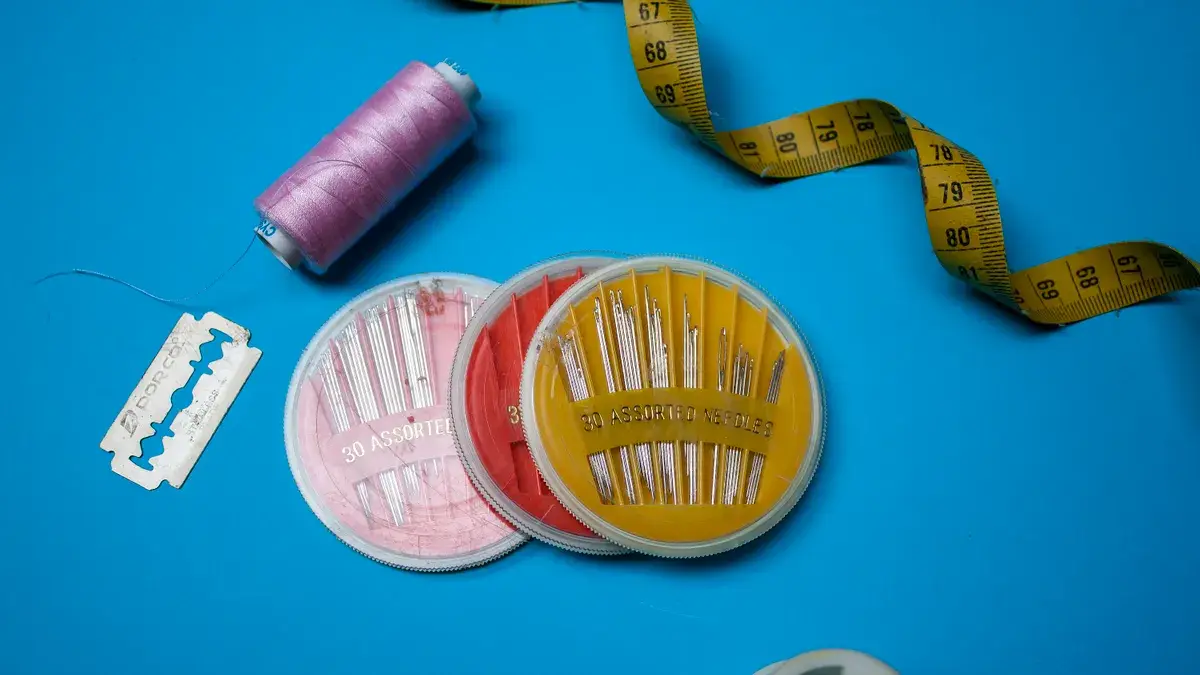
- Hand-sewing needles: a small mixed pack is enough at first.
- Thread: neutral colors like black, white, and beige cover many jobs.
- Small storage: a box, tin, zip pouch, or compartment tray.
That list is enough for hemming, patching, and simple hand-sewing jobs. It is not meant to replace a sewing machine setup, and it is not the place to buy specialty tools you will only use once a year. A beginner kit that grows too fast becomes a drawer of clutter. A beginner kit that stays focused gets used.
If you want a broader overview of related tools, the hub page on sewing tools and supplies can sit beside this one as the next step. This article stays on the starter toolkit and keeps the focus on the first set of essentials.
How do you set up a beginner sewing kit?
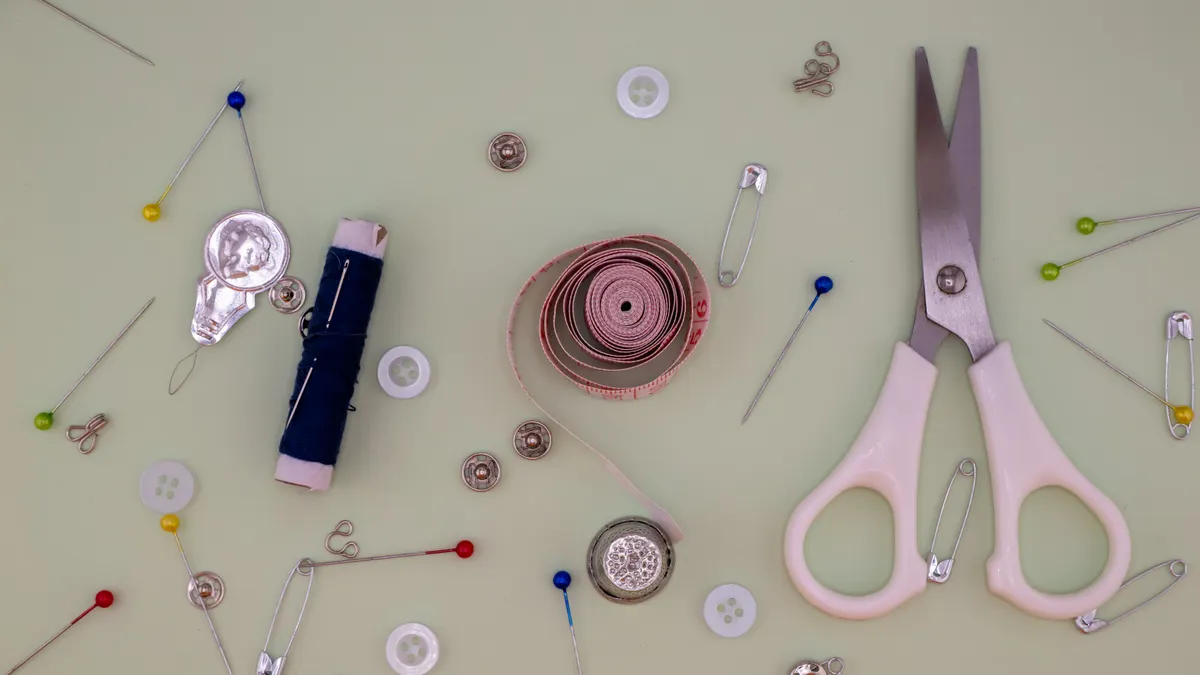
Set up a beginner sewing kit by grouping the tools by task, then placing the most used items where your hand lands first.
-
Choose a container with 2 to 4 compartments.
A small plastic box, a divided tin, or a zip case works. The result should be that scissors, thread, and pins do not roll into one pile. -
Put cutting tools in one section.
Place the fabric scissors flat, with the blade protected if possible. If you add thread snips later, keep them in the same section. When this works, you can reach the cutter without digging past thread spools. -
Store measuring and marking tools together.
Fold the 60-inch tape measure loosely and tuck in tailor’s chalk, a fabric pen, or a marking pencil. These tools usually travel as a pair: measure first, mark second. -
Keep pins and needles contained.
Put pins in a pin cushion, magnetic holder, or small lidded tin. Keep needles in a needle book, labeled packet, or another closed container. If this step works, you will not have loose sharp points in the box. -
Add thread in the most common colors first.
Start with white, black, and one skin-tone or fabric-neutral shade. Three spools cover more beginner projects than a basket full of odd colors. -
Put the seam ripper where it is easy to grab.
Do not bury it under thread. It is the tool you reach for when a stitch goes wrong, so it should be visible at a glance. -
Finish with a label or checklist card.
A 3-by-5-inch card listing the contents helps you reset the kit in 30 seconds after a project. When the kit is set up well, every item has one home.
The main trade-off is that a neat kit may look sparse compared with a “complete” one. That is a strength at the beginner stage. A crowded kit wastes time and hides the tools you actually need.
Which tools belong in the beginner sewing kit?
The tools that belong in the beginner sewing kit are the ones that help you measure, mark, cut, pin, and repair fabric without special training.
Scissors are the first tool to protect. Fabric scissors should stay sharp, and they should not be used on paper or cardboard. Paper dulls the blades fast, and dull blades make a clean cut harder. A 7- to 9-inch pair is a common practical size for general fabric work.
Pins hold layers in place before sewing. Long, fine pins are easier for most beginners to handle than thick decorative ones. If pins feel fussy, clips can stand in for some jobs, especially on vinyl, cork, or thicker seams.
Tape measure matters because clothing and soft goods are built from body measurements and seam allowances, not from rigid edges. A flexible tape that reads both inches and centimeters is useful, especially if patterns mix units.
Seam ripper is the mistake-fixer. It should have a pointed tip and a small blade that can slip under thread without tearing fabric. This is not a luxury tool; beginners use it often enough that it deserves a permanent place in the kit.
Tailor’s chalk gives you temporary marks that brush off or wash away more easily than permanent ink. A chalk wheel, chalk pencil, or flat chalk block can work, but the key is that the mark should be visible long enough to cut and sew, then disappear later.
Needles and thread round out the kit. A mixed pack of hand needles covers most basic repairs, and polyester thread is a common all-purpose choice because it holds up well for everyday use. Cotton thread can be fine too, but it breaks more easily on some seams.
What does not need to be there yet? Specialty rulers, embroidery hoops, press tools, bias tape makers, and large sets of uncommon notions. Those are useful later, but they slow down a beginner who is still learning the basic workflow.
How should you organize measuring, marking, and cutting tools?
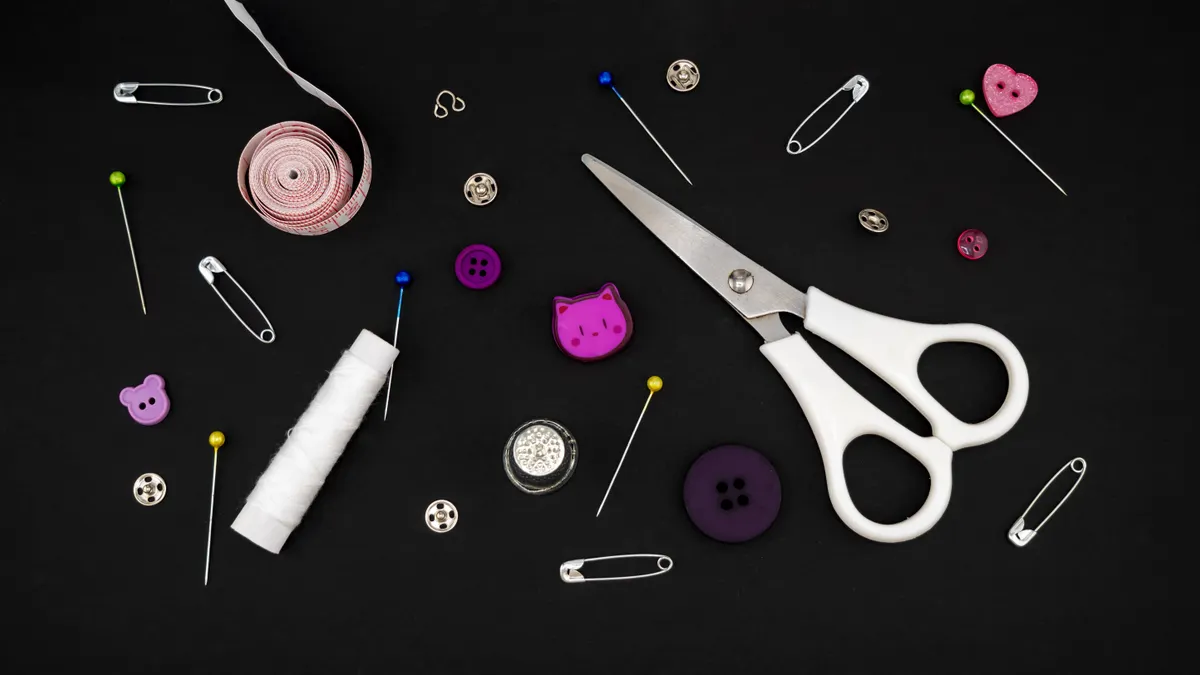
Organize measuring, marking, and cutting tools by sequence, not by appearance. The tools should sit in the order you use them: measure, mark, cut.
Place the tape measure at the front or top of the measuring section so you can grab it first. Store tailor’s chalk next to it, not across the kit. If you use a fabric marker instead of chalk, keep the cap on and store it horizontally only if the manufacturer allows it; many markers dry out faster when left uncapped for even a minute.
For cutting tools, keep fabric scissors separate from anything else that can nick the blades. A cloth blade guard, a sheath, or even a wrapped piece of cardboard is better than tossing them loose with pins. If you later add a rotary cutter, it needs its own blade cover and a safer place than an open pouch.
The reason for this setup is practical: measuring and marking tools are handled on the worktable, while cutting tools are handled at the edge of the table or on a cutting mat. If they are stored together in one tangled compartment, the sharp tool is the first thing you touch when you mean to reach for chalk. That is how cheap kits become frustrating kits.
A simple organizing rule helps: flat tools together, sharp tools protected, small loose items contained. A 2-compartment box can work if one side is for measuring and marking and the other side is for cutting and repair. A 4-compartment tray works better if you want each category separated. Either way, the aim is the same: the right tool should be visible without emptying the whole container.
How do you keep pins, needles, and thread under control?
Keep pins, needles, and thread under control by giving each one a closed home and by limiting duplicates.
Pins belong in a pin cushion, magnetic holder, or lidded tin. The most useful choice is the one that makes it easy to return them after every use. A cushion is quick at the worktable; a tin is better if the kit travels in a bag. Do not leave pins loose in the bottom of the box, where they can puncture your fingers or get lost in thread loops.
Needles should live in a labeled needle book, needle case, or their original packet until you sort them into types. A beginner usually needs only a few hand-sewing needles: a general all-purpose size, a finer one for lightweight fabric, and a stronger one for thicker fabric or mending. If you do not know the difference yet, keep them together but still enclosed.
Thread is easiest to manage when you start with a small color range. Three spools are enough for many beginner repairs. Add more only when a project actually needs them. Thread stored loose can unwind and tangle around scissors, so place each spool upright or in a row that keeps the ends tucked in.
A common beginner mistake is buying five or six near-identical spools and no organizing aid. The cost is not just clutter; it is wasted time matching colors and untangling loops. A better approach is to keep a short list of what is inside the kit and replace only what you run out of.
If you sew by hand at a table, a small dish or magnetic tray for active pins helps too. It keeps the current project separate from the stored supply, which lowers the chance of leaving sharps scattered on the floor or couch.
Beginner sewing kit mistakes that cause trouble
The biggest beginner sewing kit mistakes are buying too much, storing tools loosely, and using the wrong scissors for fabric.
Buying too much at once creates a kit that looks complete but works badly. A 25-piece bundle can include items you will not use for months, while the important tools end up buried. Start with the basics and add one item only when a project proves you need it.
Using household scissors on fabric is another expensive mistake. Once blades have been dulled by paper or tape, they can fray cloth edges instead of slicing them cleanly. If your cuts start looking fuzzy or jagged, the fix is not more pressure; it is a better pair of scissors reserved for fabric only.
Loose storage causes the most daily irritation. Pins hide in the bottom of the box, needles bend, and seam rippers vanish. The fix is simple: give every sharp tool a cover, a pocket, or a tin. A kit with loose sharps is hard to use and easy to dread.
Skipping a seam ripper is a mistake beginners often make because it feels optional. It is not optional for learning. Every beginner makes a few uneven seams, and the seam ripper saves fabric from being ruined by blunt force or scissors.
Ignoring labels is a smaller mistake that still slows you down. If the kit has one section for marking tools and another for cutting tools, label them. A 2-second label beats a 2-minute search.
Storage that keeps the kit easy to use
Storage that keeps the kit easy to use is compact, visible, and closed.
A beginner sewing kit fits well in a small box with a lid, a divided plastic organizer, a metal tin, or a zippered pouch. The best container depends on where you sew most often. If the kit stays on a shelf, a shallow box with compartments is fine. If it moves between rooms, a pouch with elastic loops or inner pockets may work better.
Aim for a container that is about the size of a lunchbox rather than a drawer. That size keeps the kit portable without encouraging overpacking. The important feature is not the brand or material; it is whether you can see what is missing after one glance.
Keep the kit in a dry place, away from damp windowsills or a floor level where dust collects. Thread and paper-backed items stay in better shape when they are not crushed under heavier supplies. If you store the kit near your main sewing spot, you are more likely to put tools back instead of dropping them on a side table.
A good storage setup also leaves room for one or two future additions, such as a thimble or small sewing gauge. Do not reserve a whole empty compartment for a future machine, fabric stash, or specialty notions. That is how a beginner kit turns into an underused storage bin.
A simple starter setup that is enough for most beginners
A simple starter setup that is enough for most beginners is one container, three thread colors, one measuring tool, one marking tool, one cutting tool, one seam ripper, a pin holder, and a needle packet.
Here is the lean version I would keep on hand for the first round of projects:
- Fabric scissors
- Tape measure, 60 inches / 150 cm
- Tailor’s chalk
- Seam ripper
- Pin cushion or small tin
- Hand-sewing needles
- Thread in black, white, and one neutral color
- Small box or pouch
That setup is enough for hemming a trouser leg, replacing a button, repairing a split seam, and marking a simple pattern line. It is not built for every textile job, and that is fine. A beginner kit should make the first 10 projects easier, not pretend to be a full studio.
If you are unsure what to skip, leave out anything that answers a problem you do not have yet. Fancy measuring gauges, specialty threads, and large notion sets can wait. A beginner sewing kit works best when it is small enough to remember and complete enough to use.
Key Takeaways
A beginner sewing kit works when it is built around the jobs you will actually do: measure, mark, cut, pin, and fix. Start with a few reliable tools, store each one in a clear place, and resist the urge to fill the box with extras. The simplest kit is often the one that gets used.
What do I need in a beginner sewing kit?
You need a small set of basics: scissors for fabric, pins, a tape measure, a seam ripper, tailor’s chalk, hand needles, thread, and a container to hold them. That collection covers most starter repairs and simple projects without filling a drawer with extras.
How do I organize sewing supplies?
Organize sewing supplies by task and keep sharp items protected. Put measuring and marking tools together, store scissors separately, and give pins and needles a closed container. A box with 2 to 4 compartments or a labeled pouch keeps everything easy to return after use.
What sewing tools are essential first?
The first essential sewing tools are fabric scissors, pins, a tape measure, a seam ripper, tailor’s chalk, needles, and thread. For a simple starting point, that is 8 items, and it is enough to begin.
Drafted with AI; not yet reviewed by a person.