Last updated: November 19, 2026
Key Takeaways
- You need a printer, scissors, tape, page tiles, and a test square before you start, or assembly gets guesswork-heavy.
- Print a PDF sewing pattern at actual size, then check the test square before taping any pages.
- Sort the page tiles by number and row before you trim.
- Trim overlap margins only when the file calls for them; leave butt-joined edges intact.
A PDF sewing pattern usually arrives as page tiles. The fastest sensible way to put it together is blunt: print at 100%, check the test square, trim the overlap where needed, then tape the pages in order. That’s the basic job. Skip one of those steps and the whole stack can wander off-size. The sections below cover off-size printing, crooked joins, and pages that slide out of alignment in a PDF sewing pattern. For more on print scaling, Adobe explains why “Actual size” matters in its PDF print settings help, and Tilly and the Buttons gives a useful overview of home printing basics. Once the pages are taped, the tutorial on how to read a sewing pattern can help with the next stage.
What you need before you tape a PDF sewing pattern
Imagine the file is open and the pages are spread across the table. Before anything else, gather a printer, scissors, tape, page tiles, and a test square; otherwise, the job turns into guesswork.
Luckily, no special kit is required. A basic home printer, paper scissors, clear tape or masking tape, and a flat surface handle most PDF sewing pattern files just fine.
Use this short list first:
- Printer set to no scaling or actual size
- Scissors for trimming the page margins
- Tape for joining the sheets
- Page tiles printed in full
- Test square checked before you cut anything out
The printer setting matters more than the tape. If the pages print at the wrong scale, the pattern pieces can be off even when the joins look tidy.
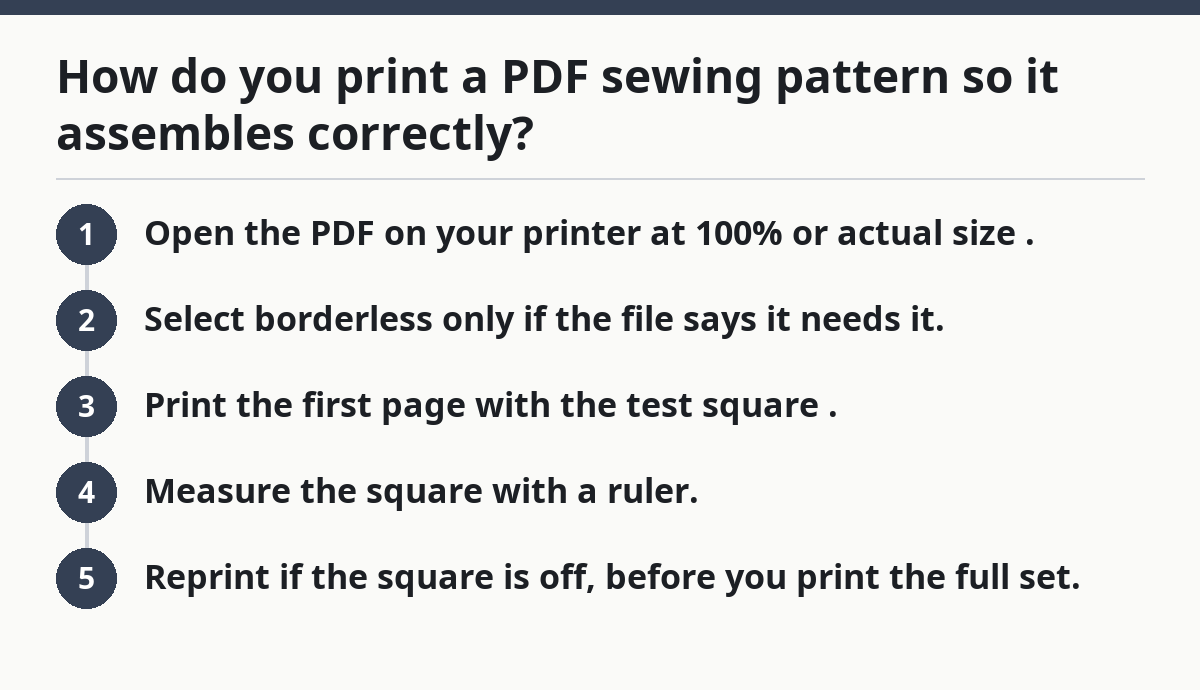
How do you print a PDF sewing pattern so it assembles correctly?
Print a PDF sewing pattern at 100% or actual size, then check the test square before you tape a single page. That keeps the page tiles the right size, which is what makes the lines meet where they should.
Why does the print dialog matter so much? Because PDF files often default to “fit to page,” and that shrinks or stretches the pattern. One click can change the finished garment fit. Ugly math, really.
Use this print check:
- Open the PDF on your printer at 100% or actual size.
- Select borderless only if the file says it needs it.
- Print the first page with the test square.
- Measure the square with a ruler.
- Reprint if the square is off, before you print the full set.
If the file has layers or size options, print only the size range you need. That saves paper and makes the page stack easier to sort.
Page order matters too. Some files begin with instructions, then size charts, then the tile pages. Don’t tape the wrong pages together just because the file opens with a cover sheet.
Sort the page tiles before you touch the tape
Sort the page tiles by page number and row before trimming anything. Otherwise, the pattern can turn into a puzzle with missing corners.
A lot of readers skip this and end up taping page 4 to page 17 because the sheets all look alike. Don’t do that. The printed page number, small tile marker, or corner label tells you where each sheet belongs.
Use this sorting method:
- Stack the printed pages in page-number order.
- Group pages with the same pattern section together.
- Check that the tile labels increase left to right and top to bottom.
- Set aside pages that belong to separate pattern pieces or print layers.
Some PDFs split one garment into more than one tiled section. Mix them up, and the edge lines stop matching; then you waste time untaping and doing it again.
A clean stack saves more time than any clever shortcut. If the file includes an instruction page that shows the layout map, keep it visible while you work.
Do you trim PDF sewing pattern pages before taping?
Trim the overlap margin before taping if the pattern includes one. Leave the edges intact if the file says to butt pages edge to edge. The layout tells you which method it expects.
Most PDF sewing patterns use a white margin or overlap strip so one page can sit on top of the next. Trim that strip, not the printed pattern line. Cut only enough to expose the join line.
Use this trimming rule:
- Trim the top or left margin on the pages that will overlap.
- Leave the bottom or right edge uncut unless the layout says otherwise.
- Keep the printed line visible at the edge.
- Avoid cutting into the pattern piece itself.
The trade-off is plain. Trimming takes a little time up front, but it makes the page edges line up cleanly. Skip it on a file that expects overlap, and the pages bow outward while the tape job goes crooked.
A small paper trimmer can help, but scissors work fine. The goal is a straight edge, not a fancy stationery finish.
Tape the pages in order without shifting the pattern lines
Tape the pages by aligning the crop marks, not the paper edges, and fasten one join at a time. That keeps the printed lines continuous across the sheet.
Picture two pages on the table. The corners may look nearly right. “Nearly” is not enough here. The page tiles need to meet at the marks, or the pattern line will jump at the seam.
Follow this assembly order:
- Place the first row of pages face up in order.
- Align the top corners and crop marks of the first two pages.
- Tape one edge first, using short strips.
- Check the printed line across the join before taping the rest.
- Repeat across the row, then build the next row beneath it.
- Join the rows by matching the crop marks and printed lines.
- Press each taped seam flat before moving on.
Short tape strips are easier to control than one long strip. They let you lift and correct a page before the whole join is sealed. Clear tape shows the line through it, but matte tape can be easier to read under bright light.
Only the corners and marks need to be exact. The paper edges can look messy as long as the printed grid and pattern lines stay true.
How do you line up PDF pattern pages?
Match the printed marks, grid lines, and crop corners rather than the outside paper edge. That outer edge can vary a little from printer to printer, but the marks are the real guide.
This is where plenty of people get stuck with a PDF sewing pattern. One page may sit a millimeter high, and then the whole row starts drifting. Stop there; fix the first bad join instead of hoping the next page will rescue it.
Use this alignment check:
- Match the top-left crop mark to the next page’s top-right crop mark.
- Hold the pages against a window or light table if the paper is thin enough.
- Watch the printed line through the overlap before you tape.
- Flatten the seam and inspect the next row before moving on.
If the file has a bold rectangle around the test square, use that same visual habit on every join. Straight joins usually come from careful corners, not force. Paper bullies back.
One honest limitation: if your printer feeds paper slightly skewed, every page may be off by the same angle. In that case, reprint the first few pages after adjusting the paper feed, not after taping the whole set.
Common mistakes that waste time and paper
Wrong scale, skipped trimming, and taping before checking alignment are the most common mistakes. Those three errors burn through paper fast because they turn one clean assembly into a pile of reprints.
A bad print setting is the biggest loss. If the test square measures wrong, the pattern size is wrong, full stop. Taping pages anyway only hides the problem for a while.
Watch for these failures:
- Print scaling on “fit to page” instead of actual size
- Pages out of order after sorting the tiles
- Trimming the wrong edge and cutting off the join line
- Too much tape covering the printed pattern
- Skipping the test square and assuming the file printed correctly
Use small corrections instead of large ones. If one page is off, fix that join before you tape the whole row. If the square is wrong, stop and reprint. If the page stack is mixed up, resort it before you cut anything else.
A rushed assembly can look fine from a distance and still be unusable once you try to cut fabric. That’s a frustrating place to land.
What should a finished PDF sewing pattern look like?
A finished PDF sewing pattern should lie flat, show continuous lines across every seam, and still display the page numbers or tile labels where possible. If the pattern piece lines jump at the joins, the assembly needs correction.
Look for these signs that the job is done right:
- No gaps between the printed lines at the joins
- No overlap that hides a seam line
- No curl that makes the pages buckle
- No missing pages in the tile sequence
A quick last check helps before you cut the assembled sheet apart for fabric work. Hold the pattern up to the light or glance along a long seam line; if the line flows cleanly across the joins, the tape job is sound.
If you want to go further with pattern work after this, the hub on reading sewing patterns can help you move from assembly to the next stage without guessing. For print setup details, Adobe’s PDF help and Tilly and the Buttons are both useful references.
FAQ
How do I print a PDF sewing pattern?
Print a PDF sewing pattern at 100% or actual size and verify the test square before printing the full set. That setting keeps the pattern pieces at the correct scale. If your printer defaults to “fit to page,” change it before you print.
How do I line up PDF pattern pages?
Match the crop marks, corner marks, and printed lines on PDF pattern pages, not the outside paper edges. Start with one row, tape one seam, and check the line before sealing the rest. If the first join is off, fix it right away.
Do I need to trim PDF pattern pages before taping?
You usually need to trim the overlap margin on PDF pattern pages, but only if the file is designed that way. The layout sheet or printed edges will show whether the pages overlap or butt together. Trim only the margin, not the pattern line.
Drafted with AI; not yet reviewed by a person.