Last updated: November 18, 2026
Quick Answer: Sewing Machine for Beginners: Parts, Settings, and First Stitches is easiest to start with a simple setup: 1 stitch type, 1 fabric, and a 10 cm test seam.
Key Takeaways
- Day one essentials: needle, bobbin, presser foot, thread spool, stitch selector, handwheel, take-up lever, and tension dials.
- For a first seam, use straight stitch, medium length, and a fresh universal needle.
- The bobbin and thread path must be seated correctly before sewing, or stitches may not form cleanly.
- A good first test is a straight 10 cm seam on two layers of woven cotton.
A sewing machine for beginners is easiest to learn when you treat it like a simple path for thread, cloth, and one needle moving up and down in a straight line. The first goal is not to sew a garment; it is to recognize the parts, choose a safe starter setup, and make a clean 10 cm test seam on woven cotton without tangles or skipped-looking mess. For model-specific help, consult your machine manual or a sewing machine technician.
The sewing machine parts you need to know first
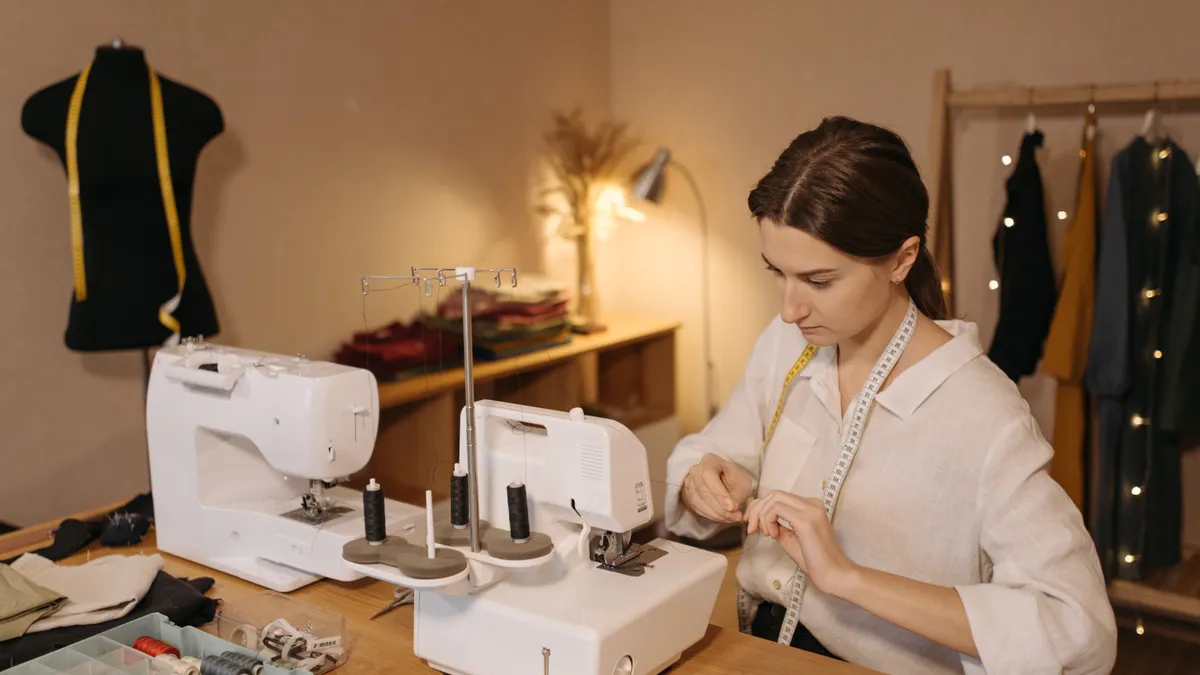
The parts that matter on day one are the needle, bobbin, presser foot, thread spool, stitch selector, handwheel, take-up lever, and tension dials. If you can point to those pieces on a basic mechanical model, you already understand most of the setup.
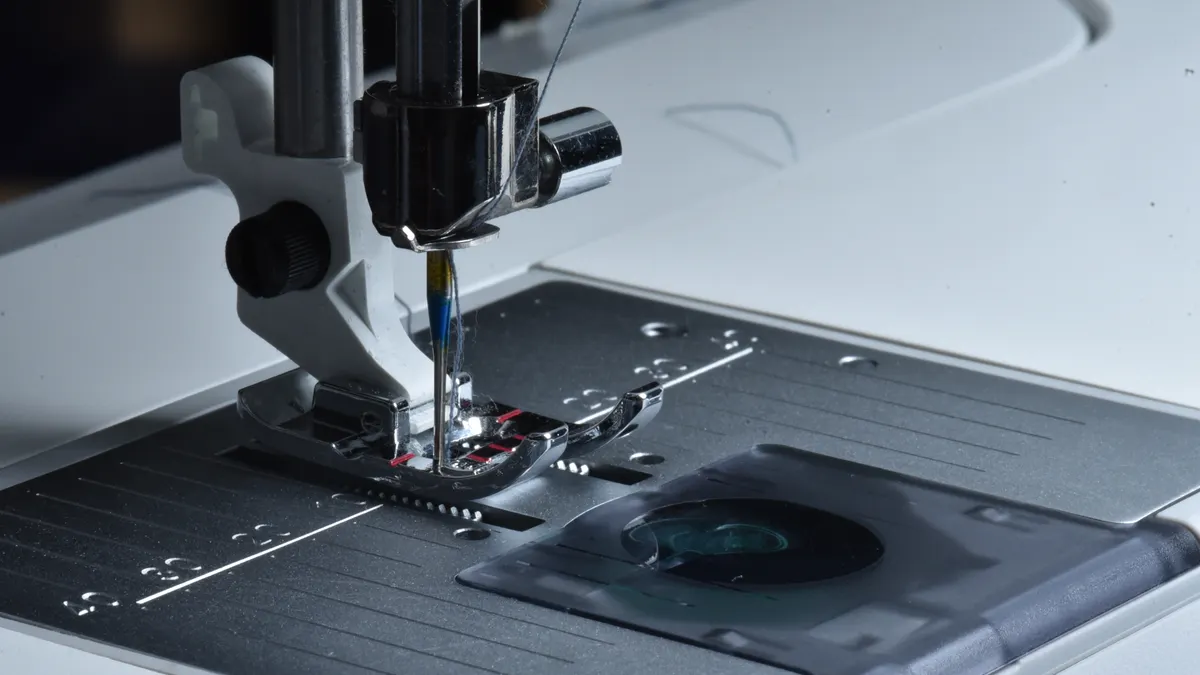
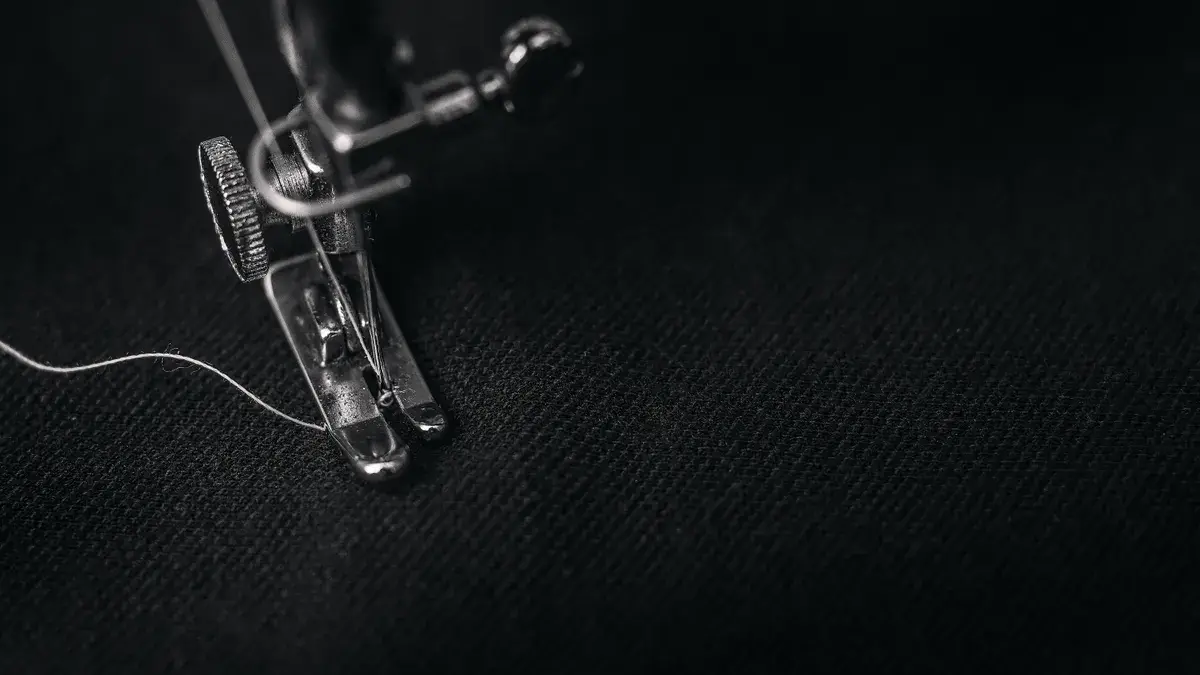
The needle is the part that goes through the fabric and returns the top thread to the underside. The bobbin holds the lower thread in a small case or drop-in compartment. The presser foot holds cloth flat while the feed dogs move it forward under the needle. The thread spool sits on the top pin or rear spindle, and the thread path runs from there through guides to the needle.
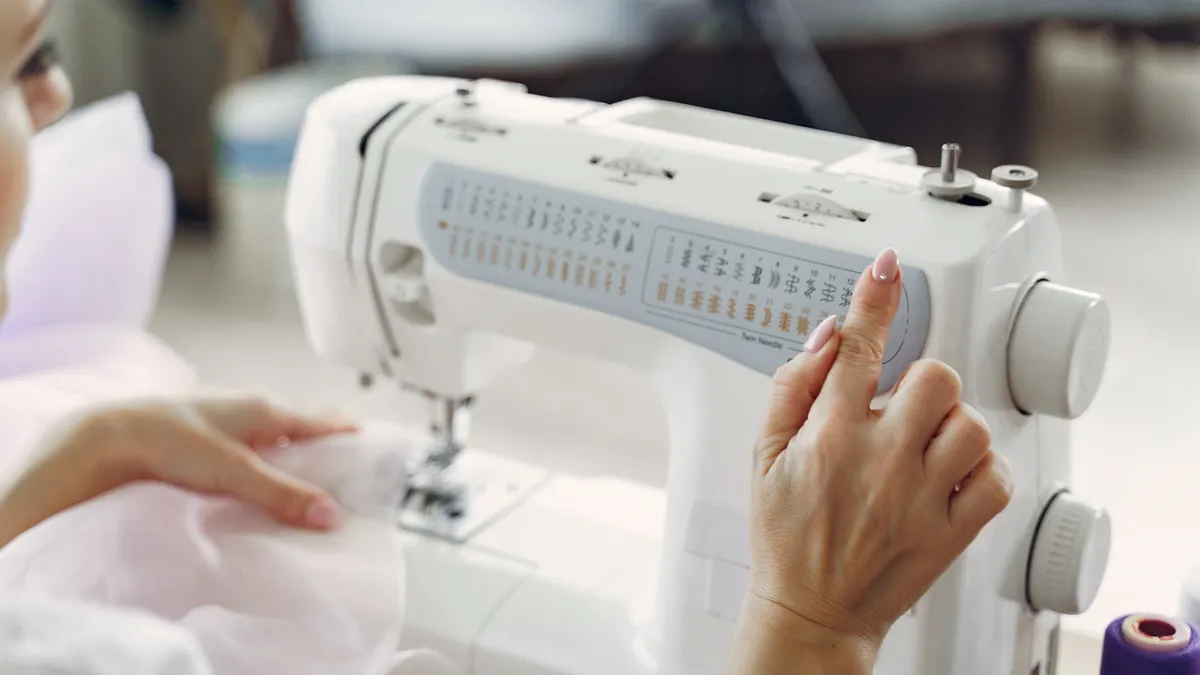
The stitch selector chooses the stitch type, usually straight stitch, zigzag, or a few decorative options. For a first seam, straight stitch is the right choice almost every time. On many beginner machines, stitch length is marked from 0 to 5 mm; a setting around 2.5 to 3 mm is a sensible starting point for woven cotton. The handwheel lets you raise and lower the needle one stitch at a time, which is useful for placing the fabric or checking where the needle lands.
A generic guide often skips one unglamorous part: the presser foot lever. That lever lifts the foot so fabric can slide under it, and lowers it so sewing can begin. If the foot is up, the machine should not be sewn on. That rule matters because the thread cannot be held correctly without the foot down.
For first-day setup, it also helps to know the difference between the needle clamp and the presser foot bar. The clamp holds the needle in place; the bar holds the foot. Beginners often confuse them because both sit near the front of the machine. Read the manual for the exact locations on a Singer Heavy Duty 4423, Brother CS7000X, Janome 2212, or any other model you have. The layout is similar, but the labels vary.
What settings should a beginner use on a sewing machine?
Use straight stitch, medium stitch length, and a fresh universal needle for your first seam. That combination gives the cleanest start on ordinary cotton and keeps the setup simple enough to learn the rest of the controls one at a time.
Start with these settings:
- Select straight stitch on the stitch selector. You want one simple line of stitches, not zigzag or stretch stitches.
- Set stitch length to about 2.5 to 3 mm. A shorter stitch can make unpicking harder; a longer stitch can look loose on light cotton.
- Leave stitch width at 0 for straight stitch. Width matters only when the needle moves side to side.
- Use a size 80/12 universal needle for medium-weight woven cotton. That size is a common starting point for beginners because it works on many basic fabrics without being too fine or too heavy.
- Place the presser foot for standard sewing, usually the all-purpose or zigzag foot. It has a wide opening and works with straight stitch.
- Keep the upper thread and bobbin thread the same general type, such as all-purpose polyester thread, until the setup feels stable.
The most common beginner mistake here is changing too many controls at once. A decorative stitch, fine needle, slippery fabric, and unknown thread tension make it hard to tell what caused the problem. A plain cotton remnant makes a much better teaching fabric than satin or knit jersey.
If the machine has a needle position control, choose center needle for the first seam. That gives the widest margin on both sides of the foot and makes it easier to keep the line straight by watching the edge guide on the throat plate or needle plate. Most beginner manuals call this plate the needle plate; some call it the throat plate. The line markings on it are useful once you line up fabric edges against them. For more on basic stitch controls, see the guide to sewing machine stitches.
How do I set up the thread path and bobbin before I sew?
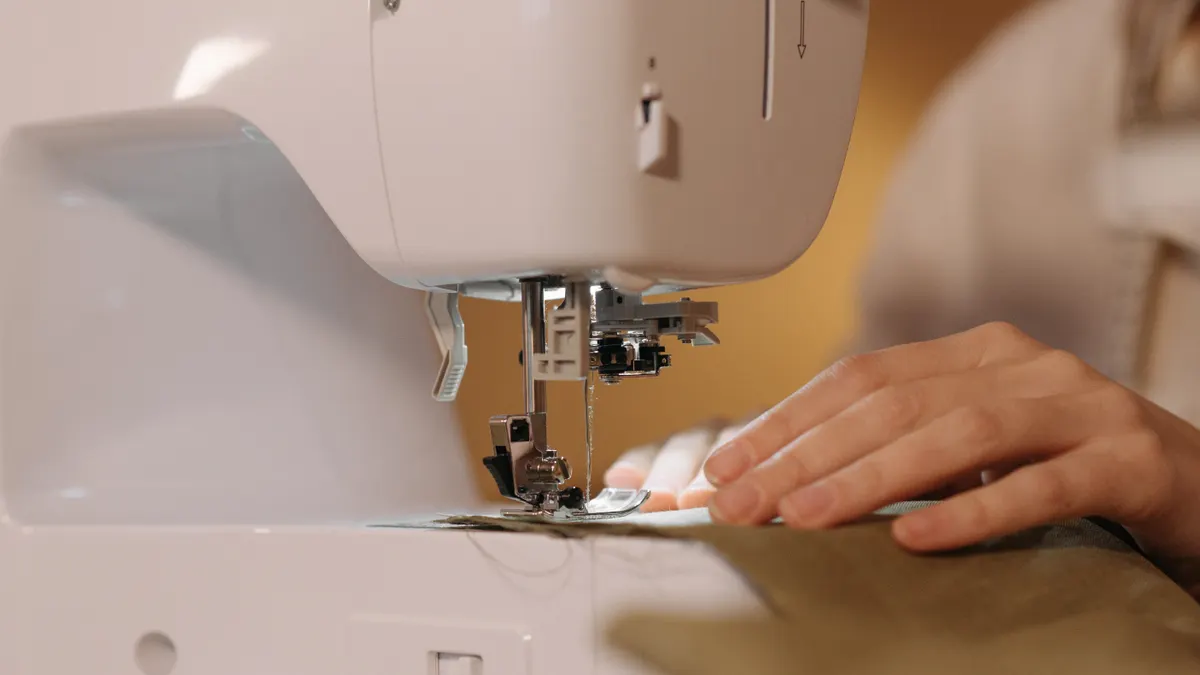
The thread path and bobbin both need to be seated correctly before the first stitch, or the seam will not form cleanly. The exact threading route depends on the model, but the logic is the same: thread comes off the spool, passes through guides and tension points, enters the needle, and meets the bobbin thread below.
Here is the core setup sequence for a first seam:
- Put a thread spool on the spool pin and secure it with the cap if your machine uses one. A stable spool feeds thread more evenly than a loose one.
- Raise the presser foot. This opens the upper tension discs so the thread can seat in them properly.
- Follow the printed thread path on the machine body, moving through each guide in order. The result should be a visible route from spool to needle with no skipped hook or lever.
- Guide the thread through the take-up lever and down toward the needle area. If the lever is not threaded, the machine usually cannot form a proper stitch.
- Insert the bobbin in the direction shown by the bobbin case or lid diagram. The thread should unwind the way the manual specifies, not randomly.
- Pull both thread tails toward the back under the presser foot, leaving about 10 cm of each.
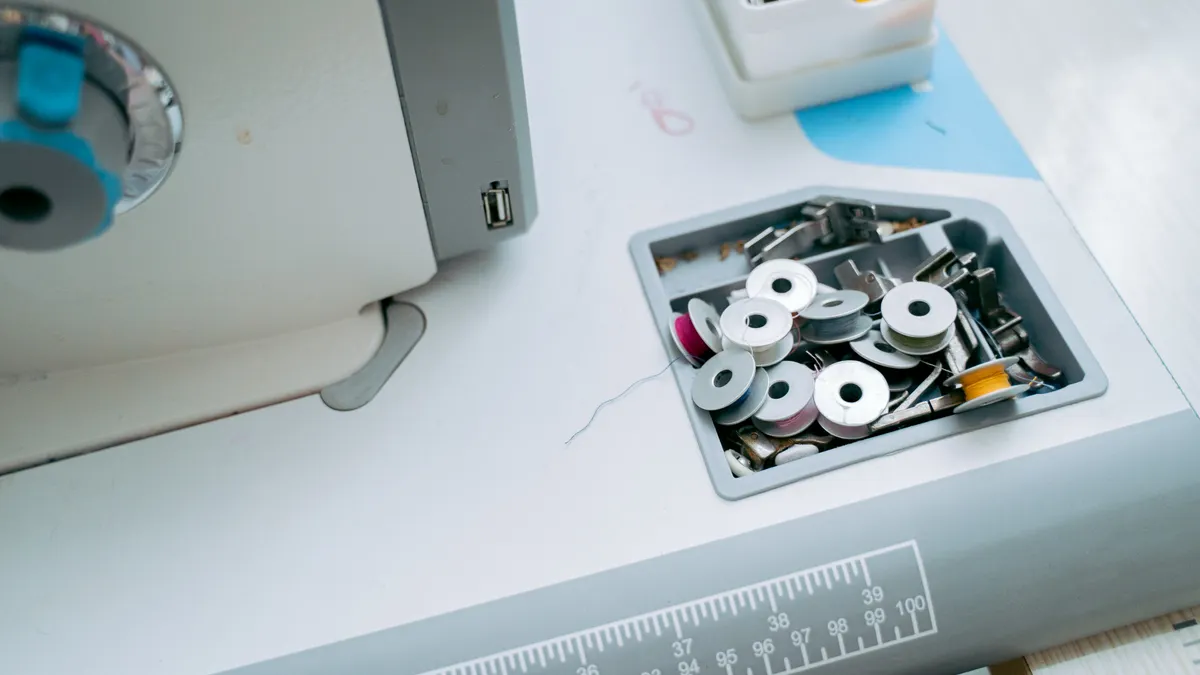
The bobbin winding process is its own topic, so the useful rule here is this: the bobbin should look even and snug, not loose at the edges and not overfilled past the marked line. A bobbin wound too loosely can create uneven feeding; one wound too tightly may sit poorly in the case.
One detail many beginner guides leave out: if the machine has a top drop-in bobbin, the thread direction often matters more than people expect. A common orientation is counterclockwise, but the correct direction is the one shown in the bobbin compartment diagram for your machine. Do not guess from memory. The same goes for front-loading bobbin cases; the little spring path must catch the thread as designed.
For authority on thread and needle basics, the sewing machine manuals from Brother and Janome are worth reading because they show the exact diagrams for common home models. The American Sewing Guild also publishes beginner-friendly machine guidance, which is useful when the manual feels too terse. For additional machine diagrams, see Brother support and Janome manuals.
Make your first test seam on woven cotton
Your first seam should be a straight 10 cm line on two layered scraps of woven cotton. That gives a clear result with minimal risk and shows whether the machine is feeding, forming stitches, and holding the fabric layers together.
Use two pieces of cotton about 15 cm by 15 cm. Place them right sides together if you want to practice a real seam finish, or stack them with the printed side up for a pure test. Line up one edge with the seam guide on the needle plate. Lower the presser foot before sewing.
Then sew slowly:
- Hold the thread tails for the first two or three stitches. This keeps the threads from being pulled under the fabric at the start.
- Turn the handwheel toward you if you want one needle cycle to confirm the needle clears the fabric.
- Press the foot control gently and sew 1 to 2 cm, then settle into a steady pace. A beginner does better at a slow walking speed than at a fast start-stop rhythm.
- Guide the cloth lightly with both hands. Do not push hard; let the feed dogs move it.
- Stop after about 10 cm, then raise the needle, lift the presser foot, and pull the fabric out to the back.
A clean first seam has evenly spaced straight stitches on top and a matching line on the underside, without loops or snarls. If the seam veers sideways, the fabric was probably not aligned to the guide or the speed changed too sharply. If the stitches look tiny and bunched, the length is probably too short for a first practice seam. For stitch-length basics, see how to choose stitch length.
This is also the moment to notice how the needle enters the fabric. A size 80/12 needle should slide through two layers of cotton without obvious resistance. If the handwheel feels sticky or the needle bends, stop and recheck the needle installation before sewing further. A bent needle can damage the fabric and the plate.
Common beginner mistakes that waste thread and fabric
The biggest beginner mistakes are using the wrong needle, sewing with the presser foot up, and testing on the wrong fabric. Those errors cost time, fray thread, and make the first results look worse than the setup actually is.
A dull, bent, or incorrect needle is the first thing to replace if stitching looks erratic. Needles are inexpensive compared with the confusion they create when ignored. For woven cotton, a fresh universal 80/12 is a practical starting point. For denim or heavy canvas, a denim needle is usually more appropriate; for knits, a ballpoint or stretch needle is often the better choice. The wrong needle type can punch bad holes, skip threads, or make the machine sound rough. If you are moving from cotton to denim, the denim sewing guide covers the needle choice in more detail.
Sewing with the presser foot raised is another common problem. That leaves the upper thread too loose in the tension system. The result can be thread nests under the fabric or a seam that does not lock properly. Lower the foot before pressing the pedal, every time.
A third mistake is starting on slippery or stretchy cloth. Silk, rayon, chiffon, and jersey add variables that hide whether the machine is set up correctly. Woven cotton quilting scraps are better teaching material because they stay flat and show the stitch line clearly.
Thread choice matters too. Cheap, old, or fuzzy thread can shed lint and break more easily than standard all-purpose polyester. That does not mean every expensive thread is better; it means the first setup should use a common, plain thread so you can blame the right part when something goes wrong. For thread basics, see the thread guide.
Finally, do not sew over pins at full speed. Some sewers do it occasionally, but a beginner is better off removing pins before the needle reaches them. Hitting a pin can nick the needle point or throw off the seam. A 10 cm practice seam is short enough that this extra step is worth it.
How to tell if the setup is right before you move on
The setup is right when the machine stitches a short sample cleanly on cotton, with no thread bunching, no visible dragging, and a smooth handwheel motion. That matters more than the brand name on the front panel or the number of built-in stitches.
Check the underside of your test seam. The stitches should form a balanced line, not huge loops or loose knots. The fabric should feed evenly, without one layer creeping ahead of the other. The needle should rise and lower without scraping the plate. If the seam looks straight and the machine sounds steady, the basic setup is good enough to begin simple projects like pillow covers, hem samples, or tote bag practice.
If the result is not clean, change only one thing at a time. Swap the needle first, then recheck the bobbin orientation, then confirm the upper thread path, then confirm the stitch length. That order keeps the learning process manageable. Beginners often touch every dial at once and lose track of what solved the issue.
A useful rule is to keep a small setup log on paper: needle size, fabric type, stitch length, and any change made before the seam improved. It does not need to be formal. A note like “cotton scraps, 80/12 needle, 3 mm straight stitch, presser foot down” is enough to repeat later.
Do not move on to knit fabrics, zippers, or tricky seams until the first seam is easy to repeat. One reliable 10 cm line teaches more than three half-working attempts on the wrong material.
What a beginner should learn next after the first seam
After the first seam, the next useful skill is repeating the same setup until it feels automatic. That means changing thread, practicing seam allowances, and learning the speed control on the foot pedal before trying garments or repairs.
A simple next step is to sew three more 10 cm seams on the same cotton scraps, using the same settings each time. If the results stay consistent, change the stitch length from 2.5 mm to 3 mm and compare the look. Then try a 1 cm seam allowance and a 1.5 cm seam allowance to see how the fabric edge lines up with the markings on the needle plate. Those numbers teach measurement without adding a new technique.
A second step is to practice pivoting at a corner. Sew 5 cm, stop with the needle down, lift the presser foot, turn the fabric 90 degrees, lower the foot, and continue. That one move teaches control without requiring a full project.
The important limitation: this beginner setup is not the right starting point for advanced repairs, timing problems, or tension troubleshooting. Those are separate subjects and deserve their own attention. A machine that threads, feeds, and sews a clean straight line is ready for beginner work. A machine that does not do those three things is not a project problem yet; it is still a setup problem.
For deeper reference, the manual for your exact model and a reputable beginner guide from the manufacturer are better than random video clips because they match the controls on your specific sewing machine. That saves time, and it keeps the first habit simple: choose a model, follow the diagram, sew a short sample, then adjust only one thing at a time. For broader setup help, see sewing machine maintenance.
Frequently asked questions
How do I thread a sewing machine?
Follow the printed thread path on the body of the sewing machine, with the presser foot raised and the needle in its highest position. The exact route varies by model, but the path usually runs from the thread spool through guides, tension points, the take-up lever, and then the needle.
What tension should I use for beginners?
Start with the default upper tension setting on the dial, often marked around 4 or 5 on many home models. A beginner setting around 4 or 5 is a common starting point for ordinary woven cotton, because that gives a neutral baseline before any fine-tuning.
Drafted with AI; not yet reviewed by a person.