Last updated: November 18, 2026
Key Takeaways
- Under the fabric, the problem often looks like a loose-thread nest below and weak stitches above.
- The upper thread is usually the first fix because one missed guide or tension disc can cause birdnesting fast.
- Yes, the bobbin can cause thread bunching under the fabric if it is backward, unevenly wound, or not seated correctly.
- The needle plate area can trigger bunching when lint, broken thread, or scraps clog the feed dogs and bobbin opening.
Thread bunching under the fabric in Why Is My Thread Bunching Under the Fabric? usually means the upper thread is not being pulled into the stitch path correctly, or the bobbin side is not sitting cleanly in its case. The fix is usually simple: rethread the top path, check the bobbin, and make sure the needle plate area is clear before you touch tension. Most cases of birdnesting are caused by threading errors, not by a mysterious failure inside the sewing machine.
What thread bunching under the fabric usually means
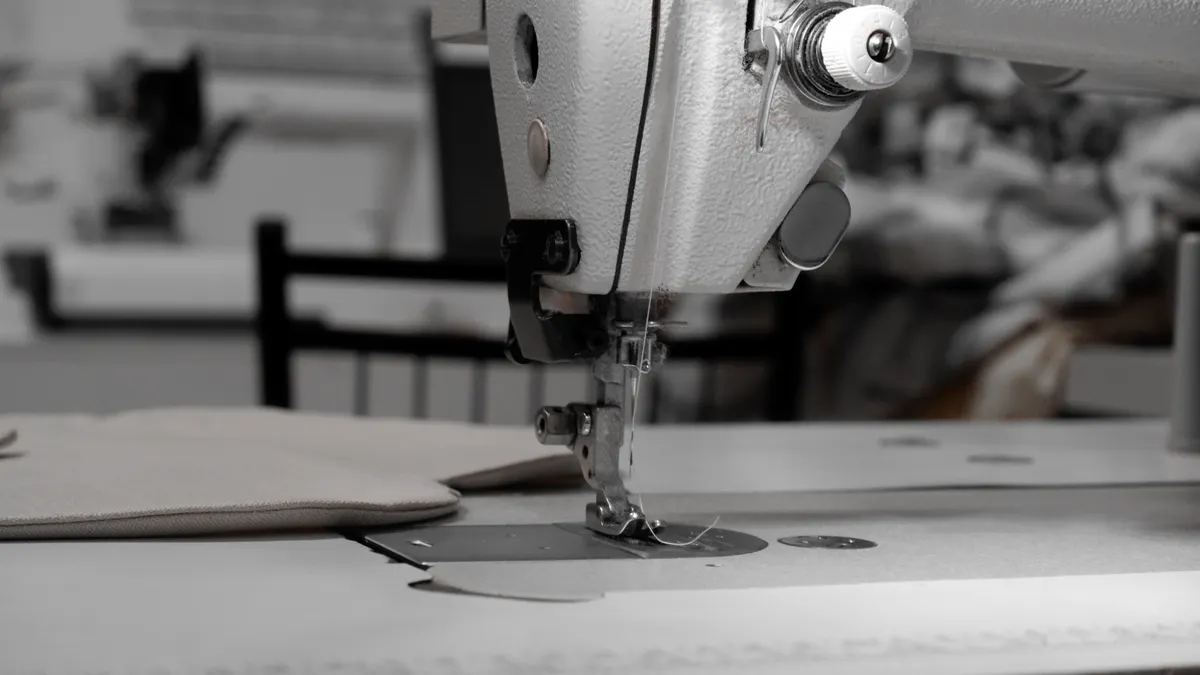
Thread bunching under the fabric means the stitches are not forming in the middle of the layers; the upper thread is looping below the needle plate instead of locking cleanly with the bobbin thread. On many machines, that pile-up shows up as a nest of loose thread on the underside and a line of weak stitches on top.
If the top thread is not fully seated in the tension path, the bobbin can pull extra slack downward. If the bobbin is inserted wrong, the upper thread may still move, but it cannot lock in a stable stitch. If lint or thread scraps are packed around the needle plate, the thread can snag and collect there.
That pattern matters more than the mess itself. A wad of thread under the fabric after 2 or 3 stitches is usually a start-of-seam problem. Bunching that appears after several inches can point to a needle issue, a snag under the throat plate, or a thread path that slips only when speed increases. That difference saves time because it tells you where to look first.
For general machine setup, the basic sewing machine guide on this site is the better starting point. This page is for the specific problem of thread bunching and birdnesting under the fabric, not for beginner setup from scratch.
Fix the upper thread first, because that is the most common cause
The upper thread is the first thing to correct because a single missed guide, missed tension disc, or half-closed presser foot can cause a birdnest under the fabric in seconds. This is the part of the problem a lot of generic advice gets wrong: it jumps straight to tension numbers and ignores the threading path.
Use this order:
- Raise the presser foot and rethread with the needle up. The open presser foot lets the thread seat into the tension discs. If the foot is down, the thread can ride outside the discs and look threaded when it is not.
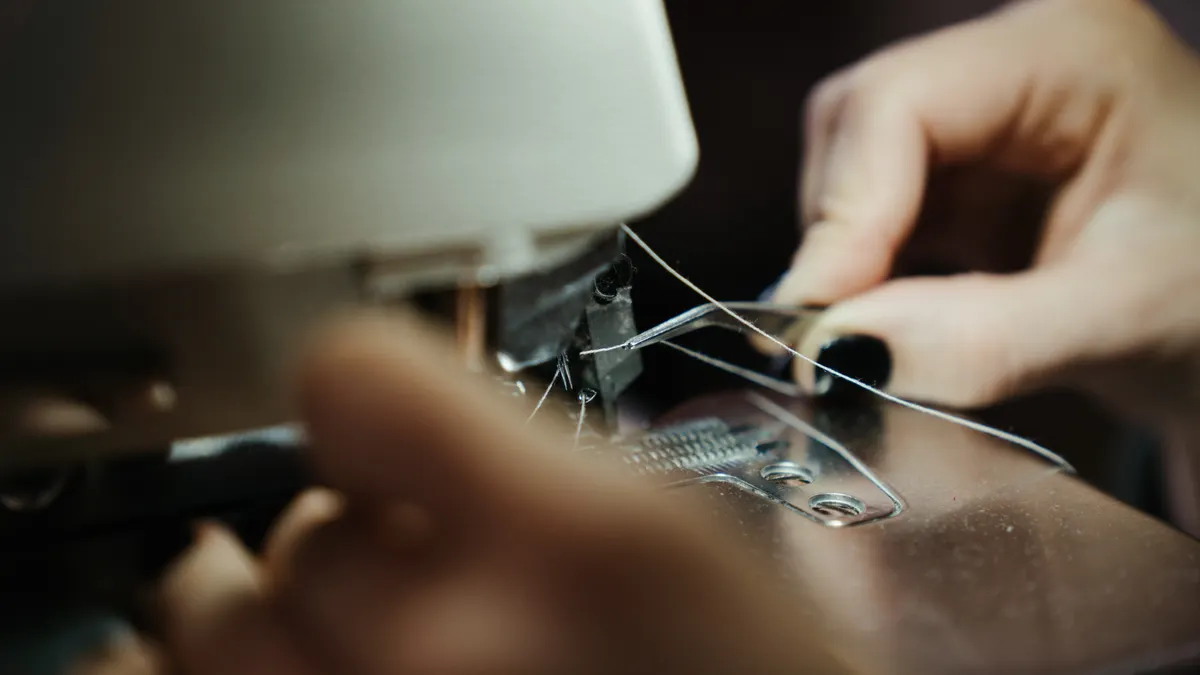
- Pull the thread through every guide exactly once. Most home machines use a path with a spool pin, a take-up lever, and lower guides. Miss one guide and the thread may feed unevenly, especially at the first few stitches.
- Thread the needle fully and leave a 10–15 cm tail. A short tail can slip back out as the stitch begins. A longer tail gives the thread enough slack to form the first lock.
- Hold both thread tails for the first 3–4 stitches. This keeps the threads from being dragged under the fabric before the stitch structure catches.
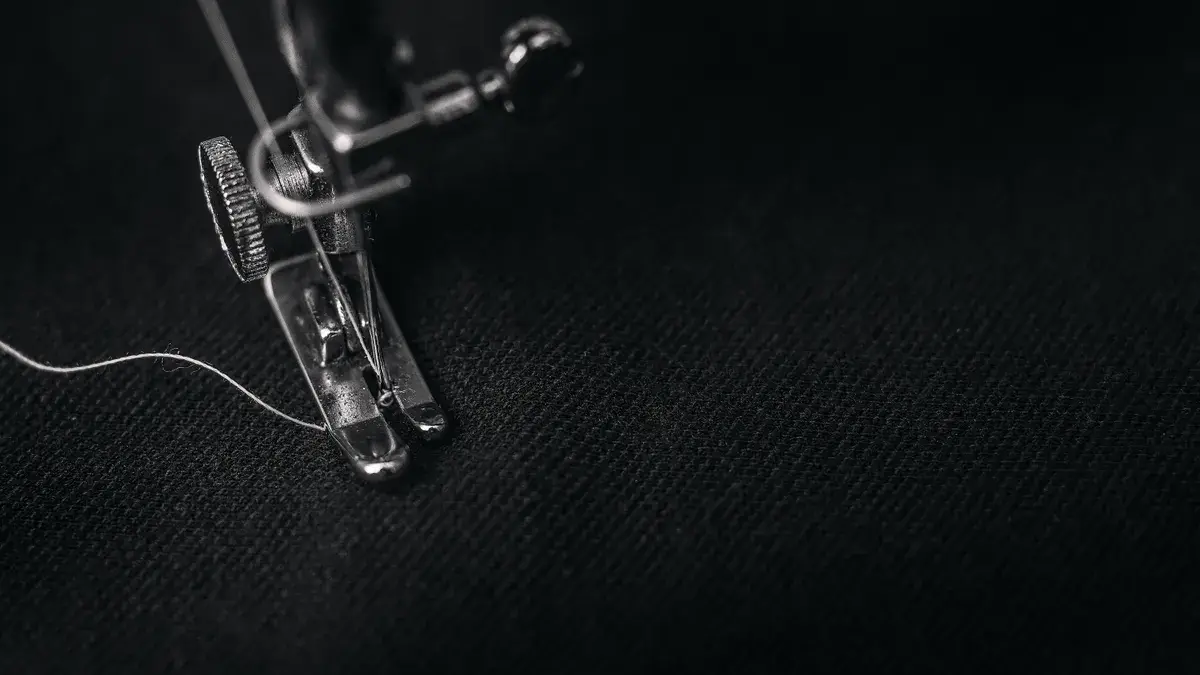
- Lower the presser foot before stitching. If the foot stays raised, the top thread has no real tension, and the result is loose loops below.
A useful check is the feel of the top thread after rethreading. It should offer steady resistance when you pull it through with the presser foot down, not slide freely. If it still feels loose, the thread is not seated correctly or the thread has snagged somewhere above the needle plate.
Very thick decorative thread, fuzzy thread, or old thread with weak twist can also behave badly even when threaded correctly. If the thread itself sheds lint or catches in the guide holes, replace it before chasing other causes.
Is the bobbin the reason thread is bunching under the fabric?
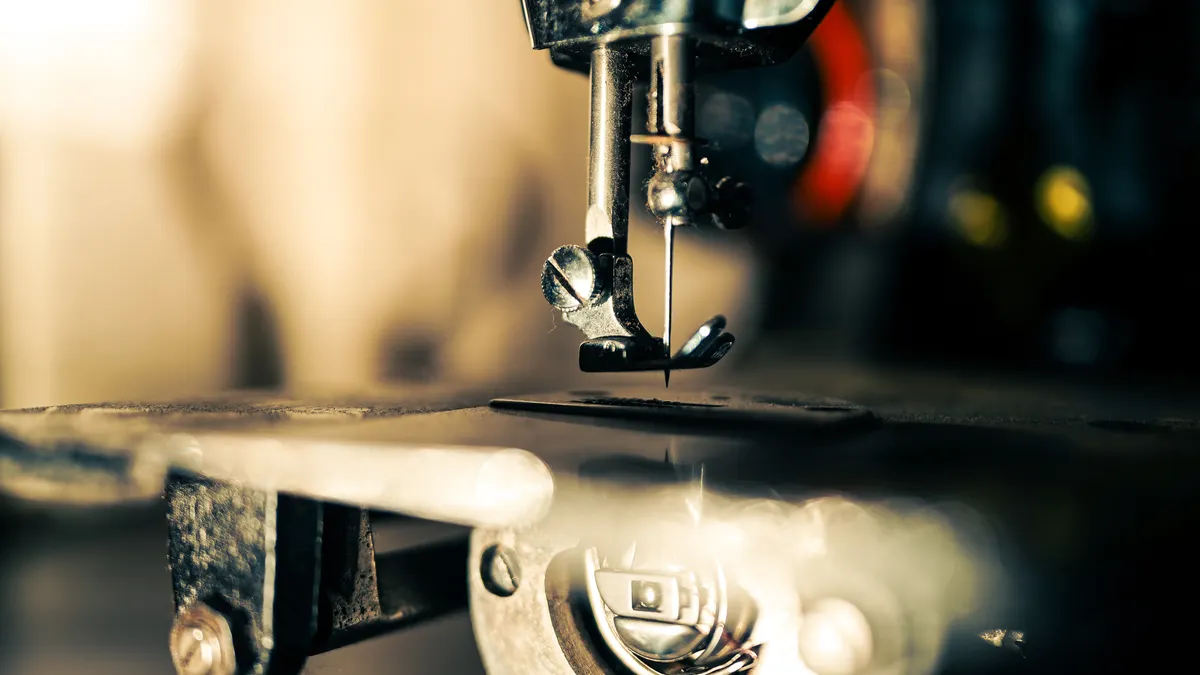
Yes, the bobbin can be the reason thread is bunching under the fabric, especially if the bobbin is inserted backward, wound unevenly, or not seated in the case. A bobbin problem often shows up as sudden looping on the underside even when the upper thread looks fine.
Start with the bobbin itself:
- Check orientation. Many front-load and top-load systems require the bobbin to unwind in one specific direction. If it spins the wrong way, the thread can feed inconsistently.
- Look for uneven winding. A bobbin wound with tall ridges or loose sections can jerk as it turns. That changes stitch formation enough to create nests under the fabric.
- Check that the bobbin is the correct style for the model. A bobbin that is close but not exact can sit too high, drop too low, or feed unpredictably.
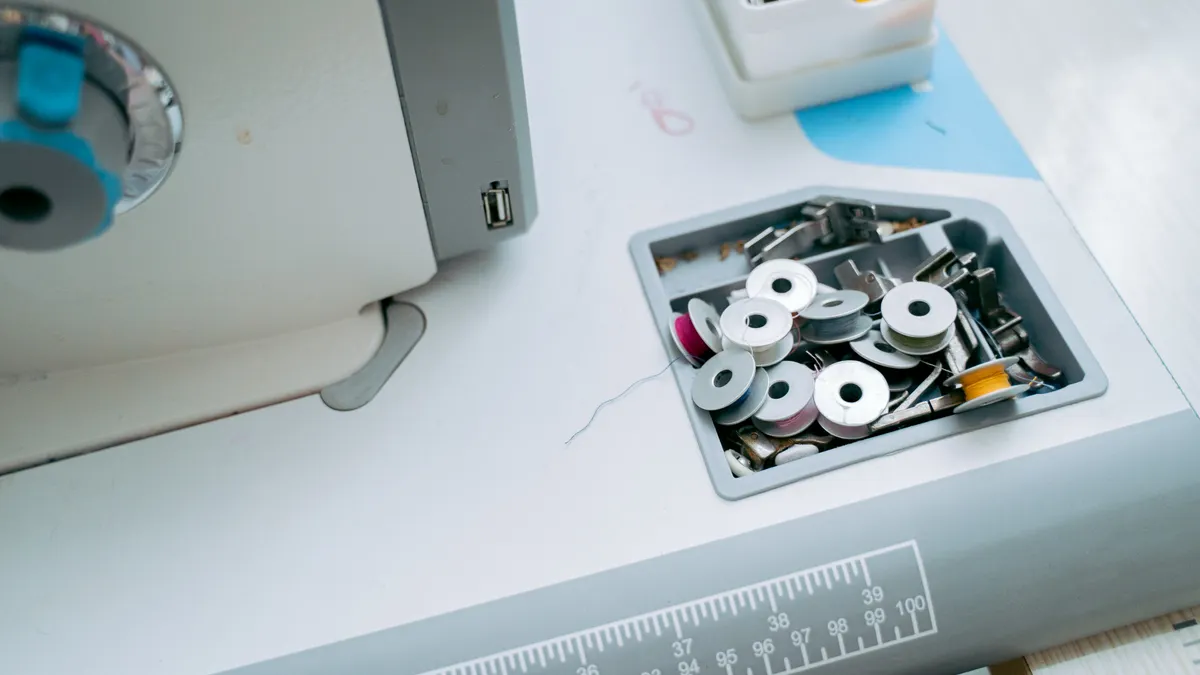
- Inspect the bobbin case and race for lint. A small wad of lint in the case can make thread drag in one spot and free-run in another.
If the thread on the bobbin looks loose or knotted, rewind it. If the bobbin case has a visible scratch or burr, the thread may snag every time it passes that edge. A scratch that looks tiny to the eye can still be enough to upset the stitch path.
One practical test is to remove the bobbin, reinsert it, and make sure the thread draws out with even resistance. It should not jerk, jam, or spin too freely. If the bobbin is correct and the issue remains, the problem is likely not the bobbin alone.
Some readers replace thread, then tension, then needle, and never check the bobbin size or style. That wastes time because a mismatched bobbin can keep recreating the same underside pile-up no matter how carefully the top is threaded.
Clean the needle plate and the area around it before changing settings
The needle plate area can cause thread bunching under the fabric when lint, broken thread, or fabric scraps build up around the feed dogs and the bobbin opening. A dirty needle plate does not always stop the sewing machine completely; it can just make the thread behave badly in a way that looks like a tension fault.
Open the needle plate if your model allows it, and clear out any compacted lint with a small brush or tweezers. Pay attention to the slot where the needle passes through and the opening around the bobbin. Those edges matter because the thread can catch there during the first few stitches when the fabric has not yet moved smoothly.
Look for three specific problems:
- Lint packed around the feed dogs. This can block fabric movement and pull extra thread under the layers.
- A nick in the needle plate opening. A rough edge can fray or snag the upper thread.
- Loose thread wrapped under the plate. A stray strand can drag unevenly and create loops.
Do not skip this step just because the machine sounds fine. A machine can still stitch and still be wrong. The underside nest often appears because the fabric is not advancing smoothly while the thread is already feeding. That mismatch gives the bobbin thread extra slack to collect.
If you have not cleaned the bobbin area in a long time, this is a sensible place to stop and reset before touching settings. Cleaning is not glamorous, but it avoids the common mistake of “fixing” tension when the real problem is a thread jam under the plate.
Why does bunching happen at the start of a seam?
Thread bunching often happens at the start of a seam because the first 2 or 3 stitches are made before the fabric and thread system settle into a stable rhythm. That is the moment when a missed top-thread guide, a loose tail, or a presser foot left up will show itself most clearly.
The start of a seam is a stress test. The needle is punching through still fabric, the take-up lever is moving, and the feed dogs are just beginning to pull the layers. If the upper thread is not held correctly, the bobbin can drag excess thread downward and build a nest before the seam even gets going.
To reduce start-of-seam bunching:
- Start on scrap fabric if the project fabric is delicate or slippery.
- Hold both thread tails behind the presser foot for the first few stitches.
- Lower the presser foot before you begin.
- Sew 3–4 stitches at a slow speed, then increase speed gradually.
- Use a fresh needle if the one in the machine has already bent, dulled, or hit a pin.
Fabric matters here too. Lightweight cotton, silky synthetics, and loosely woven fabrics can all bunch more easily at the start because they do not hold tension as firmly under the presser foot. A thicker scrap under the first few stitches can help stabilize the start when you are sewing very fine fabric.
If the problem appears only at the seam start and then disappears, that is a useful clue. It usually points away from major mechanical failure and toward handling, thread position, or the first interaction between the needle plate and the fabric.
When tension is the real issue, and when it is not
Tension can be part of the problem, but it is rarely the first thing to blame when thread bunching shows up under the fabric. If the machine is threaded correctly, the bobbin is correct, and the needle plate is clean, then tension settings become worth checking. If those basics are off, changing tension usually masks the real fault for a few stitches and then fails again.
A tension problem is more likely when:
- the top and bottom stitches look uneven over a long run,
- the thread bunching appears after many inches, not just at the start,
- the machine behaves differently with one fabric weight than another,
- the stitch looks balanced on top but messy underneath even after rethreading.
Do not start by turning the tension dial at random. On many machines, a small change can make the problem look better on one seam and worse on the next. If you do adjust tension, change it in small increments and test on the same fabric stack you plan to sew. That makes it easier to return to the original setting if needed.
The honest limitation here is that not every underside nest can be fixed by the user. A bent needle bar, damaged hook assembly, or worn bobbin case can produce similar symptoms. If the same setup keeps bunching after rethreading, cleaning, and bobbin checks, the problem may be mechanical rather than procedural. At that point, a service technician makes more sense than more trial and error.
For broader machine basics and setup order, the hub page on sewing machine basics for beginners is the right next stop.
A practical decision path that saves time
The quickest way to diagnose thread bunching under the fabric is to follow a strict order instead of changing five things at once. Start with the upper thread, because it is the most common cause. Then check the bobbin, then the needle plate area, and only then move to tension or deeper mechanical issues. The Singer manual, for example, also treats threading, bobbin placement, and lint cleanup as the first checks before service.
Use this sequence:
- Cut the threads, raise the needle, and lift the presser foot. This resets the thread path before you touch anything.
- Re-thread the upper thread with the presser foot up. Expect the thread to sit firmly in the guides and tension discs.
- Remove and reinsert the bobbin. The thread should draw out smoothly, without jerking.
- Clear lint and loose thread from the needle plate. The opening and feed area should be clean enough that nothing snags.
- Test on a folded scrap of the same fabric. If the underside is still bunching after 5–6 stitches, the cause is deeper than a simple threading slip.
- Only then adjust tension in small steps. Move one increment at a time and retest on the same fabric.
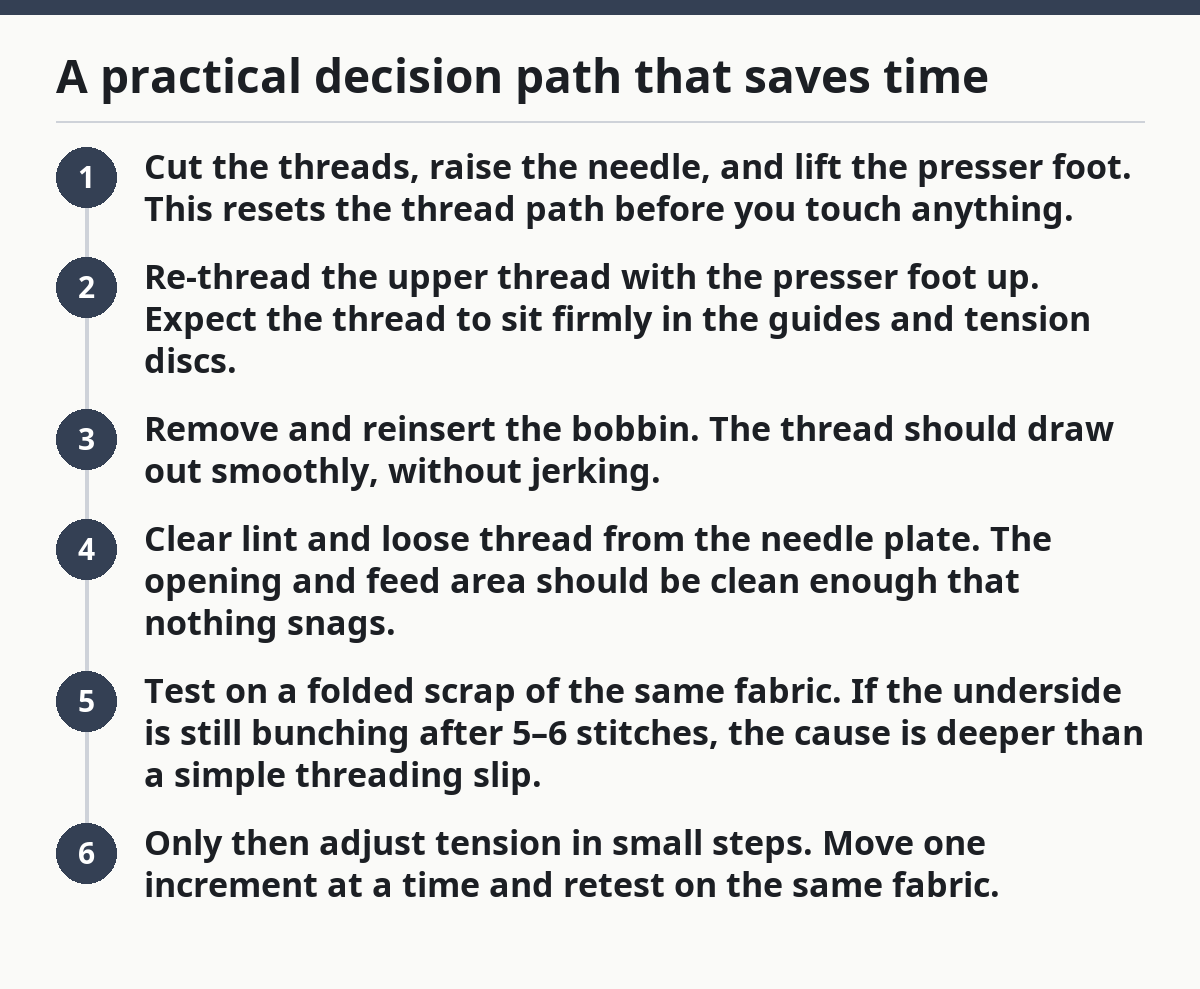
This order matters because each step rules out a whole class of causes. If rethreading fixes it, you are done. If it does not, the bobbin or plate area is the next most likely culprit. If none of those change the result, the issue may be with the needle, the hook timing, or another internal part that is outside the usual home fix.
The judgement here is simple: do not chase tension first. For most thread bunching cases, that is the wrong move and the fastest way to waste fabric.
Is thread bunching always a tension problem?
No, thread bunching is not always a tension problem. In many cases the top thread is not threaded correctly, the bobbin is inserted wrong, or lint around the needle plate is blocking smooth feeding. Tension matters most after the basic stitch path has been confirmed. If the bunching starts immediately, look at threading and bobbin setup first.
Can using the wrong bobbin cause bunching?
Yes, the wrong bobbin can cause bunching under the fabric. A bobbin that does not match the sewing machine model can sit incorrectly, unwind unevenly, or feed with the wrong resistance. That can upset stitch formation even when the upper thread looks fine. If the problem persists after rethreading, check the bobbin style and orientation next.
Why does bunching happen at the start of a seam?
Thread bunching often happens at the start of a seam because the first few stitches are made before the thread path is fully stable. A loose tail, a presser foot left up, or a missed guide can let extra thread collect under the fabric immediately. Holding both tails and sewing slowly for the first 3 to 4 stitches usually helps.
Drafted with AI; not yet reviewed by a person.