Last updated: November 18, 2026
Quick Answer: Wind and insert a bobbin correctly in 3 steps: wind it evenly, seat it in the right direction, and test for smooth pull. A good bobbin should sit flat and feed with light resistance.
A bobbin has to be wound evenly and seated the right way, or the stitch will misbehave. This guide covers How to Wind and Insert a Bobbin Correctly: winding the bobbin, loading it into a bobbin case or drop-in compartment, and checking that the thread path matches the sewing machine you own.
Key takeaways
- Wind the bobbin under steady tension so the thread lays flat, not lumpy.
- Match the insertion method to the machine: drop-in bobbin and front-load bobbin are not interchangeable.
- The bobbin case matters as much as the bobbin itself because it controls lower-thread tension.
- A correctly inserted bobbin sits flat, feeds in the right direction, and lets the thread pull smoothly with no snags.
- If the lower thread loops, birds-nests, or feels too tight, the usual cause is a winding or insertion error, not a mystery setting.
What you need before you start
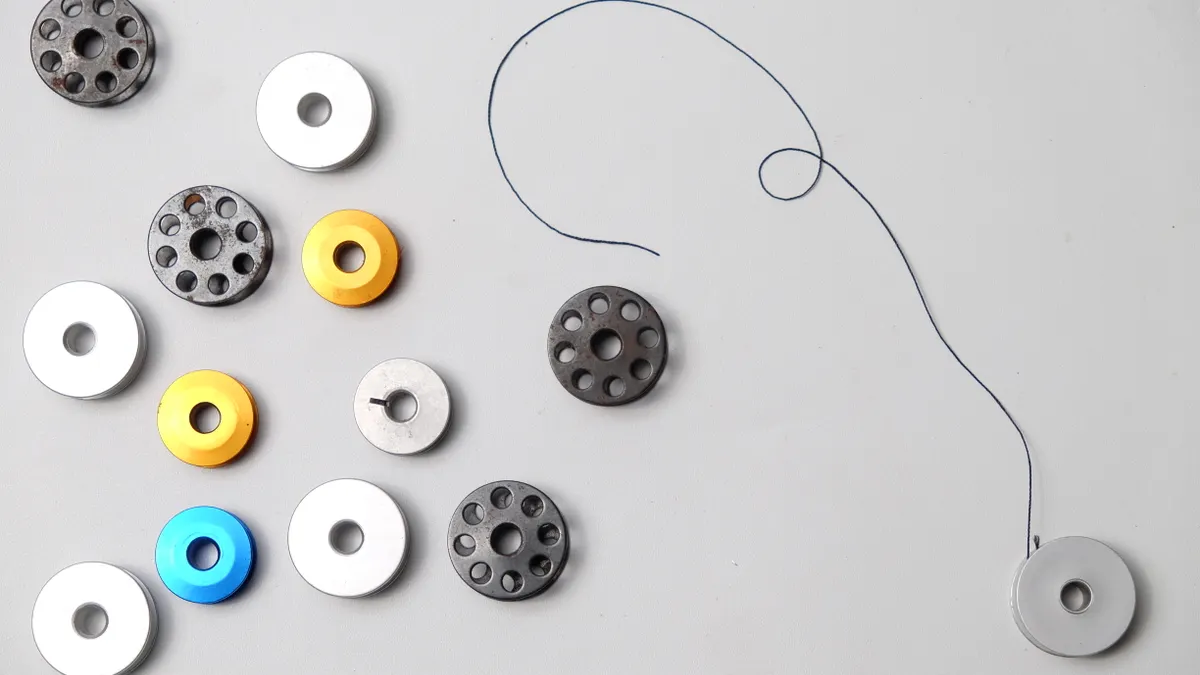
You need the correct bobbin for your sewing machine, the matching bobbin case if your model uses one, thread, a spool pin, and the bobbin winder on the machine. Many machines use one of two styles: a drop-in bobbin that sits under a clear cover, or a front-load bobbin that drops into a removable case. If you are unsure, check the model manual before winding anything.
The bobbin itself must match the machine’s bobbin system. A Class 15 bobbin, a L-style bobbin, and a metal bobbin are not the same thing, even if they look close. Using the wrong one may fit loosely, wind badly, or throw off tension. The machine manual is usually the best source for your model. Singer, Brother, Janome, and Bernina all publish bobbin-type guidance for specific models.
It also helps to start with thread that is meant for sewing, not thick craft cord or fuzzy novelty thread. Ordinary all-purpose polyester thread is the easiest place to begin because it winds evenly on most standard bobbins. If the thread is limp, frayed, or badly twisted, the bobbin will show it.
How do I wind a bobbin correctly?
Wind it on the bobbin winder with even tension, stop before it is overfilled, and trim the thread tail cleanly. The goal is a smooth, level spool of thread that feeds without catching.
-
Place the spool of thread on the spool pin. If your machine has a horizontal spool pin, seat the spool so the thread feeds off it without bouncing. If it has a vertical pin, use the spool cap that fits the spool size. A bad spool setup can make the bobbin wind unevenly from the first 10 turns.
-
Lead the thread through the bobbin-winding path exactly as marked on the machine. Many machines have a small guide near the top or front that redirects the thread before it reaches the bobbin winder tension disk. That path matters because it gives the bobbin enough drag to wind compactly.
-
Pull the thread through one of the bobbin’s holes from the inside out, then place the bobbin on the bobbin winder spindle. Hold the thread tail for the first few turns only. If the tail slips away too early, the winding may not anchor cleanly.
-
Push the bobbin winder to the right or engage it according to your model. Start the machine at a moderate speed. The bobbin should turn steadily without wobbling. If it leans or chatters, stop and reseat it.
-
Snip the short thread tail after 5 to 8 turns, once the bobbin has started to fill on its own. This keeps a loose tail from wrapping into the pack.
-
Fill the bobbin only to the line or stop point recommended in the manual. Many bobbins work best when the thread reaches near the edge but does not mound above it. Overwinding creates a bulge that can rub inside the bobbin case.
-
Cut the thread and remove the bobbin. The surface should look even, not crossed or slanted. If one side is high and the other side is bare, the thread was not guided correctly.
If the bobbin fills in a cone shape, the thread guide is wrong or the spool is feeding unevenly. If it fills with visible ridges, the machine was run too fast or the thread was not seated in the tension guide. A clean wind is plain-looking; it should not look fluffy or spongy.
Which way should the bobbin thread come off?
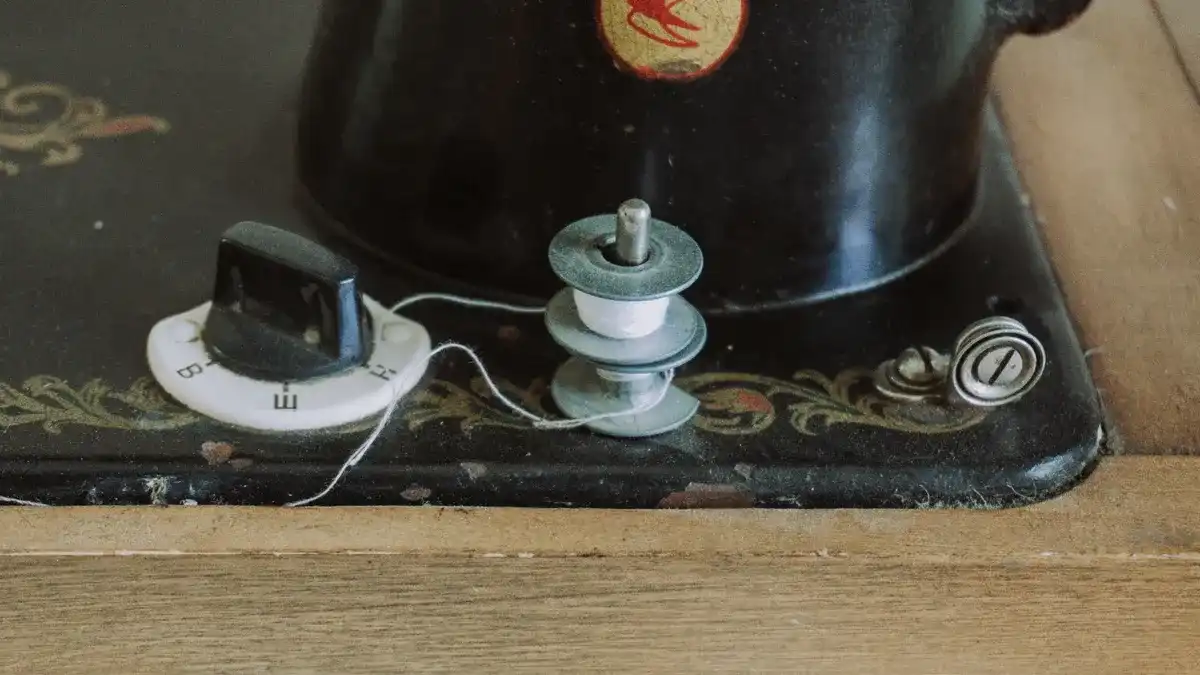
The thread should come off the bobbin in the direction your machine requires, and that direction is not the same for every model. For a front-load bobbin, the bobbin usually sits in a bobbin case with the thread pulled into a slot and under a spring. For a drop-in bobbin, the thread often feeds clockwise or counterclockwise depending on the machine’s markings.
A common mistake is assuming any orientation works if the bobbin fits into the space. It does not. The bobbin’s rotation controls how the lower thread enters the hook system, and the wrong direction can cause looping, skipped stitches, or thread that pulls too tight.
Look for markings in the bobbin area. Many drop-in systems show a tiny diagram or arrow right next to the cover plate. If the manual says the bobbin should turn clockwise, it should unwind in that direction when you pull the thread. If it says counterclockwise, reverse it. Do not rely on habit from another machine brand.
This is where the machine type matters most. A front-load bobbin in a metal case gives more mechanical control over lower-thread tension, but it takes a little more care to seat the thread under the tension spring. A drop-in bobbin is faster to load, yet it is easier to put in upside down. If you want the bobbin to work on the first try, match the loading direction exactly to the model’s diagram.
How do I insert a bobbin into a sewing machine?
Insert it by following the case or cover markings, then pull the thread into the slot until it moves with light resistance. That is the point where the lower thread is seated correctly.
For a front-load bobbin:
- Open the bobbin door and remove the bobbin case if the machine uses one.
- Drop the wound bobbin into the case in the direction shown in the manual.
- Pull the thread through the slot and under the tension spring until it exits the delivery opening.
- Hold the bobbin case by the latch, then place it back into the hook area until it clicks or seats firmly.
For a drop-in bobbin:
- Remove the clear cover or plate over the bobbin area.
- Place the bobbin into the compartment in the correct direction.
- Feed the thread through the slit and under the little guide notch.
- Pull the thread toward the back or side, following the printed arrow, then replace the cover.
The bobbin should sit flat and not rock. If it tilts, pops up, or rotates loosely, it is not seated properly. The thread should pull out with a little resistance, not free-spin or lock hard. A free-spinning bobbin usually means the thread missed the tension path; a locked bobbin usually means the thread is jammed under the spring or the case is not seated fully.
One useful check is to pull about 4 to 6 inches of bobbin thread after insertion. It should move without jerking. If it snags immediately, remove the bobbin and reload it rather than trying to force the thread through.
What does bobbin tension actually need to feel like?
Bobbin tension should feel firm enough to control the thread but light enough that the thread still pulls through without strain. A properly seated bobbin does not gush thread, and it does not act like it is locked in place.
The bobbin case spring or tension slot is what creates that feel. On front-load systems, the case has a spring screw that controls the lower-thread drag. On drop-in systems, the tension is usually built into the machine’s bobbin path and is not meant for casual adjustment. That is why people often blame “tension” when the real issue is a bad wind or a thread that never entered the slot.
A quick practical check helps. Hold the bobbin case by the thread tail and give a short lift. If the case drops a little under its own weight and the thread feeds smoothly, the tension is usually in the normal range. If the case drops straight down and the thread races out, the tension is too loose. If it barely moves or the thread jerks, it is too tight or misrouted.
Do not start turning screws just because the stitch looks uneven. On many machines, the upper thread, needle size, bobbin wind, and thread path matter before the lower tension does. If your model has a front-load bobbin case and the manual gives a specific screw adjustment, use very small turns, about a quarter turn at a time. If the machine uses a drop-in bobbin, the better move is usually to recheck insertion rather than reach for a screwdriver.
The honest trade-off is simple: front-load systems give more control, but they ask for more precision. Drop-in systems are quicker, but they hide the tension path and make it easier to miss a step.
Common bobbin mistakes that ruin the stitch
The biggest bobbin mistakes are the small ones: the wrong bobbin, a messy wind, the thread in the wrong slot, and a cover plate left slightly open. Each one can cost you time, thread, and a row of stitches you have to rip out.
Using the wrong bobbin size is the first trap. A bobbin that is even slightly off-spec may sit too high or too loose. That can create uneven feeding or let the thread spill under the case edge. The fix is boring but effective: match the exact bobbin type listed for the machine model, not the one that “looks close.”
Overfilling the bobbin is another common mistake. A packed bobbin that rises above the rim can scrape inside the compartment and feed erratically. Stop at the recommended fill level instead of squeezing in one more layer.
Missing the tension path is the mistake that makes the thread look fine until sewing begins. If the thread is not under the case spring or guide notch, the lower thread can loop on the underside of the fabric. The repair is simple: remove the bobbin, rethread it from the start, and check the diagram printed near the bobbin area.
A final mistake is inserting a bobbin backwards in a front-load case. That can make the machine feel jammed even though nothing is broken. If the thread pulls the wrong way, unload it and reverse it rather than forcing the handwheel.
For a broader reset of the whole machine, the hub on sewing machine basics for beginners can help, but the bobbin workflow stands on its own once the correct case and model match are clear.
How can I tell the bobbin is right before I sew?
The bobbin is right when it sits flat, feeds in the marked direction, and gives smooth thread with a gentle pull. That is the clearest sign before you stitch a single line.
Run three checks in order. First, look at the winding: the thread should be even from edge to edge, with no ridge taller than the rest. Second, check the insertion: the bobbin should be seated fully in the compartment or case, and the cover should close without pressure. Third, pull the thread tail. It should move without a jerk or a hard stop.
If the machine has a handwheel, turn it by hand for a few stitches before you power up. Watch the upper and lower threads meet at the needle plate area. You want the fabric or test scrap to remain flat, not dragged into the plate. If the underside shows loose loops after a short test seam, stop and check the bobbin path first.
A good bobbin setup is quiet. It does not buzz, rattle, or hop in the compartment. The thread does not unwind in a pile, and the case does not need to be forced shut. That plain behavior is the real success signal.
FAQ
Why is my bobbin thread loose?
Loose bobbin thread usually means the thread missed the tension path, the bobbin was wound unevenly, or the bobbin is the wrong type for the machine. The first fix is to remove it and rethread it from the start. If the same problem returns on a front-load model, check the bobbin case spring for lint or a badly seated thread.
How do i know if my bobbin is inserted correctly?
A correctly inserted bobbin sits flat, the cover closes easily, and the thread pulls out with light resistance in the direction shown on the machine. If the bobbin wobbles, the thread free-spins, or the case will not sit flush, it is not loaded right. A 4-inch test pull should feel smooth, not jerky.
Does bobbin type matter?
Yes, bobbin type matters because the size and material have to match the machine’s hook system and case. A metal bobbin, a plastic bobbin, and a specific class such as Class 15 are not universal across all machines. Using the wrong one can change tension, prevent proper seating, or cause the thread to wind badly.
Drafted with AI; not yet reviewed by a person.