Last updated: November 18, 2026
Quick answer: in most home machines, how to thread a sewing machine step by step takes about 5 minutes and follows five main points: spool, guides, tension area, take-up lever, and needle. If one guide is missed, the stitch path can fail even when the machine moves.
Threading a sewing machine is mostly about following one path in the right order: spool, guides, tension area, take-up lever, needle. If the thread is off by one guide, the machine may still move, but the stitch path will not be correct.
Key takeaways
- Upper threading is the path from the spool to the needle, and each guide matters.
- The take-up lever must be threaded so the thread can rise and fall with each stitch.
- Most missed threading problems come from skipping one guide, threading with the presser foot down, or leaving the needle unthreaded.
- If the thread keeps slipping out, the issue is usually near the needle, not the spool.
- This guide covers the upper thread path only, not bobbin winding or tension adjustment.
What you need before you start threading
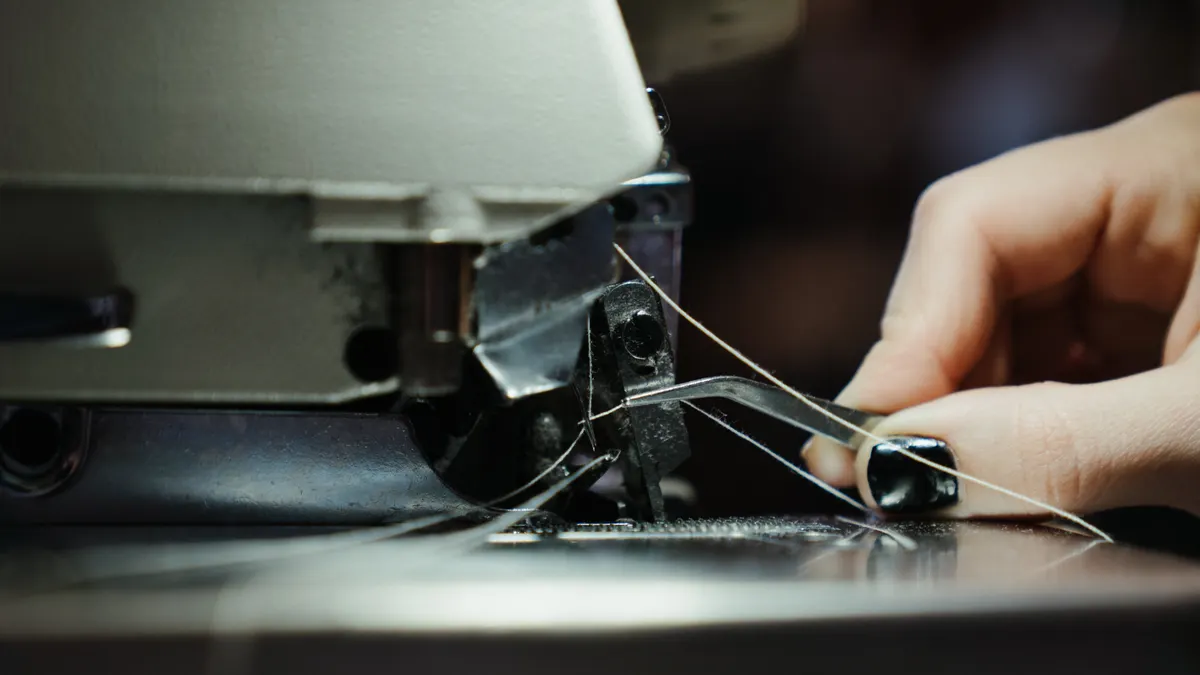
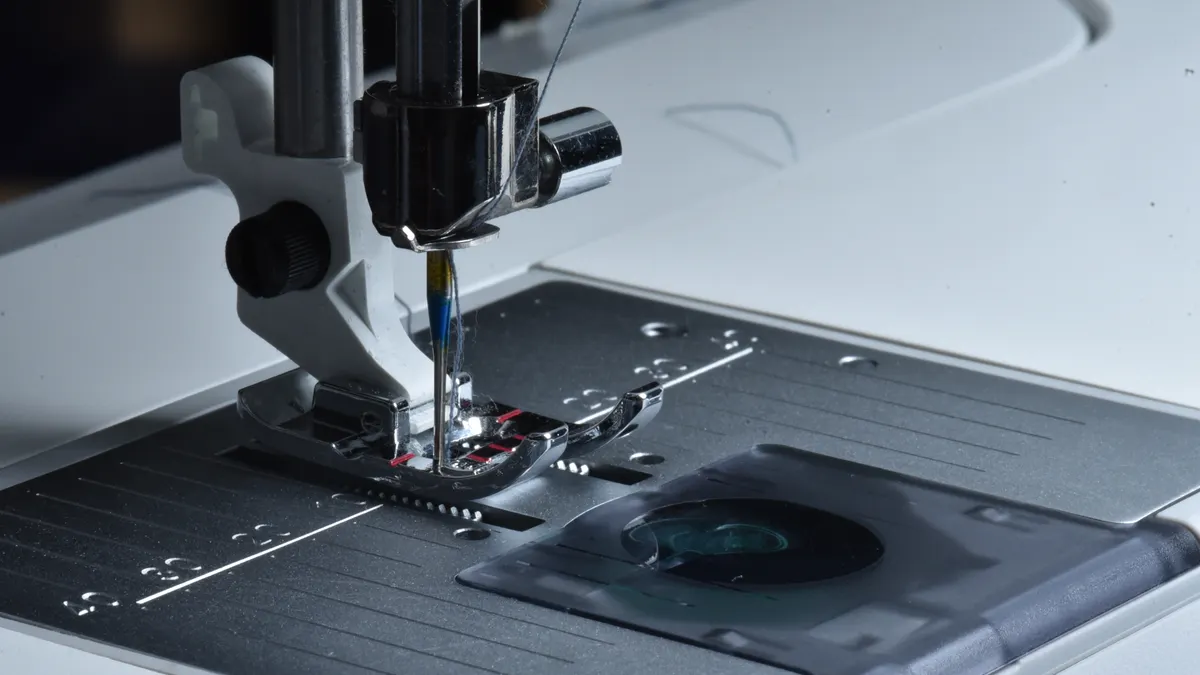
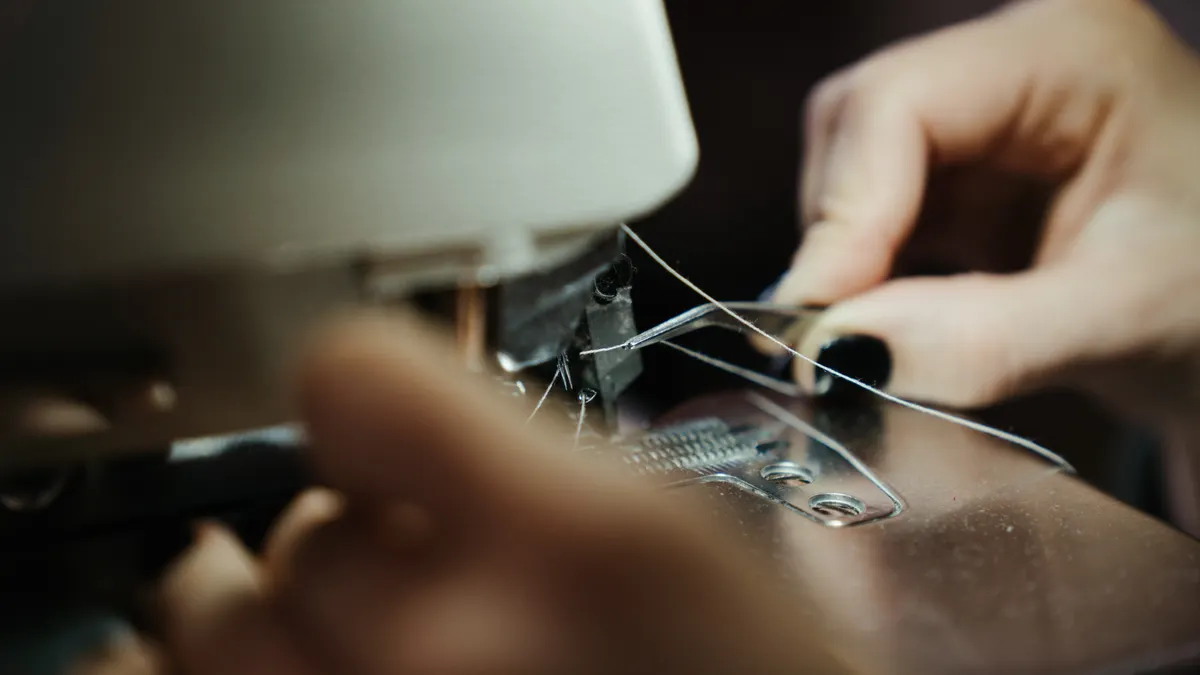
You need a sewing machine, the correct spool of thread, and a needle already installed in the needle clamp. A small pair of scissors or snips helps, but the actual threading takes less than 5 minutes once the path is clear.
Start with the presser foot raised and the needle at its highest point, usually by turning the handwheel toward you. That matters because it opens the tension discs and gives the thread a clean route through the top thread path. If the presser foot is down, the thread can sit on the outside of the tension system instead of between the discs.
The spool should sit on the spool pin in the direction your machine expects. Some machines use a horizontal spool pin, others a vertical one with a cap. If the thread jerks hard as it feeds off the spool, the spool may be on backward or the cap may be missing. For model-specific setup, check the manufacturer’s instructions, such as the Singer support manuals or the Brother support manual library.
If your machine has a printed threading diagram, keep it in view. Many modern models, including common entry-level Brother, Singer, Janome, and Bernina machines, print the route on the body. That diagram is there for a reason: the order of the guides is not decorative.
This page stays with upper threading only. For the bigger beginner picture, the hub on sewing machine basics for beginners should sit next to this guide.
How do I thread a sewing machine step by step?
Thread the machine by following the full upper path in order: spool pin, upper guides, tension area, take-up lever, lower guides, and needle. The path looks simple on the machine body, but each turn serves a job, and skipping one turn usually shows up as slack thread or no stitch formation.
- Place the spool on the spool pin and secure it with the cap if your machine uses one. If the fit is unclear, consult the machine manual or a sewing-machine technician so the spool feeds safely and without wobble.
- Pull the thread into the first upper guide on the top or back of the machine. The thread should change direction smoothly, not snag.
- Bring the thread down into the tension area, following the machine’s printed route. The thread should slip between the tension discs when the presser foot is up.
- Lead the thread back up to the take-up lever. The lever is usually a metal arm with a hole or slot; the thread is correctly placed when it sits fully inside that opening.
- Bring the thread down through the remaining thread guides on the front of the machine. Each guide should hold the thread close to the body rather than letting it hang loose.
- Thread the needle from front to back on most standard home machines, unless your manual says otherwise. If the needle does not seat easily, consult the manual or a qualified repair professional before forcing it; the thread should pass through the eye cleanly and leave a tail of about 4 to 6 inches.
- Pull the thread under the presser foot and toward the back of the machine. The thread should move freely and stay in place when you lift the presser foot slightly.
If the thread does not sit in the take-up lever, the machine can still look threaded but fail at the first few stitches. That single miss is one of the most common reasons a beginner thinks the machine is broken.
Why the take-up lever matters more than most people think
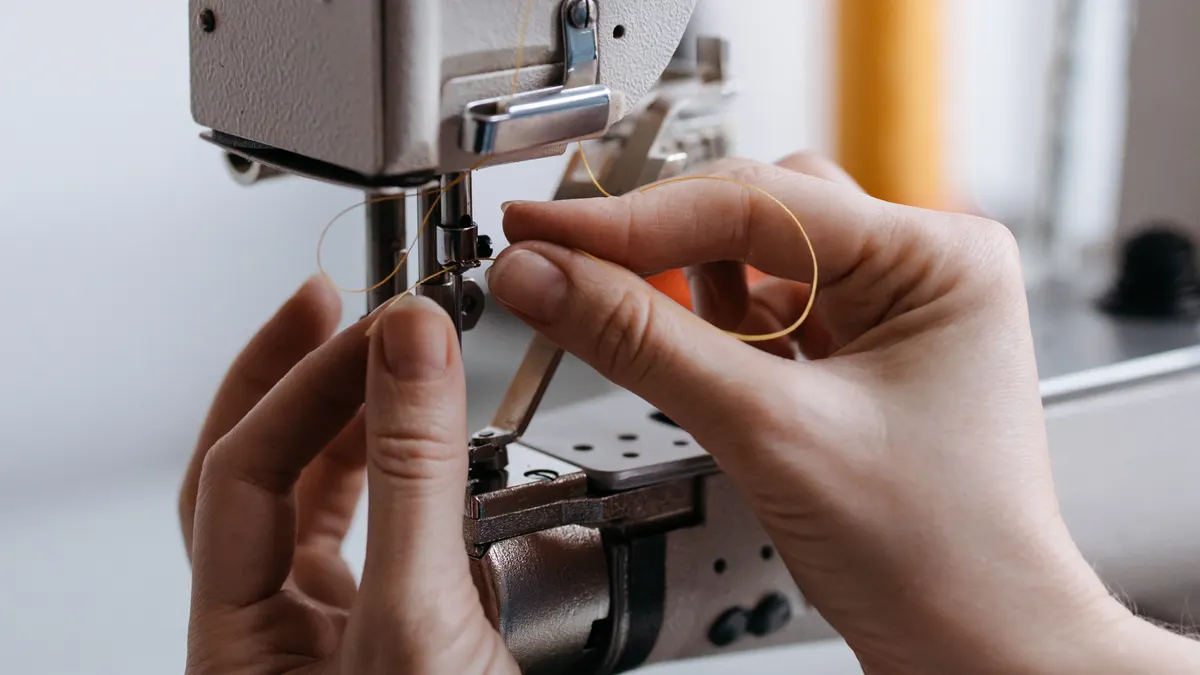
The take-up lever is the hinge point of the upper thread path, and it must be threaded for the machine to form a stitch. It rises and falls as the needle cycles, pulling thread through and then taking slack back up after each stitch.
Many people route the thread through the front guides and stop there, especially on machines where the lever is partly hidden near the top cover. That leaves too much slack in the path. The result is often loose loops on the underside, a thread that bunches around the needle plate, or a stitch that never starts cleanly.
On many machines, the lever is highest when the needle is highest. If you cannot see it, turn the handwheel slowly toward you until the lever comes all the way up. Then thread it through the hole or slot. On a model with a narrow opening, use both hands if needed: one to steady the thread, one to guide it into the lever.
A practical check takes 10 seconds. After threading, gently pull the thread from the spool end. You should feel a small, even resistance as the thread moves through the path. If it feels loose all the way down, the thread may have missed the tension discs or the take-up lever. If it feels stuck, back up and re-thread instead of forcing it.
The take-up lever is not optional trim; it is part of the stitch path. A machine with an unthreaded lever may still move the needle, but the stitch will not form properly.
Which thread guides must be used, and in what order?
Use every thread guide the manual or the printed path shows, in the same order the thread physically travels across the machine. The exact number varies by model, but the logic does not: the thread must be steered from the spool to the tension area, then up to the take-up lever, then back down to the needle.
Some machines have 2 or 3 obvious top guides. Others, especially compact computerized models, hide a small hook near the top cover or on the front face. A generic mistake is to thread “close enough” and assume the remaining slack will settle itself. It usually will not.
The order matters because each guide controls the angle of the thread. A guide on the top of the machine does not do the same job as a guide near the needle bar. Skip the first guide, and the thread may drag awkwardly from the spool. Skip the lower guide, and the thread can swing out of the needle path while you sew.
If your machine has an automatic needle threader, still thread the main path first. The threader only handles the last few centimeters at the needle. It does not replace the spool path, the tension area, or the take-up lever. On many machines, the needle threader works best with a needle size 75/11 or 80/12, but the exact compatibility depends on the model and needle style.
If the machine has one guide that seems pointless, use it anyway. That guide is often there to keep the thread from rubbing against the housing or to position it for the next bend. Skipping it may not stop the machine immediately, but it can make the path unstable.
For the clearest model-specific route, the machine manual is usually the best starting point, and the manufacturer’s guide should outrank guesswork. Singer and Brother both publish machine manuals that show the path step by step.
How do I thread the needle without making a mess?
Thread the needle with the presser foot up, a short thread tail, and the needle at its highest point. That setup gives the thread enough slack to pass through the eye without fraying or bending out of shape.
Hold the thread between thumb and forefinger and trim the end clean if it has started to split. A ragged thread end is harder to push through a small needle eye, especially on fine thread or a size 70/10 needle. If your machine has a front-to-back needle, aim straight through the eye rather than stabbing upward at an angle.
If the eye is too hard to see, use the machine’s built-in needle threader if it has one. Bring the needle to its highest position first, then lower the threader lever as directed by the machine. When it works, the thread comes through the eye in one motion and leaves a neat loop or tail on the far side.
After threading, pull about 4 inches of thread through the needle and slide it under the presser foot. That length keeps the thread from slipping back out when you start. Too much tail can tangle around the bobbin area; too little can pull free before the first stitch.
If the thread keeps missing the eye, the problem is often not your hands. A damaged needle, a needle inserted backward, or a very small needle eye can make threading annoying even on a simple domestic machine. Replace the needle if the eye looks burred or if the tip has been bent.
Common threading mistakes that cause missed stitches or loose thread
The most common mistake is skipping the take-up lever, and it usually causes loose loops or no usable stitch. The fix is to rethread from the spool down, then back up through the lever, then down again to the needle.
Another frequent error is threading with the presser foot down. That keeps the tension discs closed, so the thread does not seat where it should. The machine may still run, but the upper thread path will not behave normally. Raise the foot, remove the thread, and rethread from the top.
A third mistake is leaving the thread out of the final needle guide. That guide may look minor, but it keeps the thread aligned as the needle moves. Without it, the thread can drift, rub, or pop out during the first few inches of sewing.
A fourth problem is pulling the thread too hard after threading. The thread should move smoothly, not be yanked tight. If you haul on it, the thread can jump out of a guide or the needle eye, especially on machines with a narrow thread path.
The fifth mistake is starting with the needle not at its highest point. That can hide the take-up lever and make the thread path seem correct when it is not. Turn the handwheel toward you until the lever is at the top and the needle is raised fully before threading.
If the machine still refuses to stitch after a correct upper-thread setup, stop and inspect the needle and bobbin path separately. This guide is not the place to solve bobbin timing or tension balance, and forcing the fabric through will usually make the mess worse.
When threading still looks right but the machine won’t sew
Rethread the upper path and check the needle before touching any other setting. When a sewing machine looks threaded but still refuses to sew, the fault is usually a missed guide, a needle issue, or thread not seated in the tension discs.
Start with the simplest check: lift the presser foot, remove the thread completely, and thread again from the spool. Many sewing machines hide the error in one skipped loop near the top cover. A second pass usually reveals what the first pass missed.
Then inspect the needle. It should be pushed all the way up into the needle clamp and tightened securely. If the needle still sits low or feels loose after you tighten it, consult the machine manual or a repair professional before sewing; a needle inserted too low, backward, or slightly loose can stop clean stitch formation. On many home machines, the flat side of the needle faces the correct direction specified by the manual.
If the upper thread seems to vanish or sits on top of the fabric instead of forming a stitch, the thread path may still be wrong even if it looks neat. The take-up lever and tension area are the two places people most often misread. Recheck both before changing stitch length, tension settings, or presser foot type.
For users who want a broader starting point, a general sewing machine basics for beginners guide can sit above this page in the learning path. This page stays narrow on purpose: upper threading, not bobbin setup, not tension adjustment, not skipped-stitch repair.
Why does my thread keep slipping out of the needle?
The thread usually slips out because the tail is too short, the needle eye is too small for the thread, or the machine was threaded with the presser foot down. A rough thread end can also fray and slide back out. Leave a 4 to 6 inch tail and rethread with the presser foot raised.
Do all sewing machines thread the same way?
No, the path is similar but not identical. Most home sewing machines use the same basic sequence—spool, guides, tension discs, take-up lever, needle—but the exact guide locations differ. A Singer heavy-duty model, a Janome mechanical machine, and a computerized Brother often place the guides in different spots, so the manual matters.
Why is the upper thread not catching the bobbin thread?
The upper thread is usually not threaded correctly through the take-up lever, tension area, or needle eye. In some cases the needle is inserted wrong or not fully raised. A correct upper thread path is the first thing to verify before changing anything else about the machine.
Drafted with AI; not yet reviewed by a person.