Last updated: November 19, 2026
Quick Answer: In How to Layout a Sewing Pattern on Fabric Before Cutting, the best layouts start with the largest pieces and keep the grainline parallel to the selvedge. The first step is simple, but it matters: one slipped piece can waste 1 yard of fabric or more.
Key Takeaways
- Put every pattern piece in place before cutting the fabric.
- Keep the grainline parallel to the selvedge unless the pattern says otherwise.
- Align fold pieces exactly on the fold so they stay true to size.
- Place the biggest pieces first, then fit smaller ones into the gaps.
Pattern layout on fabric is the step that decides whether your pieces fit the cloth, the grain stays straight, and the cut goes where it should. In How to Layout a Sewing Pattern on Fabric Before Cutting, lay the pattern on the fabric with the grainline parallel to the selvedge, then place the largest pieces first and pin or weight everything before you cut. The steps below settle fold placement, single-layer cutting, and space planning.
What pattern layout on fabric has to do before you cut
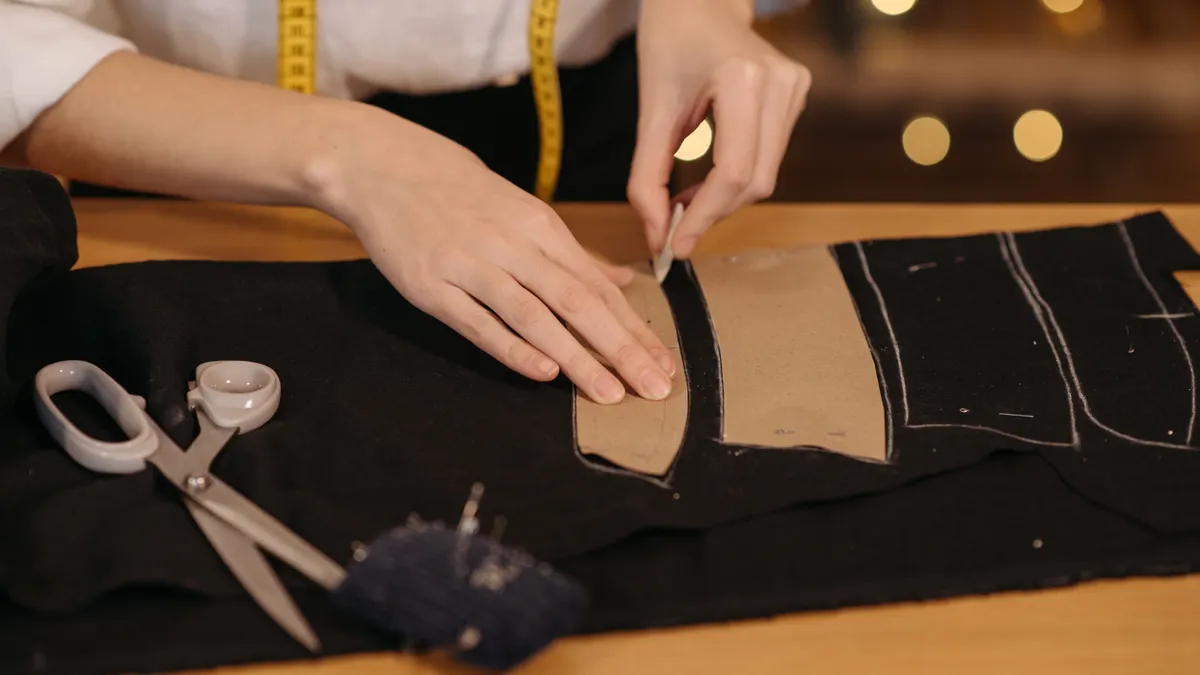
Pattern layout on fabric has to put every piece in the right place before the scissors touch cloth. If the grainline, fold, or fabric width is wrong, the garment can twist, hang badly, or simply run out of room on the cutting table.
Here’s the catch: layout is not just “fit it anywhere.” It is a map of the cloth’s usable space. A 45-inch fabric can behave very differently from a 60-inch fabric, and a piece cut on the wrong grain can look fine flat and fail on the body.
Use this as your working check:
- Grainline arrow stays parallel to the selvedge unless the pattern says otherwise.
- Fold line sits exactly on the fold, not a few millimeters off.
- Nap, pile, or one-way print all face the same direction.
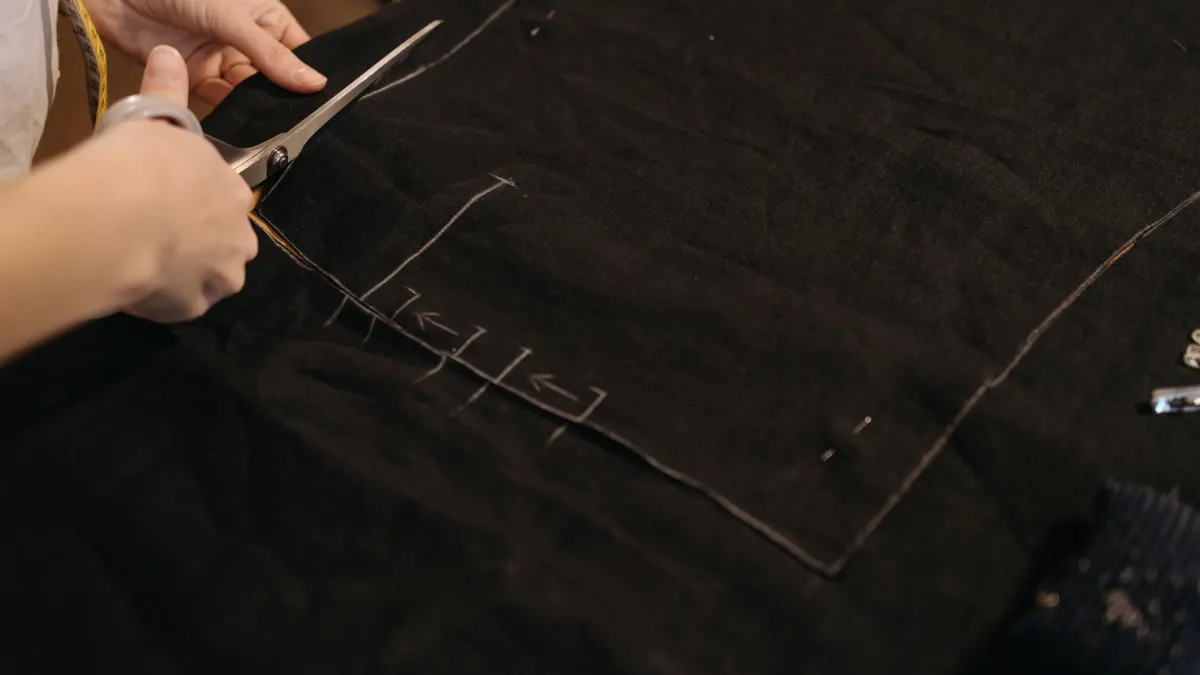
- Seam allowance stays outside the cut line until the final cut.
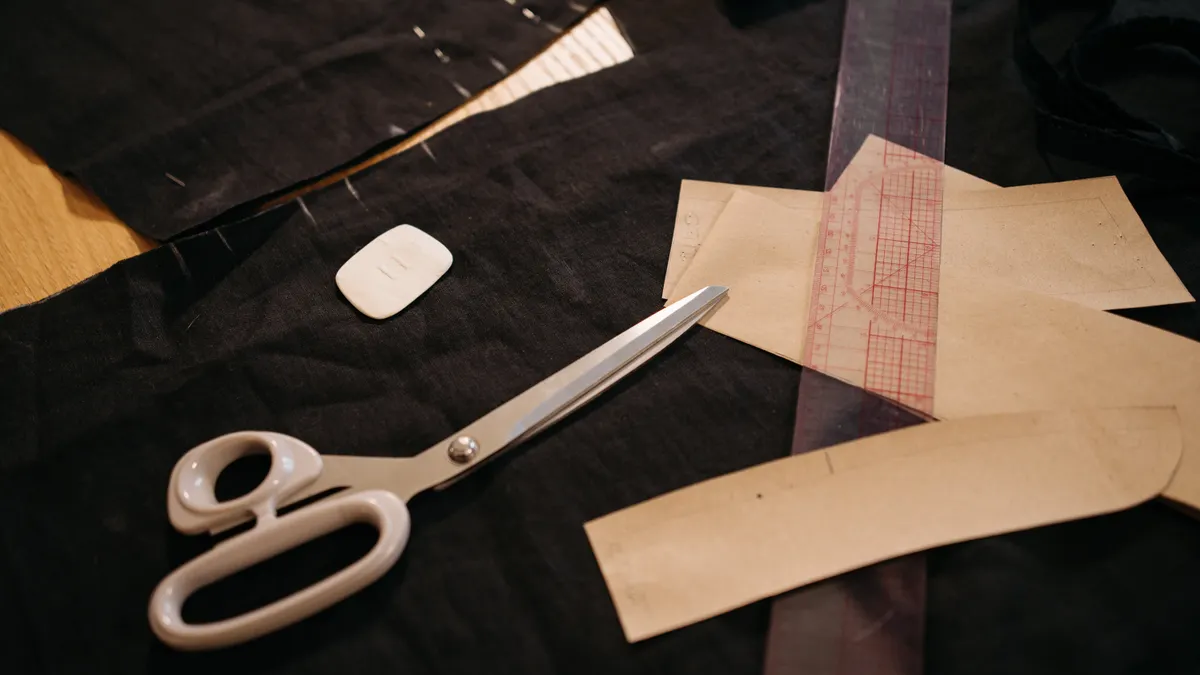
However, you do not need fancy tools. A cutting table, pattern weights, paper pattern pieces, and a ruler are enough for most layouts. If you want the broader system around this job, the hub on pattern layout, cutting, and marking sits right beside this page.
How do you lay out sewing patterns on fabric?
You lay out sewing patterns on fabric by spreading the cloth flat, aligning the grainline, placing the fold if the piece is cut on fold, and spacing the pieces so you can cut cleanly. That sounds simple because it is simple once the order is right.
Start with the fabric and move from the biggest constraint to the smallest one. A folded length of fabric needs more care than a single layer, and a directional print needs more care than a plain woven cotton. In other words, layout decisions happen before cutting begins.
- Press the fabric on a flat surface so wrinkles do not distort the edge.
- Fold the fabric as the pattern instructions call for, usually lengthwise with selvedges aligned.
- Place the biggest pattern piece first, matching its grainline arrow to the selvedge.
- Set smaller pieces into the remaining space, keeping all notches and edges inside the cloth.
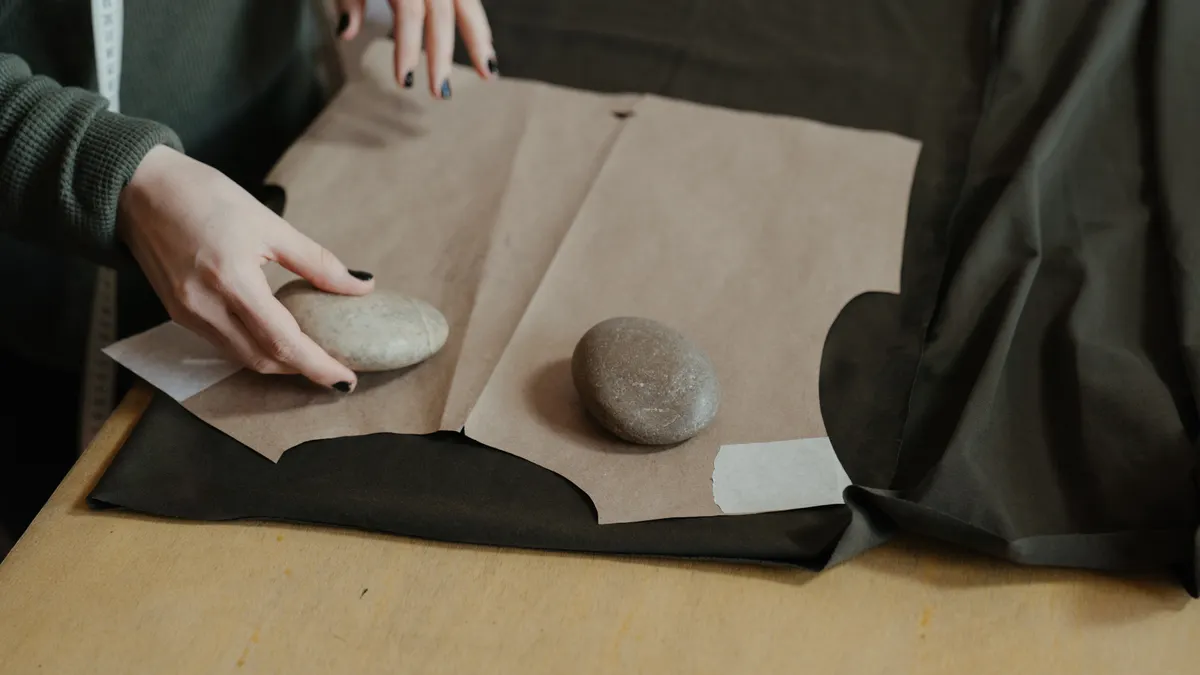
- Anchor the paper with pattern weights or pins so nothing shifts.
- Check that every piece fits with cutting room around it before the first snip.
- Cut without lifting the fabric layers unless the pattern calls for single-layer cutting.
A layout goes wrong fast if you chase every tiny piece before the large ones. Big pieces set the map. Small pieces fill the gaps.
Where should the grainline go on the fabric?
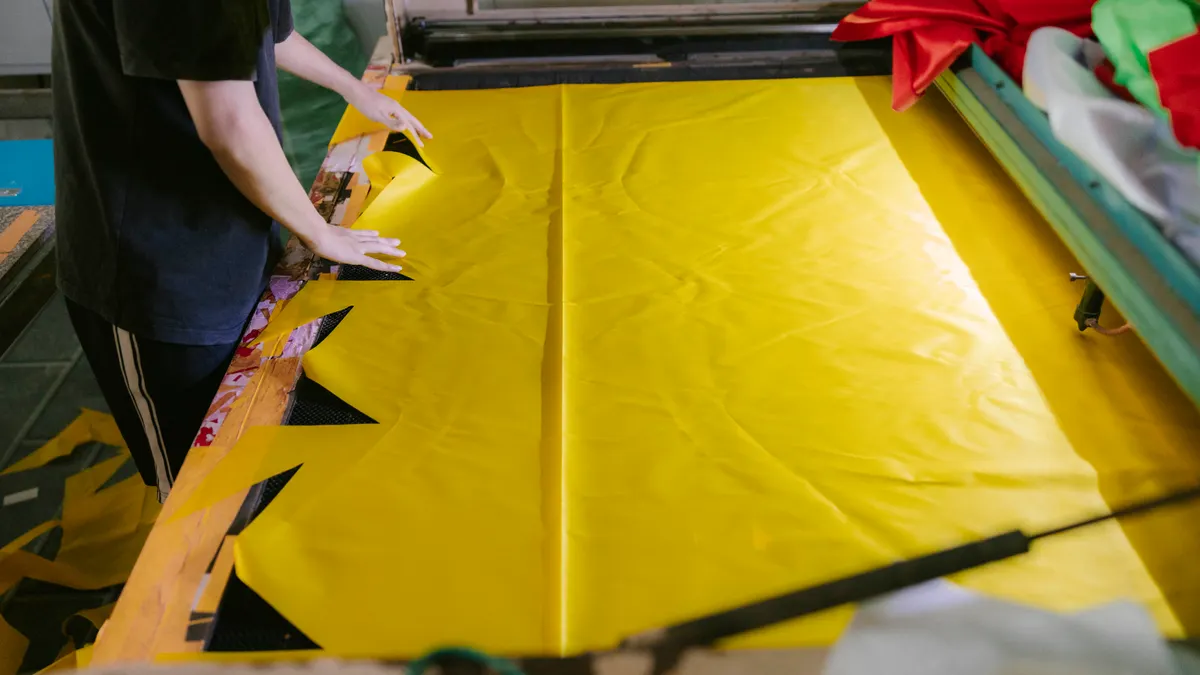
The grainline should run parallel to the selvedge unless the pattern says to place it on the crosswise grain or bias. That is the rule that keeps a skirt panel, pant leg, or bodice front from warping after cutting.
Specifically, use the grainline arrow as your guide from top to bottom. A ruler helps here, and so does a quick look at a full sewing guide on grainline and fabric grain from a trusted sewing reference such as the University of Nebraska–Lincoln Extension or the Craft Yarn Council’s sewing basics pages.
Picture this: you have a long dress front on printed tissue paper and a wide cotton on the table. The grainline arrow on the pattern is your compass. Match that arrow to the selvedge edge with a ruler, then adjust the paper until the arrow reads straight from top to bottom.
Use these checks before you cut:
- Measure from the grainline arrow to the selvedge at both ends.
- Keep the distance equal on both ends.
- Smooth the fabric so the selvedge does not bow or ripple.
- If the fabric is folded, check both layers together, not just the top one.
A grainline that is off by even a little can matter on long pieces. On a straight skirt panel, a small angle can show up as a leg twist or side seam drift. On a bias piece, the angle is the point, so only follow the bias when the pattern asks for it.
How do you handle fold placement and single-layer cutting?
Fold placement is the difference between a piece that matches the pattern and one that comes out too small or lopsided. Single-layer cutting is the safer choice for directional fabric, thick cloth, or pieces that need exact matching.
The fold line on the pattern should sit flush on the fabric fold, not hanging over it and not pulled away from it. If the fold is crooked, the cut piece will be crooked too. That becomes obvious at the center front, center back, or any piece meant to open symmetrically.
Use this rule set:
- Put the fold edge of the pattern exactly on the folded fabric edge.
- Line up the selvedges before placing the pattern, not after.
- For bulky or slippery cloth, smooth from the fold outward.
- Cut single layer when the fabric has a nap, a one-way print, or a limited width.
- Flip the pattern piece only when the instructions say mirrored pieces are needed.
Single-layer cutting takes longer because you cut each side separately. The trade-off is control. You can place pieces around motifs, stripes, or flaws, and you avoid the doubled-layer shift that can happen on slippery rayon or velvet.
How do you arrange pieces for layout efficiency?
You arrange pieces for layout efficiency by placing the largest and most restrictive pieces first, then tucking smaller pieces into the leftover spaces. That saves cloth and keeps the layout readable when you finally pick up the scissors.
A common mistake is to start with pocket pieces, facings, or belt loops because they look easy. That costs you fabric later when the main bodice or pant leg no longer fits the width you have left. Start with the pieces that have the longest grainline or the most awkward shape.
A practical order looks like this:
- Place front and back body pieces.
- Add long sleeves, skirt panels, or pant legs.
- Fit facings, waistbands, cuffs, and yokes.
- Slide small parts like pockets or tabs into open corners.
- Keep all pieces inside the fabric width shown by the pattern plan if one is printed.
- Leave space for pattern weights and cutting hand movement.
Layout efficiency matters most on narrow fabric, directional fabric, and expensive yardage. A 45-inch width leaves less forgiveness than a 60-inch width, so every inch counts.
What ruins a pattern layout before the first cut?
A crooked layout ruins the cut before the blade touches the cloth. The biggest offenders are folded fabric that does not match at the selvedges, a grainline that drifts, and pieces placed too close together for the cutting line.
The truth is, most layout mistakes are quiet until you open the fabric. Then the neckline looks off, the hem line shifts, or one sleeve comes out longer than the other because the paper moved while you cut.
Watch for these problems:
- Fabric off grain: the cloth itself is twisted. Straighten it before laying out the pattern.
- Pattern on a fold that drifts: the center line won’t stay true.
- Pieces crowding the edge: you need room for the shears or rotary cutter.
- Ignoring nap or print direction: the garment looks mismatched once sewn.
- Cutting before weights are secure: paper slips, and the edge changes shape. If you are unsure, consult a sewing instructor or pattern professional before cutting.
If the pattern instructions include a layout diagram, treat it as a guide, not decoration. It tells you which pieces are intended to fit together on that fabric width. If your cloth is narrower or wider than the diagram assumes, stop and rearrange before cutting. For more on cutting layout and fabric behavior, see a trusted sewing source such as Threads Magazine’s sewing instruction articles or the Sew4Home fabric cutting guides.
How do you know the layout is correct?
A layout is correct when every grainline is parallel, every folded piece sits flush on the fold, and every pattern piece fits inside the usable fabric with room to cut. That is the simple test.
Stand back from the table and look for three things: straight long lines, mirrored symmetry, and enough empty space around the edges. Then run a hand along the fabric surface to feel for ripples or pull near the paper edges.
Use this quick check before cutting:
- The selvedges are aligned from end to end.
- The fold is smooth and even.
- Grainline arrows all point the same direction they should.
- Notches, dots, and cutting lines have breathing room.
- The layout still makes sense after you lift your hands away.
If one piece barely fits, it does not fit. Rework the layout until the fabric is calm, not stretched tight like a drum. A clean layout makes the cut easier, the sewing smoother, and the finished garment more likely to hang the way the pattern promised.
What if the fabric width is tight?
A tight width means you need to reconsider the piece order, not force the paper into place. Start again with the largest pieces and rotate only when the pattern instructions allow it. If the fabric still will not fit, choose single-layer cutting or a different layout plan before you cut anything.
Can you move pieces after pinning them?
Yes, but only if you move the whole piece and recheck the grainline. Small nudges are where trouble starts. A 5 mm drift at one end can become a visible angle on a long pant leg or skirt panel.
Should you trust the printed layout diagram completely?
No. The diagram is a model for the fabric width and fabric direction it was drawn for. If your cloth has a nap, a stripe, a plaid, or a different width, the printed plan may need changes while the grainline rules stay the same.
Drafted with AI; not yet reviewed by a person.