Last updated: November 19, 2026
Key Takeaways
- Pattern reading means understanding the paper pattern before you cut fabric.
- Check instructions, size, layout, and fabric needs before making any snip.
- Choose pattern size from the chart, not your ready-to-wear size.
- The key markings are grainline, notches, fold lines, and placement marks.
Pattern Reading and Cutting Prep — The Complete Guide starts with one practical rule: read the pattern before you cut fabric. Quick answer: 7 checks usually matter most before a first cut: instructions, size, layout, grainline, seam allowance, fabric prep, and markings. Pattern reading and cutting prep are the steps that keep a sewing project from going sideways before the first cut. The sections below settle what to check, what to skip, and where beginners usually go wrong.
What pattern reading actually means
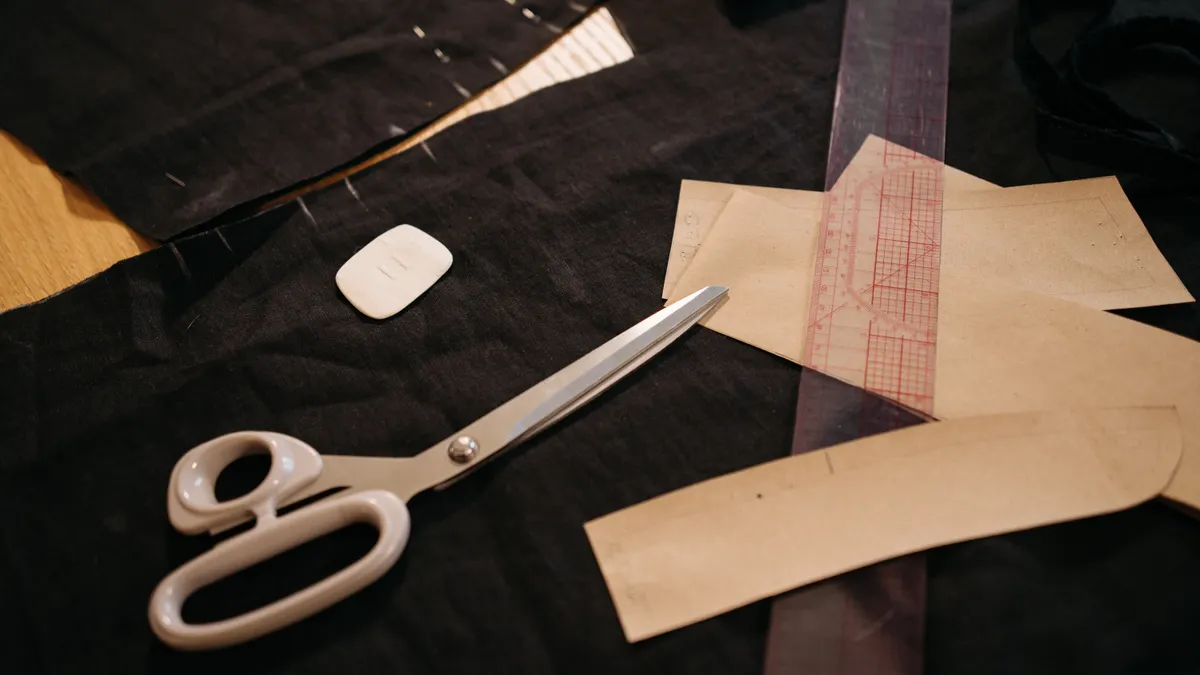
Pattern reading means understanding the paper pattern before you touch the fabric. If you can spot the grainline, notches, fold lines, seam allowance, and piece labels, you can cut with confidence instead of guessing.
Picture this: you’re holding a new pattern sheet, and the tissue is crowded with lines, symbols, and arrows. The answer is not to start cutting faster; it’s to slow down long enough to read the map. Pattern reading is the habit that stops avoidable mistakes.
A good reading pass covers these parts:
- Size lines and which one you are using
- Cutting lines versus stitching lines
- Grainline arrows and fold placement
- Notches, dots, and circles
- Piece names and counts
- Seam allowance, if the pattern includes it or omits it
- Matching points for darts, pleats, zipper openings, and cuffs
Here’s the catch: many beginners read only the cutting line and miss the rest. That leads to twisted grain, mirrored pieces cut the wrong way, or a bodice that does not line up at the side seam. A pattern can be perfectly drafted and still fail if it gets read badly. For more on fabric grain and layout basics, see the grainline guide and the sewing pattern symbols page.
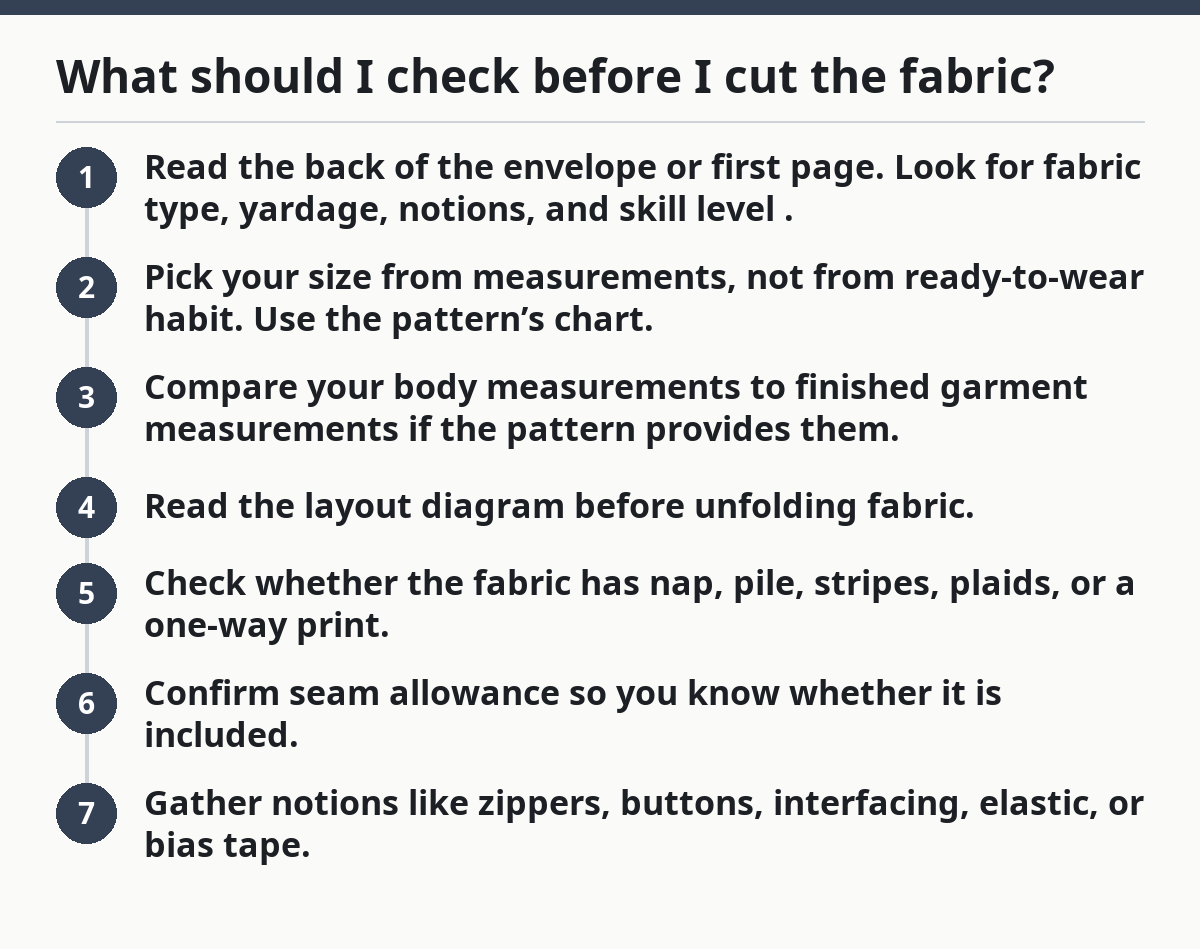
What should I check before I cut the fabric?
You should check the pattern instructions, size choice, layout, and fabric needs before you make a single snip. That pass tells you whether the pattern and fabric actually belong together.
Picture this: you’re ready to cut, but the fabric is shorter than the layout diagram, the print has a clear direction, and the pattern needs a lapped zipper you forgot to buy. That is the moment prep saves the project. Cutting prep is where most mistakes are prevented.
Check these items in order:
- Read the back of the envelope or first page. Look for fabric type, yardage, notions, and skill level.
- Pick your size from measurements, not from ready-to-wear habit. Use the pattern’s chart.
- Compare your body measurements to finished garment measurements if the pattern provides them.
- Read the layout diagram before unfolding fabric.
- Check whether the fabric has nap, pile, stripes, plaids, or a one-way print.
- Confirm seam allowance so you know whether it is included.
- Gather notions like zippers, buttons, interfacing, elastic, or bias tape.
This review often takes 10 to 15 minutes for a simple project, and longer for fitted garments or multi-size sheets. If the pattern asks for 2 yards and you only have 1¾, you want to know that before the scissors come out. The same goes for yardage; a small gap can matter. For fabric prep and yardage planning, the fabric requirements guide and notions checklist can help.
How do I know which size to cut?
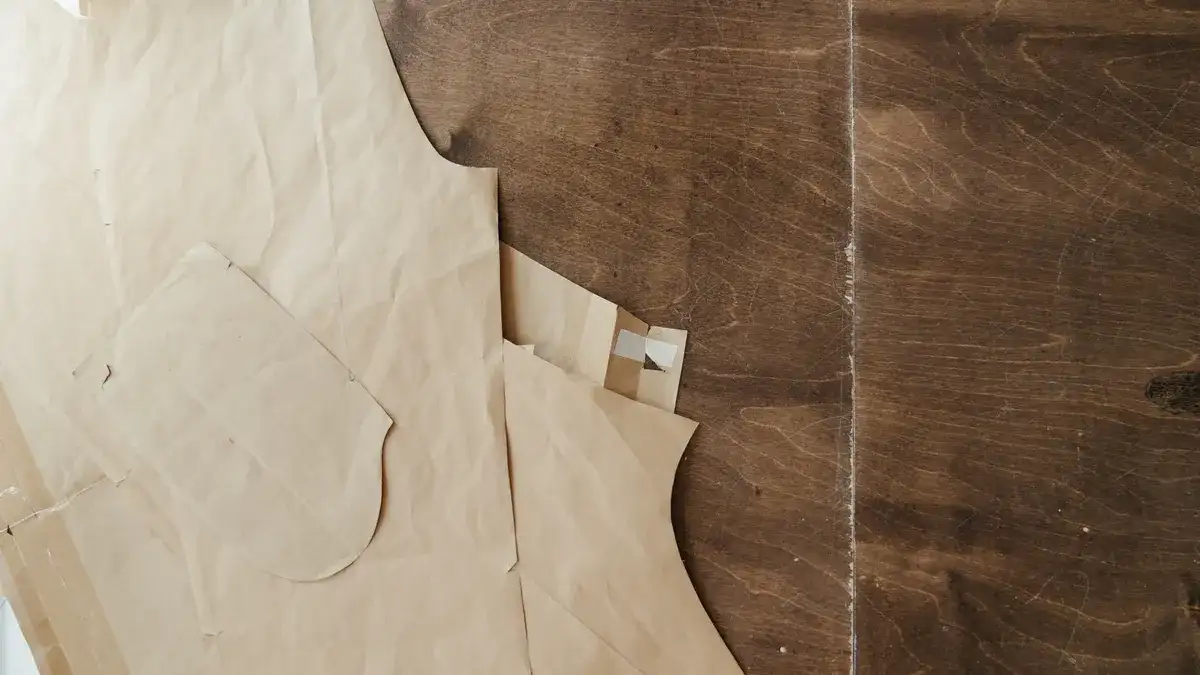
You choose the pattern size from the chart on the envelope or instruction sheet, not from the size you buy in a store. Pattern sizing is its own system, and it often runs differently from ready-to-wear.
Picture this: you’re tempted to cut the largest size because you want ease, but the pattern is drafted with its own ease built in. That can leave you with a garment that hangs too loose in the shoulders or swings from the bust. The right size comes from measurements, not habit.
Use this simple order:
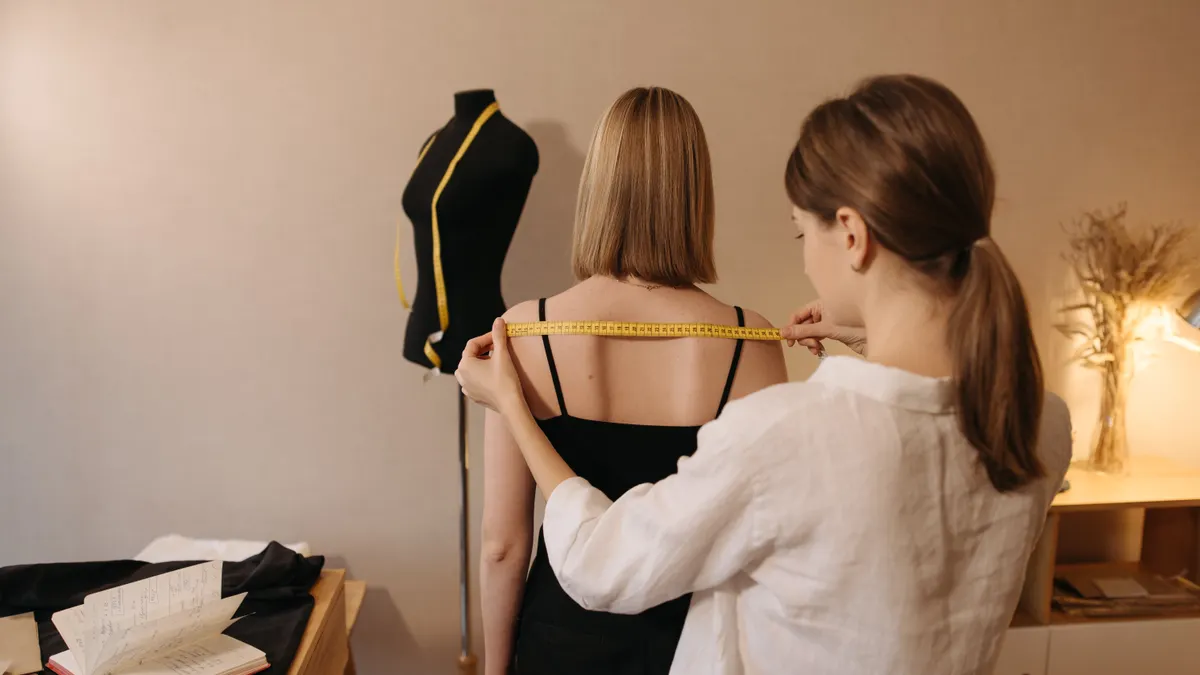
- Measure the body area the pattern uses: bust, waist, hip, inseam, head, or wrist, depending on the item.
- Compare those numbers to the size chart.
- If your measurements fall across two sizes, check the garment’s shape.
- Use the size that fits the biggest key measurement for that part of the body, then adjust later if needed.
- For woven garments, check finished measurements before cutting a test version.
Pattern companies do not size garments the same way. A size 12 in one brand can compare with a very different measurement in another. A body measurement chart is more useful than a retail label, and a finished garment measurement is more useful still. If you are sewing a fitted blouse or trousers, the pattern sizing guide and fit adjustment basics are worth a look.
A common mistake is to choose one size for everything. That rarely works well. A top may need one size at the shoulder and another at the waist, and many patterns expect you to grade between sizes. According to the Craft Yarn Council’s sizing resources and the Indie Pattern Designer Guild’s fit notes, grading between sizes is common on multi-size patterns. For a practical example, if your bust is 38 inches and your waist is 31 inches, you may need one size at the top and another at the midsection.
What symbols and markings matter most on a pattern?
The most important markings are the grainline, notches, fold lines, and placement marks. These guide the fabric so the garment hangs the way the designer intended.
Picture this: you’re staring at a sleeve piece with six notches, a long arrow, and a dot near the cap. That looks messy until you know the arrow points parallel to the selvedge, the notches tell you where to match, and the dot marks a join point. Those marks are not decoration.
Here is what each one does:
- Grainline arrow: aligns the piece with the fabric grain
- Fold line: means the piece is cut on the fold, not cut twice
- Notches: matching points for seams and shape
- Dots and circles: placement marks for darts, pockets, zippers, or closures
- Double notches: usually mark back pieces or a specific seam side
- Single notch: often marks the front or another distinct location
If a pattern has a lot of notches, do not trim them off carelessly. Those tiny cuts are what make set-in sleeves, collars, and side seams line up. A missing notch can turn a clean seam into a guessing game. The University of Fashion and Threads both note that accurate marking is essential for construction accuracy. If you want a visual reference, see the pattern marking guide.
How should I prepare fabric before cutting?
You should prepare fabric by checking grain, pressing out deep wrinkles, and handling shrinkage before layout. The exact prep depends on the fiber and the pattern instructions.
Picture this: you’re working with cotton that came straight off the bolt, and it still has fold lines and shipping creases. If you cut right away, the piece can shift while you trace, pin, or cut. Pressed fabric is easier to read and cut accurately.
Prep usually means:
- Prewash fabric if the maker or pattern calls for it, especially for garments that will be laundered later
- Dry and press the fabric fully before laying out pattern pieces
- Check shrinkage on washable fabrics, since some fibers tighten after the first wash
- Find the right side of the fabric, which can be subtle on solid colors
- Check nap or pile so all pieces face the same direction
- Square up the fabric if the cut edge is skewed
On the flip side, not every fabric should be handled the same way. Delicate silks, wools, and specialty coatings may need a different prep plan than quilting cotton. Consult the pattern instructions or a fabric-care professional when the fiber is delicate or specialized, and follow the pattern and fabric care guidance. The fabric prep guide and prewashing fabrics page cover the basics.
For washable cotton, a first wash can shrink the cloth enough to affect fit. Cotton is known to shrink if it has not been pretreated, and many sewing guides recommend washing before cutting. That is one reason a 1/2-inch difference in length can matter on a simple hem. A garment cut before shrinking can end up shorter than intended after laundering.
What tools do I actually need for cutting prep?
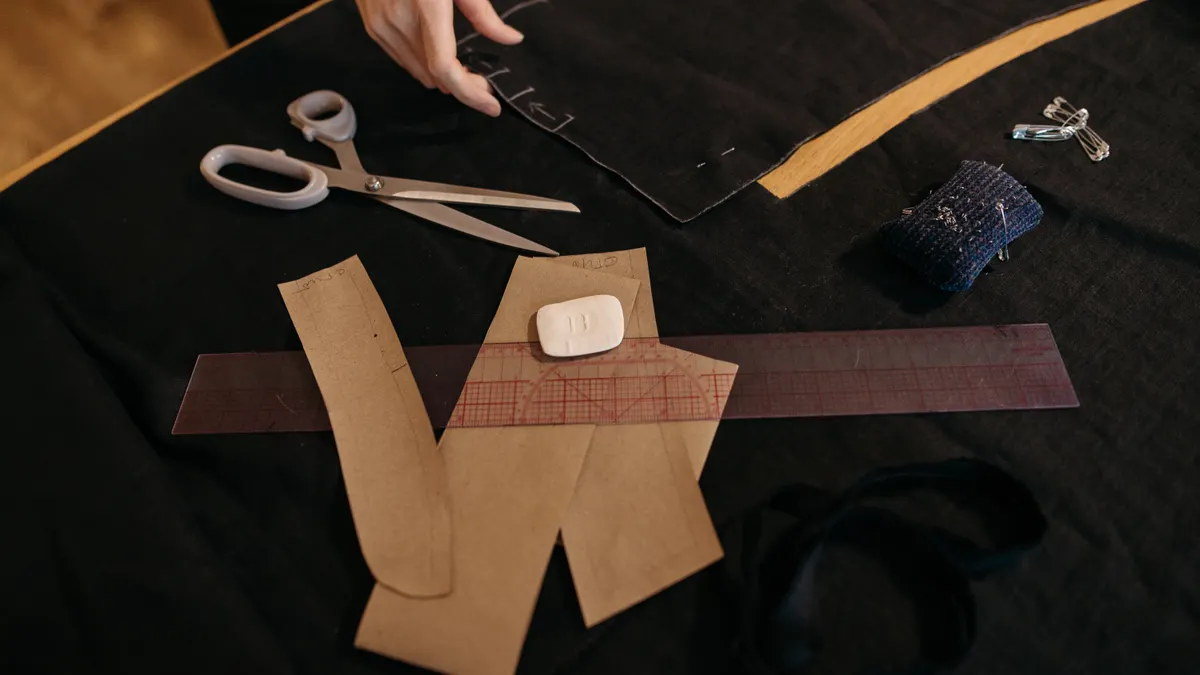
You need only a few reliable tools: sharp cutting tools, a flat surface, weights or pins, a measuring tool, and a pressing tool. Fancy extras are optional; clean setup matters more than a crowded kit.
Picture this: you’re trying to hold slippery fabric, read tissue paper, and move a ruler at the same time. That is not a skill problem; that is a setup problem. Good tools make accurate cuts easier.
Core tools for prep:
- Fabric shears or rotary cutter
- Pattern weights or pins
- Clear ruler or measuring tape
- Pressing iron
- Cutting mat if using a rotary cutter
- Chalk, wash-away marker, or tracing wheel
- Trimming scissors for threads and paper adjustments
A rotary cutter can be faster on long, straight edges, but it is less forgiving if the layers shift. Shears give more control around curves and corners. Choose the tool that matches your comfort and the fabric, not the one that looks more advanced. If you are comparing options, the cutting tools guide and rotary cutter basics can help.
How do I lay out pattern pieces without wasting fabric?
You lay out pieces by following the layout diagram first, then adjusting only when the fabric width, print direction, or nap forces a change. The layout is there to prevent waste and bad grain.
Picture this: you’re trying to squeeze every piece onto the cloth, but one sleeve ends up upside down and the hem lands on a print stripe. That saves fabric only on paper. Layout is about fit and direction, not just tight packing.
Use this order:
- Fold or open the fabric exactly as the pattern shows.
- Match selvedges if the layout calls for a fold.
- Place large pieces first.
- Keep grainline arrows parallel to the selvedge or fold.
- Respect nap and one-way prints.
- Leave room for seam allowances if they are not already included.
- Check that all pieces are on grain before pinning or weighting.
The layout diagram is especially useful for fabrics with a clear direction. If the pattern says “with nap,” all pieces must point the same way. Ignoring that note can make one leg darker than the other in velvet, corduroy, or brushed knits. For more on cloth direction, see the nap and pile guide and fabric layout tips.
Where do beginners usually make the biggest cutting mistakes?
The biggest mistakes are cutting the wrong size, ignoring grainline, misreading fold instructions, and assuming all pattern markings can be guessed later. Those errors are easy to make and annoying to fix.
Picture this: you’re halfway through a cut, and then you notice a piece that should have been cut on the fold is now split into two halves. That is the kind of mistake that changes a project fast. Most cutting errors come from rushing the prep stage.
Common failures include:
- Cutting on the wrong line when multiple sizes are printed together; if the line is unclear, consult a pattern professional or the pattern company before cutting
- Missing a mirrored pair because the piece was not placed on a fold
- Ignoring grainline and ending up with twisted hang
- Forgetting notches before removing the paper
- Skipping prewash and shrinking the finished garment later
- Using dull shears that push the fabric instead of cutting it
A careful prep routine prevents most of these. If you are new, mark each step with a pencil or sticky note and work through the pattern in the same order every time. Repetition helps more than speed. The common sewing mistakes page and how to cut fabric accurately explain these errors in more detail.
The cleanest way to prep for a first cut
The cleanest way is to treat the pattern like a checklist, not a pile of paper. Read the instructions, confirm the size, prep the fabric, then place and cut one piece at a time. If you are unsure about a difficult fabric or an unfamiliar layout, consult the pattern company or a sewing professional before the first cut.
Picture this: you’re at the table with fabric, pattern, scissors, and an iron, and the project feels bigger than it should. A simple system removes that pressure. Slow prep makes the cut easier.
A practical order:
- Read the full instruction sheet once.
- Mark the size you will use.
- Review fabric requirements and notions.
- Wash, dry, and press fabric if needed.
- Square the fabric and confirm the grain.
- Lay out pattern pieces.
- Pin or weight pieces securely, following the pattern’s guidance; if the fabric is delicate, check with the pattern company or a sewing professional.
- Cut slowly, following the line that matches your size.
- Transfer markings before moving the paper away.
If the pattern includes multiple versions, cut only the version you plan to make. Extra lines and options can crowd the page and make the wrong cut easier. Clear eyes and a steady order beat confidence alone. For a step-by-step checklist, see the first project sewing guide.
When should you stop and rethink the plan?
You should stop when the fabric does not match the pattern, the layout does not fit, or a marking seems unclear. A short pause now is cheaper than a wrong cut later.
Picture this: you’re committed to a fabric that is too short, too slippery, or too directional for the pattern you chose. That is not a reason to force it. A bad match is a warning, not a challenge.
Stop and reassess if:
- The fabric width is narrower than the layout allows
- The print direction would make pieces clash
- The pattern needs a fabric type that your cloth does not support
- You cannot identify the right size line cleanly
- The pattern asks for interfacing or notions you do not have
- Seam allowance is unclear and the instructions do not explain it
This is also where a muslin or test version can help, especially for fitted garments. A test cut is not wasted time if it keeps the final fabric intact. The muslin fitting guide and interfacing guide can help you decide when to pause.
FAQ
Do I need to prewash all fabric?
Prewashing is the safer move for most washable garment fabrics. It helps reduce shrinkage before cutting, which matters if the finished piece needs to keep its size after the first wash. Delicate or specialty fabrics may need a different treatment, so follow the pattern and fabric care notes.
What if the pattern has multiple sizes on one sheet?
Use a highlighter, chalk, or tracing method to isolate the size line before cutting. That makes it easier to follow one line without drifting into another size. If you are between sizes, grade between them only if the pattern shape and skill level make that sensible.
Do I have to cut exactly on the line?
Yes, as closely as you can. Cutting wide of the line changes the piece shape, and cutting inside the line can make the garment too small. Sharp tools and a flat surface matter more than speed here.
Can I skip the layout diagram if I have plenty of fabric?
You can, but it is a bad habit. The diagram tells you grain direction, fold placement, and how the designer expected the pieces to fit on the cloth. Ignoring it can create fit or hang problems even when the fabric yardage is enough.
What is the one step beginners forget most often?
They forget to check grainline and size line together. That pair decides both shape and fit, and a wrong choice in either place can ruin the cut before sewing even starts.
Drafted with AI; not yet reviewed by a person.