Last updated: November 19, 2026
Key Takeaways
- The job is not to copy every line; it’s to transfer only the markings that guide the sewing.
- You transfer pattern markings to fabric by choosing one marking tool, keeping the pattern flat, and marking only the symbols that the sewing step needs.
- Not every notch needs a fabric cutout.
- You mark darts by transferring the dart legs and the dart point, then keeping those marks visible until you stitch the fold.
Mark sewing pattern pieces on fabric with the method that matches your cloth: use tailor’s chalk, a fabric pen, pins, or tailor’s tacks for the mark, then transfer notches, darts, and drill holes before you remove the paper. This page settles which marking method to use, where each one belongs, and how to avoid marks that vanish, bleed, or distort the cloth.
Mark the right thing before you start cutting
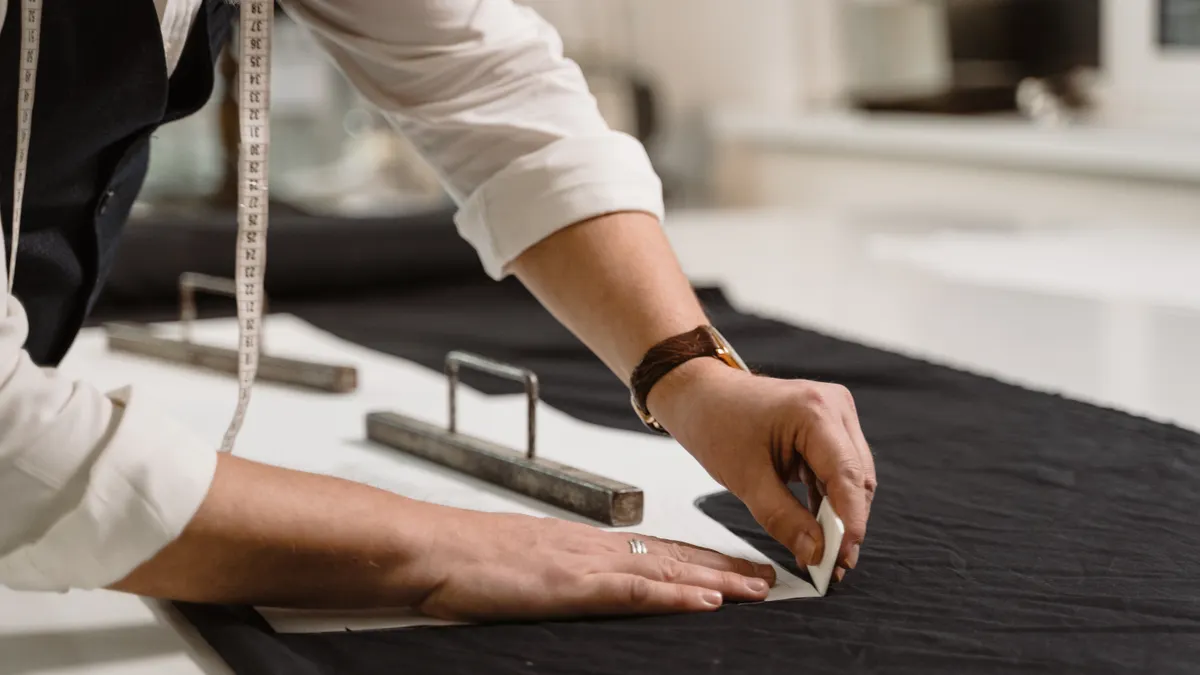
Picture this: you’ve cut out your sewing pattern pieces, and the paper still shows darts, notches, and circles that need to land on fabric exactly where the pattern says. The job is not to copy every line; it’s to transfer only the markings that guide the sewing. Simple marks first.
Use the pattern symbol that matches the job:
- Notches help pieces line up.
- Darts show where to fold and stitch.
- Drill holes or small circles mark placement points.
- Grainlines and seam lines usually stay on the paper unless the pattern tells you otherwise.
If the fabric is dark, fuzzy, or slippery, the marking method matters even more. Tailor’s chalk leaves a visible line on many woven fabrics. A fabric pen gives a finer point on lighter cloth. Pins and tailor’s tacks work better when you need the mark to stay put until stitching.
The catch is this: one method does not fit every fabric. A chalk line that looks clean on cotton can disappear on lofty wool, and a marker that looks sharp on plain weave can bleed on silk. Match the tool to the cloth, not to habit.
- Use chalk for quick, temporary lines on stable fabric.
- Use a fabric pen only if you know it removes cleanly.
- Use pins for a fast pass-through marker.
- Use tailor’s tacks for marks that must survive handling.
How do you transfer pattern markings to fabric?
You transfer pattern markings to fabric by choosing one marking tool, keeping the pattern flat, and marking only the symbols that the sewing step needs. That means the mark lands on the fabric before the paper comes off, while the piece still sits flat and true.
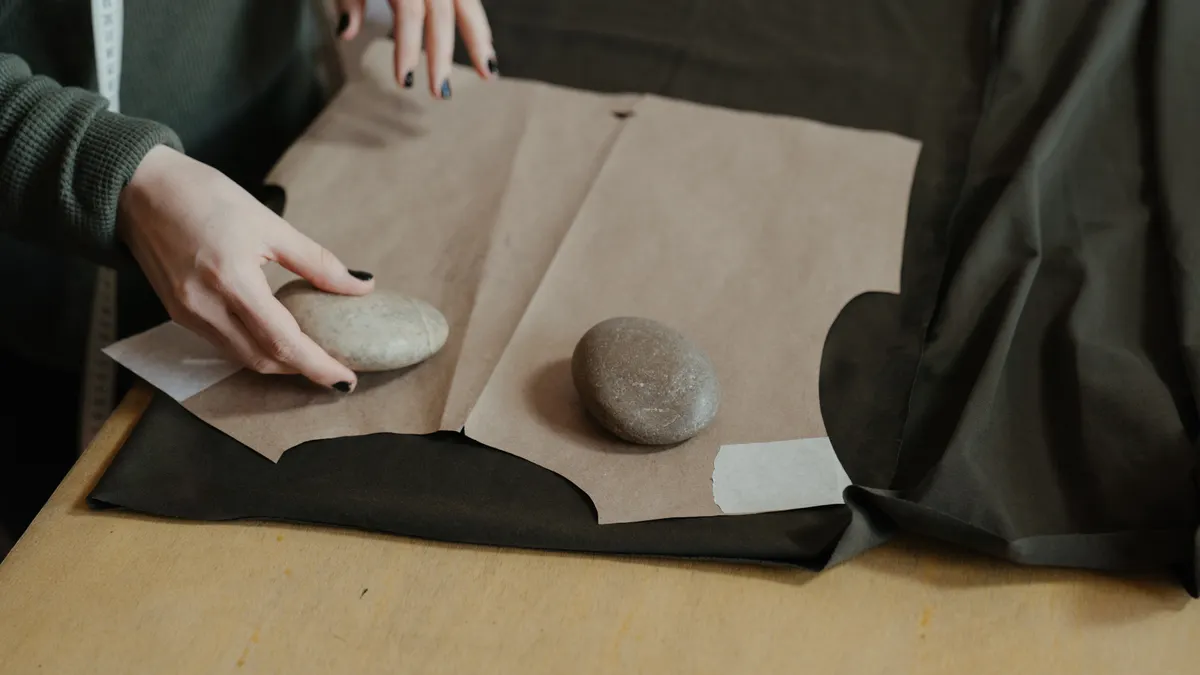
Start with your cut piece on a flat table. Press the fabric if needed. Then bring the paper pattern back onto the fabric piece, matching the edges and the symbol locations. Use enough pattern weights or pins to stop shifting.
Now, you might be wondering about the best order. Mark the easiest points first: notches, then darts, then drill holes. After that, remove the paper and finish any line that needs to be clearer.
Use tailor’s chalk for quick lines
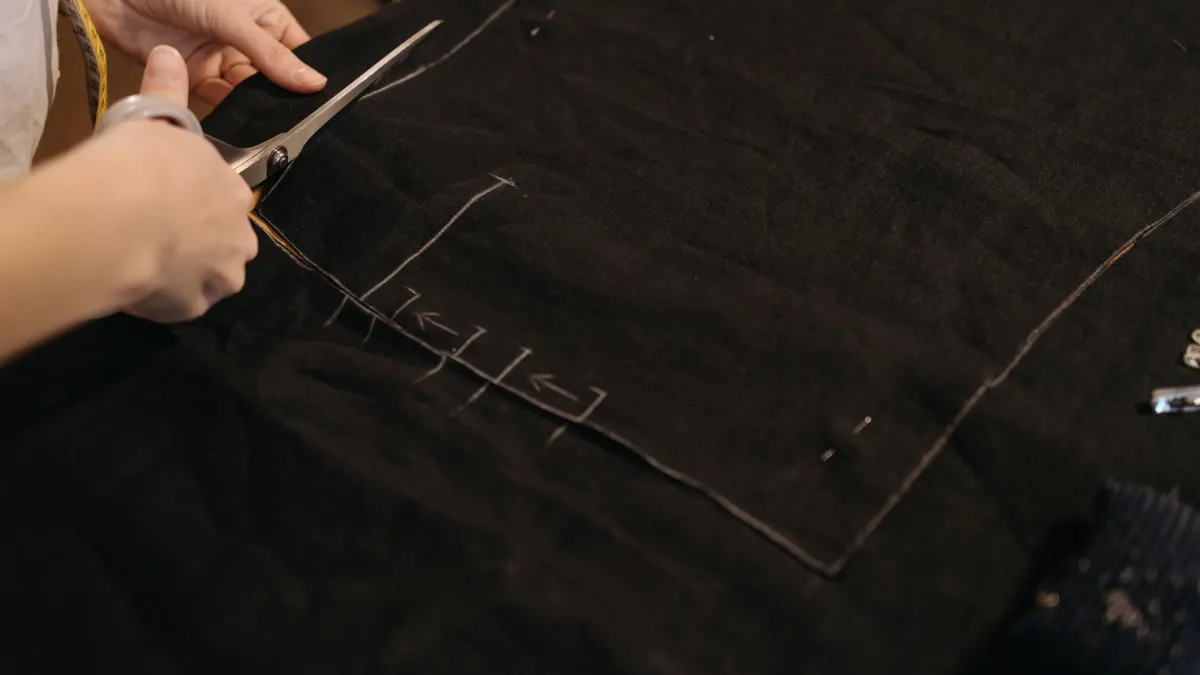
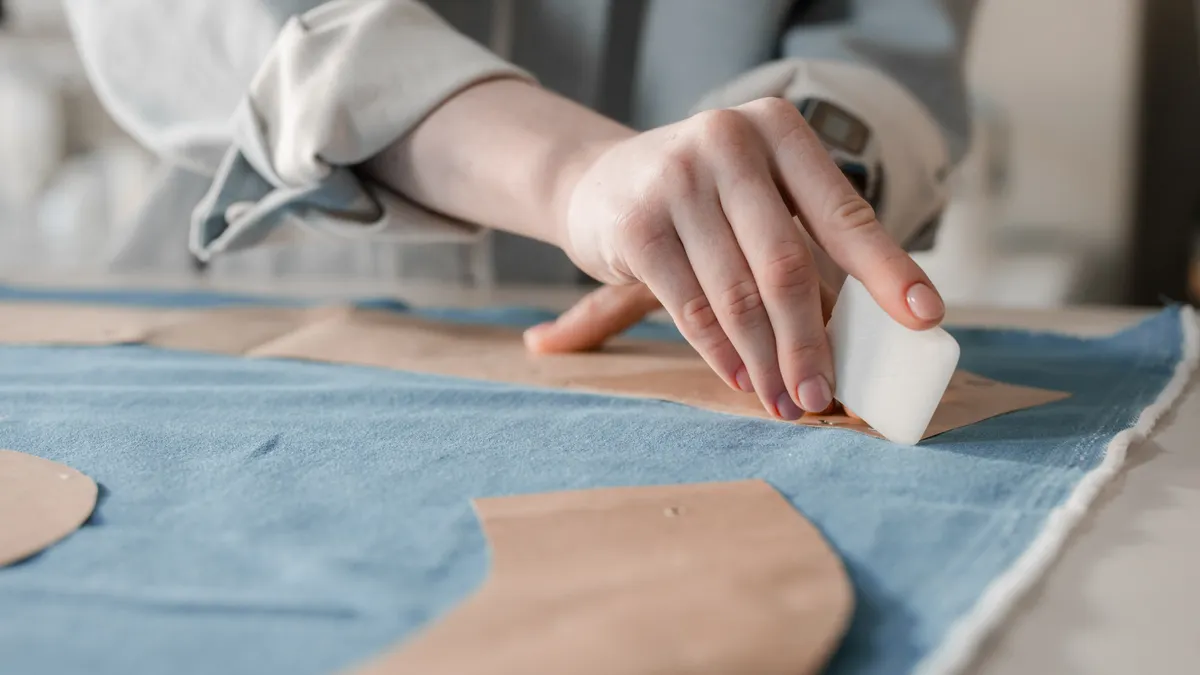
Tailor’s chalk works best for light, temporary marking on woven fabric. Draw short, controlled strokes instead of long sweeping lines so the mark stays accurate and easy to erase later.
Do this when you need a seam guide, dart leg, or placement line that will be stitched soon.
- Test the chalk on a scrap first.
- Keep the point sharp or the edge clean.
- Avoid heavy pressure on delicate fabric.
Use a fabric pen for fine placement points
A fabric pen gives a crisp point when you need a small dot or short line on pale cloth. Choose one labeled for fabric and follow the removal instructions that come with it. If the mark sinks into the cloth or smears when you touch it, stop and switch methods.
Use pins to mark a point through two layers
Pins are useful when a notch, dart point, or placement mark must land on both sides of a folded piece. Push the pin straight through the symbol, then stand it upright so you can see the position from the other layer.
This is fast, but it is not precise for long lines.
- Pin perpendicular to the edge.
- Keep the fabric flat around the pin.
- Remove pins before stitching over the line.
What’s the best way to mark notches without cutting them?
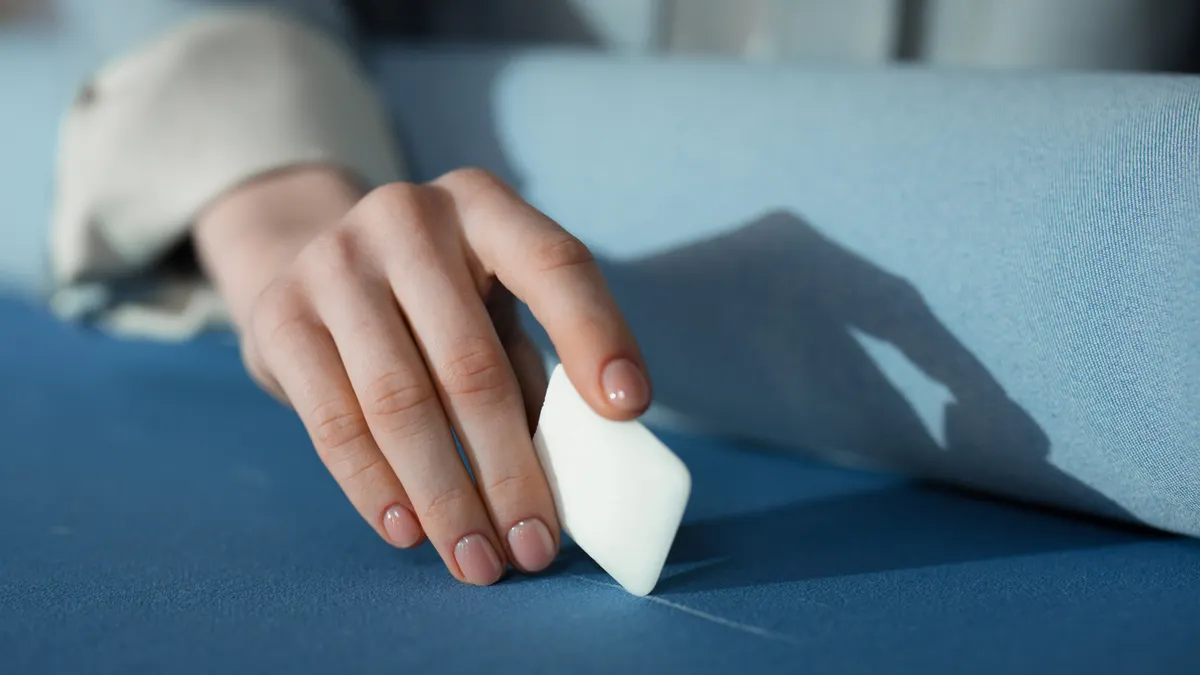
The best way to mark notches without cutting them is to copy the notch position onto the fabric with chalk, a small clip mark if the pattern allows it, or a pin if the notch sits in a hard-to-see spot. Not every notch needs a fabric cutout.
For many sewing pattern pieces, especially on delicate or tightly woven fabric, a tiny marking is safer than clipping into the seam allowance. That avoids stretching the edge or making a hole where you do not want one.
Use this order:
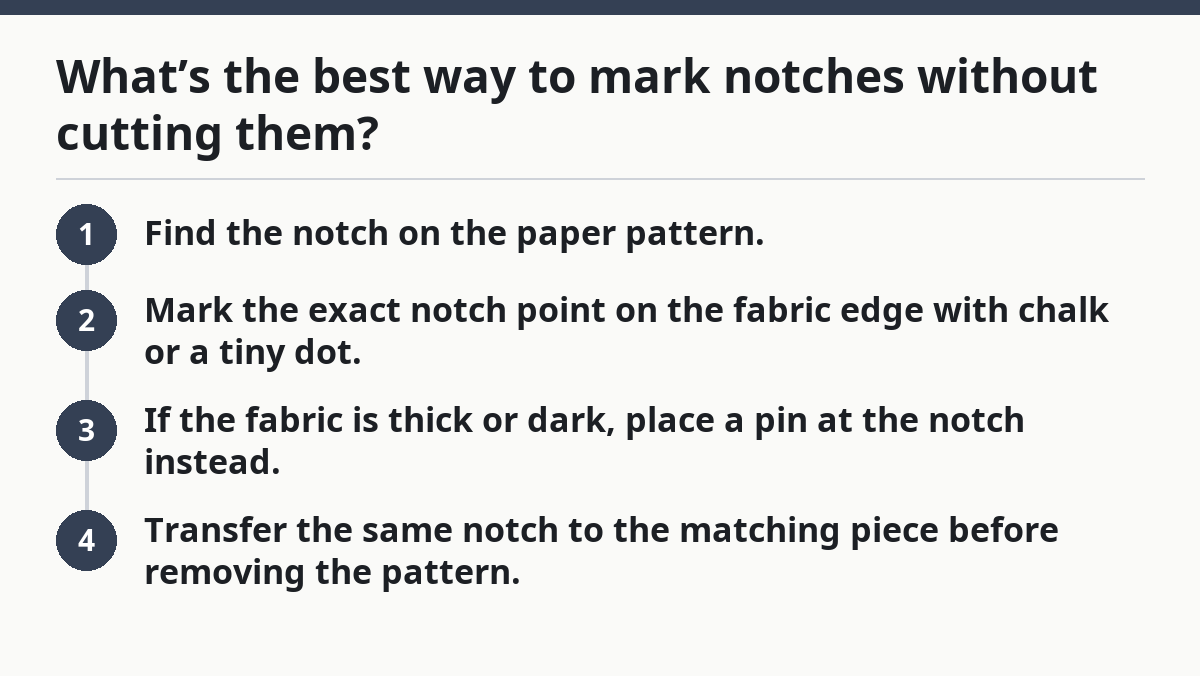
- Find the notch on the paper pattern.
- Mark the exact notch point on the fabric edge with chalk or a tiny dot.
- If the fabric is thick or dark, place a pin at the notch instead.
- Transfer the same notch to the matching piece before removing the pattern.
Here’s the catch: a notch mark that is too big causes confusion later. Keep it small and clear. A 2 to 3 mm chalk slash is enough on most fabrics, and a pin can stand in for the mark on thicker cloth.
Use tailor’s tacks for notches on tricky fabric
Tailor’s tacks are better than chalk on pile fabrics, open weaves, or cloth that won’t hold a clean line. Make two thread loops through the paper and fabric at the symbol, then cut the thread between the layers so each side keeps a little marker. The mark stays visible without scuffing the cloth.
- Use contrasting thread.
- Leave tails long enough to find later.
- Don’t yank the threads tight.
How do you mark darts so they still line up later?
You mark darts by transferring the dart legs and the dart point, then keeping those marks visible until you stitch the fold. A dart fails when the point gets lost or the two legs are not copied cleanly.
A dart needs three things on fabric: the wide end, the fold line, and the point. On many patterns, the point is shown by a triangle, a dot, or a dart leg pair. Copy all of them, not just the end line.
Use this process:
- Mark the dart point with a pin or chalk dot.
- Mark both dart legs with short chalk dashes.
- Transfer the marks to the wrong side of the fabric if the pattern allows.
- Fold the dart so the leg marks meet.
- Pin through the point and the wide end before sewing.
The truth is, dart marking is where many beginners lose accuracy. If the point shifts by even a small amount, the shape changes. Keep the fabric flat while marking, and avoid lifting it by the edge until the dart is fully copied.
- Use tailor’s chalk for visible dart legs on plain fabric.
- Use tailor’s tacks for precise dart points on hard-to-mark fabric.
- Use pins only as temporary markers, not as the final answer.
Should you mark drill holes and circles the same way?
No, drill holes and circles are best marked with a tiny dot, a thread tack, or a tiny snip only if the pattern and fabric can take it. These marks are usually placement points, not cutting instructions.
A drill hole on pattern paper often means “put a mark here for a pocket, button, pleat, or trim.” On fabric, you want the exact point, not a big hole that weakens the cloth. Mark the center, not the whole circle, unless the pattern says the circle itself must be shown.
Use a visible but small method:
- Chalk dot for light fabric.
- Fabric pen dot for pale, stable cloth.
- Tailor’s tack for fabric that hides chalk.
- Pin for a temporary reference point.
If the circle is meant to show the end of a dart or pocket placement, transfer only the center. If it is a pass-through point for stitching or hardware, keep the mark small and clean. A 1/8-inch dot is plenty in most cases.
Common marking mistakes that waste time and fabric
Common marking mistakes waste fabric because they create marks that blur, shift, or disappear before you sew. The fix is usually a slower, smaller mark and one tool per job.
The biggest error is marking after the paper has moved. If the pattern slips even a little, the symbol lands in the wrong place. Another mistake is using a marker that is too wet or too thick for the fabric. That can bleed into the seam allowance or show through the right side.
Watch for these problems:
- Marking on the wrong side when the instructions call for the right side, or the reverse.
- Using chalk on rough cloth where it rubs off before stitching.
- Drawing large circles when a tiny placement dot is enough.
- Skipping a scrap test on the same fabric.
On the flip side, too many marks can clutter the piece and confuse the next step. Mark only what the sewing step needs. If a symbol won’t affect the seam, leave it on the paper pattern.
A clean marking setup makes the whole job faster
A clean marking setup makes fabric markings faster because you stop hunting for tools and second-guessing each symbol. Keep the surface flat, the pattern secure, and the marking tool ready before you touch the cloth.
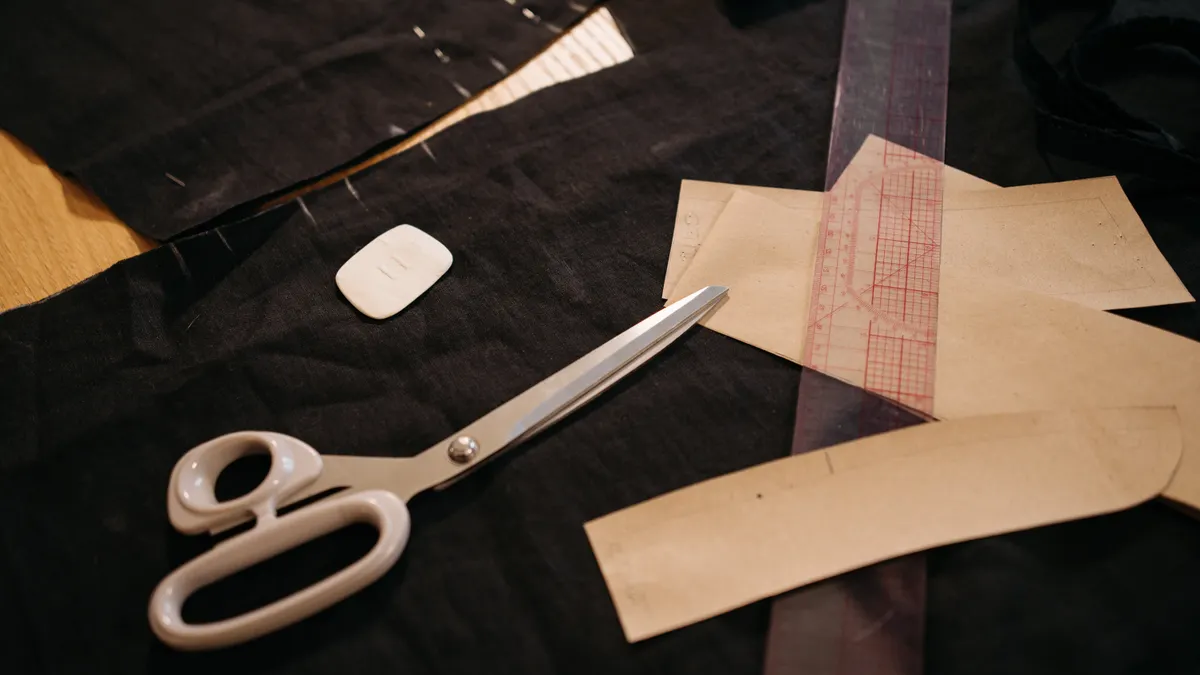
Lay out these basics within arm’s reach:
- Tailor’s chalk
- Fabric pen
- Pins
- Small scissors or snips for thread tacks
- The sewing pattern pieces you’re using now
If you are working from a multi-piece pattern set, mark one piece at a time. That keeps notches and darts from getting mixed up. If the fabric is slippery, use more pattern weights instead of more pressure. A pressed piece and a flat table do more for accuracy than force ever will.
This page sits under the pattern layout, cutting, and marking hub because marking is part of the layout job, not a separate craft. Once you understand which symbol you are transferring, the rest is just choosing the method that stays visible on your fabric.
How do you transfer pattern markings to fabric?
You transfer pattern markings to fabric by matching the paper pattern to the cut fabric, then copying only the needed symbols with chalk, pins, or thread tacks. Keep the piece flat while you work, and mark before removing the pattern so the placement stays true. For dark or fuzzy fabric, tailor’s tacks are often clearer than chalk.
What is the best way to mark darts?
The best way to mark darts is to copy both dart legs and the dart point, then keep those marks visible until the dart is sewn. Tailor’s chalk works for quick, light marks on stable fabric, while tailor’s tacks are better when the cloth won’t hold a clear line. Do not mark only one leg.
How do you mark notches without cutting them?
You mark notches without cutting them by placing a small chalk slash, a pin, or a thread tack at the notch point instead of clipping the edge. That protects delicate fabric and keeps the seam allowance intact. On thick or dark fabric, a pin or tack is easier to find later than a chalk mark.
Drafted with AI; not yet reviewed by a person.