Last updated: November 20, 2026
Quick answer: in pattern reading and fitting decisions, start by checking the finished garment measurements and your body measurements; for example, a 38-inch bust against a 42-inch finished bust means 4 inches of ease. Pattern reading and fitting decisions — The Complete Guide are about choosing the right size, spotting the shape built into the pattern, and deciding which adjustments are worth making before you cut fabric. If a garment hangs wrong at the shoulders, bust, waist, or hip, the fix usually starts on the paper pattern, not at the sewing machine. A solid first pass can save hours of unpicking later. For a broader overview of fit terms, see finished garment measurements, sewing ease, and pattern adjustments.
Key takeaways
- Read the envelope, the finished garment chart, and the tissue pattern as three different documents.
- Pick size from body measurements first, then check the pattern’s ease before you cut.
- A good fit comes from matching your body’s shape, not from chasing the biggest size listed.
- Small changes like bust, swayback, and length adjustments often solve more than one problem at once.
- Tissue fitting and muslin fitting both help, but they solve different problems.
What does pattern reading mean?
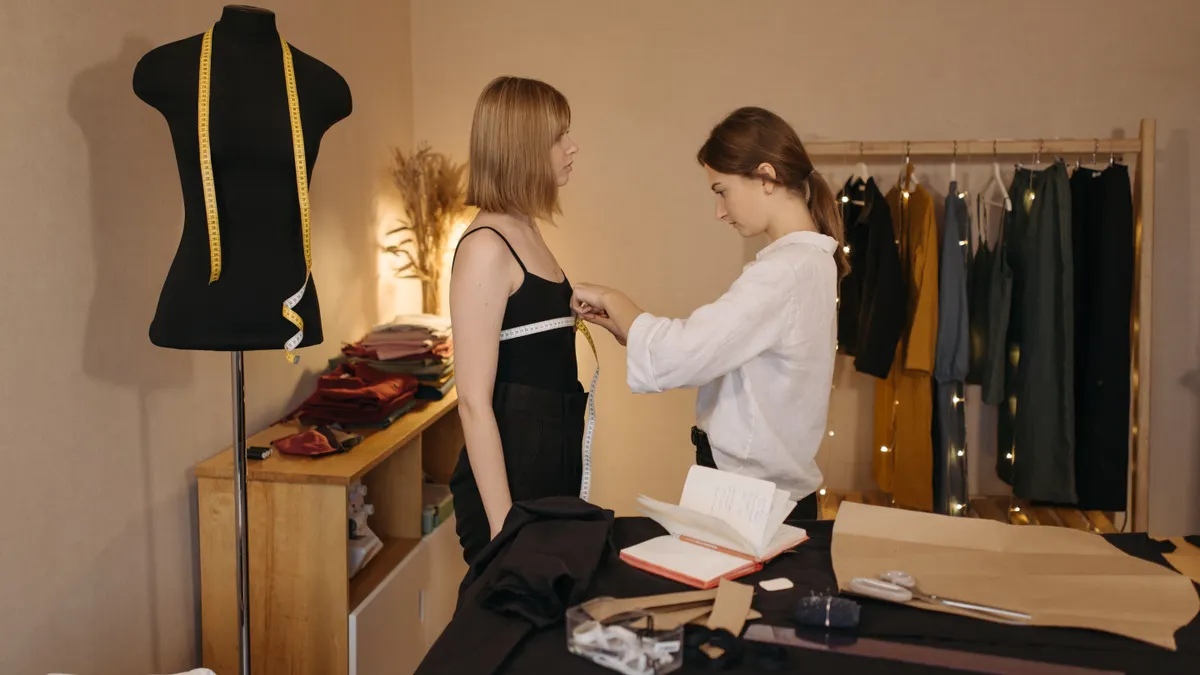
Pattern reading means understanding what the paper pattern is actually telling you before you cut a single piece. That includes the size chart, seam allowance, grainline, notches, darts, ease, and the finished garment measurements. A pattern is not just a template; it is a set of instructions for shape, construction, and fit.
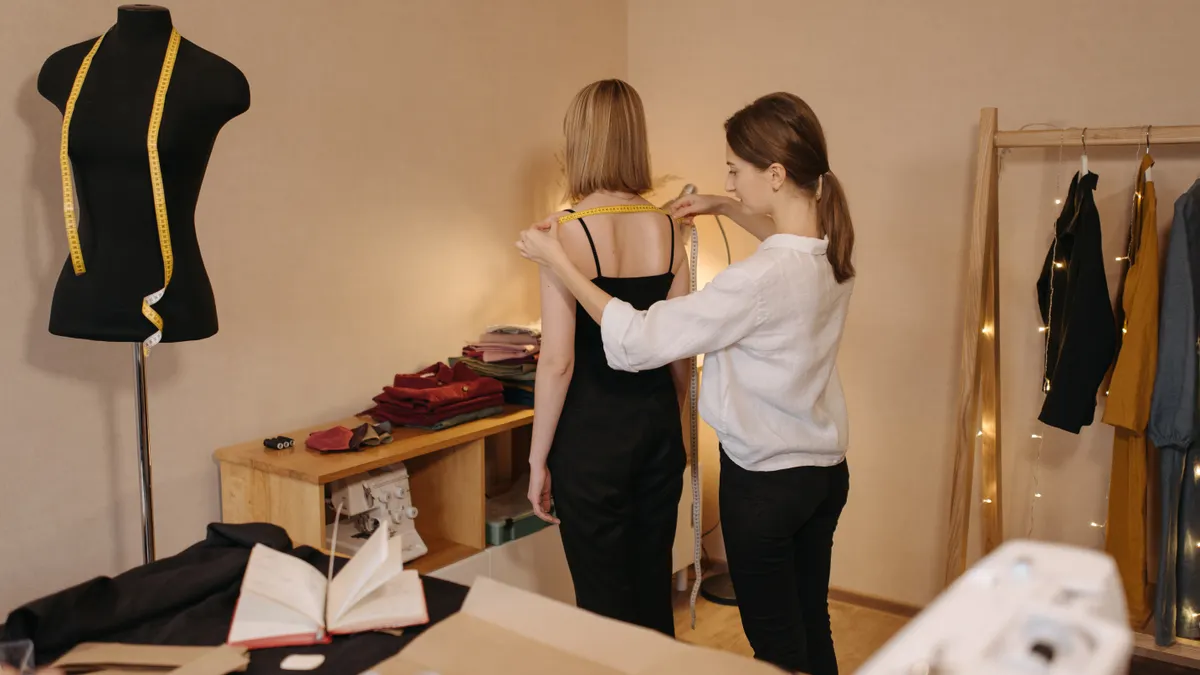
The first number to check is not your ready-to-wear size. It is the pattern company’s measurement chart, because a size 12 in one brand may not match a size 12 in another. Then look at finished garment measurements, if they are given, because they show how much room the garment has beyond the body. The difference between body measurement and finished measurement is the ease, and it changes the whole fit. For a reference on body measurement and fit terminology, see Sewing.org’s fitting guidance.
If the pattern includes seam allowance, grainline, and notch marks, those are not extras. They are part of the fit system. A 5/8-inch seam allowance, common in many commercial patterns, gives some room to adjust side seams later, but it does not replace choosing the right size in the first place.
Pattern reading also means spotting the style line before you buy the fabric. A fitted princess-seam dress, a straight shirt with darts, and a loose wrap top all fit the body differently, even if the bust number looks close. The shape on the page matters as much as the size on the chart.
How do I choose the right pattern size?
Choose the pattern size from your body measurements first, then verify it against the finished garment measurements. For most home sewists, that is a practical starting point, because pattern companies draft for a standard shape that rarely matches one body exactly.
Start with the measurement the pattern company says to use, often bust for tops and dresses, waist and hip for bottoms, or high bust for fitted bodices. If your bust and hip point to different sizes, that is normal. Most people need to blend between sizes across the pattern, not force one size onto the whole garment.
The high bust measure matters because it helps separate frame size from bust shape. If the full bust is larger than the high bust by several inches, choosing by full bust alone can make the shoulders and neckline too large. In that case, selecting the high-bust size and doing a full bust adjustment is often cleaner than sizing up everywhere.
Finished garment measurements deserve the second look. A woven shirt with 4 inches of ease and a knit tee with minimal ease will fit very differently even when the same chest number appears on the envelope. If the pattern does not list finished measurements, the style line gives clues: close-fitting garments need more precise selection than loose ones.
A common mistake is choosing the size that matches a favorite store-bought garment. That can work only if the store garment already fits well and the cut is similar. A pattern made with darts, princess seams, or a different rise will not follow the same fit logic. For more on comparing pattern measurements to body measurements, see how to read a sewing pattern.
Which fitting method should I use first?
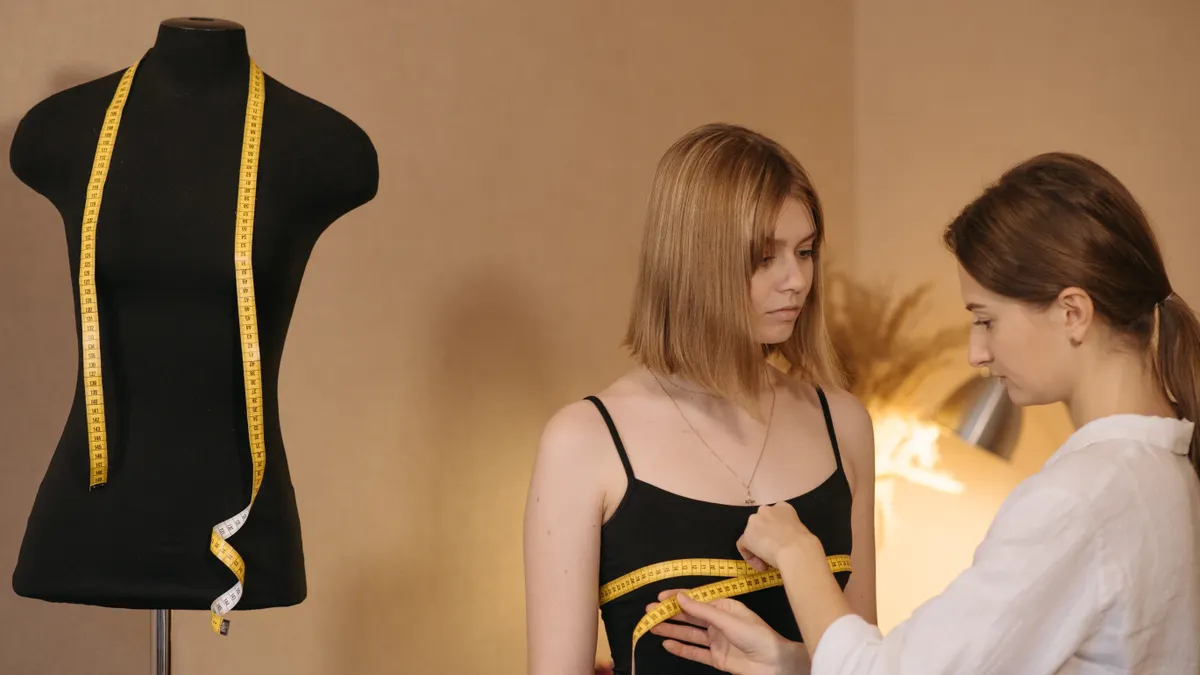
Use tissue fitting first if the pattern is simple and the fabric is cheap; use a muslin first if the garment is tailored, fitted, or made from costly fabric. Tissue fitting is faster, while a muslin shows how the garment behaves in three dimensions and under movement.
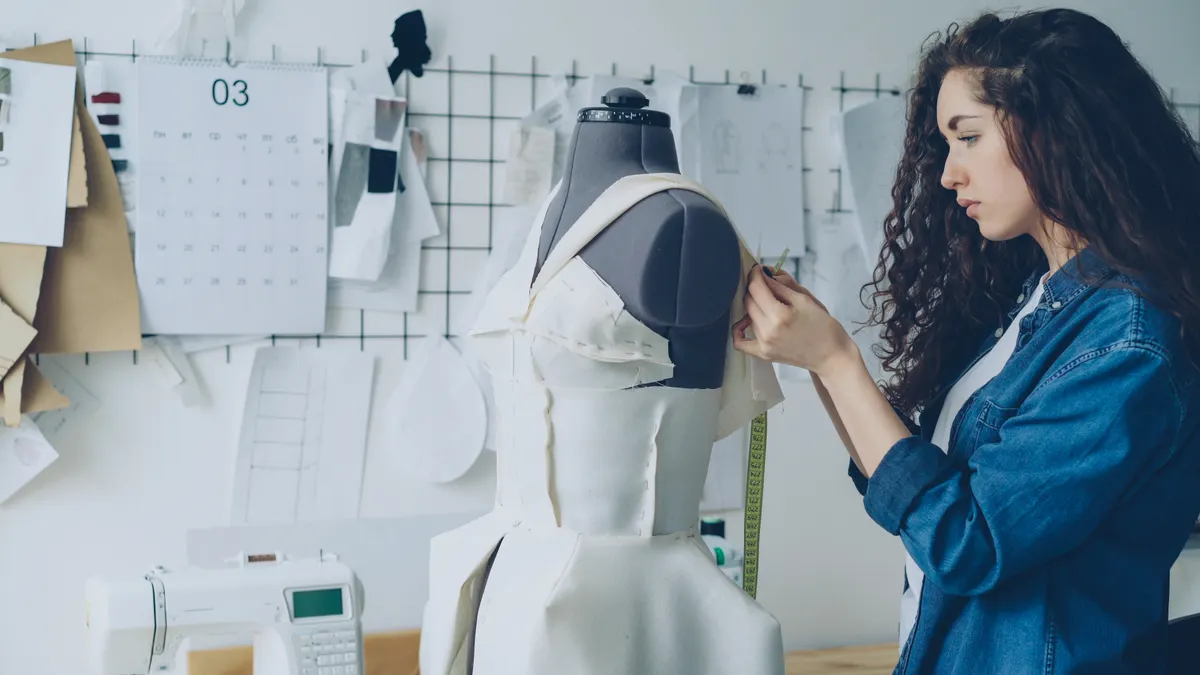
Tissue fitting works best on patterns with clear seam lines, such as a bodice, sleeve, or straight skirt. The paper can reveal obvious issues like a short waist, narrow shoulders, or a bust line that sits too high. It is less useful for garments with soft drape, complex style lines, or heavy design details, because paper does not hang like cloth.
A muslin takes more time and uses extra fabric, usually an uncut or low-cost test cloth, but it shows the real shape of the garment. You can see drag lines, pulling across the bust, excess fabric at the back waist, and hem balance. For fitted trousers, jackets, or close tops, that extra step can prevent a bad cut in the final fabric. If you want a step-by-step pre-sew check, see muslin fitting basics.
| Criteria | Tissue fitting | Muslin fitting | Winner for this condition |
|---|---|---|---|
| Speed | Fast, often done in one session | Slower because it needs stitching | Tissue fitting when the pattern is simple |
| Cost | Low | Uses extra cloth | Tissue fitting when fabric is expensive |
| Shape accuracy | Limited by paper stiffness | Better for drape and balance | Muslin fitting for fitted garments |
| Shows movement | Poorly | Better | Muslin fitting for jackets, trousers, close tops |
| Helps with first draft | Good for obvious size issues | Good for full fit check | Muslin fitting for major changes |
| Works on complex style lines | Less reliable | More reliable | Muslin fitting |
| Easy to mark changes | Very easy | Also easy, but needs sewing | Tissue fitting for small changes |
| Best for beginners | Yes, if the garment is simple | Yes, if willing to sew a test | Tissue fitting for quick checks |
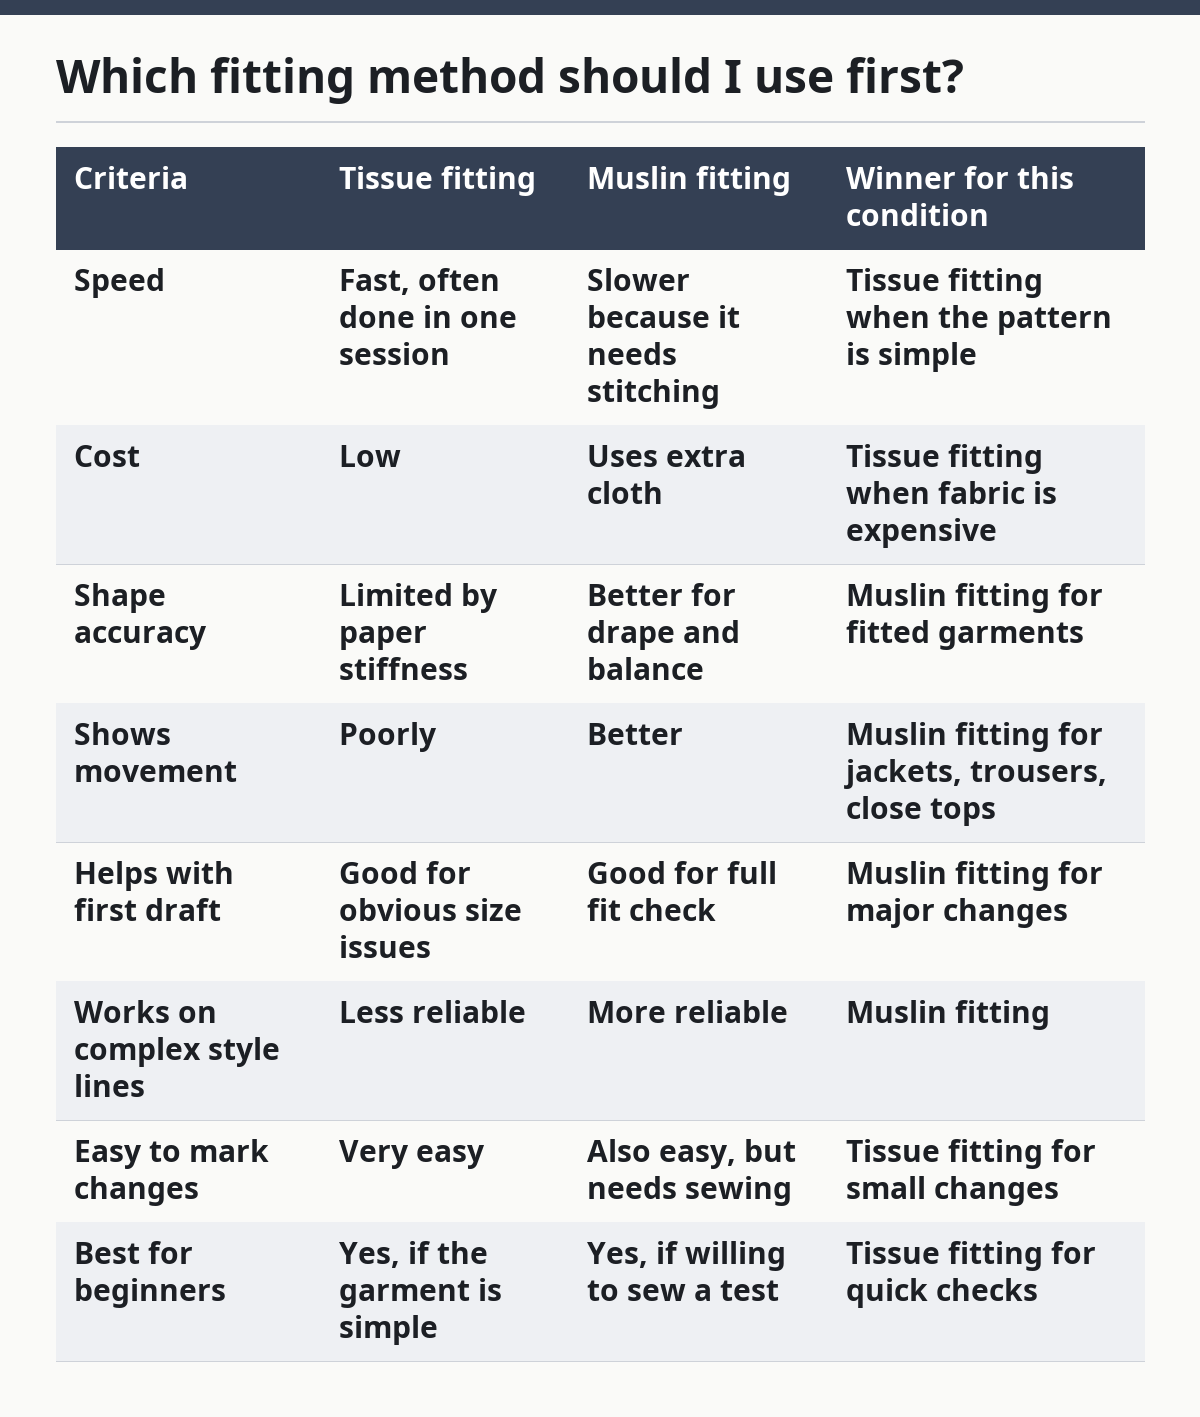
The best first step depends on the garment. A loose top with a straight side seam may only need tissue fitting and a quick check of finished measurements. A fitted jacket usually benefits from a muslin, because the shoulder, bust, waist, and sleeve all interact. For jacket-specific fitting, see tailoring and jacket fit.
What are the fitting changes that matter most?
The most useful fitting changes are the ones that affect the whole garment, not just one small wrinkle. Bust adjustments, shoulder width, length changes, and hip shaping usually matter more than tiny seam tweaks, because they control how the garment hangs.
A full bust adjustment changes room over the chest without making the shoulders and neckline too large. A small bust adjustment does the opposite and removes excess fabric where the pattern was drafted for more curve. These are shape changes, not size changes, and that distinction matters.
Length adjustments are often the easiest win. If a bodice rides up at the waist or a sleeve sits too high, adding or removing length at the right line can fix the problem cleanly. The same idea applies to trousers: changing the rise or inseam can correct a fit issue faster than reshaping the whole leg.
Shoulder and back adjustments also do a lot of work. A shoulder that is too wide can pull the sleeve cap off position, while a narrow shoulder can create strain across the upper back. A swayback adjustment, which removes extra fabric at the lower back, can clean up folds near the waist without touching the bust area. For more detail, see shoulder adjustments and swayback adjustment.
The mistake to avoid is changing everything at once. If the bodice pulls across the chest, do not shorten the hem, narrow the shoulders, and pinch the side seam before checking which change caused the problem. One adjustment at a time makes it easier to see what changed.
What do fit lines really tell me?
Fit lines tell you where the pattern is fighting the body. Drag lines, strain lines, and extra folds are the most direct clues a pattern gives, and they show where the cloth needs more room, less room, or a different angle.
Horizontal wrinkles often point to tightness or a length issue, depending on where they appear. If they sit across the bust, you may need more room there. If they sit high on the body and the hem seems to ride up, the garment may be too short through the torso.
Diagonal lines usually mean the fabric is being pulled toward a body point. On a blouse, that may mean the bust apex, shoulder, or hip is asking for more space. On trousers, diagonal pulls often show up from the crotch or thigh area and tell you the rise or leg width is off.
Vertical excess fabric can mean the garment is too large or the shape is wrong for the body. A loose column of fabric at the back waist may call for a swayback change or a smaller back width. Extra fabric under the arm may mean the armscye is too deep or the sleeve is too wide.
A fit line never acts alone. One wrinkle near the side seam may come from the bust, the shoulder, or the waist. That is why fit decisions need to be tied to garment grain, seam placement, and style lines, not just to the wrinkle itself.
How do I read ease without guessing?
Read ease by comparing the body measurement to the finished garment measurement, then asking what kind of fit the garment is meant to have. Ease is the built-in space that lets you move, sit, breathe, and wear the garment comfortably.
There are three kinds of ease to think about. Wearing ease is the minimum room needed for comfort. Design ease is the extra room added for style. Negative ease means the garment is smaller than the body in some places, which is common in stretchy knits.
If the pattern gives finished measurements, the calculation is simple enough to do on paper. A bust measurement of 38 inches against a finished garment bust of 42 inches means 4 inches of ease at that point. That can be fine for a shirt, but it would feel loose on a fitted blouse.
If the pattern does not give finished measurements, the style itself gives a clue. A woven sheath dress needs less room than a relaxed shirt, and a knit top needs a different sort of ease than a woven one. The same body measurement can produce a good result in one style and a poor result in another.
Do not confuse ease with fit failure. Some new sewists think every bit of looseness is bad. That leads to overfitting, which makes clothes hard to move in and often creates more wrinkles than it removes. For apparel fit terms, the American Sewing Guild’s resources are useful: American Sewing Guild.
What if the pattern and my body do not match?
If the pattern and your body do not match, blend sizes and adjust the pattern lines before cutting the final fabric. That is the normal path, not a special case, because most bodies do not match one single size across bust, waist, and hip.
Start by marking the size lines for each major measurement. A person might use one size at the bust, a larger one at the hip, and something in between at the waist. Then connect those points smoothly so the side seam does not kink or angle sharply. For a visual reference, see grading between sizes.
For a fitted bodice, check the upper chest and shoulder before touching the waist. If the top of the garment is wrong, the rest of the fit will look wrong too. For trousers, start with crotch depth, rise, and hip before worrying about the hem.
The hard part is knowing what not to change. If a garment is too tight because the chosen size is small, it may need a size change, not just a seam allowance reduction. If the shoulders are wrong, taking in the side seam will not fix the sleeve hang.
This is where patience saves fabric. A quick correction may look tempting, but the wrong adjustment often shows up later as a new problem. A pattern that fits well at the tissue stage is usually easier to sew cleanly, even if the first draft takes longer.
Which mistakes cost the most time?
The biggest time-wasting mistakes are skipping finished measurements, choosing one size for the whole body, and changing fit after the garment is already cut. Those three errors create the most unpicking because they happen before the first test fit has a chance to teach anything.
Cutting the wrong size is expensive because fabric is harder to replace than paper. If a pattern piece has already been cut on the fold or into a directional print, the room for correction shrinks fast. That is why many sewists mark and compare before cutting anything expensive. For print placement and cutting accuracy, see cutting layout tips.
Another common mistake is ignoring seam lines and only looking at the envelope illustration. The drawing may hide length, shoulder slope, and side seam shape. A flat sketch often looks easier than the actual garment will be on the body.
A third mistake is chasing a single wrinkle with a single fix. One fold under the bust may be caused by excess length, not too much width. One horizontal line at the back waist may need a swayback change, not a full back width reduction.
The safer habit is to make one change, then recheck. That slows the process for an hour and saves far more later. A controlled adjustment is cheaper than a rescue job.
When should I stop adjusting and sew it?
Stop adjusting when the fit is good enough for the fabric, the style, and the amount of wear the garment will get. A casual top does not need the same level of precision as a tailored blazer, and a busy print can hide small fit quirks that a solid fabric would reveal.
There is a point where extra fitting creates diminishing returns. If the shoulder sits correctly, the bust has room, the hem hangs evenly, and the garment moves without strain, small wrinkles may be acceptable. Many garments need to be wearable, not perfect.
The fabric matters here. A stable woven cotton shows fit lines clearly, while a softer fabric may drape over small issues. A knit can forgive some shape mismatch because stretch helps the garment settle. That does not mean fit no longer matters; it means the fabric changes the threshold.
The practical rule is to stop when the next adjustment is likely to affect a different area. If changing the waist would disturb the hip, or altering the sleeve would change the armhole, the cost of another correction may be too high. At that point, sewing the garment is often the smarter choice.
What are the exception scenarios?
The overall approach flips when the fabric, garment type, or body shape makes the usual first step less useful. In those cases, starting with the size chart is not always the right choice.
The first exception is a highly stretchy knit. A knit top with strong recovery may need less traditional fitting than a woven blouse, because the fabric itself changes how the garment sits. A pattern that looks too small on paper can still work if the stretch percentage is high enough for the style. For stretch guidance, see knit sewing basics.
The second exception is a very loose style, such as an oversized shirt or boxy tunic. In that case, precise bust and waist shaping matter less than shoulder placement, armhole depth, and overall length. Chasing a close body skim on that kind of garment usually misses the point of the design.
The third exception is a pattern with unusual style lines, such as princess seams, dropped shoulders, or asymmetry. A standard tissue check may not tell enough, because the visual balance depends on how several pieces interact. A muslin gives clearer information there.
The fourth exception is a fabric with a strong print or no replacement yardage. If there is no room for a second cut, the fitting decision has to be more conservative. A cautious adjustment on paper is better than a risky guess that ruins the print placement.
What is the clearest verdict?
Choose tissue fitting if the pattern is simple, the fabric is expensive, and the main goal is to confirm size and obvious length changes. Choose a muslin if the garment is fitted, shaped, or likely to need shoulder, bust, hip, or sleeve work. Neither is worth much if the pattern is already badly matched to the body shape or if the style is so loose that fit changes no longer solve the real problem.
The decision process is straightforward: read the pattern, compare body and finished measurements, mark the likely size changes, then decide whether paper alone is enough. If the garment has one or two predictable fit issues, tissue fitting often gets the job done. If the garment has multiple fitting points or uses costly fabric, a muslin pays back the time.
What should I ask before I cut?
Do I use my dress size to pick a sewing pattern?
No, not unless the pattern company’s chart happens to match that number. Ready-to-wear sizing and sewing pattern sizing often differ, sometimes by enough to throw off the shoulders or bust. Always start with the pattern’s measurement chart and finished garment measurements.
Do I need to fit every pattern?
No, not every pattern needs a full round of adjustments. A loose shirt, wrap dress, or simple skirt may only need length checks and a quick look at ease. Fitted garments, trousers, jackets, and close blouses usually deserve more attention.
Is a muslin always better than tissue fitting?
No, because the better method depends on the garment and the fabric cost. A muslin gives more reliable shape information, but it takes more time and fabric. Tissue fitting is faster and can be enough for simple patterns with clear shape lines.
What is the one fitting change that helps most often?
Length changes are often the easiest and most effective first adjustment. A bodice that sits too high or a sleeve that looks short can often improve with a small length correction at the right line. That said, the best change still depends on where the strain or excess fabric shows up.
What if I only make one fitting change?
Make the change that matches the biggest visible problem, then sew a test piece or reassess the paper pattern. If the bust pulls, start there; if the shoulders slip, start there; if the waist rides up, start there. One well-chosen adjustment is better than three guesses.
Drafted with AI; not yet reviewed by a person.