Last updated: November 19, 2026
Quick answer: a high hip adjustment is usually a small change of less than 1 inch on each side seam piece, though it can be up to 1/2 inch to 2 inches on a sewing pattern. How to Adjust a Sewing Pattern for a High Hip means changing the pattern at the point where your body starts to curve outward above the fullest hip. The steps below show where to measure, where to add or remove width, and how to check the fit on a muslin.
What a high hip adjustment changes on a pattern
A high hip adjustment changes the space between the waistline and the hip curve, usually by 1/2 inch to 2 inches on a sewing pattern. That small shift can change how skirts, trousers, and fitted dresses hang through the body rise and the upper hip.
Picture this: you’re holding a skirt front against your body, and the side seam looks right at the waist but pulls tight across the upper hip. The problem is often not the full hip line. It’s the high hip sitting in the wrong place.
Use this adjustment when you see one or more of these signs:
- The side seam swings out above the fullest hip.
- The waist fits, but the curve below it feels pinched.
- Jeans sit oddly through the front rise.
- A fitted skirt looks smooth at the hem but strained at the upper hip.
The catch is that not every gap means you need more width. A sway back, a full tummy, or a short waist can create similar wrinkles. This page stays with high hip adjustment only, so you don’t end up fixing the wrong thing.
How do you find your high hip on your body and pattern?
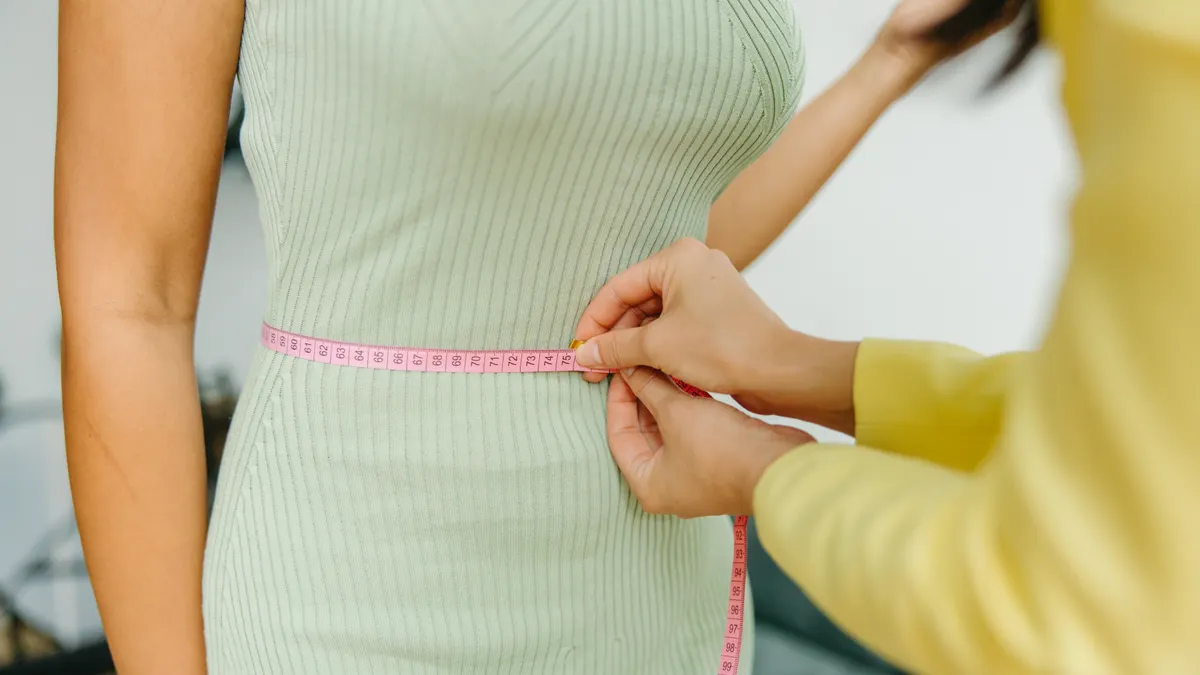
You find your high hip by measuring from your waist to the point where your body starts to curve outward before the fullest hip. That distance is the number you compare to the pattern’s waist-to-hip length.
Picture this: you’re standing in front of a mirror with a tape measure, trying to mark the place where your side profile changes. You are not looking for the fullest part. You’re looking for the high hip line—the place where many patterns still stay too straight.
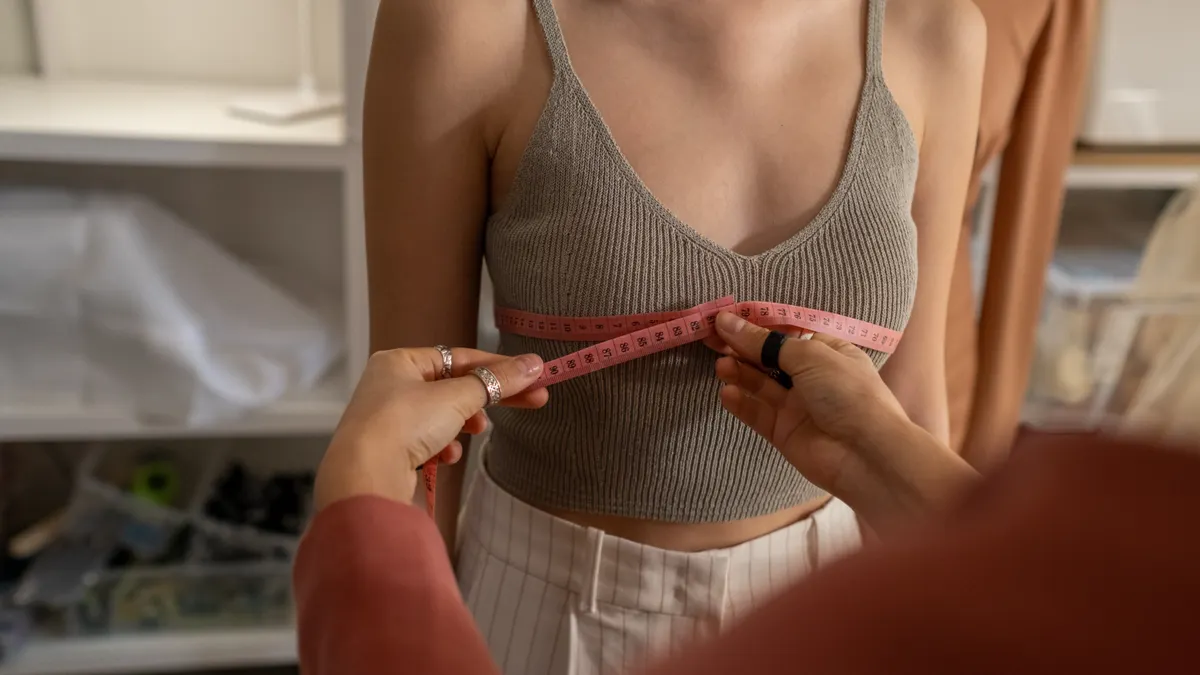
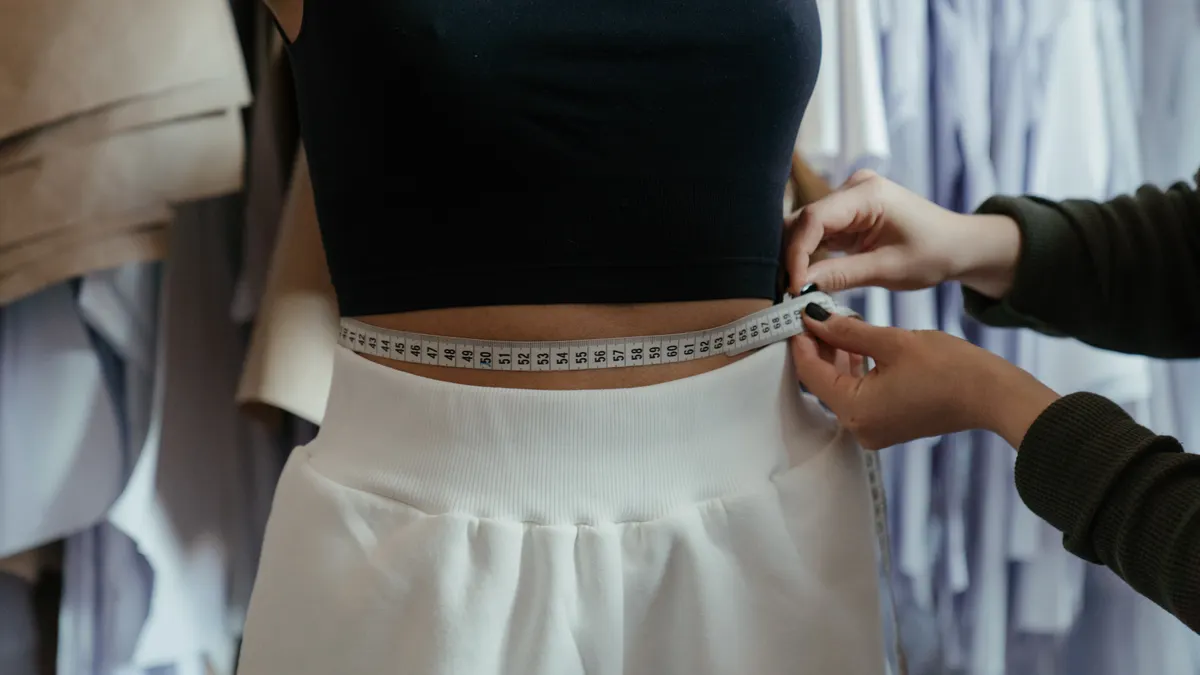
Use a soft tape measure and a few straight pins or a washable marker.
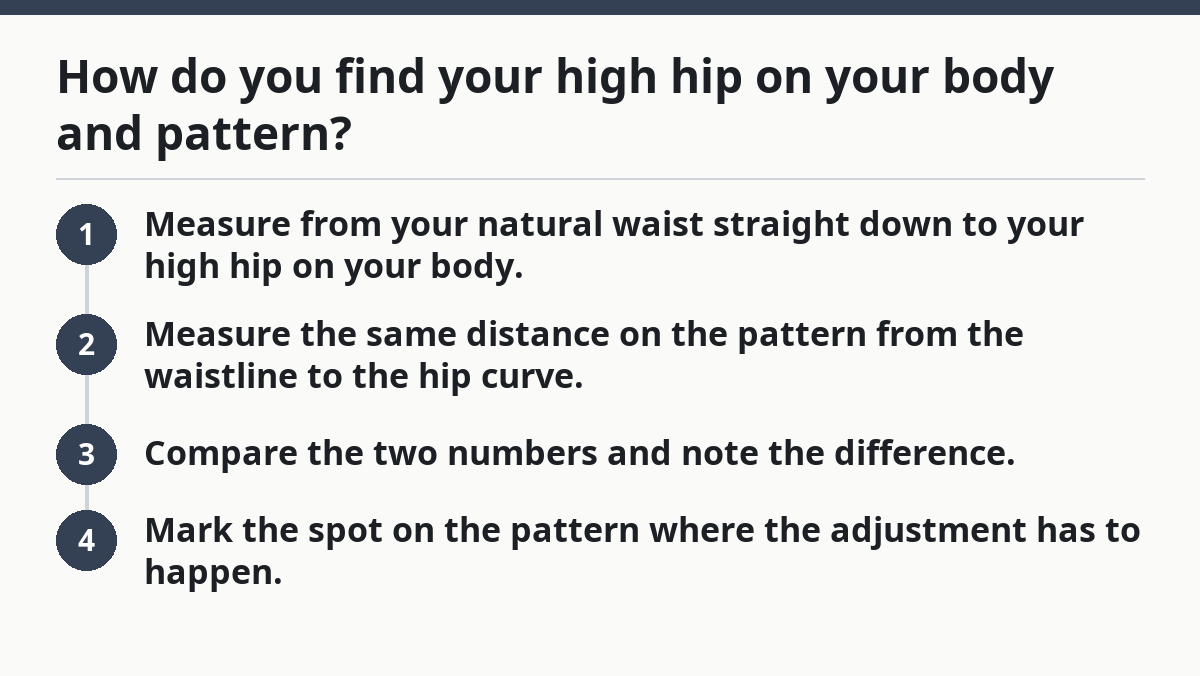
- Measure from your natural waist straight down to your high hip on your body.
- Measure the same distance on the pattern from the waistline to the hip curve.
- Compare the two numbers and note the difference.
- Mark the spot on the pattern where the adjustment has to happen.
If the pattern’s high hip sits too high, the garment will feel tight or ride up. If it sits too low, you’ll get extra fabric and a droop at the side seam.
A good check is to compare the front and back pieces separately. The front high hip and back high hip are rarely identical, and trousers often need more correction in the back than a skirt does.
How to adjust a sewing pattern for a high hip
You adjust a sewing pattern for a high hip by adding or removing width at the upper hip while keeping the waist and lower hip in balance. The cleanest way is to split the change at the side seam and, if needed, blend it into the front and back.
Picture this: you’re working on a skirt front with a ruler, a pencil, and pattern paper, and the seam needs a smoother curve. You want the pattern to follow your body shape, not force your body into the pattern’s shape.
Use a ruler, paper, tape, and a pencil for this step.
- Mark the waistline, high hip line, and full hip line on the pattern.
- Cut or trace a copy of the pattern piece so you can alter it without losing the original.
- Spread the pattern at the high hip if you need more room, keeping the waist and hem in place.
- Overlap the pattern at the high hip if you need less room, again leaving the waist and hem unchanged.
- Blend the side seam with a smooth curve from waist to hip using a ruler or hip curve.
- True the seam so the front and back side seams match in length where they should sew together.
This works on a basic skirt block, a trouser block, and many fitted dress patterns. The rule stays the same: change the width where your body changes shape.
If the side seam gets jerky after the alteration, you probably moved too much at one point. Blend the line again. A smooth curve matters more than a dramatic correction.
How much do you add or remove at the high hip?
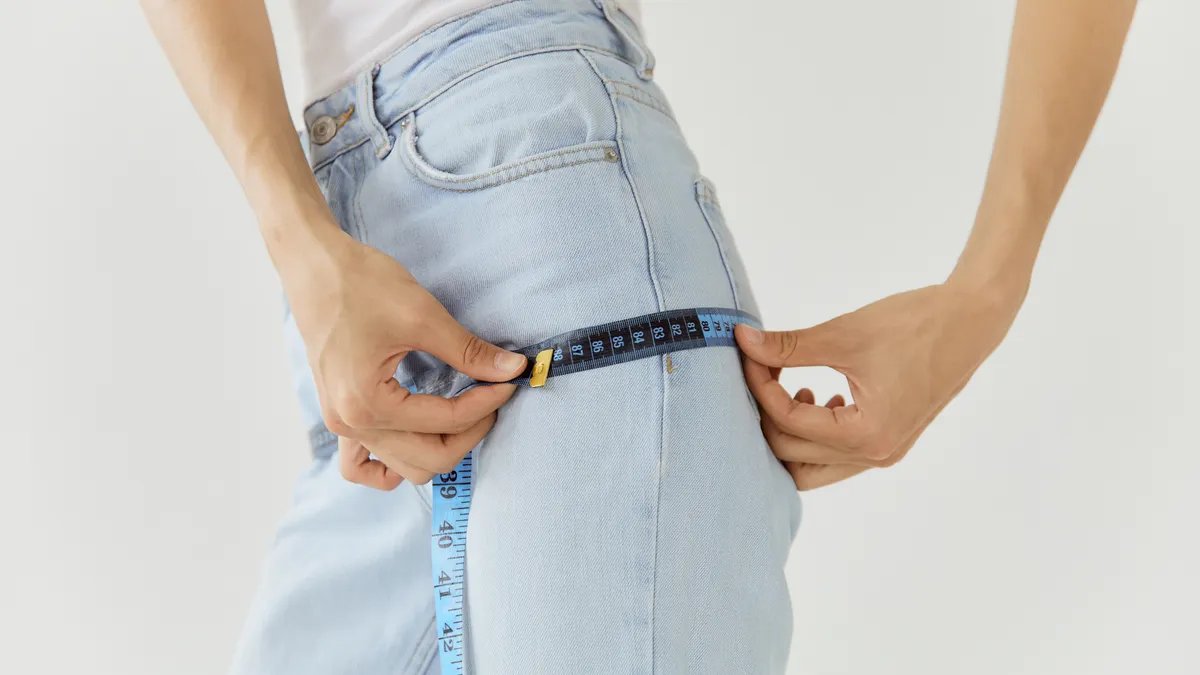
You add or remove only the amount needed to match your own waist-to-high-hip length and circumference, and you split that change between the front and back. For many patterns, that means a small change of less than 1 inch on each side seam piece.
Picture this: you’re fitting jeans and the waistband is fine, but the upper hip feels snug when you sit. You do not want to blast out the side seam. A small, targeted change usually fixes the hip curve fit without creating a new problem at the waist.
Use a ruler and pattern paper to divide the change in a controlled way.
- If you need more room, add the extra width at the side seam first.
- If the front needs more than the back, give the front a little more of the adjustment.
- If the back curve is the issue, shift more of the change to the back piece.
- Keep the waistline and hemline level so the garment still hangs straight.
Here’s the catch: adding too much at the high hip can make the garment look boxy. Removing too much can pull the fabric into a hard diagonal line. Both mistakes can cost you a clean drape.
For trousers, check the body rise balance as well. A high hip issue can show up as a strained front rise or a back that feels low when you sit. That does not mean the pattern needs a full crotch change, but it does mean the upper hip and rise are talking to each other.
How do you check the fit with a muslin?
You check the fit with a muslin by sewing the altered piece in a plain test fabric and looking for smooth tension at the upper hip while you stand and sit. A muslin can be one of the quickest ways to see whether the pattern change follows your body.
Picture this: you’re trying on a quick test skirt and pinning out a wrinkle at the side seam. You want the fabric to skim the body, not cling at the upper hip or pool under it.
Use a muslin, pins, and a mirror.
- Sew the altered pattern in muslin with the same seam allowance you plan to use on the real garment.
- Mark the waistline, high hip, and full hip with thread or chalk.
- Try on the muslin and stand naturally, then sit and bend.
- Pin any remaining tightness or excess at the high hip only.
- Transfer those changes back to the paper pattern.
A good muslin shows a smooth side seam with no sharp pull lines from the waist down to the hip. If the waist fits but the high hip still cuts in, the pattern needs more room there, not at the hem.
On the flip side, if the muslin looks roomy but the side seam keeps sliding around your body, you may have added too much. Reduce the adjustment in small amounts and try again.
Common mistakes that make the fit worse
The most common mistake is changing the waist when the real problem sits 2 to 4 inches lower. That turns a neat correction into a loose waistband or a strange skirt shape.
Picture this: you’re tempted to scoop out the side seam from waist to hem because the hip feels tight. That usually creates a new problem below the high hip and can throw off the entire silhouette.
Watch for these mistakes:
- Moving the whole seam instead of changing only the high hip.
- Ignoring front and back differences on trousers and fitted dresses.
- Skipping the muslin and trusting the paper alone.
- Using a straight ruler where a curved line is needed.
- Adding width at the hem when the issue is higher up.
The truth is, a high hip adjustment is a shape fix, not a size fix. You can be the same pattern size and still need a different curve through the upper hip.
If the pattern still feels wrong after a careful high hip adjustment, the next problem may be a different one: a short torso, a sway back, or a rise issue in trousers. Those belong to other adjustments, and mixing them together usually muddies the result.
High hip adjustment for jeans and skirts
A high hip adjustment for jeans and skirts usually lives in the side seam, but trousers also need a check at the rise and crotch curve. Skirts are simpler; jeans ask for more balance through the front and back.
Picture this: you’re fitting a pencil skirt on one day and a pair of jeans the next. The skirt mainly needs a cleaner upper hip curve, while jeans need the same change plus enough room for sitting, walking, and bending.
Use these checks by garment type:
- Skirts: focus on the waist-to-hip distance and the side seam curve.
- Jeans: check the front rise, back rise, and the upper hip together.
- Fitted dresses: compare the side seams at the waist, high hip, and full hip so the bodice and skirt connect cleanly.
A skirt with a high hip issue often shows a wrinkle from the waist to the upper side seam. Jeans often show a squeeze across the front thigh or a back that feels low when you sit. Those are not the same problem, even if they look similar in the mirror.
For trousers, take a second look at the inseam and side seam lengths after the change. If one side gets longer or shorter than the other, the leg can twist. Keep the correction small and true the seam before you cut your final fabric.
If you want a bigger fitting map for skirt, trouser, and dress changes, the hub on measuring, fitting, and sizing for sewing is the better place to start once this adjustment makes sense.
What if my pants gap at the waist?
A waist gap does not always mean you need a high hip adjustment. It can also come from a back waist issue, a curved waist, or a too-large pattern size. If the pants fit at the hip and only gap at the waistband, the fix may belong higher up than the high hip.
What is a high hip adjustment?
A high hip adjustment changes the pattern where your body widens just below the waist and above the fullest hip. It adds or removes room at that spot so the garment follows your shape instead of flattening it. Skirts, jeans, and fitted dresses all show the difference there.
How do you fit the hip curve on a pattern?
You fit the hip curve on a pattern by comparing your waist-to-hip length to the pattern, then blending the side seam into a smooth line. A muslin tells you whether the curve matches your body. If the fabric pulls at the upper hip, adjust there first before changing the hem or waist.
Key Takeaways
- Measure the waist-to-high-hip distance before you cut anything.
- Change the pattern at the upper hip, not the lower hem.
- Split the adjustment between front and back pieces when needed.
- A muslin shows whether the curve is smooth in real life.
- Jeans often need the high hip checked alongside the rise, while skirts usually need a simpler side-seam fix.
Drafted with AI; not yet reviewed by a person.