Last updated: November 19, 2026
Quick Answer: To match pattern notches and markings correctly, pair the same mark type to the same mark type, and transfer every placement mark before sewing. For How to Match Pattern Notches and Markings Correctly, the main rule is simple: notch to notch, dot to dot, triangle to triangle, with grainline and placement marks transferred exactly. The steps below settle where each mark goes, how to keep pairs straight, and what to do when the paper seems to fight you.
Match the mark, not the edge
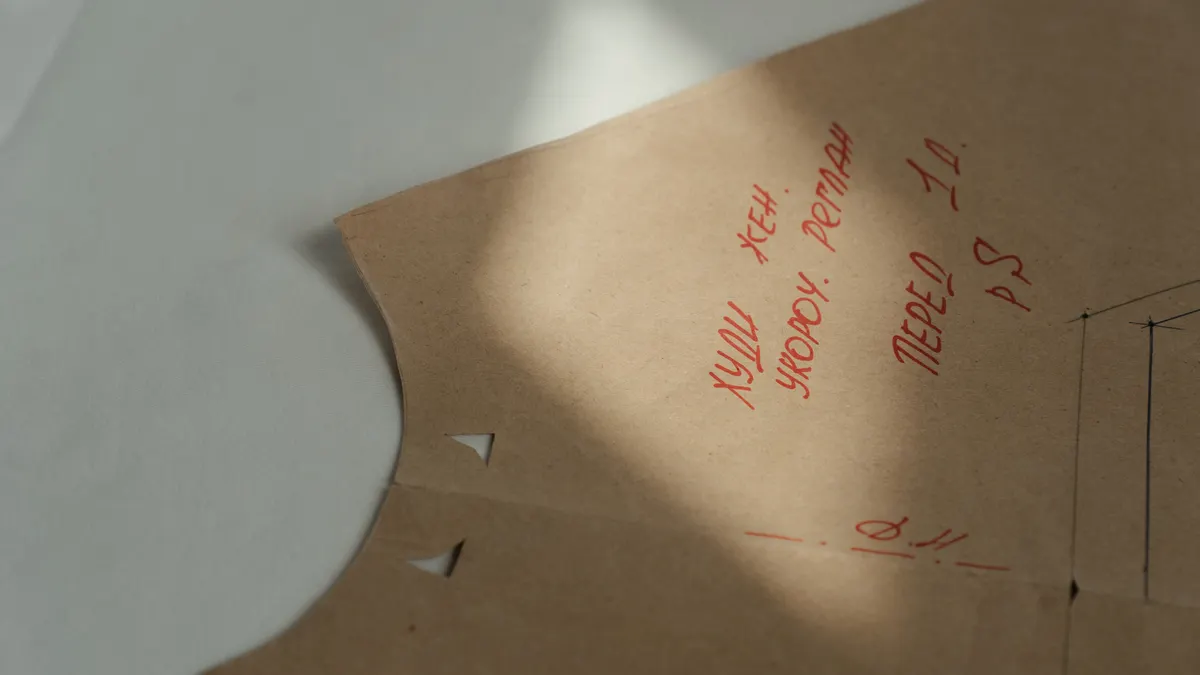
Pattern markings tell you where pieces join, and the edge shape alone is not enough. A sleeve cap, a side seam, and a collar can all look close on paper, but a single notch or dot is what keeps the seam from drifting by 6 mm or 1/4 inch when you sew.
Picture this: you’re laying two cut pieces on the table and one edge looks a little longer than the other. The answer is not to force the edges to line up by eye. It’s to match the same marking type first, then smooth the fabric between them.
The usual jobs are simple:
- Single notch: match it to another single notch.
- Double notch: match it to another double notch.
- Dot: match it to the same dot on the partner piece.
- Triangle: match the triangle to its pair.
- Placement mark: transfer it to fabric, then match the sewing line or attachment point.
If the markings do not match, stop and check the pattern tissue before you cut or sew. A wrong match at the cut stage turns into a twisted seam later.
How do you match notches on sewing patterns?
You match notches by pairing the same style and the same position on the seam, then pinning or clipping them so they stay together. That means the answer to how to match pattern notches and markings correctly starts with the mark, not the edge. This saves crooked seams.
Picture this: you have a front bodice and a facing, both with one notch near the shoulder. You place the pieces right sides together, line up the seam edges, and make sure the single notch lands exactly opposite its twin before any other pins go in.
Follow this order:
- Pattern piece — Find the matching seam edge and identify whether the mark is a single notch, double notch, dot, or triangle. The result is a correct pair before fabric touches fabric.
- Fabric pieces — Stack right sides together and align the raw edges from one end to the other. The result is a stable seam line instead of a shifted one.
- Pins — Place one pin through both layers at the notch or mark. The result is that the mark stays fixed while you handle the rest of the seam.
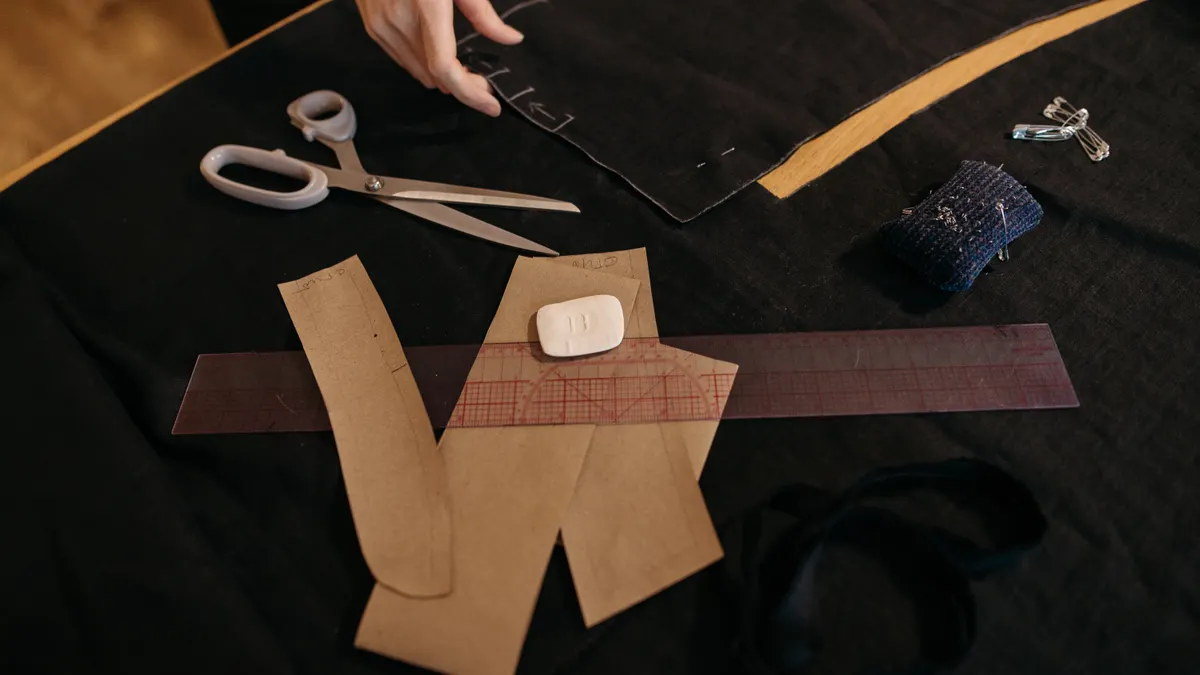
- Tailor’s chalk or marking tool — Transfer dots, triangles, and placement marks onto the fabric if the mark falls inside the seam allowance or away from the edge. The result is a visible reference after the paper is gone.
- Sewing machine — Sew from mark to mark, not from one edge to whatever looks close. The result is the seam length the pattern intended.
Single notches and double notches are not decorative. They usually tell you which edge belongs to which panel, especially on sleeves, back neck facings, and center-back joins. Crossed pairs or mixed pairs are a common mistake.
What do dots, triangles, and placement marks do?
Dots, triangles, and placement marks show exact points, and they are not there to guess at. They tell you where a pocket starts, where a dart stops, where a sleeve is eased, or where a button begins.
Picture this: you’re staring at a front blouse piece with two dots on the armhole and a triangle near the waist. The dots often mark balance points, the triangle may mark a join, and a placement line may show where to stitch a pocket top or button row.
Use each one this way:
- Dots mark a point to match, transfer, or stop stitching.
- Triangles often mark matching points along a seam, especially on curves or set-in parts.
- Button placement marks show where each button goes after the placket is finished.
- Dart point marks show where the stitching ends, usually before the widest part of the dart.
- Grainline shows how to place the pattern piece on the cloth so it hangs correctly.
The catch is that dots and triangles are often inside the seam allowance, not on the cut edge itself. If you cut away the paper and never mark them on cloth, you lose the map. That leads to buttons set too high, darts that miss their apex, and sleeves that sit off balance.
For a deeper walkthrough of the symbols themselves, the reading sewing patterns hub gives the broader map. This page stays on the job of matching and transferring them accurately. For pattern symbol standards and layout terms, see the Sewing pattern overview and the grainline entry.
How do you transfer pattern markings to fabric?
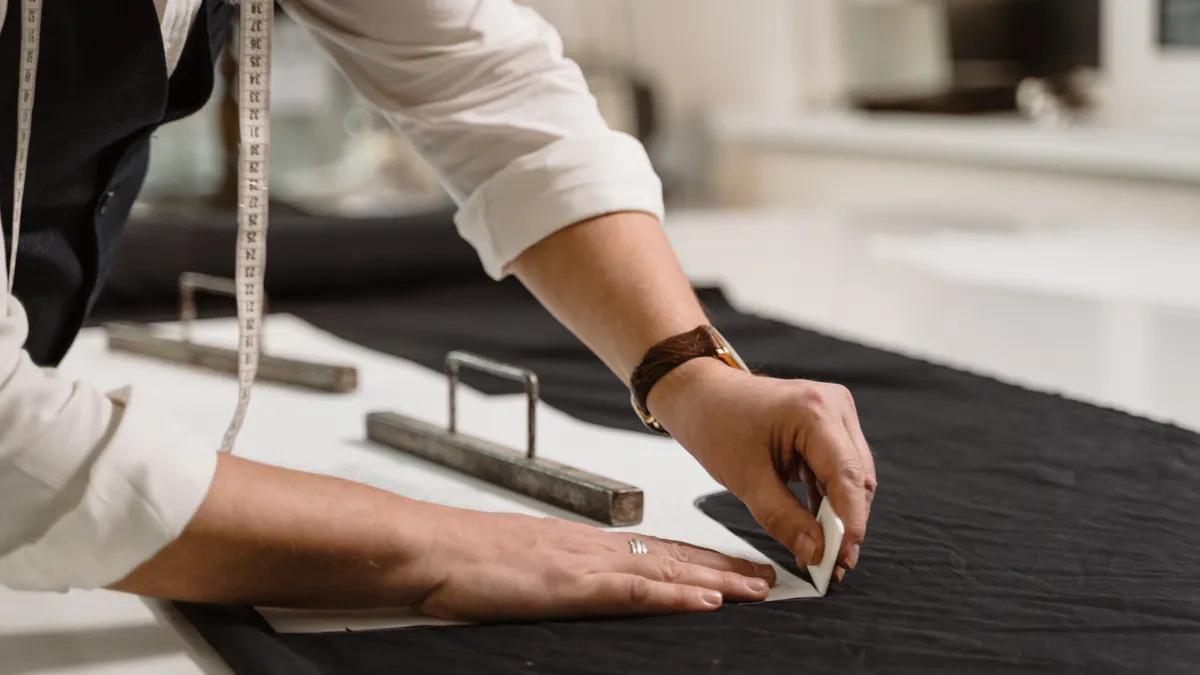
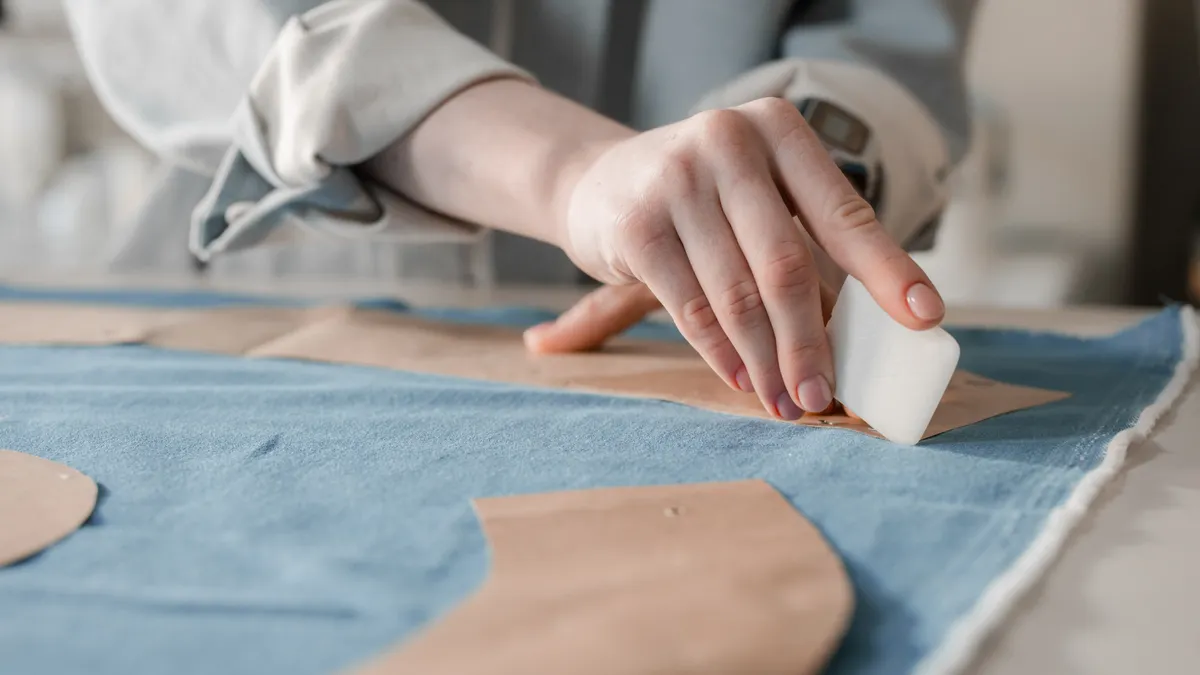
You transfer pattern markings to fabric by marking the same point on both layers, then checking that the marks still match after you move the pieces. The best tool depends on the fabric, but the goal is always the same: keep the mark visible long enough to sew from it.
Picture this: you’ve cut your fabric, the paper pattern is still pinned on, and the dot for a pocket opening sits 2 cm inside the seam line. You need that dot to survive the cut, the pinning, and the first stitch line.
Use the right tool for the fabric:
- Tailor’s chalk for stable woven fabric where a dry mark will show.
- Tracing wheel and paper for layered transfer when the cloth can take pressure.
- Washable marker for dark cloth where chalk disappears.
- Snips or tiny clips only where the pattern and fabric allow it, and never as a substitute for a full mark on a point that must stay exact.
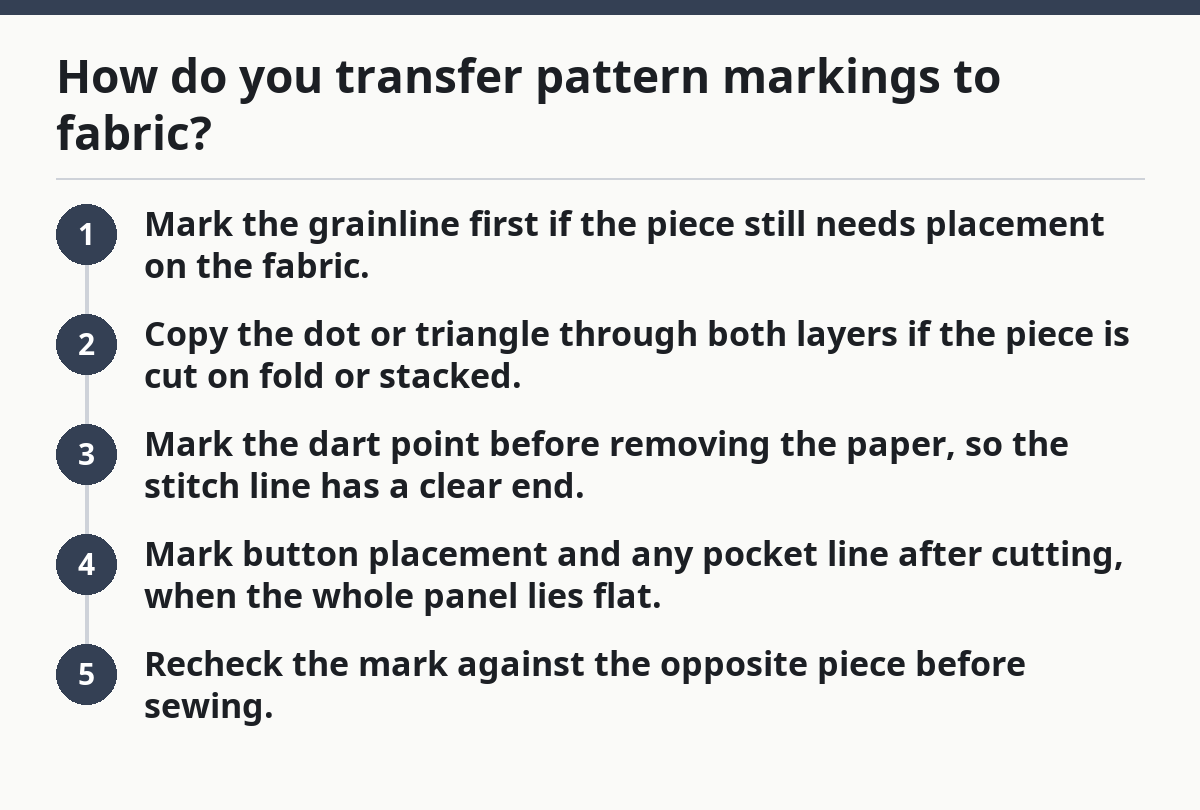
Transfer marks in the same order each time:
- Mark the grainline first if the piece still needs placement on the fabric.
- Copy the dot or triangle through both layers if the piece is cut on fold or stacked.
- Mark the dart point before removing the paper, so the stitch line has a clear end.
- Mark button placement and any pocket line after cutting, when the whole panel lies flat.
- Recheck the mark against the opposite piece before sewing.
Keep the marks small and clear. A long chalk line can become a guess line. A tiny dot or short dash is easier to line up and easier to remove later.
Why do notches and markings go wrong?
Notches and markings go wrong when you mix up the type, place them on the wrong layer, or ignore the seam allowance. That mistake costs time, because the seam may still close while the garment sits crooked, twists, or hangs with one side off balance.
Picture this: you sew a sleeve into an armhole and the single notch lands at the front instead of the back. The seam may still fit, but the shape will fight you at the shoulder and the sleeve may twist when worn.
Common errors are easy to spot:
- Single notch matched to double notch: the piece is rotated or flipped.
- Dot not transferred: the sewing point becomes a guess, and the seam may grow too long.
- Triangle missed: a balance point shifts, which can distort the hang of a panel.
- Placement mark lost: buttons, pockets, or darts land in the wrong spot.
- Grainline ignored: the piece may hang off grain and feel skewed.
The fix is to stop treating every mark as the same. Notches pair with notches. Dots pair with dots. Triangles pair with triangles. A placement mark gets transferred, not guessed. If the tissue has been cut away or folded over and the marks no longer make sense, lay the pieces back flat before sewing and check the original pattern piece again. If the marks still do not read clearly, consult a professional patternmaker or tailor before cutting further.
Matching marks during cutting is easier than fixing them later
Matching marks during cutting is easier because the pattern still gives you the full shape, and that is the moment to confirm every notch, dot, and triangle. Once the scissors move, a lost mark takes more time to recover.
Picture this: you’re cutting a sleeve and the paper pattern has two notches on the back cap, one notch on the front, and a dot near the cap peak. If you mark those now, you can sew later without hunting for clues in a pile of cut pieces.
A clean cutting routine helps:
- Lay the pattern flat and keep the grainline straight.
- Check the notch count before the first cut.
- Mark all dots and triangles before removing the tissue.
- Copy placement marks while the paper is still pinned.
- Keep left and right pieces separate so mirrored parts do not get swapped.
One useful habit is to write the seam name on the tissue scrap if the pattern is crowded. That helps when several pieces share similar marks, like side seams, facings, and sleeve caps. It also helps when you return to the project after a break and the paper pile looks the same.
A simple check before you sew
The simplest check is to compare the marks in pairs before the first stitch, and that takes less than 1 minute. If the pairs line up and the grainline stays straight, the seam is ready.
Picture this: you are about to sew a collar, cuff, or side seam, and the pieces are already pinned. A quick check now is faster than ripping stitches later, especially when the seam has a dot, a triangle, and a dart point all working together.
Use this last-pass check:
- Count the notches on each matching edge.
- Find every dot and every triangle.
- Confirm the grainline still runs the right direction.
- Check that the dart point sits where the pattern shows.
- Verify button placement if the piece carries closures.
If one side has a mark and the other side does not, stop and find the missing partner before sewing. If the pattern calls for a balance mark on a curved edge, that mark matters more than a nearby raw edge that looks even by eye. The seam should follow the marks, not the other way around.
What if the marks seem confusing or crowded?
Confusing marks usually mean the pattern is asking you to separate jobs: one mark for matching pieces, one for placement, and one for grain. The trick is to read them in layers instead of all at once.
Picture this: a bodice front has a dart point, a bust dot, a button placement line, and a grainline all on the same piece. It looks busy, but each mark has one job and one place in the sewing order.
Break it down like this:
- Grainline tells you how to place the piece on the cloth.
- Dots and triangles tell you where pieces join.
- Dart point tells you where stitching stops.
- Button placement tells you where hardware or openings begin.
If a mark seems to sit in the wrong place, check the seam allowance and the pattern’s printed side. Some marks sit inside the stitching line; others sit beyond the cut edge so they can be transferred later. That is normal. What matters is keeping the same reference point on both pieces, not trying to make every mark touch the edge.
Key Takeaways
- Match the same marking to the same marking: notch to notch, dot to dot, triangle to triangle.
- Transfer placement marks to cloth before the paper gets in the way.
- The grainline controls how the piece hangs, so check it before cutting.
- Dart points, button marks, and balance points are instructions, not decoration.
- If a mark is missing, stop and find the original pattern piece instead of guessing.
What do notches mean on a pattern?
Notches show where two pattern pieces should line up during sewing. A single notch belongs with a single notch, and a double notch belongs with a double notch. They help keep sleeves, facings, and other matching seams in the right orientation.
How do i transfer pattern markings to fabric?
Transfer pattern markings with chalk, a tracing wheel, washable marker, or small clips, depending on the fabric and the type of mark. Copy dots, triangles, dart points, and button placement before removing the paper pattern. Keep the marks small so they stay accurate and easy to sew from.
Why do sewing patterns have dots and triangles?
Dots and triangles mark exact points that help the garment fit together in the right place. They can show a balance point, a pocket start, a dart end, or a sleeve match point. If you skip them, the seam may still sew but the shape can shift.
Drafted with AI; not yet reviewed by a person.