Last updated: November 19, 2026
Quick Answer: in most cases, one correct needle swap takes under 1 minute. When you need to change a sewing machine needle size for fabric, match the needle to the cloth first, then replace it before the next seam. How to Change a Sewing Machine Needle Size for Fabric is simple when you pick the right size, install it correctly, and test the stitch before sewing the project. The steps below show which size to use and how to change it.
Key Takeaways
- Pick a needle size that suits the fabric and avoids holes, skips, or thread pull.
- Loosen the clamp, swap the needle, seat it fully, and tighten before stitching.
- Rough seams, puckering, or thread damage often point to the wrong needle size.
- Confirm the needle is seated, oriented correctly, and clears the needle plate on the first turn.
What needle size should you use for the fabric?
The right needle size is the one that fits the fabric without leaving big holes, skipped stitches, or pulled threads. Light woven fabric usually wants a finer needle, while dense fabric needs a stronger one with a larger shaft and point.
For example, cotton lawn, denim, and knit rib do not use the same needle. You do not need a new machine setting first—you need a needle-and-fabric match first. That choice affects how the thread passes through the needle plate and how the presser foot helps feed the cloth.
- Fine fabric: use a smaller needle size.
- Medium fabric: use a middle size.
- Heavy fabric: use a larger, stronger needle.
The cloth decides the starting point more than the pattern does. A crisp shirt fabric and a quilt layer do not ask for the same needle, even if both use the same thread.
Needle size is part of the fabric setup covered in the hub on machine sewing setup and stitch control. This page stays on the job of changing the needle, not threading the machine or solving every stitch fault.
- Thin fabric can pucker if the needle is too large.
- Thick fabric can fight a needle that is too small.
According to Singer, needle size and point style should match fabric weight and weave; Schmetz gives the same basic guidance for finer and heavier materials.
How do you change a sewing machine needle size for fabric?
You change a sewing machine needle size by loosening the needle clamp, removing the old needle, inserting the new one fully, and tightening it before you sew. That swap takes less than a minute on most machines, but the needle must sit all the way up in the clamp or the stitch can go wrong fast.
If you stop halfway through a seam because the fabric changed from plain cotton to a heavier layer, this is the time to change it. You want the next stitch line to look the same, but the current needle size no longer fits the cloth.
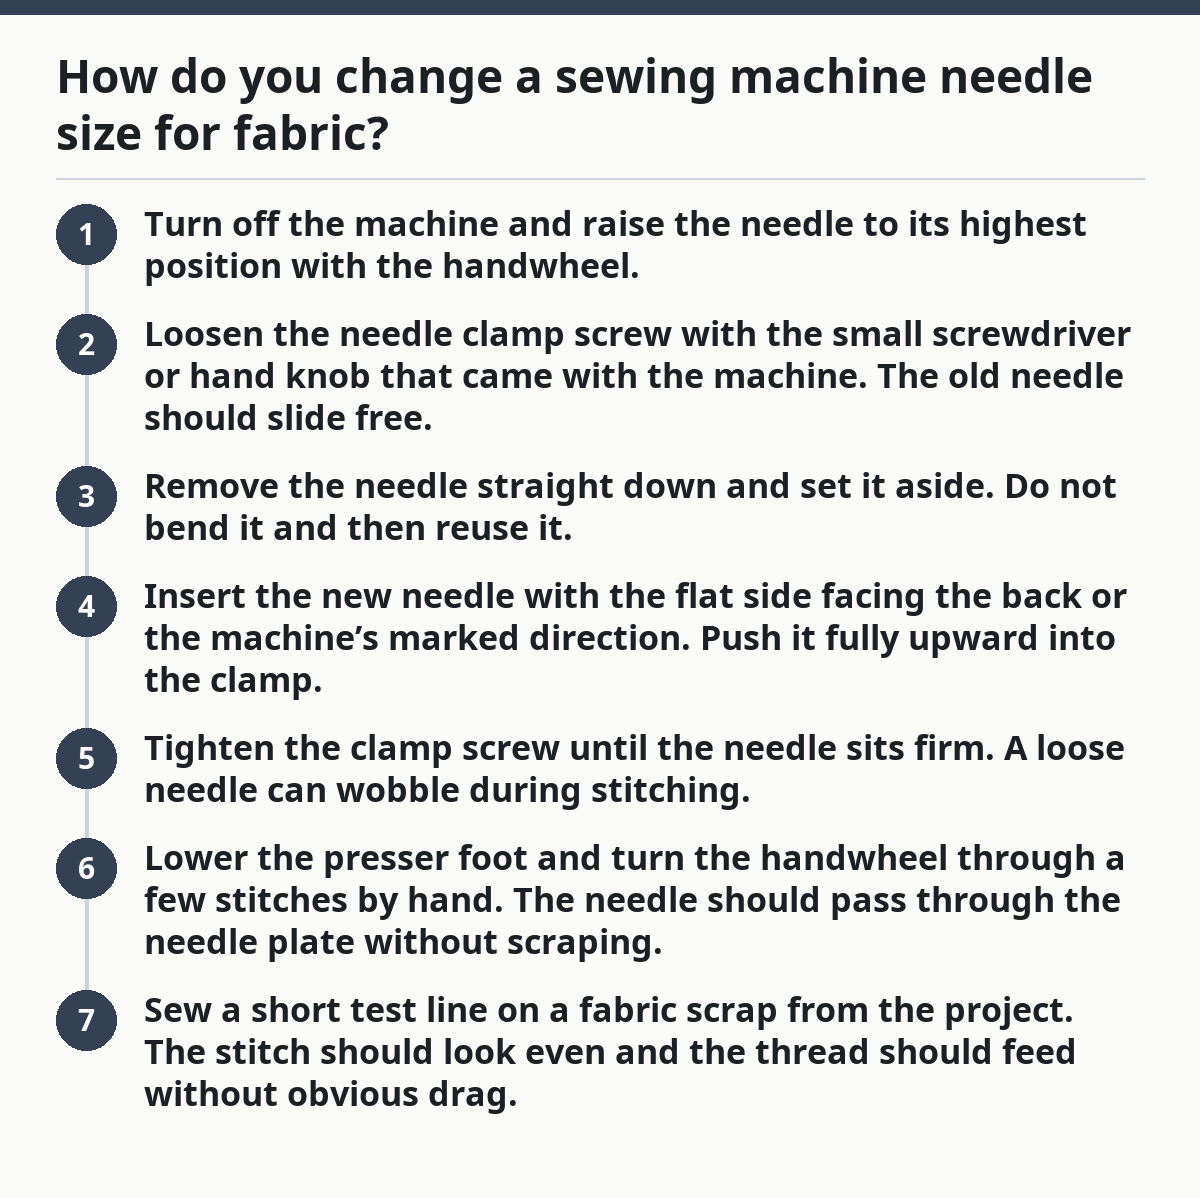
- Turn off the machine and raise the needle to its highest position with the handwheel.
- Loosen the needle clamp screw with the small screwdriver or hand knob that came with the machine. The old needle should slide free.
- Remove the needle straight down and set it aside. Do not bend it and then reuse it.
- Insert the new needle with the flat side facing the back or the machine’s marked direction. Push it fully upward into the clamp.
- Tighten the clamp screw until the needle sits firm. A loose needle can wobble during stitching.
- Lower the presser foot and turn the handwheel through a few stitches by hand. The needle should pass through the needle plate without scraping.
- Sew a short test line on a fabric scrap from the project. The stitch should look even and the thread should feed without obvious drag.
Here’s the catch: the wrong insertion depth causes more trouble than the size number alone. A needle that is not fully seated can miss the bobbin hook path entirely.
Which signs tell you the needle size is wrong?
The wrong needle size shows up as rough stitches, fabric puckering, thread damage, or a needle that seems to fight the cloth. The machine may sound harsher than usual, and the seam can look cleaner the moment you change to a better size.
If you’ve sewn 3 inches and the top thread starts looping, the fabric looks punched, or the seam feels stiff, that does not always mean the machine needs repair. Often it means the needle size is mismatched to the fabric weight or texture.
- Small holes in soft fabric often point to a needle that is too large.
- Bent or shredded thread can mean the point is too dull for the fabric.
- Puckering often means the needle is too big for the cloth.
- Stitches that look uneven can mean the needle is too small for a dense layer.
A needle swap costs far less time than ripping out a long seam, especially on a project with 2 or 3 layers where the problem shows up only after the stitching starts.
Do not blame the thread first if the needle is clearly wrong. Thread matters, but the needle is the part punching through the fabric on every single stitch.
- If the fabric is delicate, try a finer needle size.
- If the fabric is thick, try a larger size.
- If the machine sounds strained, stop and check the needle before continuing.
What should you check before sewing after a needle change?
You should check that the needle is fully seated, the flat side is in the correct direction, and the first handwheel turn clears the needle plate cleanly. A 10-second check saves the fabric from a bad first seam.
After you install the new needle, the machine may still be slightly off if it was not pushed all the way up or if the clamp was not tightened enough.
- Check the clamp screw. It should feel snug, not loose.
- Check the needle position. It should not slide when touched.
- Check clearance. The needle should pass through the opening in the needle plate cleanly.
- Check the foot. The presser foot should be down before stitching.
One common mistake is starting on the actual garment instead of a scrap. That costs time and can scar the project edge on the first 1 or 2 stitches if the needle choice is wrong. A scrap tells you more than a guess.
A second check is the fabric itself. If the material has changed from one layer to several, the old needle size may no longer suit the seam allowance or the density under the presser foot.
- Single light layer: smaller needle is often enough.
- Multiple heavy layers: larger needle is often safer.
- Stretch fabric: test before stitching the project.
For step-by-step machine help, see How to Thread a Sewing Machine and Sewing Machine Tension Guide.
When should you replace the needle instead of just changing size?
You should replace the needle when it is bent, dull, or damaged, even if the size is still right for the fabric. A bent needle can scrape the needle plate, skip through the cloth poorly, or leave a rough seam that looks like a tension issue but isn’t.
If you changed from a lightweight cotton project to a heavier fabric, but the needle tip already took a hit on a pin or a thick seam, changing size alone may not fix the problem. The needle itself may be worn out.
- Replace a bent needle immediately.
- Replace a dull needle if it starts pulling or snagging fabric.
- Replace a nicked needle if the point feels rough.
- Replace a needle after it has clearly struck a hard object.
Needle condition matters because the point and shaft do the work, not just the size number on the package. A fresh needle of the right size is often the cleanest answer for a seam that suddenly looks messy after several projects.
This is not the page for diagnosing skipped stitches in depth, but the needle is often the first place to look. If the stitch gets worse right after a needle change, stop and recheck the size, the insertion depth, and the orientation before touching anything else.
- New size, bad setup: fix the setup.
- Correct setup, worn needle: replace it.
- Heavy fabric, tiny needle: move up a size.
See also How to Fix Skipped Stitches if the seam still fails after a correct needle change.
How does the needle size affect stitch quality on different fabrics?
Needle size affects stitch quality by changing how much space the needle makes in the fabric and how easily the thread travels through the hole. Too large a needle can mark light fabric, and too small a needle can struggle in heavy cloth.
You may want a neat seam on a smooth shirt fabric, then later on denim or canvas. The same stitch length can still look different if the needle size is wrong for the cloth. The needle has to fit the material, not just the thread.
- Light fabric: use a finer needle to reduce visible holes.
- Medium fabric: use a middle size for balanced results.
- Heavy fabric: use a stronger needle so the point can pass through cleanly.
- Stretch fabric: test carefully because the fabric can move as the needle pierces it.
The needle plate and presser foot matter here too. If the needle is too large, it can hit the plate opening more harshly or leave a bigger path through the cloth. If it is too small, the fabric can push back and make the seam look stressed.
For a quick rule, start with the fabric weight, then check the seam. If the first test line looks clean, stay with that size. If the fabric shows damage or the stitches look uneven, change the needle before sewing the real piece.
- Good stitch line: keep going.
- Visible holes: go smaller.
- Hard sewing feel: go larger.
For more fabric-specific tips, see Best Needles for Knits and Best Needles for Denim.
Needle size, fabric, and replacement timing: the short version
Needle size is a fabric decision first, and a replacement decision second. Choose the size for the cloth, install it fully, and change it again when the point bends, dulls, or stops making a clean stitch.
If you are switching between fabrics in one project, you do not need a full reset every time. You need a needle that matches the fabric and is still sharp enough to work.
- Fabric changed: reconsider the size.
- Stitch quality changed: inspect the needle.
- Needle damaged: replace it.
- Needle installed loosely: redo the change.
The rule is simple. Light fabric wants less damage from the needle, thick fabric wants more strength from it, and the machine wants the needle seated correctly every time. That is the part readers usually miss.
How do i know what needle size to use?
You start with the fabric weight and then look at how the seam behaves on a scrap. A finer needle usually suits light fabric, and a larger needle usually suits heavier fabric. If the seam puckers, leaves obvious holes, or sounds rough, the size is probably off.
When should i change sewing machine needles?
You should change the needle when it is bent, dull, or no longer makes a clean stitch. Change it sooner if the fabric changes from light to heavy or if the needle has hit a pin, a seam, or the plate. A fresh needle often fixes damage before it spreads through the whole seam.
Does needle size matter for fabric?
Yes, needle size matters because it changes how the needle passes through the cloth and how visible the stitch hole becomes. A size that is too large can damage fine fabric, while a size that is too small can struggle in dense fabric. The fabric and the needle need to match for the seam to look right.
For manufacturer guidance, see Singer Needle Reference and Schmetz Needle Guide.
Drafted with AI; not yet reviewed by a person.