Last updated: November 18, 2026
Quick Answer: Prewashing fabric before sewing takes about one full wash, one dry, and one press. It is the surest way to catch shrinkage before you cut. In How to Prewash Fabric Before Sewing, you wash and dry the cloth the way you plan to care for the finished garment, so the fabric shrinks, relaxes, and releases excess dye before cutting. Cotton, linen, rayon, and any fabric that may bleed color need the most attention.
Key takeaways
- Prewash first when shrinkage would ruin your fit or seam placement.
- Match the wash method to the fiber, not just the color.
- Dry the fabric the same way you expect to dry the finished item.
- Press after drying so the grain lies flat before cutting.
- Skip prewashing only when the pattern or fiber truly calls for it, such as some dry-clean-only fabrics.
When prewashing saves a project — and when it can hurt one
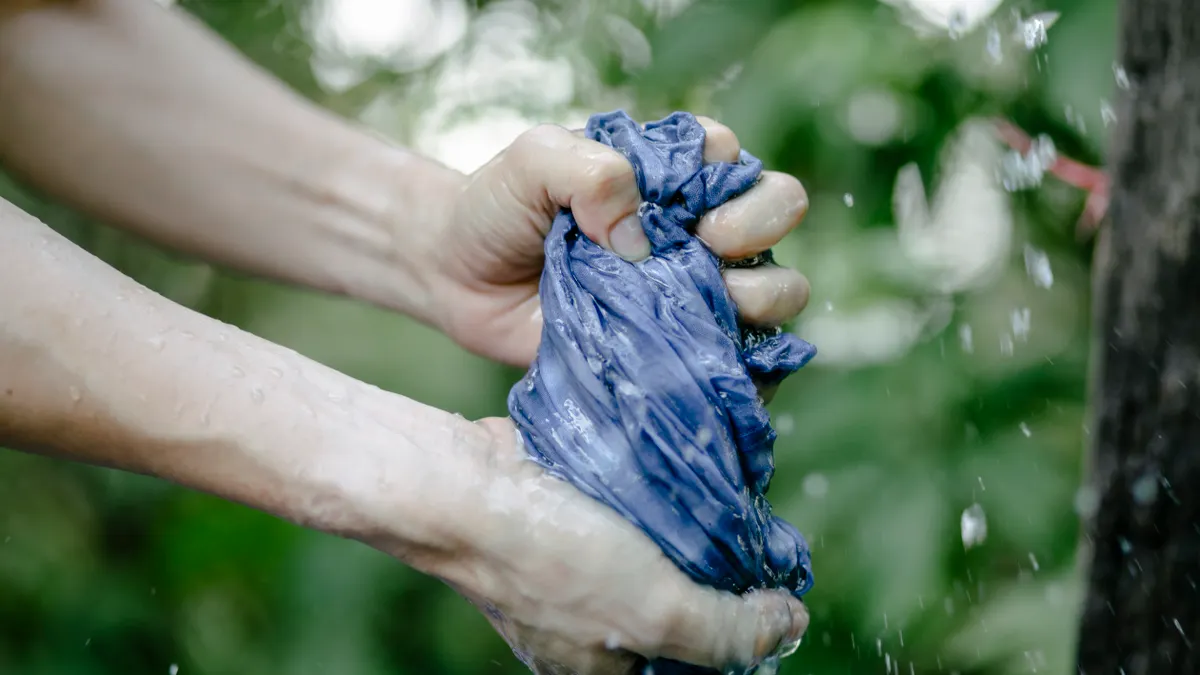
Shrinkage, dye bleed, or a change in finish can all alter the size or feel of cloth after sewing. That is when prewashing earns its keep. Cotton canvas, shirting cotton, linen, and most rayon fabrics are the usual candidates, and a 1/2-inch shrink in width or length can throw off cuffs, hems, and matched seams even when the fabric looked stable on the bolt.
But there is a trade-off. Prewashing can also change the fabric before you sew with it. Some finishes wash out, the hand gets softer, and loosely woven cloth may fray more at the cut edges. That is why “prewash everything no matter what” is a bad rule. A coating, a crisp finish, or a special surface treatment may be part of the design you bought. If the label says dry clean only, or if the fabric is delicate enough that a home wash could damage it, prewashing may be the wrong move; when in doubt, consult a professional and check the care label or seller notes.
Using the final care method now is the cleanest test. If the piece will go in a washing machine and dryer, prewash that way now. If it will be line-dried, line-dry now. Anything softer than that is guesswork.
This is also the right moment to check for runaway dye. Dark red, navy, black, and saturated prints are the usual suspects, but any color can bleed if the dye is not set well. When the fabric sits in the wash with pale fabric, the result can be a ruined load and a garment that looks blotchy at the seams. If you are building a project around expensive cloth, prewashing separately is cheap insurance.
For a bigger picture on choosing cloth before you buy, the hub page on Choosing Fabric for Sewing Projects belongs there; this article stays focused on what to do after the fabric is already in hand.
What you need before you start
Gather the fabric, a care label or seller’s care advice, a washing machine or sink, a mild detergent, a dryer or drying rack, and an iron. A mesh laundry bag can help protect delicate yardage, but it is optional.
The label comes first. If the cloth is cotton, linen, or rayon, the wash plan is usually straightforward, though not identical for each fiber. Missing label? Use the fiber content and the fabric’s behavior as your guide. If the seller gave you a cut-by-the-yard listing with care notes, keep that note with the fabric until you finish the project.
Leave enough space to wash the cloth without stuffing it into a tiny load. A 2-yard length of broadcloth behaves very differently from 8 yards of quilting cotton balled up in a washer drum. Crowding makes uneven cleaning more likely and can leave the cloth wrinkled in hard creases. A cramped drum is a bad bet.
Protect the cut edges from fraying. Some sewers pink the edges; others simply wash in a mesh bag or treat the edges after cutting, and if the fabric is especially fray-prone, it is wise to consult the fabric label or a professional. For tightly woven cotton, loose ends are usually manageable. For linen and rayon, the edges can unravel faster, so give them more help before they go in the wash.
Have your iron ready before the fabric comes out of the dryer or off the line. Pressing while the cloth is still slightly damp makes the grain easier to flatten. A dry, rumpled panel is harder to smooth out and may need extra steam.
How to prewash fabric before sewing, step by step
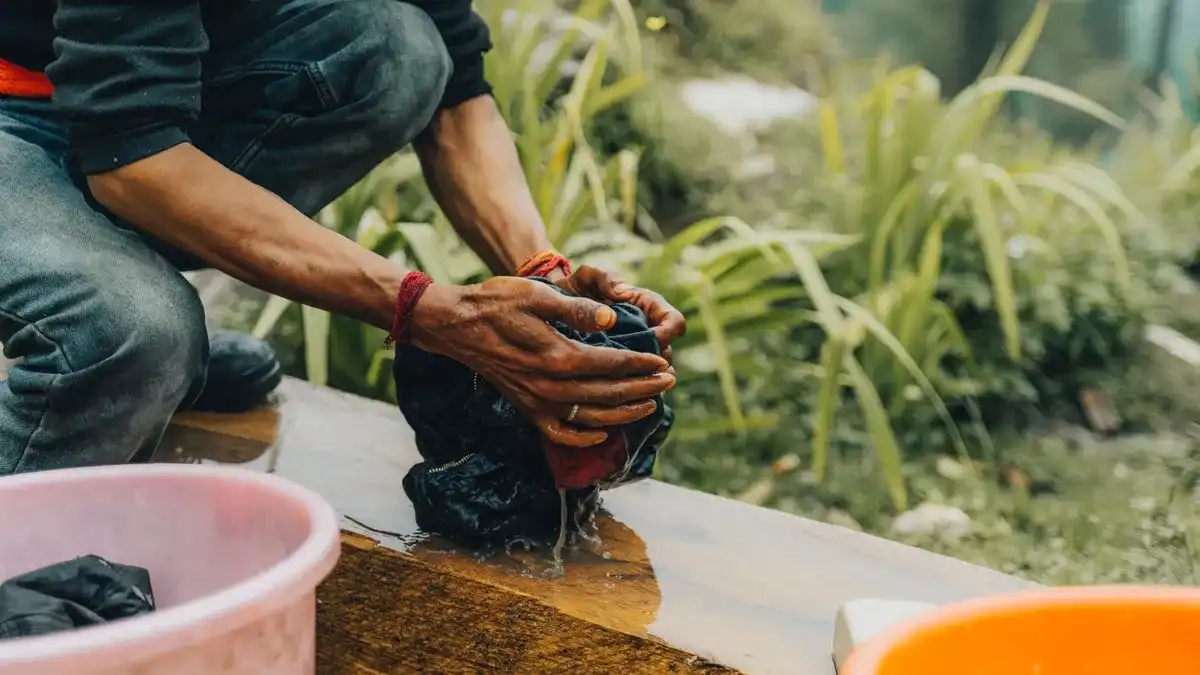
Start with the fiber content, then wash the fabric the same way you plan to care for the finished piece.
- Inspect the cut length and secure the edges. Trim loose threads and, if the fabric is fray-prone, finish the raw edges with pinking shears, a narrow zigzag, or a quick serged edge; if you are unsure which method is safest, consult the fabric label or a sewing professional. You want the edges to survive one wash without turning into a fringe band several inches deep.
- Separate likely bleeders from pale cloth. Wash dark and bright fabrics alone the first time, or use a color-catching sheet if you normally rely on one. The goal is to come out with clear rinse water, not pink seams on a white lining.
- Use the gentlest effective wash setting for the fiber. For most cotton, a normal cycle with cool or warm water is fine. For linen, choose cool or lukewarm water and a gentler cycle if the weave is loose. For rayon, use cold water and the delicate cycle, or wash by hand if the label is cautious. The fabric should come out clean, not stretched or fuzzy.
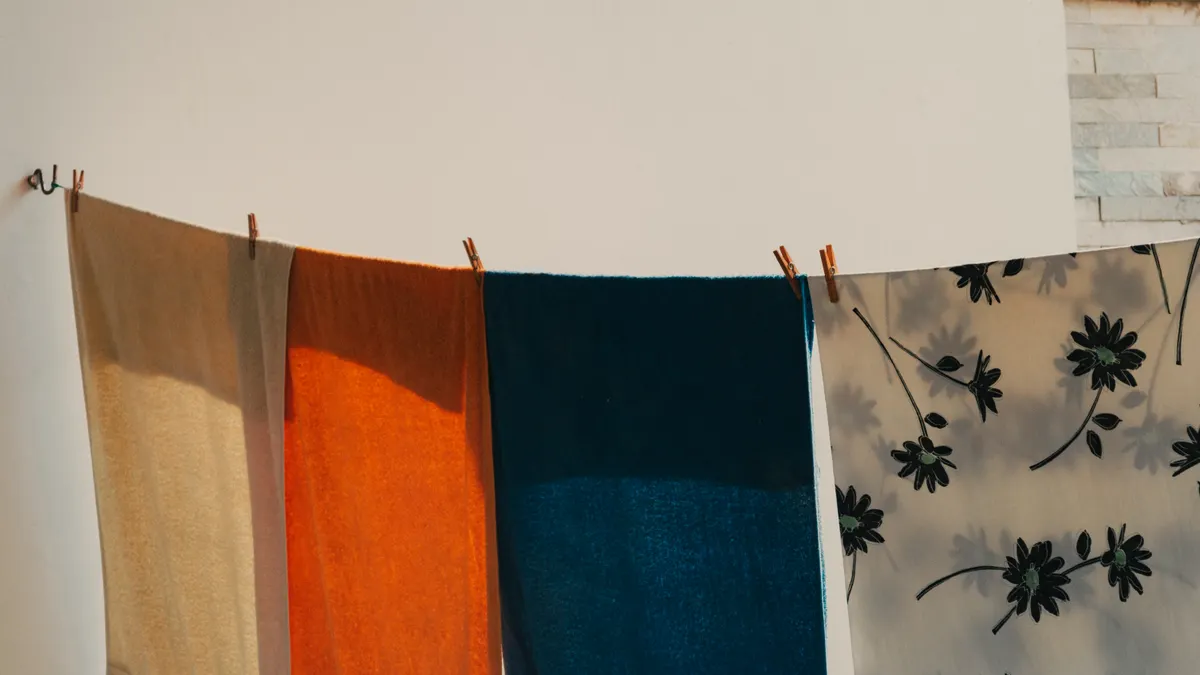
- Dry it the same way the finished item will be dried. If the garment will go in the dryer, tumble dry the fabric on the setting you plan to use later. If it will be line-dried, hang or lay it flat now. The cloth should settle into its post-wash size before you ever touch the scissors.
- Press the fabric once it is dry or nearly dry. Use an iron suited to the fiber: medium heat for cotton, a linen setting or strong steam for linen, and a low synthetic setting for rayon. Press, do not drag, so the grain stays square. When the fabric lies flat without ripples, it is ready to cut.
Treating every cloth the same is the biggest mistake, so check the fiber content and care instructions before you begin. Cotton usually handles a firmer wash than rayon. Linen often tolerates washing well but wrinkles hard and may need a thorough press. Rayon is the one that punishes rough handling; it can grow weak when wet and distort if twisted, wrung, or dried aggressively. It goes sideways fast.
If you want to avoid later surprises, prewash the entire length before you cut pattern pieces. Prewashing scraps after cutting is better than nothing, but it does not solve shrinkage in the parts you already marked. A shirt front or skirt panel cut from unwashed cloth can still shift if the fabric changes size later.
How to prewash cotton without losing shape
Cotton usually prewashes well in a washing machine on a normal cycle with cool to warm water, then in a medium dryer setting if that is how the final item will be cared for. Cotton shirting, quilting cotton, and cotton poplin are all stable enough for this approach, though tightly woven cotton will wrinkle less than loosely woven cotton.
Shrinkage is the main risk with cotton, especially if the fabric is untreated and if the pattern pieces have to match across seams. A plaid or stripe can move enough after the first wash to change the way the print aligns. Cotton also tends to shed dye the first time it is washed, so keep dark pieces out of a pale load.
If the cotton is densely woven, you can often wash it with the edges unfinished and then press it crisp. If it is a soft or loose weave, finish the cut edges first. That extra minute can save you from a tangled fringe when the load comes out. Cotton is usually the easiest fiber on this list to manage, which is exactly why it is the common test case for a first garment project.
For cotton that will be sewn into a garment washed and dried often, prewashing on the more realistic side is sensible. If you know you will never machine dry the finished piece, line-dry the fabric now. A fabric that shrinks a little in the dryer is not a problem if you find out before cutting.
For more general garment prep tips, see How to Wash Fabric Before Sewing.
How to prewash linen and keep it usable
Linen should be washed in cool or lukewarm water, then pressed while damp or just barely dry to keep the weave workable. It can handle laundering well, but it wrinkles more than cotton and often feels rougher after the first wash before it softens with use.
The first wash is the moment to decide whether the fabric is sturdy enough for the project. Fine linen can be lovely for shirts and dresses, but the edges may fray quickly, and a hard cycle can leave it looking tired before you start sewing. Choose a gentler cycle and avoid overloading the washer. Linen needs room to move, not a tight bundle.
Drying matters as much as washing. If the final garment will be line-dried, hang linen now. If it will go in the dryer, use a low to medium setting and remove it before it is bone dry so the wrinkles are easier to press out. Linen usually responds well to steam and a hot iron, but you should still press with care rather than grind the iron back and forth across the cloth.
Linen is not the easiest pick for someone who wants a no-fuss prewash. It asks for more pressing time, and the fabric can look lopsided until you straighten the grain. That is not a defect; it is the nature of the fiber. If you are sewing a garment where neat drape matters more than casual texture, take the time to press each panel flat before cutting.
How to prewash rayon without stretching or tearing it
Rayon should be washed cold, handled gently, and dried with as little agitation as possible. It is the most delicate of the three main fibers on this page, and rough treatment can distort it before the project even starts.
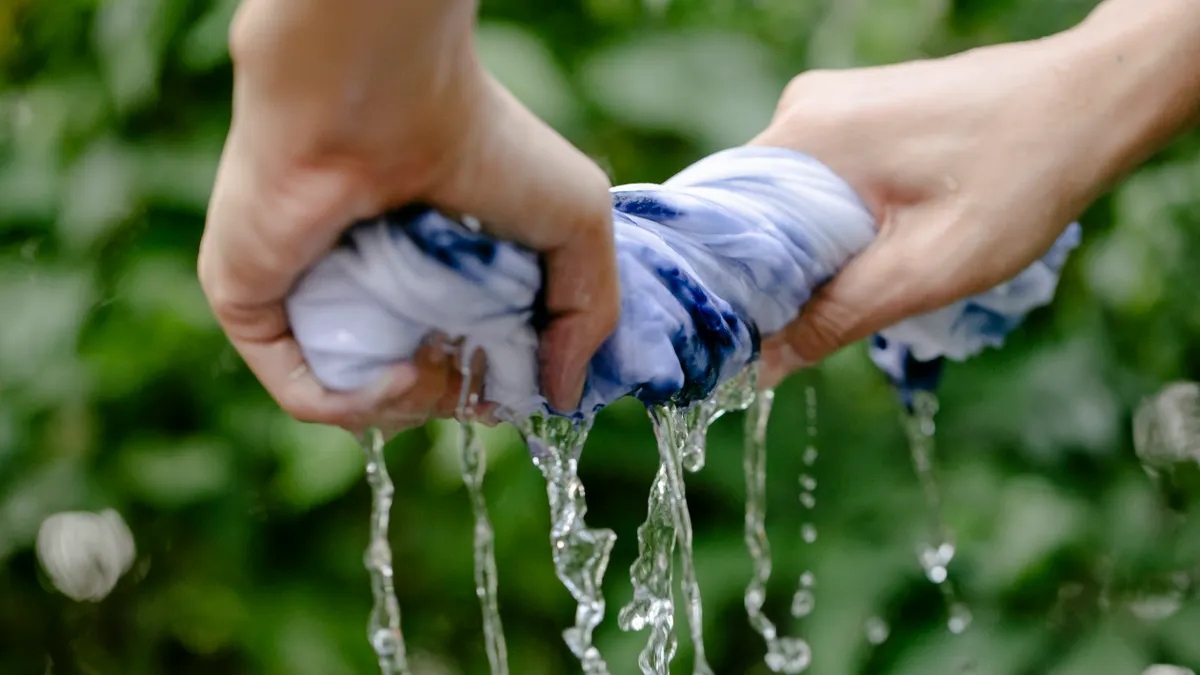
First, decide whether the fabric can safely go in a washing machine at all. Some rayon fabrics are sturdy enough for a delicate cycle in a mesh bag, while others are better washed by hand in a basin. If the cloth is drapey, slippery, or loosely woven, handwashing reduces the chance of twisting the weave. Never wring rayon hard to remove water. Roll it in a clean towel and press water out instead.
Drying should be calm and flat. Lay rayon on a drying rack or clean towels, reshape it with your hands, and let gravity do the work. Hanging wet rayon can stretch it longer than it should be. If you must use a dryer, keep it brief and on the lowest safe setting, but air drying is the safer default.
Rayon also needs gentle pressing. Use low heat and a pressing cloth if the surface looks shiny or delicate. The goal is to flatten the cloth enough to cut accurately without scorching or glazing it. If the fabric feels unstable when wet, that is a sign to slow down rather than force it through a routine meant for cotton.
This is the fiber that most often justifies extra caution. If the project is not worth the risk of distortion, rayon may not be the right fabric for a home laundering prewash. That is not a flaw in the method; it is a warning to match the fabric to the project.
How to prevent shrinkage and color bleed before you cut
Preventing shrinkage and color bleed starts with using the finished-care method now, not a “gentler than necessary” version of it. If the garment will be washed warm and machine dried, a cold rinse today will not tell you what the fabric will do later. Prewashing is a rehearsal, not a wish.
Color bleed is easiest to control by separating fabric by color family and by washing dark pieces alone the first time. If you are unsure, place the cloth in a basin with plain water for a few minutes and watch whether the water takes on color. That is not a lab test, but it is a useful warning sign. If the dye runs heavily, keep the piece separate until the water stays clear.
Shrinkage is controlled by the full cycle: wash, dry, press. Skipping the dryer when the finished item will go in one means you have not really prewashed. Skipping the iron means the fabric may still shift after cutting because the grain is not lying flat. Even a few minutes at the iron can reveal puckers, twist, or wavy selvedges that need attention.
One common mistake is washing yardage in the same load with towels, jeans, or heavy items. That can drive friction and uneven wear into the cloth. Another is hanging a heavy woven fabric from one corner, which can stretch it out of square. Spread it flat or drape it evenly so the grain stays true.
If the fabric still looks distorted after washing, press it back to square before you cut. That step is boring, but it is the difference between a garment that hangs correctly and one that twists every time it is worn.
What to do after prewashing so the fabric is ready to cut
After prewashing, inspect the fabric, press it smooth, and square it before laying out the pattern. The cloth should be dry, flat, and free of obvious ripples along the grainline.
Start by checking the edges for fraying or shrinkage unevenness. If one side seems tighter than the other, steam and press it until it relaxes. Then re-fold the fabric along the selvage or grain, not along the old wrinkles from the washer. A bad fold can hide a twist that will show up as soon as you cut.
Do not rush this part because the fabric now feels “done.” A 44-inch-wide cotton poplin can lose a little usable width after laundering, and a linen panel may need an extra press before it behaves. If you are working with several yards, it helps to press in sections rather than trying to tame the whole length at once.
When the fabric lies smooth and square, it is ready for pattern placement. At that point, the prewash has done its job: the cloth has already shrunk, bled, or settled as much as it is going to, and the garment you cut now is the garment you can expect to keep.
Do you need to prewash all fabric?
No, not all fabric needs to be prewashed, but most washable garment fabric should be. Cotton, linen, and rayon are the clearest cases, and the choice depends on fiber content, finish, and whether the final garment will be washed or dry cleaned. When the label is unclear, consult the care instructions or a sewing professional before you decide. For more on fiber care, see Choosing Fabric for Sewing Projects and How to Wash Fabric Before Sewing.
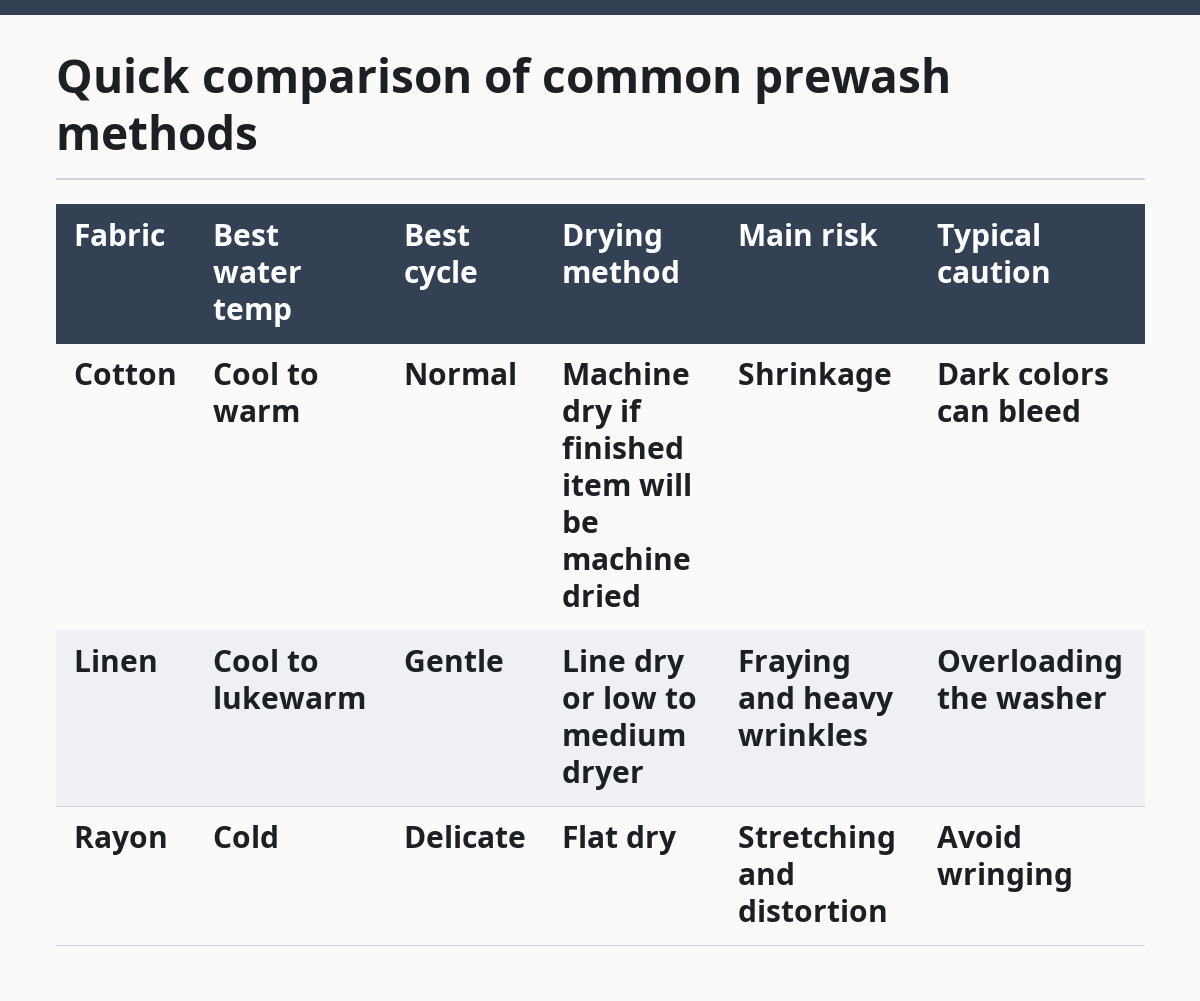
Quick comparison of common prewash methods
| Fabric | Best water temp | Best cycle | Drying method | Main risk | Typical caution |
|---|---|---|---|---|---|
| Cotton | Cool to warm | Normal | Machine dry if finished item will be machine dried | Shrinkage | Dark colors can bleed |
| Linen | Cool to lukewarm | Gentle | Line dry or low to medium dryer | Fraying and heavy wrinkles | Overloading the washer |
| Rayon | Cold | Delicate | Flat dry | Stretching and distortion | Avoid wringing |
FAQ
Do you always need to prewash fabric before sewing?
No. You usually prewash washable garment fabrics when shrinkage or dye bleed could affect the finished item, but dry-clean-only fabrics and some specialty finishes may need a different approach.
Can you skip prewashing if the fabric is pre-shrunk?
Sometimes, but not always. Pre-shrunk fabric can still bleed, wrinkle, or change texture, so it is safer to check the care label and use the intended care method.
Should you prewash fabric before cutting patterns?
Yes, when the fabric is meant to be washed later. Prewashing before cutting gives you the most accurate size and helps the grain settle first.
What is the safest way to dry rayon after washing?
Flat drying is usually safest. Lay it on a rack or towels, reshape it gently, and avoid hanging it wet because that can stretch it out.
Drafted with AI; not yet reviewed by a person.