Last updated: November 20, 2026
Choose interfacing by the support the garment area needs, then match the interfacing to the fabric and the finish you want. For a collar, cuff, button placket, or waistband, that usually means deciding first between fusible interfacing and sew-in interfacing, then checking weight, stiffness, and how much shape you want to keep.
Key takeaways
- Interfacing is not one-size-fits-all; collar and cuff support is a different job from soft shaping in a front panel.
- Fusible interfacing is faster and cleaner for many projects, but heat can change how some fabrics behave.
- Sew-in interfacing takes more time, yet it can suit fabrics that dislike heat or need a softer hand.
- Weight matching matters less than the final feel: support should be enough to stabilize, not so heavy that it fights the fabric.
- If the interfacing is too stiff, the seam line can look bulky and the garment can feel board-like.
What does interfacing do?
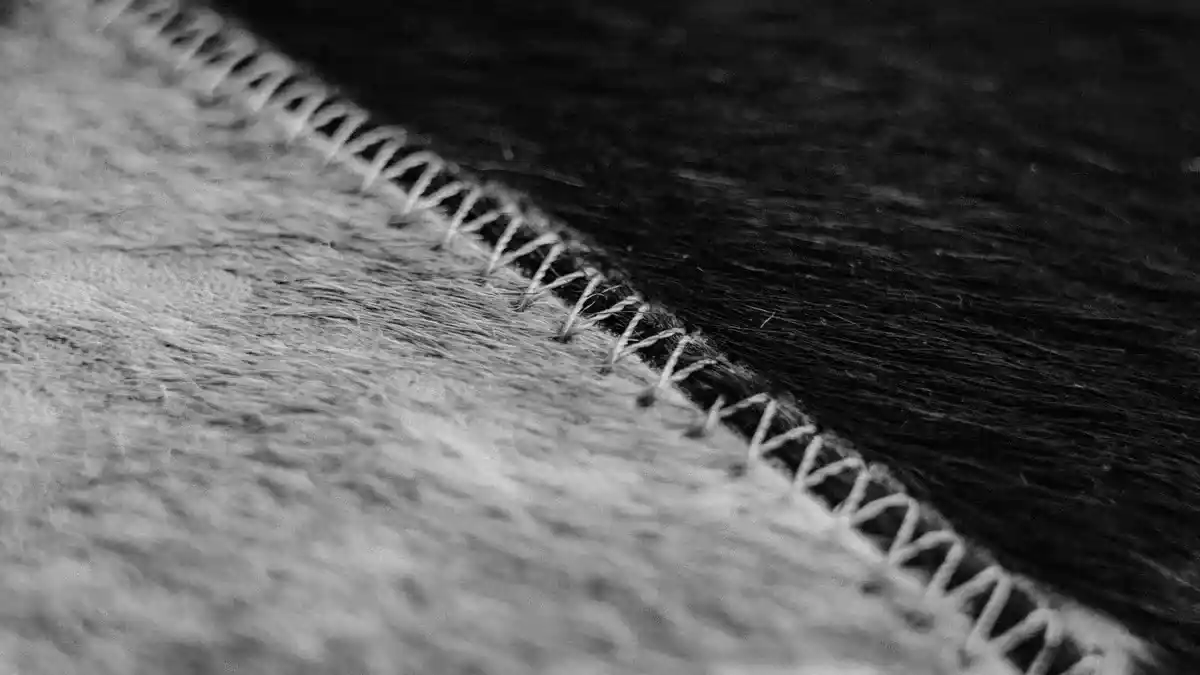
Interfacing gives fabric extra support, shape, and stability. It is the layer that keeps a collar from collapsing, a cuff from stretching out, and a button placket from looking limp after a few wears. In most sewing projects, the goal is not to make the whole garment hard; the goal is to reinforce only the places that take stress.
That means the best choice depends on the job. A shirt collar often needs crispness at the edge and enough structure to hold a curve, while a jacket front may need more body over a larger area. A lightweight blouse with no hard edges may need only a small patch of support, or none at all.
The wrong interfacing can ruin good fabric fast. Too much stiffness makes seams pucker and corners look thick. Too little support leaves the same area stretched, wrinkled, or floppy after a few hours of wear. For a useful reference point, the Fashion Institute of Technology’s sewing resources and Pellon’s interfacing guides both describe interfacing as a support layer, not a decorative one.
Use this rule when you are unsure: the interfacing should be strong enough for the area, but the fabric should still look like itself. If the cloth is a soft cotton lawn, the finished collar should not feel like poster board.
Fusible or sew-in?
Fusible interfacing is usually the first choice for speed, while sew-in interfacing is the safer choice for fabrics that should not be fused with heat. Fusible has adhesive on one side and bonds when pressed with an iron. Sew-in is stitched into place, so it adds structure without relying on glue.
Here is the practical difference.
| Type | Best for | Pros | Cons |
|---|---|---|---|
| Fusible interfacing | Collars, cuffs, facings, plackets, waistband areas | Fast, accurate, easy to place | Heat and pressure can change delicate fabric; poor fusing can bubble |
| Sew-in interfacing | Delicate cloth, fabrics sensitive to heat, projects that need a softer hand | No adhesive layer, often drapes more naturally | Slower, more steps, can shift while sewing |
| Very crisp support | Tailored areas that need firm shape | Strong hold | Can feel stiff if the weight is too heavy |
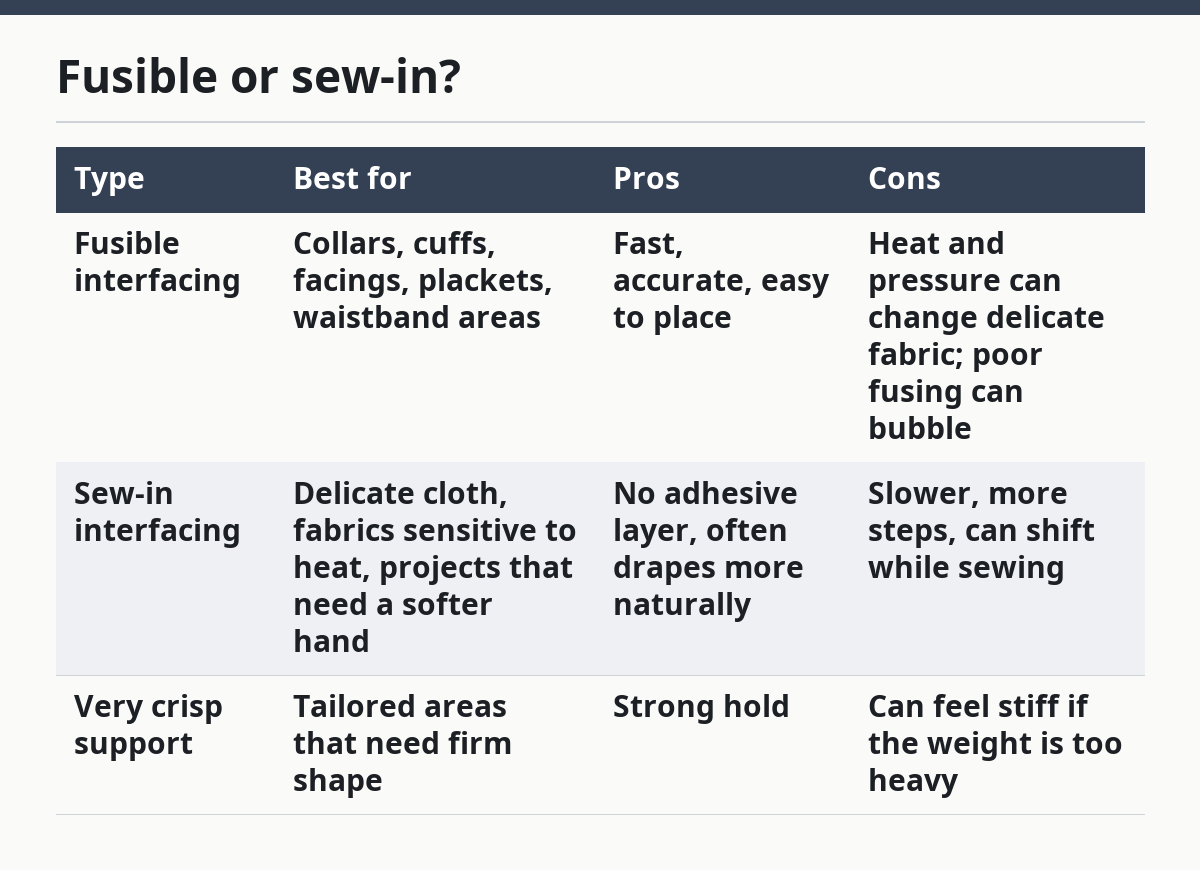
If you want a clean edge in a shirt collar or cuff, fusible interfacing is often the most practical pick. If the fabric is delicate, textured, or prone to shine under the iron, sew-in can be the better call. Some garments also use both: fusible for small crisp parts and sew-in for sections where a softer result works better.
The trade-off is simple. Fusible saves time and gives you a neat finish, but it is less forgiving if the adhesive is the wrong match for the fabric. Sew-in gives more control over hand and drape, but it takes longer and can add bulk if you stack too many layers.
How do I choose interfacing for a collar or cuff?
Choose interfacing for a collar or cuff by aiming for enough support to hold the shape without making the edge feel thick or hard. These are the classic places where interfacing matters most because they sit close to the face and hands, and they get handled often. If the part folds over, rolls, or closes against another layer, it usually needs reinforcement.
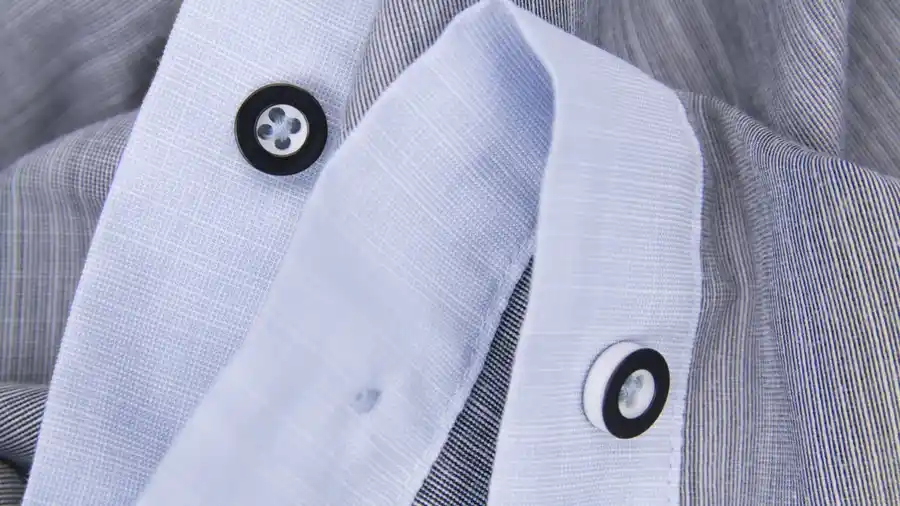
Collars often need a firm but not cardboard-like feel. A pointed collar needs enough body for the tips to stay sharp, while a softer camp collar may need only light support. Cuffs face the same problem: they must keep their shape, but they still need to fold comfortably around the wrist.
A good habit is to think in terms of use, not just fabric type. A dress shirt collar that will be washed and pressed often needs more stability than a decorative collar on a loose blouse. A cuff on a heavy shirt jacket needs more support than one on a light summer top.
Pay attention to seam allowance too. If the interfacing extends too far into the seam, the result can get bulky fast, especially at corners. In many projects, trimming the interfacing slightly inside the seam allowance helps the edge turn more cleanly. A difference of even 1/8 inch can matter on a pointed collar.
Which weight should I pick?
Pick the lightest interfacing that still holds the garment area in shape. Weight matching is less about a perfect numerical match and more about balance: the interfacing should support the fabric without overpowering it.
Lightweight interfacing works well when you want a gentle hand and modest structure. Medium weight adds more body and is common for shirts, cuffs, waistbands, and facings. Heavier interfacing can help tailored pieces, but it can also make soft fabric feel rigid or bulky at the seam line.
The fabric itself is part of the decision. A stable woven fabric can usually take a firmer interfacing in a collar or cuff than a very soft cloth can. A knit usually needs more caution because too much stiffness can fight stretch and recovery.
This is where many generic guides go wrong: they treat interfacing as a fixed category instead of a variable layer. A single “medium” label on the package does not tell you how the finished edge will behave once it is folded, pressed, and stitched. The real test is whether the garment part still bends the way it needs to bend.
How do I choose interfacing by fabric behavior?
Choose interfacing by how the fabric behaves under heat, pressure, and movement. Some fabrics handle fusible interfacing well. Others show marks, lose softness, or turn too firm when heat is applied.
If the fabric is smooth and stable, fusible interfacing often gives the most efficient result. If the fabric is textured, delicate, or likely to show the imprint of adhesive dots, sew-in interfacing is often safer. If the fabric has any stretch, use interfacing that does not fight the stretch unless the pattern piece truly needs to stay rigid.
The point is not to make the interfacing as soft as the fabric. The point is to make the two layers work together. A crisp shirting fabric can take a firmer collar. A sheer blouse or fine woven cloth usually needs a lighter hand and more caution around heat.
A simple way to think about it is this: the more the fabric already holds its shape, the more support you can add. The more the fabric wants to move, drape, or spring back, the less aggressive the interfacing should be. That is the difference between a collar that stands neatly and one that looks forced.
What is the quickest way to decide?
The quickest way to decide is to follow a short, ordered check: garment area first, fabric behavior second, then final feel. Use this when you are standing at the cutting table and need a clear choice.
- Identify the part — collar, cuff, waistband, placket, facing, or pocket. That tells you how much support the area must hold.
- Check the fabric’s reaction to heat — choose fusible for heat-friendly cloth and sew-in for heat-sensitive cloth. This prevents damage and poor bonding.
- Choose the support level — light, medium, or firm. Start with the least firm option that can still hold the shape.
- Match the finish you want — crisp for structured edges, softer for drape and comfort. The finished garment should still suit the fabric.
- Trim and place carefully — keep interfacing out of unnecessary bulk in seam allowances and corners. Clean edges depend on accurate cutting.
- Press with care — use the pressing method the interfacing expects, and keep the piece flat until it cools. Good pressing helps the bond or stitching settle.
This process works because it keeps the decision narrow. You do not have to solve every sewing problem at once. You only have to answer one question at each step: does this part need more shape, and if so, how much?
What mistakes cost the most?
The costliest mistake is choosing interfacing that is too stiff for the fabric or too soft for the part. Too stiff, and the collar edge looks heavy, the cuff feels awkward, and the seam can show a thick ridge. Too soft, and the part stretches, droops, or loses its line after wear.
Another common mistake is using fusible interfacing on a fabric that should not be pressed hard. That can leave shine, bubbles, or a stiff patch that never looks like the rest of the garment. The fix is not to press harder; the fix is to switch to sew-in or to choose a lighter fusible.
Cutting interfacing too large is a smaller error that still matters. Extra bulk in seam allowance adds up fast at corners, facings, and narrow bands. Trimming to the pattern’s needs gives a flatter result and a cleaner turn.
A third mistake is choosing based on package labels alone. “Light,” “medium,” and “firm” are only rough guides. The better question is what the interfacing will do in the exact garment area you are making. A firm interfacing can be right for a waistband and wrong for a blouse collar.
For broader fabric-selection decisions, the fabric selection hub is the right place to step back and compare the whole project. This page stays focused on the layer that gives support after the fabric has already been chosen.
When should I choose something softer?
Choose something softer when the garment needs movement, comfort, or a less tailored look. A soft interfacing is often better for casual shirts, lightweight facings, or areas where a hard edge would feel out of place. If the fabric is already structured enough on its own, extra firmness can create more problems than it solves.
Soft does not mean useless. It can still stop stretching and help a facing lie flat. It just does the job with less body and less resistance. That is often the better choice for garments that are meant to hang naturally rather than stand sharply.
The wrong project for a soft choice is a collar or cuff that must keep a precise shape after repeated wear. In those areas, too little support shows quickly. If the design depends on a sharp edge, softness turns into slouch.
What should I remember before I cut?
Choose interfacing for the garment area, not just for the fabric pile. A collar, cuff, or placket needs a different amount of support than a hem or a decorative patch. Fusible is faster and cleaner for many jobs; sew-in is better when heat is a problem or when you want a gentler result.
The best choice is the one that leaves the fabric looking like itself while giving the part enough stability to hold up in use. If the edge feels too hard in your hand, it is probably too much. If it collapses when folded, it is probably too little.
When should I use fusible interfacing?
Use fusible interfacing when the fabric can handle heat and when you want quick, accurate placement. It is a strong choice for collars, cuffs, facings, and plackets because it bonds before you sew, which keeps the layers from shifting. It is less suitable for fabrics that shine, distort, or react badly under an iron.
What is the difference between fusible and sew-in interfacing?
Fusible interfacing has adhesive and bonds with heat; sew-in interfacing is stitched in place with no glue layer. Fusible is faster and often neater for small parts, while sew-in can feel softer and is safer for heat-sensitive fabric. The better choice depends on the cloth and the finished look you want.
How do I test interfacing before applying it?
Test interfacing by checking how it behaves on a small cut piece of the same fabric before committing to the garment. Look for shine, bubbling, stiffness, or loss of drape after pressing or stitching. If the sample feels wrong in a 2-inch square, it will feel wrong on a collar or cuff, just on a larger scale.
Drafted with AI; not yet reviewed by a person.