Last updated: November 19, 2026
Key Takeaways
- Estimate by stages, not by one guess, so you can see the real work.
- Break the pattern into tasks, time each one, and add a cushion for fitting and fixes.
- Hours matter more than vibes when you plan each sewing stage.
- A toile or fitting pass should be budgeted as its own block.
A sewing time estimate for a project helps you stop guessing and start scheduling with pattern, fabric, toile, seams, fittings, and finishing steps broken into real blocks. For a simple project, a rough estimate might be 6 to 8 hours; for a fitted garment, it can easily be much longer. A stage-by-stage total is usually more useful than one big guess. The steps below show how to build that total so you can plan a weekend, a week, or a month without lying to yourself.
Start with the pattern and name the stages
Picture this: you have a pattern, a pile of fabric, and one free Saturday. The mistake is to ask, “How long will this take?” and expect one clean answer. A sewing time estimate for a project works better when you split the job into stages first.
Use the pattern envelope, instructions, and your own sewing notes to list the work in order: layout, cutting, marking, interfacing, construction seams, basting, fittings, finishing, and pressing. A simple pattern with 6 main pieces may need far less time than a lined garment with darts, pockets, and a zipper. That difference matters more than the fabric price or the size of your machine.
The stages also tell you where the time goes. Some garments spend most of their hours in fitting and seam adjustments. Others burn time in cutting and tiny finishing steps.
- Write the pattern type.
- Count the main pieces.
- Mark the steps that are new to you.
- Circle anything with a zipper, lining, collar, or cuffs.
How do you estimate sewing time from a pattern?
You estimate sewing time from a pattern by breaking the instructions into tasks, assigning a time block to each one, and adding a buffer for fitting and fixes. That gives you a plan you can use, not a wish.
Start with the pattern itself. A basic blouse pattern with simple seams might only need one set of cuts and one main sewing pass. A tailored jacket pattern asks for more: interfacing, pad stitching, sleeve setting, lining, and extra pressing. The more pieces and the more layers, the longer the project.
Then do a quick pass through the instruction sheet and sort the work into minutes or hours. If the pattern calls for 12 steps, that does not mean 12 equal blocks. Cutting can take 20 minutes. Fitting can take 2 hours. Hand finishing can eat another hour without warning.
Use a notebook or spreadsheet with three columns:
- Task name
- Estimated time
- Notes
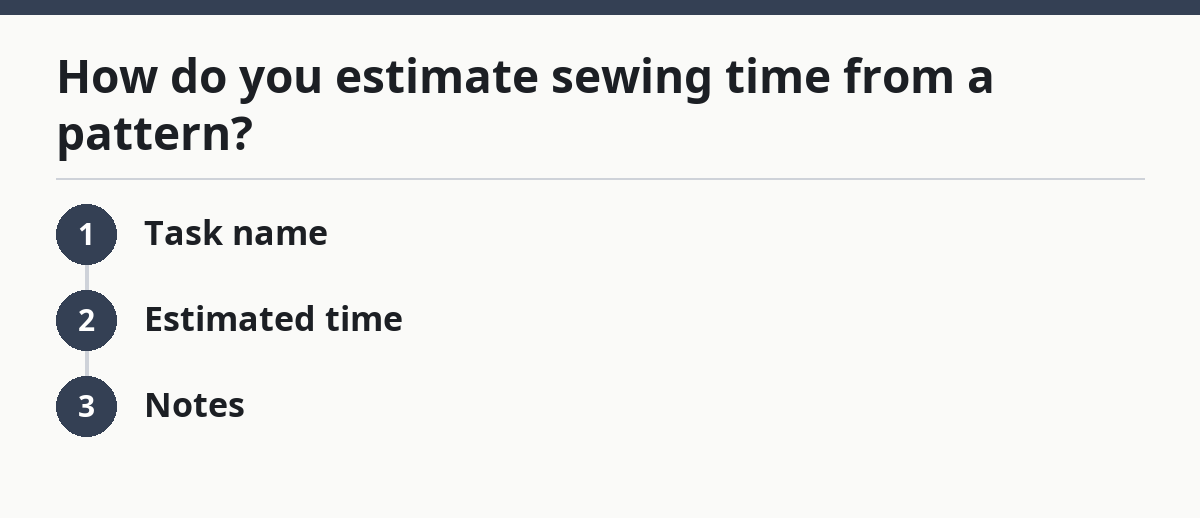
That structure keeps the estimate honest. It also lets you compare one pattern to another later.
- Give each task a time block.
- Treat fitting as its own task, and consult a sewing professional if the garment is especially fitted.
- Keep seam work separate from finishing.
- Add a note for any step you usually rush.
Build the estimate around cutting, seams, basting, and finishing
Picture this: the fabric is prewashed and on the table, but you still need to cut, baste, sew, and press before you can wear the garment. The time estimate gets real when you price each stage in hours, not vibes.
Cutting time depends on fabric behavior and layout. Smooth cotton can go fast. Slippery silk, plaid matching, or a nap fabric takes longer because you need more layout care. Seams are usually the middle of the project, but they change a lot with seam type. Straight seams move quickly; French seams, bound seams, and topstitching add minutes to every edge.
Basting is one of the easiest places to undercount. A toile or mock-up can take less sewing skill than the final garment, but it can add an entire round of cutting, marking, and trying on. Finishing steps also hide time. Hemming, buttonholes, hand sewing, thread trimming, and final pressing often feel small until they pile up.
Use this rough order when you build the estimate:
- Cutting and marking
- Fusing and prep
- Basting and test fit
- Main seams
- Closures and details
- Finishing and pressing
The best part? This order reveals which parts of the project are likely to slow you down before you cut a single piece.
What should you add for toile and fittings?
Picture this: you fit the muslin once, then once again after the first tweaks, and suddenly the project has grown by half a day. A toile or fitting pass is not a side note; it is a separate block in the estimate.
A toile, muslin, or test garment can save a bad final cut, but it also adds real time. Count the time to cut the toile, sew the main seams, try it on, pin changes, and transfer those changes back to the pattern. If a pattern has princess seams, a fitted sleeve, or a waistline with darts, fit work usually takes longer than for a loose top.
Do not hide fitting time inside “construction.” That is how people end up frustrated on day 3 when they thought the project was almost done on day 1. A better estimate names the fitting loop openly.
- First fit: 30 minutes to 2 hours, depending on complexity.
- Retouching the pattern: time for tracing and marking.
- Second fit: enough time for another try-on and correction.
- Final assembly after changes: more sewing than you first planned.
If you skip the toile, say so in the estimate. That does not make the project faster overall; it just removes one block and shifts the risk to the final garment.
How do you turn the blocks into a schedule that actually works?
Because the blocks are now clear, you can assign them to the time you actually have and leave slack between them. That keeps a project moving when one stage takes longer than planned.
Start by deciding whether your estimate is for one evening, a weekend, or a full month. A pattern with 6 hours of work does not fit into one tired night unless the work is simple and you can leave the machine set up. If you have only 90 minutes at a time, break the estimate into smaller pieces: cut on Monday, baste on Tuesday, sew seams on Wednesday, finish on Thursday.
Also check your energy. Cutting and marking need attention. Binding a neckline or sewing buttonholes needs steadier hands. Save the more finicky work for the part of the day when you are least distracted.
A useful rule is to leave a 25% cushion around the total. If your rough estimate is 8 hours, plan for 10. That buffer covers seam ripper time, rethreading, and the moment you realize the zipper foot is missing.
- Put prep work on low-energy days.
- Put fitting on a day with enough uninterrupted time.
- Keep finishing for the end of a session.
- Leave one spare block for fixes.
What ruins sewing time estimates?
Picture this: the fabric looked simple in the shop, but once it is on the table, the plaid needs matching, the seams need grading, and the hem needs hand work. Small decisions can add hours fast, and they rarely show up in a quick guess.
The biggest mistake is treating every project like a plain cotton tote. A lined coat and a sleeveless top are not the same job, even if both use one yard of fabric. Another common miss is ignoring new techniques. If you have never sewn a welt pocket or set a sleeve, the estimate should be longer than your usual home-sewing pace, and a sewing teacher or tailor can help you judge it more realistically.
A few things that stretch time:
- Pattern adjustments after cutting
- Tricky fabrics like chiffon, velvet, or knit with stretch
- Matching prints or stripes
- Hand sewing and detailed finishes
- Ironing between steps
- Machine trouble, broken needles, or bobbin tangles
The truth is, a good estimate is not about being exact. It is about being less wrong. If you assume the easy version of every step, you will schedule too little time and feel behind before you start.
A simple way to write your own sewing time estimate
Because the steps are clear now, you can turn them into one practical worksheet and stop relying on memory. The fastest way to get there is to list the stages, time each one, and total them with a cushion for the messy parts.
Use this simple worksheet for any project:
- List the pattern and fabric.
- Break the project into stages.
- Assign a time block to each stage.
- Add fitting or toile time if needed.
- Add a cushion for corrections and pressing.
- Total the hours and turn them into calendar blocks.
A notebook is enough. A spreadsheet helps if you sew often and want to compare projects later. If you keep notes over a few projects, your estimates get sharper because you stop guessing about the same seams, closures, and finishing steps again and again.
If you want a broader planning frame, this page fits inside the larger guide on how to plan a sewing project. It handles the timing piece, while the bigger workflow covers the rest.
How long does a sewing project take?
A sewing project can take a few hours or many days, depending on the pattern, fabric, fittings, and finishing. A simple item with straight seams moves quickly, while a fitted or lined garment needs more cutting, testing, and clean-up work.
The better question is how many stages it has. Once you count cutting, seams, basting, fittings, and finishing separately, the total stops feeling mysterious.
Why do sewing projects take longer than expected?
Sewing projects take longer than expected because the hidden work adds up: pressing, unpicking, thread changes, fitting, and small corrections. A pattern may look simple on paper but still need careful setup and extra handling at each step.
Complex fabric and extra details also stretch the clock. A project feels slow when the estimate treats all steps as equal, which they are not.
How do I schedule sewing time realistically?
You schedule sewing time realistically by matching the project to the time you actually have, not the time you wish you had. Short sessions work for cutting, marking, and simple seams; long uninterrupted blocks are better for fittings, closures, and finishing.
The best plan leaves room for one surprise. If you only schedule the exact sewing time, the first snag makes the whole plan fall apart.
Drafted with AI; not yet reviewed by a person.