Last updated: November 19, 2026
If your sewing pattern hangs off the edge of your shoulder, the fix is a small shoulder width adjustment. Draft the change at the shoulder seam, then check the armhole and neckline before you cut fabric. The steps below will show where to remove width, what to leave alone, and how to test it on a muslin.
What a small shoulder width adjustment changes
A small shoulder width adjustment moves the shoulder seam inboard without wrecking the bodice shape. You are narrowing the top of the pattern, not shrinking the whole upper body. That matters because the armhole, neckline, and upper bodice all react differently to a change of even 1/4 inch to 1 inch.
Picture this: you slip on a pattern tissue or a basted muslin, and the shoulder seam drops past the bone at the top of your arm. The sleeve head may still fit, but the seam line is wrong. That’s the signal to adjust the shoulder seam placement, not the bust or side seam.
Here’s the catch:
- If the seam is only a little too wide, a simple shoulder taper may be enough.
- If the shoulder point is far off, you may need to move the armscye as well.
- If the neckline already fits badly, changing the shoulder alone can make it worse.
Key Takeaways
- Narrow the shoulder at the shoulder seam, not by hacking away at the armhole first.
- Keep the neckline and armhole connected so the bodice still sits cleanly.
- A muslin check is the safest way to confirm the seam lands where your shoulder actually ends.
Measure your shoulder before you cut

You measure your shoulder width first so you know how much to remove from the pattern. Use a tape measure and a well-fitting shirt or a friend’s help; a mirror alone often lies about where the shoulder ends. The standard you want to compare is your body’s shoulder tip to shoulder tip, then compare that to the pattern’s finished shoulder line.
Picture this: you’re holding the sewing pattern flat on the table, and the shoulder seam looks believable until you compare it to your body. The eye is bad at spotting a 3/8 inch error. A ruler is better.
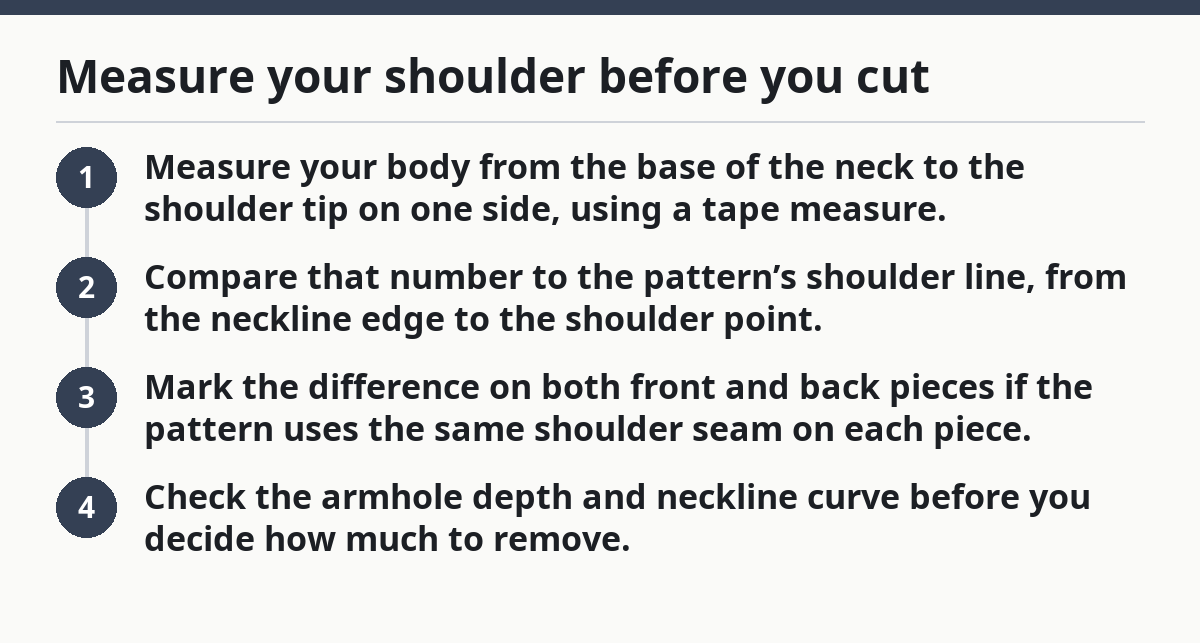
- Measure your body from the base of the neck to the shoulder tip on one side, using a tape measure.
- Compare that number to the pattern’s shoulder line, from the neckline edge to the shoulder point.
- Mark the difference on both front and back pieces if the pattern uses the same shoulder seam on each piece.
- Check the armhole depth and neckline curve before you decide how much to remove.
A few points matter here:
- Some patterns already include a roomy shoulder slope.
- Knits can hide a small mismatch better than woven fabric.
- A shoulder line that is too long often shows up as a wrinkle running from the neck toward the arm.
Do not measure only the shirt you’re wearing that day. Shoulders change with posture, padding, and fabric ease. A close-fitting top gives a better baseline than a loose T-shirt.
How to narrow a shoulder seam on a sewing pattern
You narrow a shoulder seam by trimming the pattern at the shoulder line and blending the cut so the armhole and neckline stay smooth. Use a ruler, a French curve, and tracing paper; the goal is a clean new seam line, not a jagged notch.
Picture this: you’ve identified that the shoulder is too wide by about 1/2 inch on each side, and you need the seam to sit closer to the neck. This is where the adjustment happens. The best part? You can often do it with a small, controlled change instead of redrawing the whole bodice.
- Trace the front and back bodice pieces onto paper so you can alter them without damaging the original.
- Mark the new shoulder point inward by the amount you need to remove.
- Redraw the shoulder seam from the neckline to the armhole with a ruler or French curve so the line stays smooth.
- Blend the armhole edge into the new shoulder point so the curve does not kink.
- Match the front shoulder length to the back shoulder length if the pattern relies on that seam being equal.
- Transfer any notches, grainline marks, and dart points after the new line is complete.
On the flip side, don’t just lop off the outer shoulder corner and call it done. That creates a sharper corner at the armhole and changes sleeve pitch. A shoulder seam that is too short can also pull the neckline off balance.
What this fixes:
- shoulder seam sitting too far out
- excess fabric pooling near the neck
- a bodice that feels broad across the top
What this does not fix:
- full bust fit
- length at the torso
- a sleeve that needs its own adjustment
If your pattern has a set-in sleeve, keep the armhole shape as close to the original as possible. Tiny changes are fine. Big changes make the sleeve cap harder to fit.
What if the armhole shape changes?
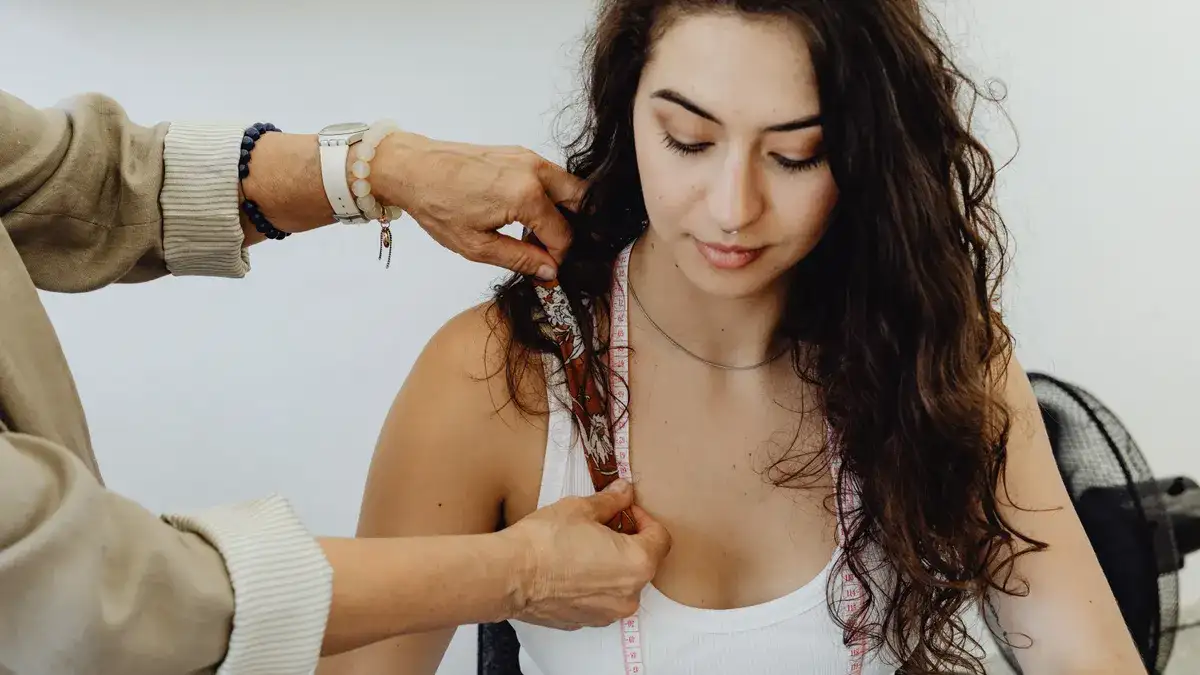
You protect the armhole shape by blending the shoulder adjustment into the armscye instead of cutting straight across it. The armhole is the part most likely to go wrong, especially on a woven bodice with a fitted sleeve. Even a small change can affect how the sleeve hangs.
Picture this: you narrow the shoulder, then the armhole starts biting into the underarm or gaping at the top. That means the adjustment was too abrupt, or the armhole was redrawn without checking the curve. A French curve helps here because it keeps the transition gradual.
Use these checks:
- The front armhole should still look like the front armhole, not a flat crescent.
- The back armhole should keep its rise and shape.
- The shoulder seam should still meet the neckline at a sensible angle.
A practical rule: if you removed less than 1/2 inch total, a smooth blend often solves it. If you removed more than that, stop and compare the bodice against a muslin before cutting cloth. The more you change the top edge, the more likely the sleeve fit shifts.
Bad armhole changes usually show up in one of three ways:
- tightness across the upper back
- a sleeve that twists forward or back
- drag lines from the shoulder point toward the bust or arm
Do not redraw the neckline just because the shoulder width changed a little. The neckline only needs adjustment if your new shoulder point moves the neck opening too much. That is a separate fit check, not a reflex.
How do you check the fit with a muslin?
You check the fit with a muslin by basting the altered bodice in a test fabric and looking at where the shoulder seam lands on the body. Use a cheap woven muslin or plain cotton; the point is fit, not finish. This step catches mistakes before you cut your real fabric.
Picture this: the muslin is on, and the seam sits a little behind the shoulder bone or creeps toward the neck. That tells you whether the change was enough. If the seam still drifts off the shoulder, the paper pattern needs another small trim.
- Baste the altered bodice in muslin with long stitches.
- Pin the garment on the body or a dress form so the neckline sits as intended.
- Check where the shoulder seam lands; it should rest near the shoulder tip, not past it.
- Move the seam inward in small amounts if needed, then mark the new line on the muslin.
- Compare front and back balance so one side is not riding higher than the other.
- Transfer the corrections back to the paper pattern before cutting fashion fabric.
Look for these fit clues:
- The neckline lies flat without pulling.
- The shoulder seam does not droop off the arm.
- The upper bodice does not twist toward the front or back.
A muslin is not just for big changes. It is the fastest way to see whether your small shoulder width adjustment stayed small enough to avoid side effects. If the muslin looks good in one fabric but not another, remember that stiffer cloth will show shoulder errors more clearly than drapey fabric.
Common mistakes that cause a bad shoulder fit
The biggest mistakes are changing the shoulder without checking the armhole, neckline, and front-back balance. That can turn a simple alteration into a new fit problem. The cost is time, extra muslin, and a bodice that still feels wrong.
Picture this: you trim the shoulder width, sew the garment, and now the neckline gaps or the sleeve won’t hang right. That usually means the correction was made in the wrong place or in the wrong amount. A 1/4 inch mistake can be enough to show on a close-fit blouse.
Watch for these errors:
- Cutting only the front piece. That throws off the shoulder seam and can twist the bodice.
- Removing too much at once. The neckline can creep inward and the armhole can become too sharp.
- Ignoring the back shoulder. The seam may sit right in front but still hang off the back.
- Skipping a muslin. Paper looks neat; cloth tells the truth.
- Confusing small shoulders with broad shoulders. That creates the wrong fix and often makes the fit worse.
The right move is slower but cleaner:
- trace the pattern first
- change front and back together
- blend the shoulder into the armhole
- test in muslin before final fabric
This page belongs in the larger measuring, fitting, and sizing for sewing process, because shoulder width rarely lives alone. It affects how the bodice sits, how the neckline lies, and how the sleeve behaves.
When a small shoulder width adjustment is the right fix
A small shoulder width adjustment is the right fix when the seam sits too far out, the neckline still fits, and the armhole only needs a slight reshape. It is not the right fix for a bust issue, a torso length issue, or a true broad-shoulder shape.
Picture this: the pattern fits everywhere except the shoulder seam keeps slipping past your body’s natural edge. That is the sweet spot for this alteration. You’re solving a top-edge fit problem, not reworking the whole bodice.
Use this adjustment when:
- the shoulder seam extends past the shoulder point
- the upper bodice looks wide but not full through the bust
- the sleeve still fits, but the seam placement looks wrong
- the neck opening is acceptable and does not need a full redesign
Do not use it as a catch-all. If the bodice pulls across the chest, folds near the armhole, or needs more room in the back, another adjustment may be the real fix. A shoulder that is merely too wide and a bodice that is too small are not the same problem.
The cleanest result comes from treating the shoulder as its own fit area. That is the whole job here.
How do you fix shoulders that are too wide on a pattern?
You fix shoulders that are too wide by moving the shoulder seam inward and redrawing the shoulder line so the armhole still curves smoothly. Start with paper, not fabric. If the change is small, a narrow shoulder adjustment may be enough; if the armhole changes shape a lot, you need to recheck the bodice in muslin.
How do you narrow a shoulder seam?
You narrow a shoulder seam by marking the new shoulder point closer to the neck, then blending the line back into the armhole. Use a ruler or French curve so the seam stays smooth. Keep the front and back shoulder lengths matched unless the pattern’s design tells you otherwise.
What happens if the shoulder width is wrong?
If the shoulder width is wrong, the garment can droop, pull, or twist across the upper bodice. The neckline may gap, the armhole may sit badly, and the sleeve may hang off balance. A small error can be visible even when the rest of the fit is fine, which is why a muslin check matters.
Drafted with AI; not yet reviewed by a person.