Last updated: November 19, 2026
Quick Answer: In Pattern Layout, Cutting, and Marking — The Complete Guide, 3 checks matter most: grain, cut quality, and clear marks. Pattern layout, cutting, and marking are the steps that turn a pattern into real fabric pieces without losing shape, grain, or match points. If the layout is wrong, everything after it gets harder. The steps below settle how to place, pin, trace, cut, and mark so the garment goes together cleanly.
Key Takeaways
- Grainline decides drape, twist, and fit more than most beginners expect.
- A safe layout starts with fabric inspection, shrinkage control, and the right fold.
- Marking method should match the fabric, not your habit.
- One clean cut beats a fast cut with ragged edges.
- Notches, darts, and match points only help if both layers are marked the same way.
- A layout that works for one fabric may be wrong for another.
What pattern layout actually does for the finished garment
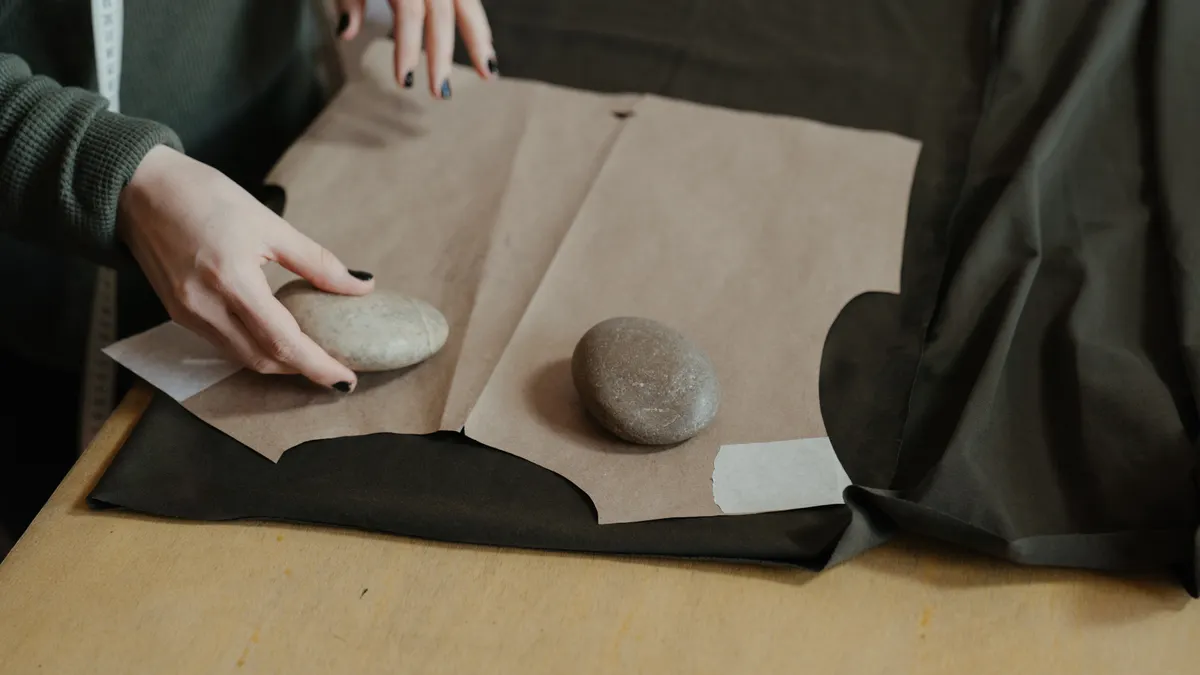
Pattern layout sets the grain, balance, and efficiency of the cut before scissors touch cloth. Picture this: you’re staring at a wide piece of fabric, a paper pattern, and a deadline, and the difference between a neat front panel and a twisted one is often just grainline placement and fold choice.
The key here is the grainline arrow — notice how it runs parallel to the selvage on straight-grain pieces. That is what usually keeps a skirt hanging straight instead of spiraling on the body. If the arrow drifts, the garment can pull, distort, or hang unevenly.
A good layout also protects matching points. Darts, notches, and pocket placements are easier to transfer when the pieces are flat and stable. A bad layout saves a few inches of fabric and costs more in distortion, mismatched seams, and re-cutting.
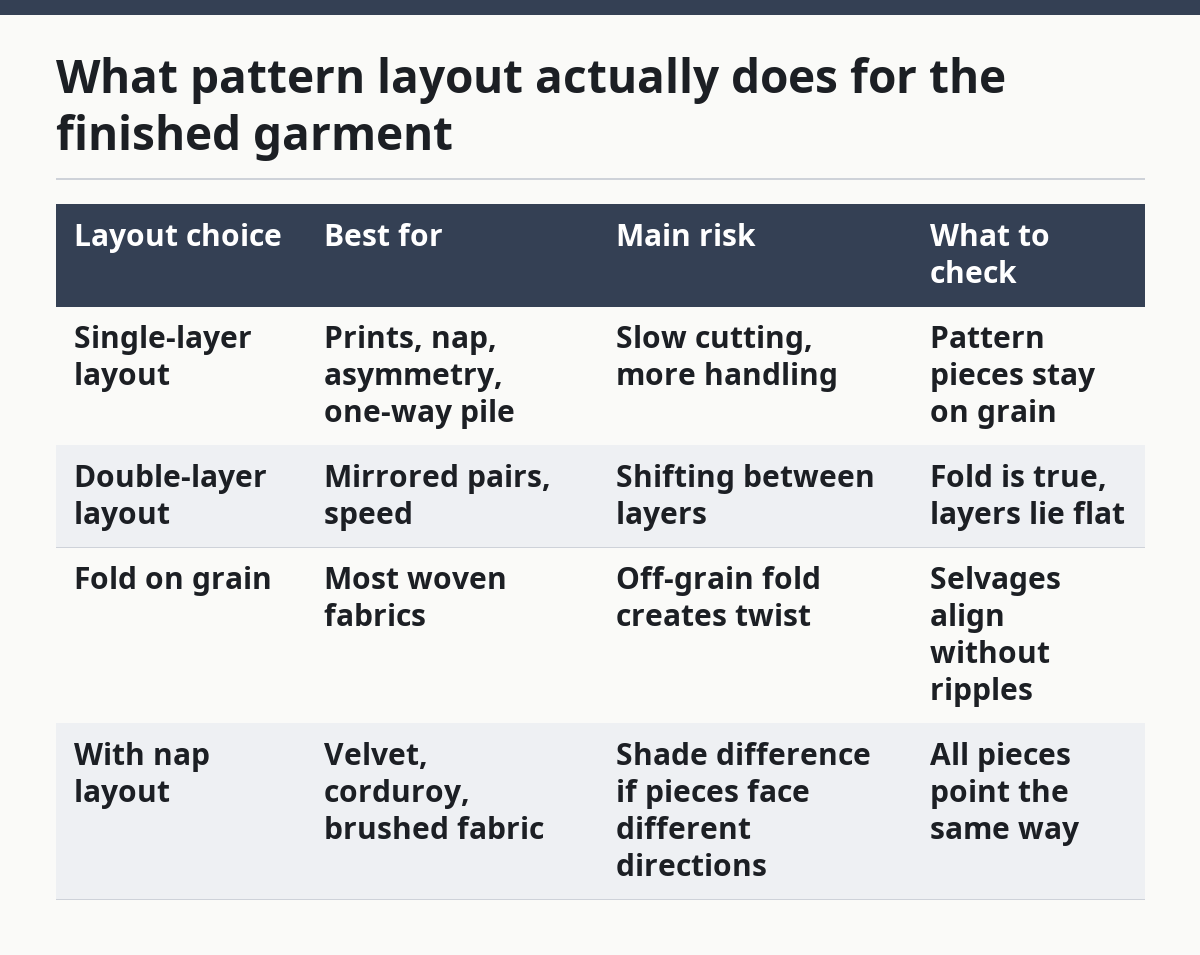
| Layout choice | Best for | Main risk | What to check |
|---|---|---|---|
| Single-layer layout | Prints, nap, asymmetry, one-way pile | Slow cutting, more handling | Pattern pieces stay on grain |
| Double-layer layout | Mirrored pairs, speed | Shifting between layers | Fold is true, layers lie flat |
| Fold on grain | Most woven fabrics | Off-grain fold creates twist | Selvages align without ripples |
| With nap layout | Velvet, corduroy, brushed fabric | Shade difference if pieces face different directions | All pieces point the same way |
Here’s the catch: layout is not just about saving fabric. It is about controlling the cloth before the cut removes your chance to correct it.
How do you lay out a pattern on fabric without getting it wrong?
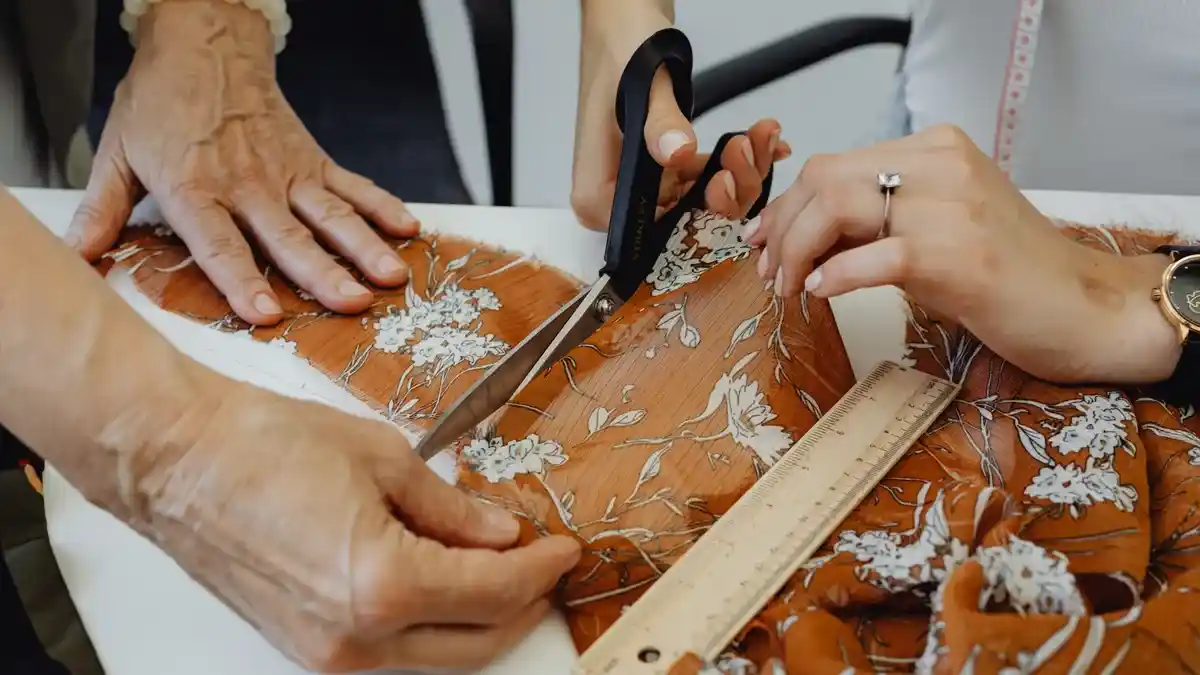
You lay out a pattern by aligning the fabric on grain, matching the pattern’s fold or layer instructions, and placing every piece before cutting anything. Picture this: you’re working on a table that is just big enough, the fabric is slippery, and a single crooked piece can turn into a bad seam two hours later.
Start with a flat surface and the full width of the fabric. Then spread the cloth without stretch, twist, or drag. If the fabric has a nap, print, plaid, stripe, or one-way sheen, the layout must follow that visual direction, not just the paper pattern.
-
Check the fabric first. Smooth it out, find the selvages, and look for distortion or shrinkage.
- Check: the cloth lies flat without waves.
- Do not: cut from a folded lump or a skewed edge.
-
Square the fold or edge. Use the crosswise grain as a guide if the fabric is not already straight.
- Check: fold lines meet at right angles.
- Do not: trust a factory fold that has drifted.
-
Place the largest pieces first. These usually control the whole layout.
- Check: pattern grainlines run parallel to the selvage.
- Do not: crowd pieces so the grainline has to bend.
-
Respect the layout notes. Nap, direction, and “cut on fold” matter.
- Check: every piece follows the same directional rule.
- Do not: flip a piece to save scraps if the fabric has a one-way surface.
-
Add smaller pieces into the gaps. Use the leftover spaces, not the other way around.
- Check: seam allowance stays fully on fabric.
- Do not: push pieces too close to the edge.
-
Pin or weight before cutting. Lock the layout in place.
- Check: no piece shifts when lifted slightly.
- Do not: cut loose pieces that can slide under the scissors.
The truth is, a layout that looks tidy from ten feet away can still be wrong by one inch at the grainline. That one inch is enough to change the hang of a sleeve or pant leg.
The correct way to cut fabric, step by step
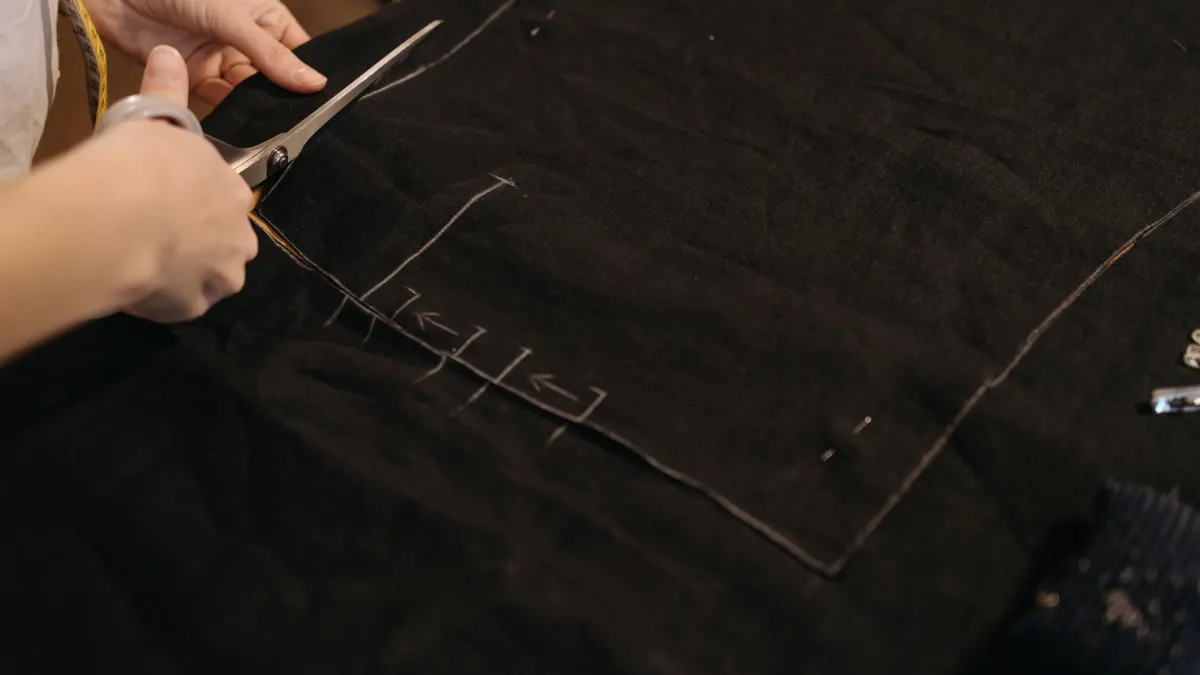
You cut fabric by following the pattern outline cleanly, keeping the fabric flat, and using tools that suit the cloth weight and weave. Picture this: you’re at the edge of the layout with shears in hand, and every movement either preserves the shape or chews it up.
The cut should stay smooth, continuous, and controlled when the fabric allows it. On woven cloth, long dressmaker shears or a rotary cutter can both work, but the fabric must not lift, shift, or creep. On knits and slippery fabric, a cutter table and pattern weights often help keep the layers still.
| Cutting tool | Good for | Watch out for | Best practice |
|---|---|---|---|
| Dressmaker shears | Wovens, medium-weight fabric | Lifting the cloth while cutting | Keep blades on the table |
| Rotary cutter | Multiple layers, slippery fabric | Blade drift, table damage | Use a self-healing mat |
| Small embroidery scissors | Clips, thread trimming | Slow on long edges | Use for fine detail only |
| Pinking shears | Fray-prone seams | Not a true seam finish | Use as a fray-control aid |
-
Anchor the pattern. Pin or weight it so it cannot move.
- Check: corners stay aligned when nudged.
- Do not: hold the pattern with one hand and cut with the other if the cloth shifts.
-
Cut the longest edges first. This makes the piece easier to control.
- Check: blade stays outside the line, then cleans to it.
- Do not: snip tiny bites that leave jagged steps.
-
Use the full blade length. Long strokes create a cleaner edge.
- Check: the cut looks continuous, not serrated.
- Do not: open and close the shears in little chops.
-
Keep the fabric on the table. The lower layer should stay flat.
- Check: no hanging weight pulls the cloth off grain.
- Do not: lift the fabric into the air as you cut.
-
Cut notches as instructed. Some patterns want triangles, some want snips.
- Check: notch depth is consistent on all matching pieces.
- Do not: make deep cuts past the seam allowance.
-
Transfer internal lines after the piece is cut. Darts, pocket marks, and placement lines belong next.
- Check: marks stay within seam allowance or on the wrong side.
- Do not: guess where a dart point sits.
A clean cut edge matters because every later step depends on it. If the edge is wavy now, the seam line will be harder to sew, press, and match later.
Which marking method fits your fabric?
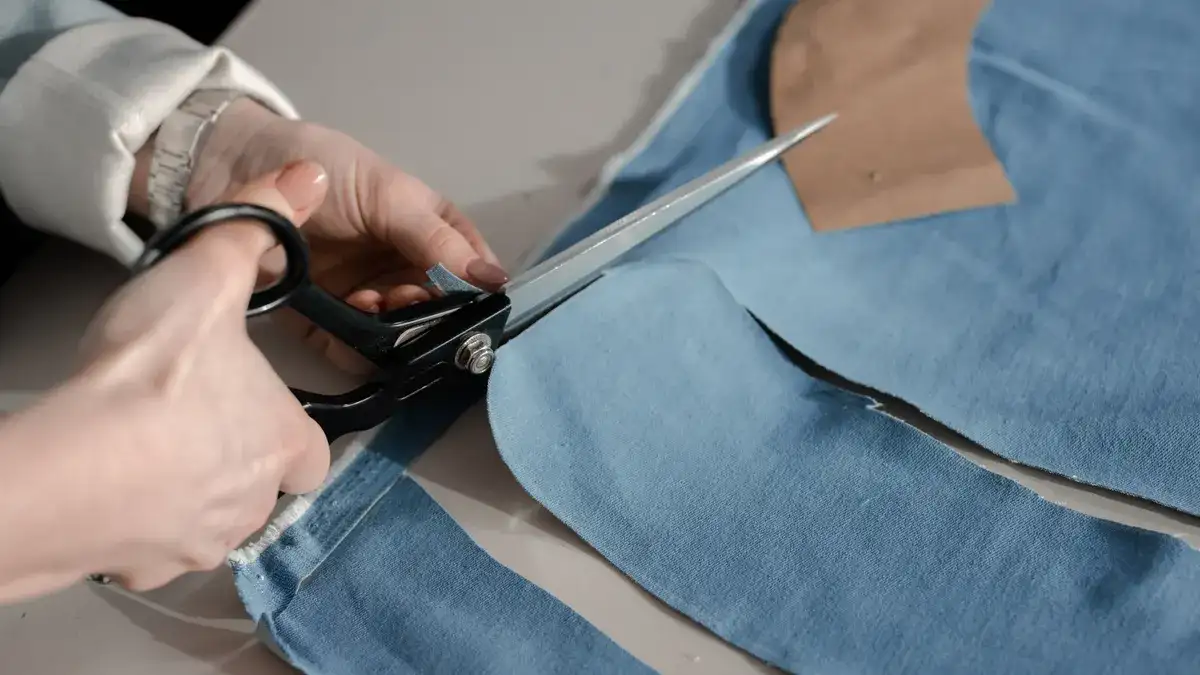
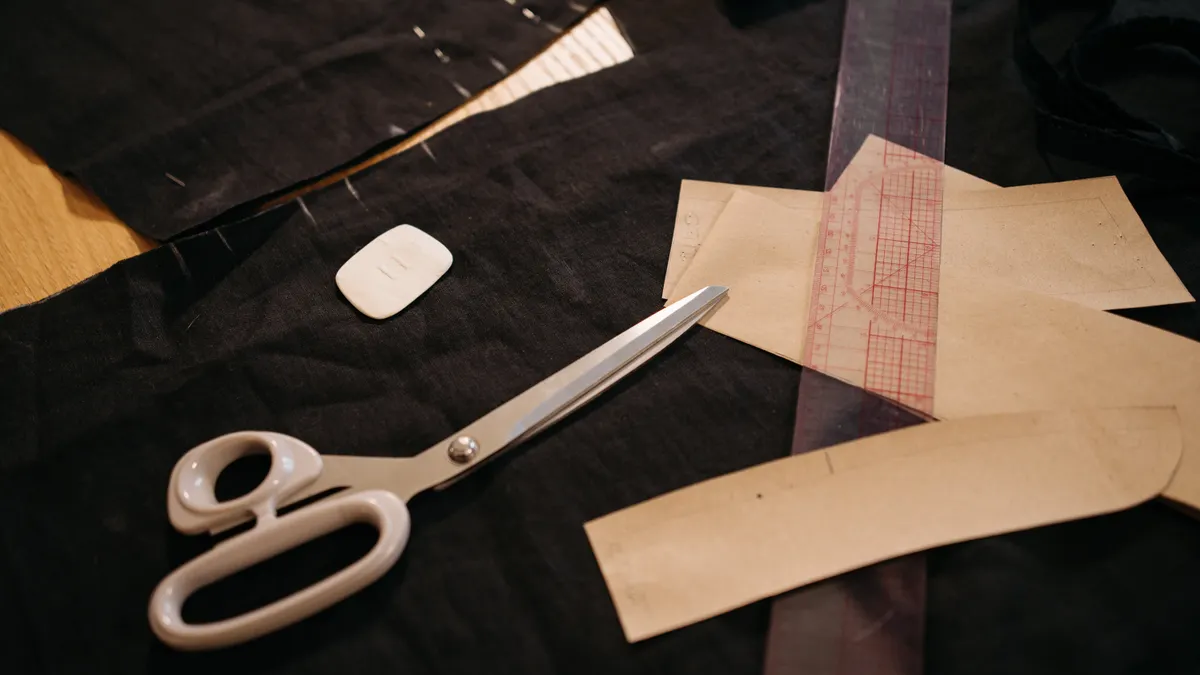
The right marking method is the one the fabric will keep without bleeding, crushing, or vanishing before you sew. Picture this: you’re holding a cut piece with dart legs, notch points, and a pocket dot, and the wrong marking tool can ruin the face of the cloth in one pass.
Some fabrics take tailor’s chalk well. Others need a tracing wheel and paper, or a marking pen that disappears with time or heat. Delicate silk, dark denim, and fuzzy pile each need different treatment, so consult a professional for the exact method if you are unsure, and test the tool on scrap first; the marking tool should be chosen for visibility and removability, not habit. According to Sew Very Easy and Coats, the best choice depends on fiber, surface, and visibility.
| Marking method | Best for | Risk | Notes |
|---|---|---|---|
| Tailor’s chalk | Woven cotton, linen | Rubs off early | Good for quick transfer |
| Chalk pencil | Dark cloth | Soft lines may smear | Test before full use |
| Tracing wheel + paper | Medium-weight fabric | Can leave dents | Best when both layers must match |
| Wash-away pen | Temporary marks | May ghost if left too long | Follow product instructions |
| Thread tracing | Silks, tailoring, heirloom work | Slow and detailed | Best for precise internal marks |
-
Choose the mark that matches the cloth.
- Check: the line shows clearly without damaging the surface.
- Do not: use a hard wheel on a fabric that dents easily.
-
Mark on the wrong side when possible.
- Check: the right side stays clean.
- Do not: mark a visible face unless the method is made for it.
-
Transfer key points first.
- Check: darts, balance marks, pocket dots, and fold lines are all present.
- Do not: rely on memory for placement.
-
Mark both layers the same way.
- Check: paired pieces match at notches and seams.
- Do not: mark one piece lightly and the other heavily.
-
Test the marking tool on a scrap.
- Check: the mark removes or washes out as expected.
- Do not: assume the pen will behave the same on every fiber.
-
Keep marks small and exact.
- Check: the line or dot tells you where to sew, not where to decorate.
- Do not: make huge marks that confuse the seam line.
Accurate marking often saves more time than accurate pinning. A clearly marked dart is faster to sew than a vague one you keep rechecking.
How to handle notches, darts, and other match points
Match points are the small controls that make two flat pieces become one shaped garment. Picture this: you’re comparing two sleeves, two side seams, or a front and a facing, and the notches are the roadmap that keeps the pieces from fighting each other.
Notches show where seams meet. Darts shape the cloth over curves. Balance marks, placement dots, and center lines keep fronts, backs, sleeves, and facings in the right relationship. When these marks are off, even a good seam can look wrong.
The key here is the relationship between marks — notice how a single notch is only useful if the matching piece carries the same notch in the same place. That is what keeps sleeve caps from twisting and waist seams from creeping.
-
Match notches before sewing.
- Check: the same notch count lines up on both pieces.
- Do not: force a seam to fit by stretching one side.
-
Mark dart legs clearly.
- Check: legs taper to the point shown on the pattern.
- Do not: sew past the dart point unless the pattern tells you to.
-
Transfer center fronts and center backs.
- Check: the fold or seam line stays true through construction.
- Do not: guess the center after the piece is already sewn.
-
Keep balance marks visible.
- Check: sleeve heads, side seams, and waist points can be found at a glance.
- Do not: bury all marks in the seam allowance where you cannot see them.
-
Use the same method on paired pieces.
- Check: both sides carry marks in a way you can read during sewing.
- Do not: switch methods halfway through one garment.
-
Press or trim carefully after marking.
- Check: marks remain until the seam is sewn.
- Do not: iron out the only mark you have.
A dart that lands 5 mm off can still sew, but it will not shape the garment the way the pattern intended. That is why the mark, not just the cut, matters.
What makes a layout good versus just usable?
A good layout gives you correct grain, enough seam allowance, and clear markings without wasting control. Picture this: you’re holding two versions of the same cut, one carefully arranged and one rushed, and the difference shows up in the seams before the needle even starts.
A usable layout can get you through the project. A good one makes the sewing easier and the result cleaner. The difference is visible in the edges, the balance marks, and the way the pieces sit on the table.
| Feature | Good result | Barely usable result |
|---|---|---|
| Grainline | Parallel to selvage | Slight drift or twist |
| Edge quality | Smooth and even | Jagged or stepped |
| Notches | Clear and matched | Shallow, unclear, or missing |
| Marking | Precise and readable | Smudged or too heavy |
| Fabric use | Efficient without crowding | Tight, forced, or wasteful |
The detail everyone gets wrong is that efficiency is not the same as compression. A layout that squeezes pieces too close can destroy the room you need for the scissors, the seam allowance, and the fabric’s own behavior.
On the flip side, a layout with generous spacing but sloppy grain can still fail. The goal is not “more room” or “less waste” alone. The goal is a cut that stays true once it leaves the table.
How do you adjust the process for tricky fabrics?
You adjust the process by changing the layout, cutting tool, and marking method to match the fabric’s behavior. Picture this: you’re dealing with velvet, rayon challis, plaid, or knit, and the same routine that works on cotton can fail fast on something slippery or directional.
Fabric behavior decides the method. Pile needs one-way layout. Plaids need line matching. Knits need control without stretch. Slippery fabrics often need weights, a cutting mat, and extra patience because pins can distort the cloth as much as they hold it.
-
For pile or nap, use a one-way layout.
- Check: all pattern pieces point in the same direction.
- Do not: flip one piece upside down to save cloth.
-
For plaid or stripes, match visible lines.
- Check: major seam lines meet the same stripe or check.
- Do not: trust only the paper grainline if the print is off.
-
For knits, avoid stretching during layout.
- Check: edges lie flat without curl pulling the piece longer.
- Do not: hang the fabric over a table edge.
-
For silky cloth, use weights if pins pucker the fabric.
- Check: the piece stays flat and readable.
- Do not: use too many pins that leave holes.
-
For thick fabric, cut with room and slow pressure.
- Check: the layers do not shift under blade pressure.
- Do not: force a short blade through bulky seams.
-
For delicate cloth, mark sparingly.
- Check: marks are light, placed where they will not show.
- Do not: over-mark the face or press hard with a wheel.
That’s the part many beginner guides skip. A fabric is not just “cloth”; it has memory, thickness, stretch, and surface. The process should bend around those traits, not fight them.
What should you check before you sew?
You should check grain, matches, marks, and cut quality before the first seam goes under the machine. Picture this: you’re at the sewing table with all pieces cut, and a two-minute inspection can stop a crooked sleeve or a mismatched side seam before it becomes permanent.
This check is simple, but it saves repairs. Look at every major piece before construction begins. Once the seams are stitched and pressed, some mistakes are hard to hide without unpicking.
-
Confirm grainline direction.
- Check: long edges hang the same way on paired pieces.
- Do not: sew pieces that clearly twist against each other.
-
Check all notches.
- Check: every match point exists on both pieces.
- Do not: assume a missing notch can be guessed later.
-
Review marked darts and folds.
- Check: marks are legible and still visible.
- Do not: start sewing if a mark has rubbed off.
-
Inspect cut edges.
- Check: edges are smooth, not jagged.
- Do not: ignore small cuts that will change seam line length.
-
Compare mirrored pieces.
- Check: right and left pieces are true pairs.
- Do not: sew two pieces that were cut from the same side by mistake.
-
Lay pieces together dry.
- Check: match points and seam lengths line up on the table.
- Do not: wait until the machine to discover a mismatch.
The truth is, most “mystery fit” problems start here, not at the machine. A clean layout and careful marking make sewing feel simple because the hard thinking already happened.
FAQs
How do I know if fabric is on grain?
Fabric is on grain when the pattern’s grainline arrow runs parallel to the selvage and the cloth hangs without twist. A quick check is to fold or pull gently along the grain direction and compare the edges. If the piece wants to skew, the layout is off.
Do I need to mark every notch and dart?
Yes, if the pattern uses them as construction guides. Notches and dart points control fit, especially on sleeves, waist shaping, and facings. If you skip them, you may still sew the garment, but matching the pieces becomes slower and less reliable.
Is chalk better than a tracing wheel?
Chalk is better for quick, temporary marks on many wovens, while a tracing wheel and paper are better when you need both layers to carry the same line. Chalk is easier to remove, but it can rub off early. A tracing wheel gives more exact transfer, but it can dent delicate fabric.
Can I cut fabric without pinning the pattern?
Yes, if you use pattern weights and the fabric stays flat. Weights are often easier on slippery or delicate cloth than pins. The risk is movement during cutting, so the pattern must be fully stable before the first blade stroke.
Why does my garment twist after sewing?
Twist often starts with off-grain layout, uneven cutting, or mismatched fabric layers. A piece that was cut slightly crooked can pull once seams are sewn and pressed. Checking grain, matching notches, and cutting cleanly usually helps prevent the problem before it starts.
Drafted with AI; not yet reviewed by a person.