Last updated: November 19, 2026
Key Takeaways
- Trace one sewing pattern size onto tracing paper and keep the original tissue intact.
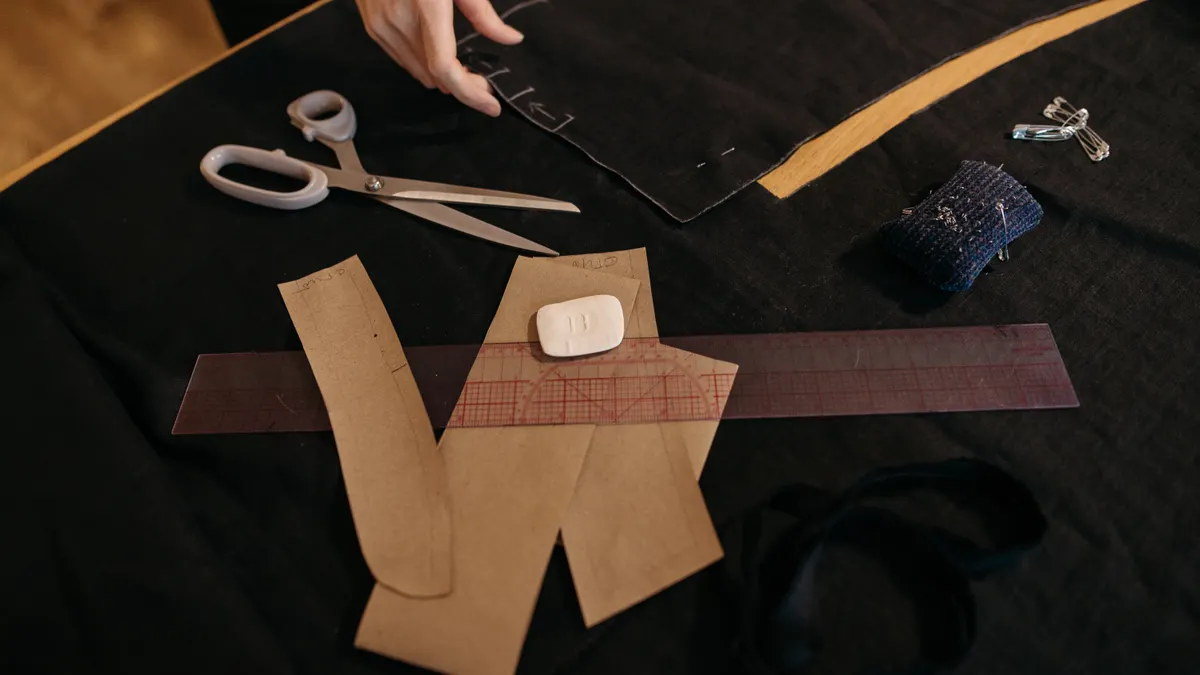
- You need tracing paper, pattern weights, a marker or pencil, a ruler, and something to steady the sheets.
- Follow one size line from start to finish, even where the printed lines cross.
- Copy every notch, dart point, grainline, placement line, fold line, and label before storing the original.
Tracing a multi-size sewing pattern is the clean way to keep the original tissue intact while copying the size line you actually need. How to Trace a Multi-Size Sewing Pattern Correctly is the process this article covers, and it starts with tracing paper, pattern weights, and a sharp marker to copy one size without cutting into the original sheet. The steps below show how to stay on the correct size line, keep markings, and leave yourself a grading reference.
Trace a multi-size sewing pattern without damaging the original
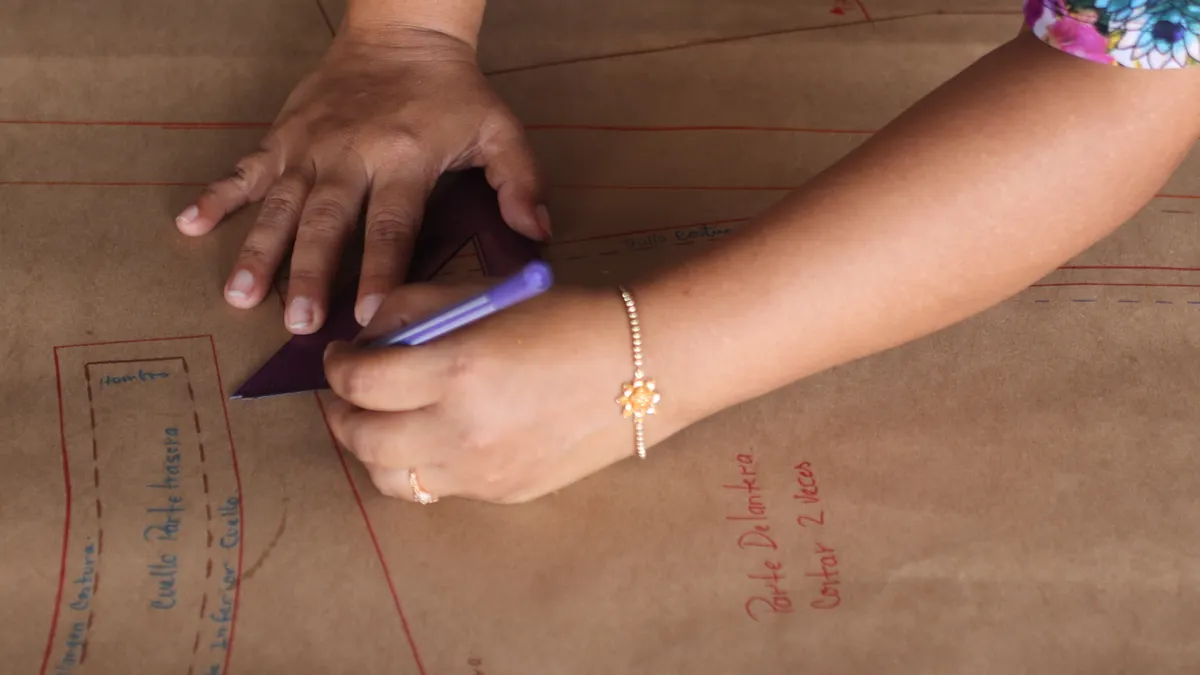
Tracing a multi-size sewing pattern means copying only the size you need onto tracing paper while the original pattern tissue stays whole. That matters because the next size line, seam line, or grainline may still be useful later, and a torn sheet is hard to recover.
Picture this: you’ve unfolded a crowded pattern sheet, and three sizes run through the same armhole, hem, and neckline. You need one clean copy, not a hacked-up original, so the job is to separate the sheet from the size you want. If you rush and cut instead of trace, you lose the other size lines fast.
- Pattern weights hold the original sheet flat so the size lines don’t shift while you trace.
- Tracing paper covers the section you want, giving you a fresh layer to copy onto.
- A marker or pencil follows the chosen size line exactly, including notches, darts, and placement marks.
- A ruler connects long straight sections, hems, and seam allowances where the printed line is faint or broken.
- The original pattern stays untouched on the table as your reference for the next section.
A good trace is readable on its own. If you have to keep lifting the paper to guess where the line went, the setup is wrong, not the pattern.
What tools do I need to trace a pattern?
You only need a few basics: tracing paper, pattern weights, a marker or pencil, a ruler, and something to hold the sheets steady. A desk lamp helps on thin tissue, but the core kit is simple and does not need special gear.
Picture this: you’re starting at a dining table, not a studio bench, and the pattern sheet keeps curling back into a tube. The right tools stop that fight before it starts. A ruler keeps your copied line true, the weights stop drift, and the tracing paper lets you work without sacrificing the original sheet.
Use this small kit:
- Tracing paper or Swedish tracing paper if you want a stiffer copy that can double as a fitting shell.
- Clear tracing film if you want to see the print through the sheet more easily.
- Pattern weights instead of pins, which can distort tissue and create tiny tears.
- A fine marker, pencil, or chalk pencil so your copied line stays narrow.
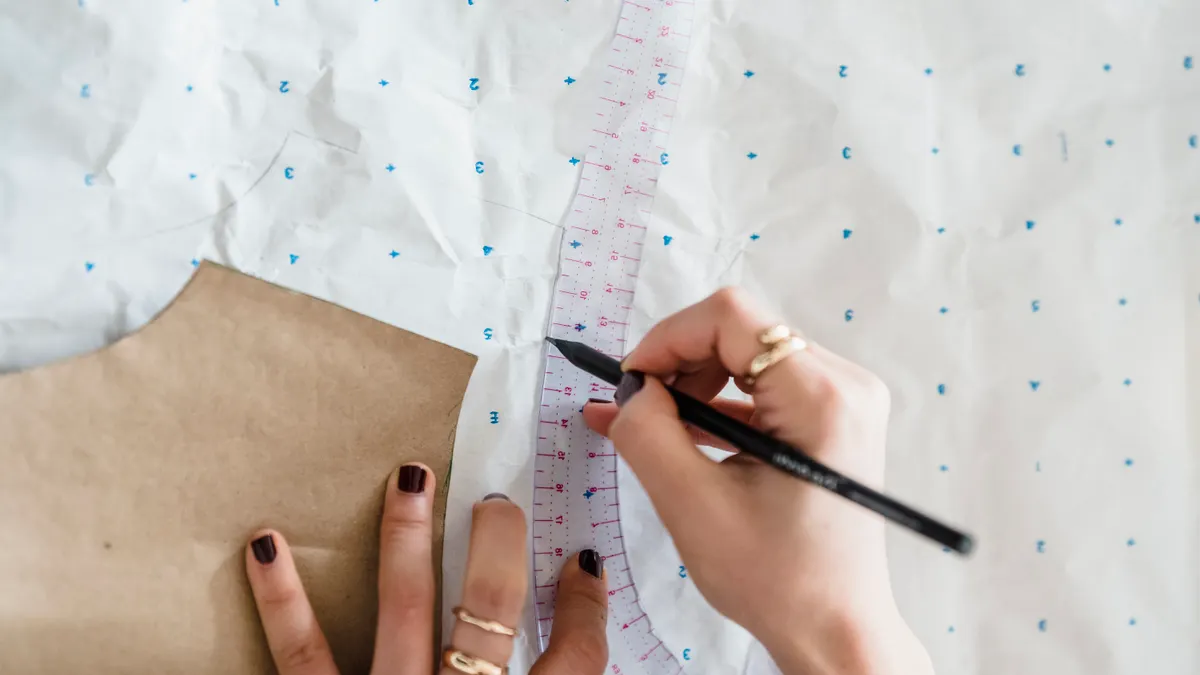
- A long ruler and a curved ruler for smooth armholes, necklines, and hip curves.
The truth is, you do not need every tool for every pattern. A simple skirt piece may need only paper, weights, and a ruler. A fitted bodice with a lot of points and curves benefits from curved rulers and a sharper marking tool, because the copy has to stay accurate at every turn.
How do I trace only one size from a pattern?
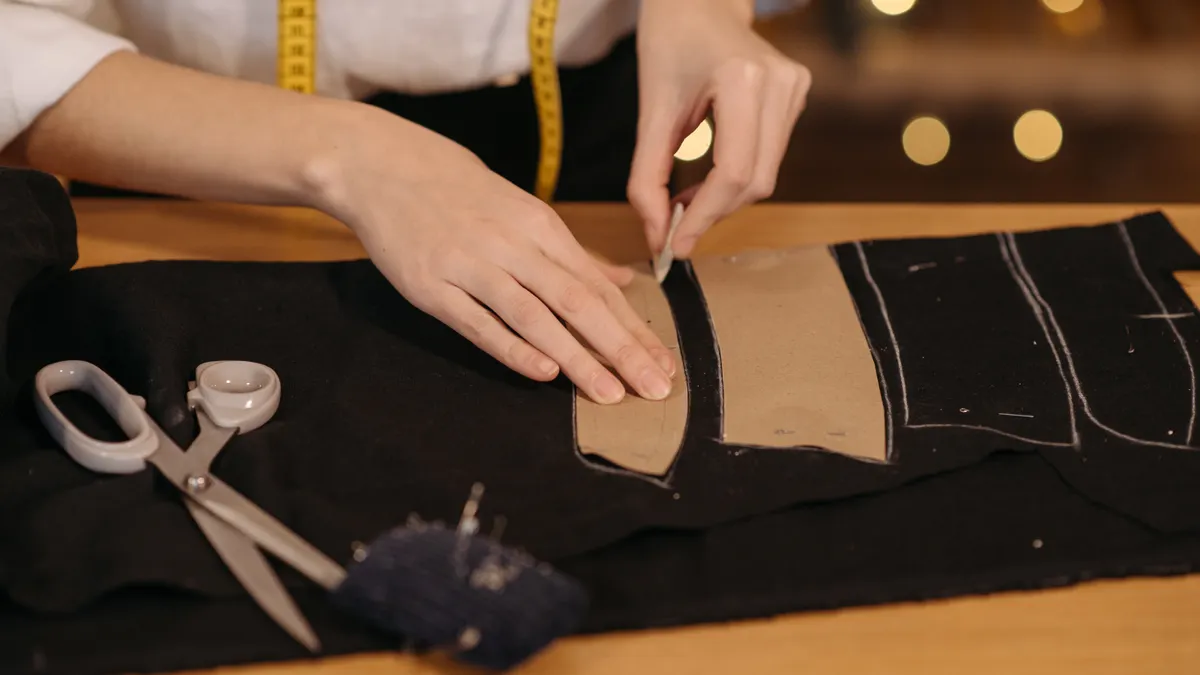
You trace only one size by following that size’s line from start to finish and ignoring the others, even when they cross. That sounds simple, but the printed layout often stacks 3, 5, or more sizes in one space, so you need a method that keeps you from jumping between lines.
Picture this: you’ve found the center front, shoulder, and side seam, and now the armhole splits into a knot of lines. This is where tracing gets sloppy if you try to “kind of follow” the right one. Don’t do that. A clean trace depends on choosing one size line and staying on it until the section ends.
- Pattern weights secure the sheet so the printed lines stay fixed.
- Tracing paper goes over the area you want, large enough to cover the full piece.
- A marker starts at one obvious point, such as a notch, dart point, or center line.
- A ruler carries you through straight edges and long runs.
- Your eyes keep tracking the same size line at each crossing, even when a neighboring size is closer.
If the line disappears under another size, stop and mark the point you know. Then continue from the next clear segment. That habit keeps the copy from drifting one size smaller or larger by accident.
One practical rule helps: trace in short stretches, not in one long rush. Copy a shoulder seam, then check the notches, then the neckline, then the side seam. The piece will stay more accurate if you break it into visible parts.
How do I keep pattern markings while tracing?
You keep pattern markings by copying every notch, dart point, grainline, placement line, fold line, and label before you put the original away. Those tiny marks matter as much as the outline because they tell you how the piece fits and assembles.
Picture this: you finish the edge line, lift the tracing paper, and realize the notch is missing. The outline is right, but the piece still fails at sewing time because the marks that match one piece to another never made it onto the copy. That is the most common avoidable mistake.
Use this short check on every section:
- Copy notches exactly where they fall, not “close enough.”
- Mark dart points and dart legs so shaping stays true.
- Transfer the grainline in a straight line with arrowheads if the original shows them.
- Copy placement lines, fold lines, and button marks.
- Write the pattern name, piece number, and size on the tracing paper before you move on.
A ruler helps with grainlines and long placement lines because those marks need to stay straight. A pencil is often better than a thick marker for tiny symbols, since heavy ink can crowd a notch or point. If the original has more than one symbol in the same area, copy each one separately instead of drawing a single “close enough” mark.
The best part is that you can still keep the original sheet intact. The copy carries the markings you need now, and the tissue stays readable for the next project or size change.
How to preserve the original pattern sheet for later
You preserve the original pattern sheet by never cutting it apart, never pinning through the print unless you have to, and never trimming away size lines you may need later. The sheet becomes your grading reference, which is more useful than a one-size-only cut pattern.
Picture this: you’ve traced one bodice front, and the next project might need a different bust or waist size. If the original is still whole, you can compare lines, re-trace a new size, or adjust with confidence. If you cut it up, you are stuck rebuilding missing information from memory.
A few habits keep the master sheet usable:
- Store the original pattern tissue flat, folded along existing lines, or in a large envelope.
- Avoid writing on the original unless the pattern instructions call for it.
- Use pattern weights instead of pins when possible.
- Keep the traced copy and the original together until the whole piece is finished.
- Date or label your tracing paper so you know which version you copied.
If you plan to grade between sizes later, a clean original is gold. You can compare the high points of the size chart, line up the grading reference marks, and trace again without guessing where the original edge used to be.
For broader help with layout, size lines, and preparation, the hub on reading sewing patterns is the better next stop.
What goes wrong when you trace a multi-size pattern?
The biggest mistakes are following the wrong line, losing markings, and letting the paper move while you trace. Those errors cost time later because they show up as mismatched seams, missing notches, or a piece that no longer fits together.
Picture this: the neckline looks fine, but the side seam lands off by several millimeters because the traced line drifted through a crossing. That tiny shift can make one piece longer than the one it must join. On a small garment piece, even a short mistake can snowball.
Watch for these common traps:
- Tracing through crossings instead of stopping and checking which size line continues.
- Using thick ink that hides notches and dart points.
- Skipping the grainline because it seems obvious at the time.
- Cutting the original sheet so later adjustments become harder.
- Tracing over a folded or curled pattern tissue and copying the bend, not the true line.
The fix is usually boring, which is good. Flatten the paper, work in sections, and mark the copy as you go. If the pattern has many overlapping sizes, trace the most detailed areas first—the armhole, neckline, and crotch curve—where line drift causes the most trouble.
A careful trace takes longer than a fast cut. That trade-off is the whole point: you spend a few extra minutes now to keep the pattern usable later.
How do I check the trace before I cut fabric?
You check the trace by comparing the copy to the original at every notch, curve, and straight edge before the paper leaves the table. That final check catches line drift and missing marks before fabric enters the picture.
Picture this: you hold the traced piece against the original light source and the shape no longer matches at the hip curve. That is your cue to fix the copy, not the cloth. A paper correction is cheap; a bad cut in fabric is not.
Use this last pass:
- Overlay the tracing on the original and compare the full outline.
- Check each notch against the source sheet.
- Confirm the grainline is straight and fully marked.
- Read the labels so the piece name and size are clear.
- Measure paired edges that should match, such as side seams or inseams.
If something looks off, correct it on paper first. A small mismatch at the tracing stage is easy to erase or redraw. Once the fabric is cut, the correction gets harder and more visible.
FAQ
How do I trace only one size from a pattern?
Trace the size line you want and ignore the others, one section at a time. Start with an obvious point like a notch or seam corner, then keep following that same size through each crossing. If the line gets crowded, stop and find the next clear section before you continue.
What tools do I need to trace a pattern?
You need tracing paper, pattern weights, a fine marker or pencil, and a ruler. A curved ruler helps on armholes and necklines, and clear tracing film can make printed lines easier to see. You do not need a full sewing room setup to do a clean tracing job.
How do I keep pattern markings while tracing?
Copy every notch, dart point, grainline, placement line, fold line, and label onto the tracing paper before you move on. Use a narrow pencil or marker so the symbols stay readable. If the original has several marks close together, transfer them one by one instead of trying to simplify them.
Drafted with AI; not yet reviewed by a person.