Last updated: November 18, 2026
Key Takeaways
- Gather a flexible tape, mirror, pen, and notes before measuring.
- Wrap the tape at each landmark, level and snug, without squeezing.
- Bust, waist, and hips drive fit decisions for most sewing patterns.
- The tape should stay put and still allow one finger underneath.
The body measurements that matter for how to measure yourself for sewing patterns are bust, waist, hips, and a few extras like high bust and inseam. If those numbers are wrong, every later choice gets shaky, so the job here is to measure the body cleanly before you look at any pattern size chart.
What you need before you start
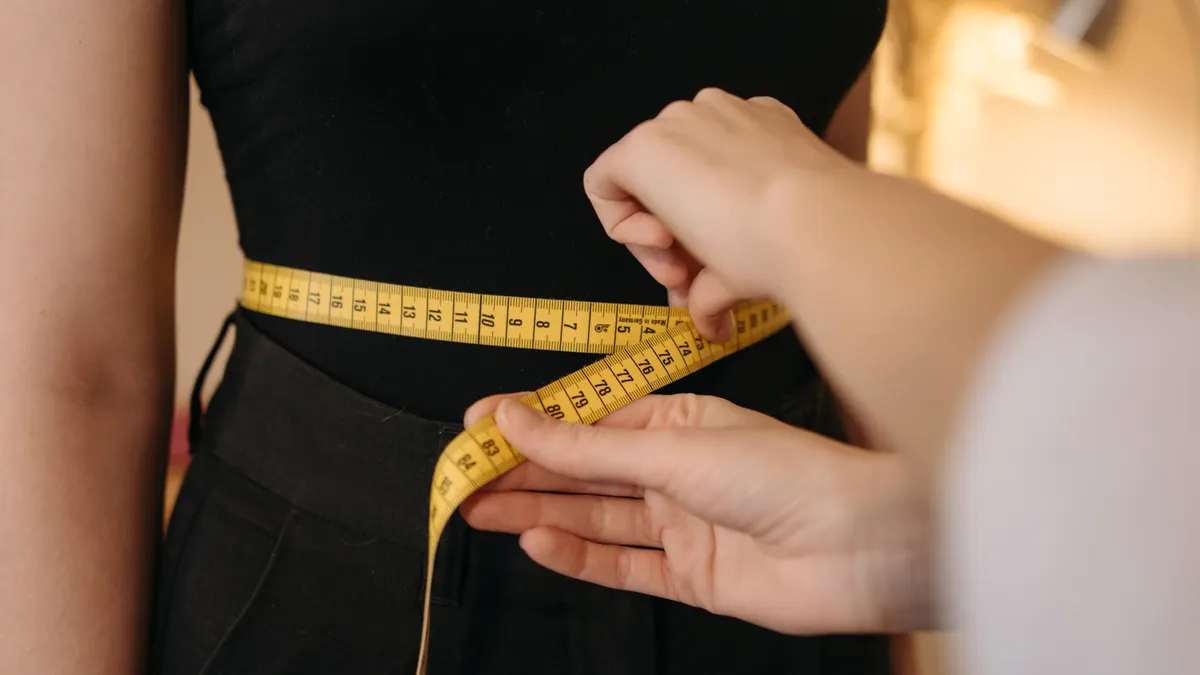
You need a flexible tape measure, a full-length mirror, a pen, and a note on your phone or paper. A second person helps, but it is not required if you can keep the tape level.
Set aside 10 to 15 minutes and wear close-fitting clothes, or just underwear if you are comfortable doing that. The point is to get the tape against your body, not over bulky fabric. A rigid metal tape, the kind used in carpentry, will not work because it will not curve around bust, waist, or hips.
Stand naturally. Do not suck in your stomach, puff up your chest, or bend to look slimmer. Sewing patterns depend on the measurements your body actually gives, not the numbers you want on the page.
How do I measure myself for sewing patterns?
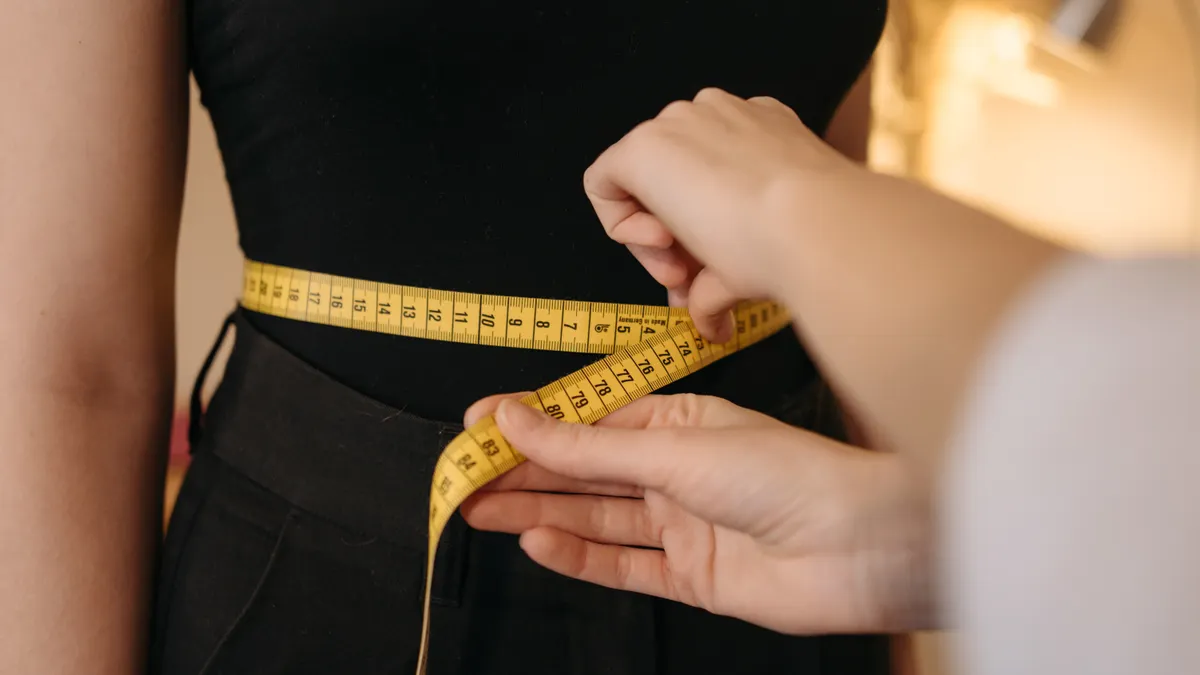
You measure yourself by wrapping a flexible tape around the body at each landmark, keeping it level and snug without squeezing. The result should be a true body measurement, not a loose estimate and not a compressed number from pulling the tape too hard.
-
Start with the tape and mirror. Hold the 0 end of the flexible tape at the starting point and check in the mirror that the tape stays parallel to the floor. When this works, the tape looks straight from front to back instead of dipping at one side.
-
Measure bust at the fullest part. Wrap the tape around the fullest part of the bust, usually across the nipples and around the back. The tape should lie flat without twisting. You should see a number that does not jump up or down when you breathe normally.
-
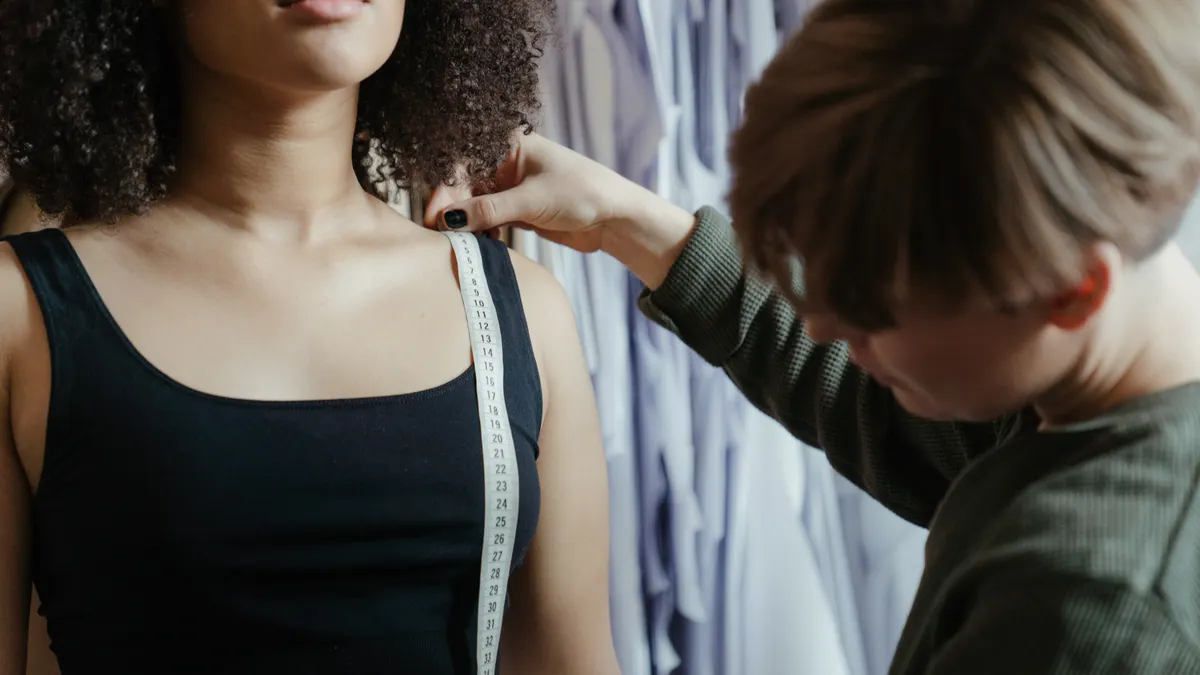
Measure high bust above the fuller bust line. Bring the tape around the chest above the bust, under the arms and across the upper chest. This number is smaller than the full bust for many people and helps with fit judgment later, especially for fitted bodices.
-
Measure waist at the natural waistline. Find the narrowest part of your torso, usually a little above the navel and below the rib cage. Bend to one side if you need to find the crease; that crease points to the waist. The tape should sit at that indentation, not where your waistband usually lands.
-
Measure hips at the fullest point. Wrap the tape around the widest part of your hips and seat, usually 7 to 9 inches below the waist for many bodies, though the exact spot can vary. Check that the tape does not angle up in front or back. A correct measurement gives one clean horizontal line around the body.
-
Measure inseam if the pattern uses it. Measure from the top of the inner thigh to the ankle bone, or to the point the pattern calls for. Keep the tape along the inside leg. If the tape swings outward, the result will be too long.
-
Write each number down immediately. Record bust, high bust, waist, hips, and inseam in the same unit, either inches or centimeters. You should end with a list you can compare later without relying on memory.
That is the core process. If one number feels odd, measure it a second time before moving on. A difference of even 1 inch can matter on a close-fitting garment.
Body measurements that matter most
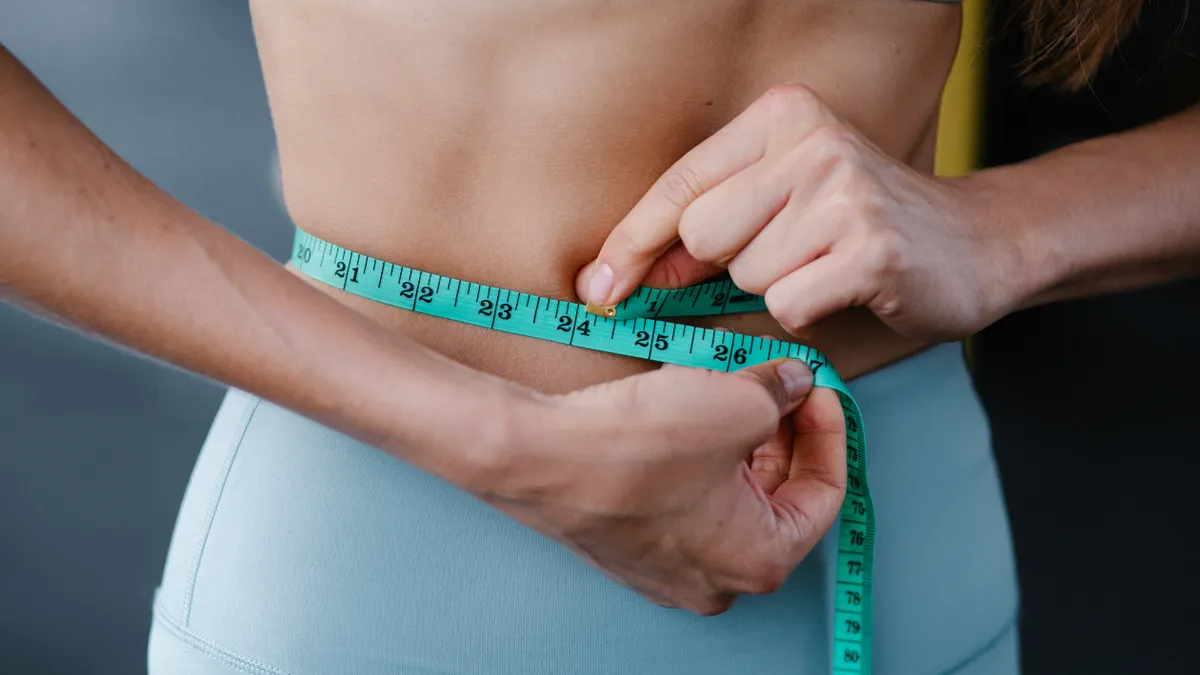
For most sewing patterns, bust, waist, and hips are the measurements that drive fit decisions. A pattern may also ask for high bust, inseam, shoulder width, or rise, but those three are the starting set on most commercial size charts.
The bust measurement should be taken around the fullest point of the chest, not around the bra band line. The waist should be the natural waist, even if your pants sit lower. The hips should capture the widest part of the body, including seat if that is where the garment has to fit. A measuring tape at the wrong height can throw the whole set off.
High bust is worth taking even when the pattern does not list it as a required field. It helps identify whether the upper torso is narrower than the full bust measurement suggests. Many sewists use it as a check against gaping shoulders, tight armscyes, or a bodice that rides up. It is not a replacement for bust; it is a companion measurement.
Inseam matters most for trousers, leggings, jumpsuits, and anything that has to hang from the crotch to the ankle. Measure it from the crotch point down the inside of the leg to the hem point the pattern calls for. If the pattern is cropped, the inseam number should match that style rather than your longest trouser length.
A generic article often skips the difference between high bust and full bust, then the reader ends up puzzled when the top fits across the shoulders but not the chest. That gap starts here, at measurement time, not in the sewing room.
How tight should the tape be?
The tape should be snug enough to stay in place and loose enough to slide a finger under it. That balance gives a usable body measurement without compressing soft tissue.
If the tape digs in, the number will be too small. If it hangs away from the body, the number will be too large. Either mistake can change the fit of a garment by more than the ease built into the pattern, especially around bust and hips. The goal is not a “tight” measurement or a “relaxed” one; it is a true body line.
Use the mirror to check tension as well as level. The tape should not tilt downward at the back or ride up in front. A tilted tape can steal or add an inch, especially on hips. When you are measuring yourself alone, this is one of the easiest errors to make and one of the hardest to spot without looking from the side.
Do not pull the tape into the body to make the number smaller. That creates false confidence and false fit. Sewing patterns are drafted to work with actual body measurements plus ease, not with numbers squeezed down by hand.
If you are measuring over thin clothing, the tape may need a touch more space than skin measurement does. Keep that difference consistent across all body points. A bust measured over a shirt and hips measured under one will not compare cleanly.
Measuring yourself alone without crooked numbers
You can measure yourself alone if you keep the tape level and mark each point before you record it. The sequence matters more than speed.
Start with the waist, because it is easiest to locate from your own body. Tie a narrow cord or elastic around the natural waist, then let it settle where it sits comfortably. That gives you a visible line to work from while you measure bust and hips. The line is especially useful when the waist is hard to spot under soft clothing.
For bust, stand straight and let your arms rest naturally for a moment, then lower them enough to let the tape pass around the body. If you raise your arms too high, your chest changes shape and the number changes with it. The same issue appears with hips if you twist to see the mirror. Face forward, check the side mirror if you have one, and keep the tape horizontal.
If you cannot see the back clearly, ask for help with the most difficult measurement first: often bust or hips. A second person can hold one end steady while you adjust the rest. That is usually cleaner than trying to pin the whole process on a bathroom mirror and guessing at the back.
For inseam, stand with feet about 6 inches apart and measure one leg at a time. A soft book can help mark the crotch point if you are working alone, but use care to keep the tape from shifting. The result should be a straight line from crotch to ankle, not a curve around the leg.
Common measurement mistakes and what they cost
The most common mistake is measuring the wrong place on the body. If bust is taken too high, the number shrinks; if hips are taken too low, the number can expand. That shows up later as a top that pulls or a skirt that refuses to close. The fix is to find the landmark first, then place the tape.
Another frequent error is using the wrong tape. A rigid tape cannot follow the curve of the body and will give nonsense numbers on bust and hips. Use a flexible sewing tape measure, the kind sold in sewing shops and craft stores.
A third mistake is recording numbers from memory instead of writing them down right away. It is easy to forget whether the waist was 29 1/2 or 30 1/2 once you move on to the next measurement. Write the number at the moment you see it, even if you plan to measure again.
People also sometimes measure over thick clothes because they are already dressed. That adds bulk, especially at hips and bust, and it makes the result less useful for most patterns. If the garment is meant to be worn over thick layers, measure in the same kind of layers; otherwise, keep the layers thin and consistent.
One more trap is measuring while standing in a slouched pose. Slouching shortens the torso and can change both bust and waist. Stand the way you normally stand in daily life, not like a photo pose.
What a clean set of measurements looks like
A clean measurement set is one where the numbers make sense together and repeat within a small range when you check them twice. Bust, waist, hips, high bust, and inseam should all be written in the same unit, with no missing entries and no guessing.
A simple note page might look like this:
- High bust: 34 in
- Bust: 37 in
- Waist: 30 in
- Hips: 40 in
- Inseam: 31 in
That layout is useful because it separates the core body measurements from the garment itself. It also keeps the numbers easy to compare later when you read a pattern chart. If a number looks strange, remeasure that one point instead of doing the whole list from scratch.
This is also the place to note anything unusual about your body shape that affects fit, such as a high bust that is close to the full bust, or hips that are wider in the seat than in the side view. Those notes do not interpret the pattern for you; they simply remind you what your body measurement set says.
When the list is complete, save it somewhere you will actually find again. A phone note, paper card in your sewing basket, or a label inside a pattern folder all work. The best measurement set is the one you can reach before the scissors come out.
For the next step in the process, the Reading Sewing Patterns hub can take you from measurements to the rest of the pattern page without making you guess at the symbols or markings.
Why measurements for sewing patterns are not one-size-fits-all
A measurement set is personal, which means two people can have the same bust number and very different fitting needs. That is why the numbers matter more than clothing size labels. A size label in ready-to-wear does not tell you where the garment will need room, but body measurements do.
This is also why the same pattern can fit one person well at bust and fail at hips, or work for trousers and miss the seat. The tape measure gives a map of your body, not a verdict. If one area is clearly larger or smaller than the rest, the numbers will show it before fabric does.
The limitation is that measurements alone do not solve fit. They only tell you where your body is. A pattern may still need adjustments for posture, shoulder slope, bust depth, or a long torso, but those are later steps. This page stays focused on getting the measurement set right first.
That focus makes it wrong for someone who wants a sizing shortcut. It is not a guide to picking a pattern size or altering a pattern draft. It is the plain, practical step that has to happen before either of those jobs can be done with confidence.
How to measure yourself for sewing patterns: what measurements do I need?
You usually need bust, waist, and hips first. Many patterns also benefit from high bust, and trousers or fitted pants often need inseam. Some sewing patterns ask for extra points such as shoulder width or rise, but those four or five measurements cover the most common starting place.
How tight should a measuring tape be?
The tape should be snug, not squeezed. It should rest against the body without denting skin, and a finger should slide under it with a little room. If the tape is pulled tight, the number comes out too small and the garment can end up unexpectedly snug.
Do I measure over clothes or under clothes?
Measure under clothes or over very thin, close-fitting layers whenever possible. Heavy fabric adds bulk at bust, waist, and hips and can distort the result. If you must measure over clothing, use the same layer for every measurement so the numbers stay consistent.
Drafted with AI; not yet reviewed by a person.