Last updated: November 19, 2026
Quick answer: use one container, one label, and one next action for each project; that simple setup can keep a sewing project moving instead of stalled. If you want How to Organize Sewing Projects So They Actually Get Finished, start by giving each active project one home and one tracker so the pieces, pattern, and notes stay together.
Your sewing projects keep stalling because the pieces, pattern, and notes spread across too many places. A sewing project organization system fixes that by giving every project one home, one label, and one next step. The steps below show how to set up How to Organize Sewing Projects So They Actually Get Finished so multiple projects can move without turning into a pile.
Start with one home for each project
Picture this: you’ve got three half-sewn garments, two cuts of fabric, and a pattern envelope tucked under a chair. You don’t need more motivation first. You need one project home for each job so nothing gets split across rooms, baskets, and drawers.
Use a project bag, a storage bin, or a lidded box for every active project. The point is not pretty storage. The point is that each project has one place for the pattern envelope, cut pieces, notions, and notes.
- Pick one container per project, sized for the largest piece.
- Put the pattern envelope in front, so it is the first thing you see.
- Add the cut pieces, fused pieces, zipper, elastic, buttons, and any special notions.
- Tuck one note card inside with the next step and the date you stopped.
A small zip bag works for a blouse. A deeper bin makes more sense for a coat, quilt, or lined bag. A good choice is the one that keeps the whole project together without splitting parts across more than one place. Not half of it.
Key Takeaways
- One project, one container.
- Keep the pattern envelope visible.
- Put the next step in writing.
- Use the same storage shape every time.
How should I track multiple sewing projects?
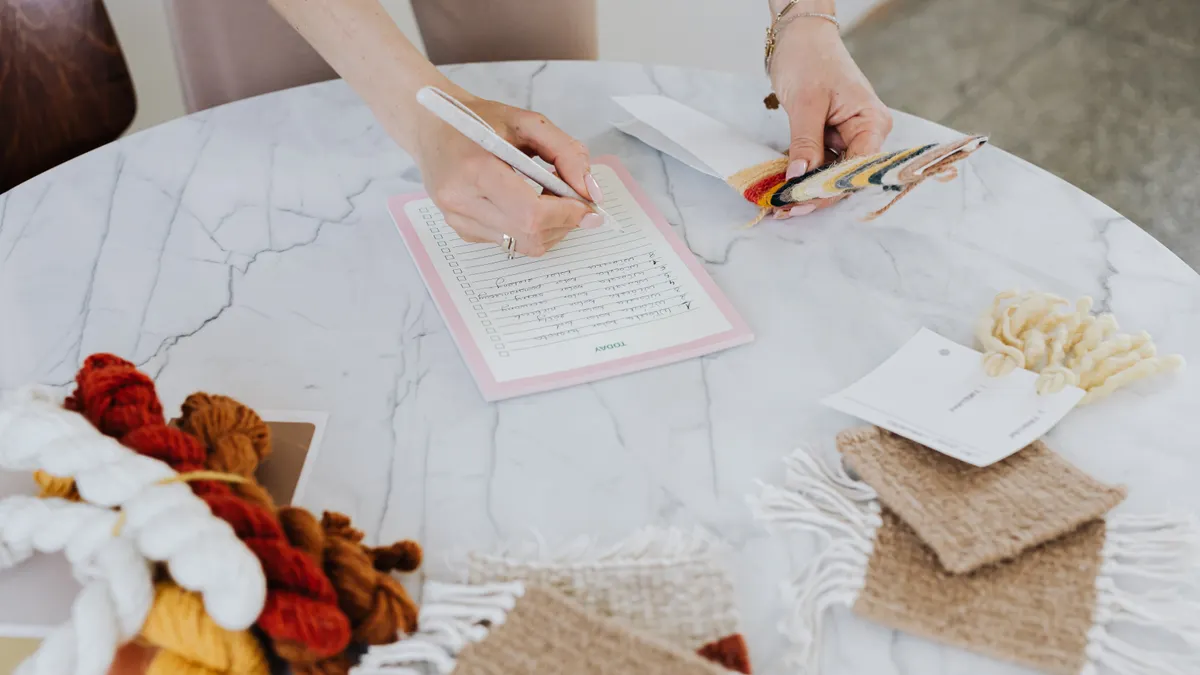
Use one simple tracker that shows status, next action, and where the project lives. A notebook, index card box, spreadsheet, or wall board all work if you keep the same fields for every project.
Picture this: you finish dinner, want to sew for 20 minutes, and can’t remember which project is waiting for topstitching. A good tracker ends that stall. It should tell you what each project is, what stage it’s in, and what to do next.
A paper tracker is often enough. Many sewists use a 3×5 card per project, or one line in a spreadsheet, because it keeps the system visible without asking you to open five apps.
| Field | What to write |
|---|---|
| Project name | “Linen shirt,” “quilt top,” “zip pouch” |
| Stage | Cut, basted, sewing, hemming, finished |
| Next action | “Attach collar,” “insert zipper,” “press seams” |
| Location | Shelf, bin, project bag, sewing table |
| Date paused | The last day you worked on it |
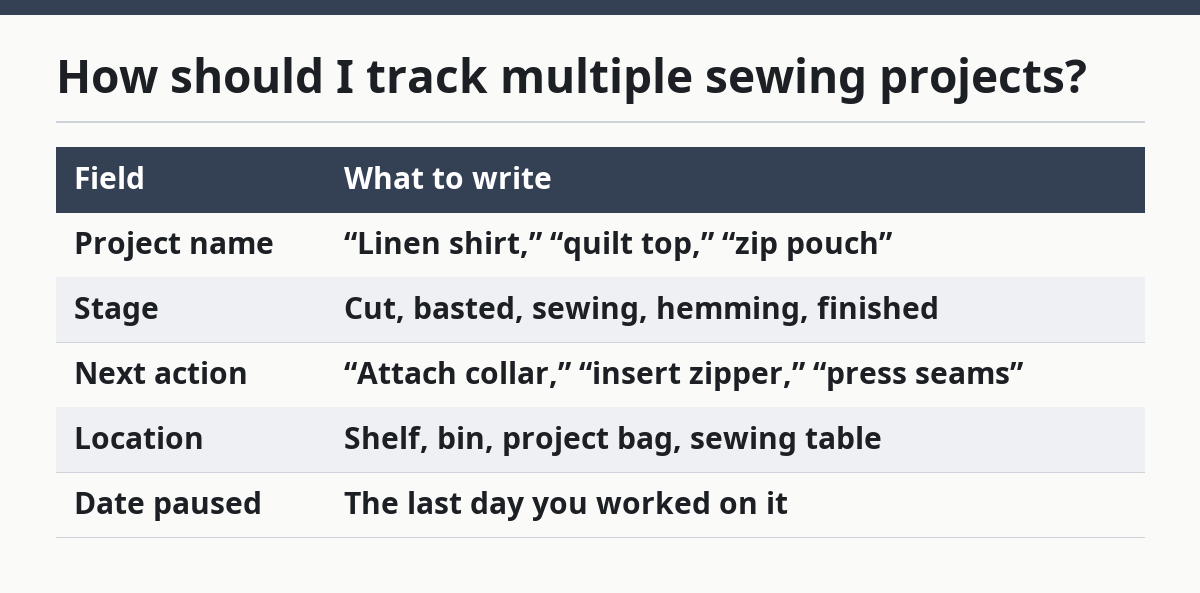
Keep the tracker near your machine or pinned above your cutting mat. If you use a wall board, 1 card per project is enough. If you use a notebook, give each project 1 page and keep the same order each time. The most useful system is the one you’ll update in under 2 minutes.
Label cut pieces so nothing goes missing
Label cut pieces the day you cut them, before they drift into a stack of similar scraps. This is the fastest way to stop the classic mistake where sleeve pieces, facings, and linings get mixed together.
Picture this: you cut three sizes of the same pattern piece, then walk away for a week. Without labels, you’re guessing later. With labels, you can pick up exactly where you stopped. That is the difference between a project that restarts and one that sits.
Use masking tape, pattern stickers, or a paper tag tied to the bundle. Mark the pattern name, size, cut count, and grainline if that matters for the piece. For small parts, keep them clipped to the main piece in the same project bag or inside a flat envelope.
- Sleeve, left and right
- Facing
- Lining
- Collar stand
- Waistband
- Pocket bag
If you batch-cut several projects in one afternoon, label each stack before you move to the next one. A plain white label is fine. You do not need a fancy system. You do need a readable one.
The flip side is obvious: unlabeled cut pieces slow everything down. You spend the next session sorting fabric instead of sewing. That is exactly how a “nearly finished” project turns into a drawer of mystery parts.
Sort fabric before it becomes a pile
Sort fabric by project and by type, not by wishful thinking. One shelf for active project fabric, one bin for garment fabric, and one bin for scraps is enough to cut the confusion.
Picture this: you pull out a yardage cut for a dress, then find three other fabrics that all look “close enough.” That’s where organization slips. Fabric sorting works best when the project fabric is separated from the stash, and the stash is separated from the cut pieces.
Use clear storage bin labels such as “active,” “planned,” and “scraps.” Keep cut project fabric with the project itself, not back in the general fabric pile. If a project is waiting on interfacing or a lining, keep those pieces in the same bin so the whole job moves together.
Here’s the catch: fabric chaos often looks like a space problem, but it is really a category problem. If everything lives in one box, every clean-up session turns into sorting. That eats time and makes you avoid the room.
A simple structure helps:
- Active project fabric goes with the project.
- Planned fabric stays in stash by type or color.
- Scraps go in one marked bin.
- Tiny offcuts get one catchall bag until you decide if they are usable.
If you sew quilts, bags, and garments in the same space, separate by use as well as color. A quilt bundle behaves differently from a blouse cut. Treating them the same is how pieces get buried, and sewing educators commonly recommend keeping work-in-progress parts grouped by project so nothing disappears. For practical guidance on workspace and process, see the Sewing and Craft Alliance, Threads Magazine, and The Spruce Crafts.
Keep notions in a project bag, not in a drawer
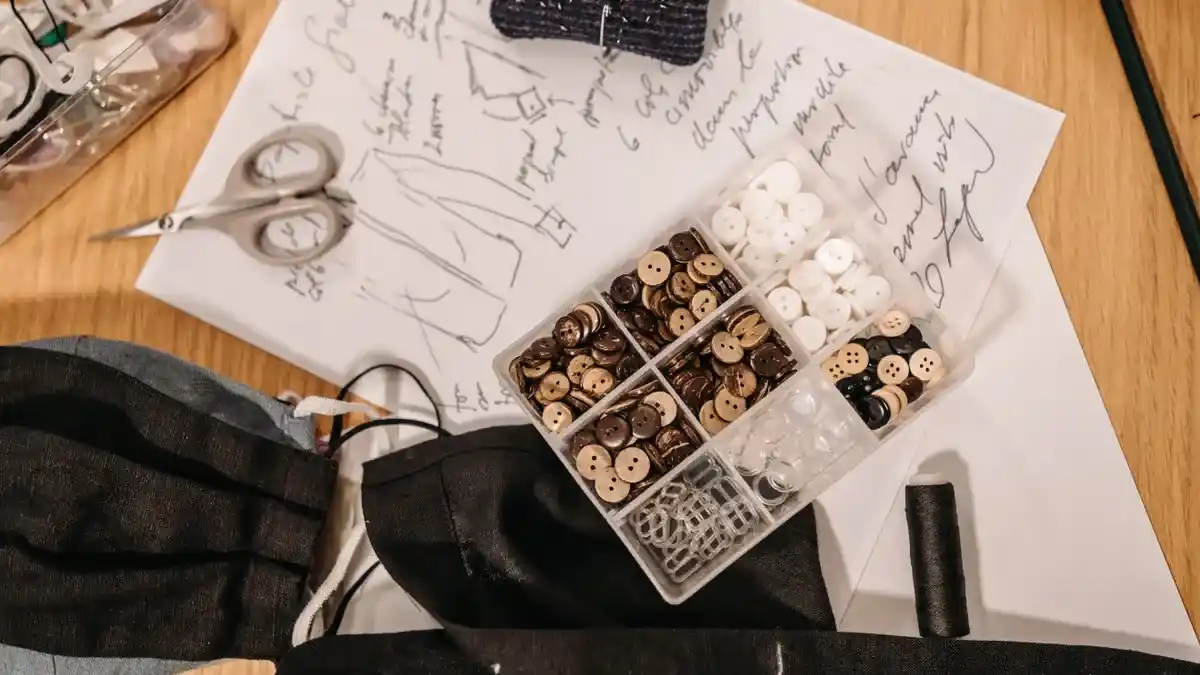
Keep the project’s notions with the project, because a zipper in the wrong drawer is still a missing zipper. A dedicated notion organizer inside the project bag is usually enough for pins, elastic, buttons, thread, bobbins, and specialty feet.
Picture this: you return to a skirt project and the elastic is somewhere in the notion drawer, the buttons are in a jar, and the thread is on the machine. That means a five-minute sew turned into a scavenger hunt. Not this time.
Use small zip pouches, pill cases, magnetic tins, or divided boxes inside the main project container. One pocket for thread and bobbins. One for closures. One for tools like hand needles, seam ripper, and clips. If a project needs a special needle or presser foot, keep that note in the bag too.
A better rule is simple: if the project needs it later, keep it with the project now. That includes interfacing if you have not fused it yet, spare buttons, and leftover trim. It also includes a spare label if you are making garments that need one.
Not every supply belongs in a general notions drawer. That drawer is for shared tools. The project notion organizer is for the pieces that would stop this one job. Mixing them up is a common reason finished-looking projects still don’t move.
Batch the work so projects keep moving
Batching sewing work keeps multiple projects from freezing at the same stage. Do the same kind of job across projects in one session, and each project gets a real step forward instead of a little bit of attention.
Picture this: you sit down for an hour and sew buttonholes on one skirt, hem a shirt, and baste a bag lining. That can feel productive, but it often scatters your setup. Batching works better when the task is the same across projects and the tools stay put.
Use batches for tasks like cutting, pressing, labeling, topstitching, or hand-finishing. If your machine is already threaded for a straight stitch, sew all straight seams you can before changing settings. If the iron is hot, press every ready piece before you put it away.
A useful rhythm looks like this:
- Choose 1 batch task for the day.
- Pull only the projects that need that task.
- Complete the task on all of them.
- Return each project to its bag with the next step noted.
Batching is not the same as jumping around. Jumping around leaves half-done seams everywhere. Batching finishes one category of work and makes the next session easier to start. That matters when you have 3 or more active projects and limited table space.
The honest trade-off: batching helps a lot, but only if your tracker is current. If the next step is fuzzy, batching just hides the confusion for one more day.
What usually stops sewing projects from getting finished?
Sewing projects usually stall because they lose their next step, their parts, or their place in the room. The fix is to make those three things impossible to miss.
Picture this: a project is “almost done,” but you can’t remember whether the hem is pinned, the facing is fused, or the zipper still needs to go in. That kind of pause is rarely about skill. It’s about missing information.
The most common mistakes are easy to name:
- Storing cut pieces loose instead of in one bag.
- Leaving labels off small parts.
- Mixing active project fabric with stash fabric.
- Using a tracker that only lists project names, not next actions.
- Keeping notions in separate drawers and hoping memory will do the rest.
Each mistake costs time later. Loose pieces get lost. Unlabeled parts get remade. Vague notes create “open loop” projects that never feel ready to resume.
The fix is not a bigger system. It is a clearer one. Give every project a container, every container a label, and every label a next action. Keep the working space small enough that unfinished projects are visible without spreading all over the room. For a process-focused overview of sewing workflow, see Threads Magazine and The Spruce Crafts.
If you want a companion process for idea-to-finished planning, the hub page on how to plan a sewing project covers that earlier stage. This page is about keeping active projects moving once they already exist.
FAQs
How do I keep sewing projects organized?
Keep each project in its own container with a label, the pattern envelope, cut pieces, and the next step written on a card. A simple tracker near your machine helps you see which project is paused and what comes next. The goal is to reduce search time to almost nothing.
How should I store unfinished sewing projects?
Store unfinished sewing projects in project bags or storage bins with all parts together. Put the cut pieces, notions, pattern envelope, and notes in the same place so nothing gets separated. Clear labels make it easier to grab the right project after a week or a month away.
What is the best way to track multiple sewing projects?
A good way is the one that shows status, next action, and location for every project in the same format. A 3×5 card system, notebook page, or spreadsheet all work if you keep them updated. The best tracker is the one you’ll actually use in under 2 minutes.
Drafted with AI; not yet reviewed by a person.