Last updated: November 18, 2026
Quick Answer: before you cut, spend about 10 minutes checking the envelope, size chart, symbols, and layout guide so you know the pattern, size, and fabric plan match.
A sewing pattern is a map, and the safest time to read it is before you touch the scissors. In this article on how to read a sewing pattern before you cut, if the envelope, size chart, grainline arrows, notches, seam allowance, and layout guide make sense now, the rest of the project gets much easier later.
What a sewing pattern tells you before you cut
A sewing pattern tells you what size to use, what pieces exist, how they fit together, and how the fabric must be laid out. The pattern envelope is the first layer of information; the paper or PDF sheets hold the detailed instructions and symbols.
Start with the envelope front and back if you have a commercial pattern. Look for the finished garment sketch, size range, fabric suggestions, notions, and the back-of-envelope line drawings. Those drawings show every pattern piece, often with a code like Front A, Sleeve B, or Facing C. If you use a PDF pattern, the same information usually appears on the cover page and instruction pages, just without the cardboard envelope.
What matters here is not just recognizing labels. It is learning what each label controls. The size chart tells you which size block the pattern was drafted from. The seam allowance tells you how much room is already built in around the cut edge. The grainline arrow tells you how the piece must sit on the fabric. Notches are match points, not decoration. The layout guide shows how many fabric widths you need and whether the pieces fit on 45-inch, 60-inch, or another width of fabric.
This first pass saves you from guessing later. It also shows you when a pattern is not a good fit for your skill level, your fabric, or the amount of time you have. A pattern with many pattern pieces, multiple views, and a 5/8-inch seam allowance is common; a reader who expects a “simple” project from the photo alone may be in for a more involved make.
For fabric choice questions, the hub on how to choose fabric for sewing belongs alongside this stage, because the pattern and fabric need to agree before cutting starts.
How do I read the pattern envelope first?
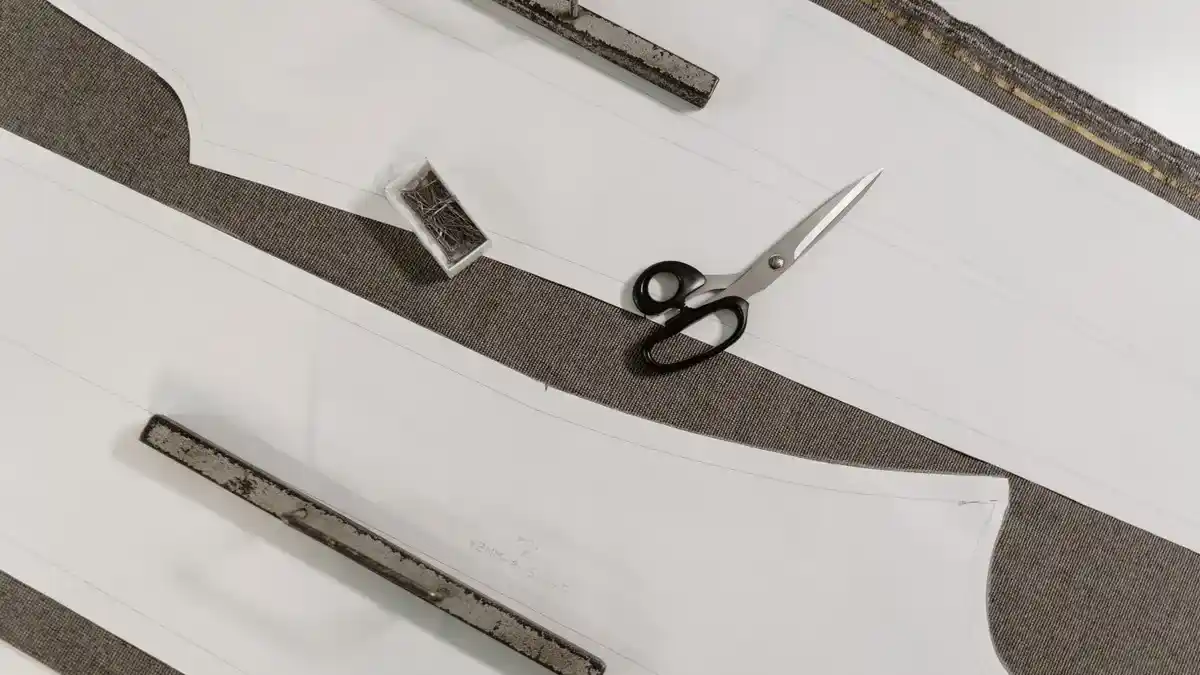
Read the pattern envelope from top to bottom, then match it to the instruction sheet. The front tells you the garment category and views; the back tells you the size range, fabric requirements, notions, and piece list.
The fastest way to do this is often in a fixed order:
- Check the pattern number and company name so every loose sheet belongs together. If the envelope says View A and View C, but your paper pieces show different labels, you have mixed sets.
- Read the size range on the envelope and compare it with your own body measurements from the pattern company’s size chart. If your bust, waist, or hip measurement falls between sizes, you now know that the pattern includes more than one size option.
- Look at the finished garment drawing or photos. You should see the intended garment shape, such as fitted, loose, cropped, straight, lined, or wrap style.
- Find the fabric suggestions and notions. A pattern might call for woven fabric, knit fabric, interfacing, buttons, elastic, or a zipper. If the notion list includes a 22-inch zipper or 1/2-yard of lining, that is a clue about construction complexity.
- Skim the back illustration or technical line art for the number of pieces. A six-piece top and a 24-piece jacket are not the same kind of project.
- Open the instruction sheet and confirm the view you want is actually included before you trace or cut anything.
When this step works, you can say, without guessing, “This pattern includes my size range, the intended fabric type, and the exact view I plan to sew.” If you cannot say that yet, keep reading the envelope instead of moving on.
This is also the point where you spot obvious mismatches. A coat pattern meant for wool coating will not behave like a blouse pattern in lightweight cotton. That is not a fabric-choice lesson here; it is simply the point where the pattern tells you what kind of fabric it expects.
Which symbols matter most on a sewing pattern?
The symbols that matter most are the grainline arrow, notches, fold line, cutting line, and seam allowance. If you learn those five first, the rest of the pattern sheet becomes much easier to read.
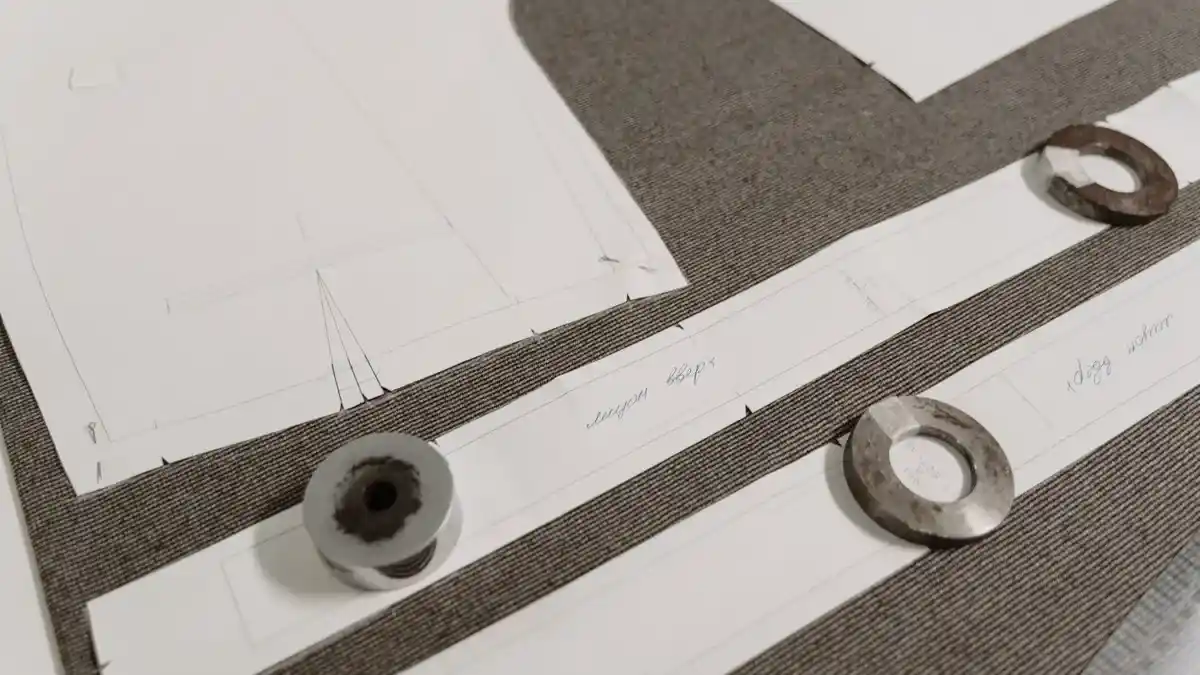
The grainline arrow is usually the longest arrow on a pattern piece. It shows how the piece should run parallel to the fabric’s lengthwise grain unless the instructions say otherwise. On many patterns, the arrow sits centered on the piece, and both ends must be aligned carefully during layout.
Notches are the small triangles or marks on the cut line. They are the puzzle tabs that help two pieces meet in the right place. One notch might meet one notch; two notches might meet two notches. If a sleeve cap has a pair of notches, those marks tell you where the sleeve front and back belong, not just where to clip the fabric.
The fold line tells you to place that edge on a fabric fold instead of cutting two separate mirrored pieces. If the pattern piece is labeled “cut on fold,” do not add seam allowance to that edge unless the instructions specifically say to. Many beginners accidentally cut both sides and lose the symmetry the pattern needs.
The cutting line is the outermost line you trace or cut. On commercial patterns, the line style may vary by size or view. Some patterns print several sizes at once, with nested lines; the correct line should be easy to follow once you choose your size.
Seam allowance is the margin between the stitching line and the cut edge. Many commercial patterns use 5/8 inch, but not all do. Some patterns print the seam allowance right on the paper; some leave it out completely. If the pattern states a different amount, treat that as part of the pattern, not a suggestion, and if you are unsure, consult the instructions or a sewing professional. The sewing industry and pattern-company guidance usually treat seam allowance as part of the pattern specifications, and the American Sewing Guild explains common symbol conventions in its educational materials.
A generic sewing pattern article often stops at “read the symbols,” but that leaves the reader stranded. The real task is to know which symbols affect layout and assembly now. Grainline, fold line, and notches do. Decorative icons do not.
For a deeper visual vocabulary, the American Sewing Guild and many pattern companies explain these symbols in their own guides; the terms stay consistent even when the artwork changes.
How to read the size chart without guessing
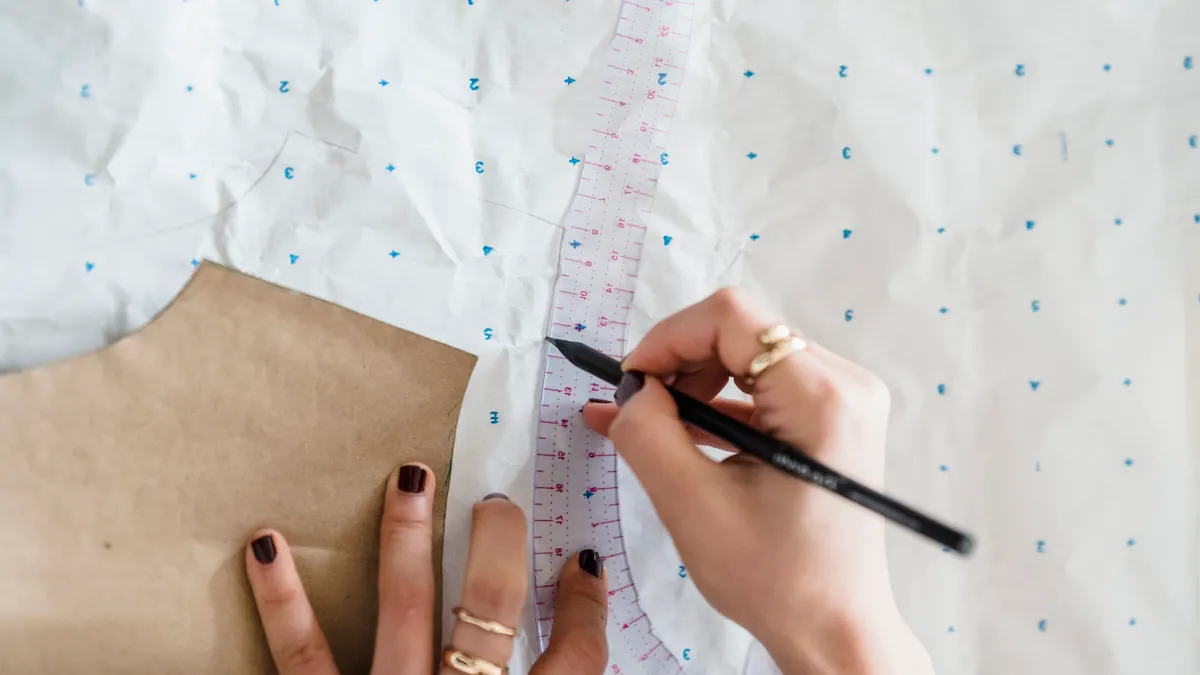
Read the size chart by body measurement first, then confirm the finished garment measurements before choosing a size. The chart is not a clothing tag; it is the drafting map for the pattern block.
Start with the chart printed on the envelope or inside the instructions. Most charts list bust, waist, and hip in inches or centimeters, sometimes with height. Pick the size that matches the measurement the pattern uses as its primary fit point. For a top, that is often bust. For pants or a skirt, waist and hip matter more. If the pattern provides multiple size blocks, check which block you are actually using, because a size 12 in one company is not a universal standard.
Then look for finished garment measurements if the pattern gives them. These numbers tell you how much room the design includes beyond the body measurement. A blouse with 4 inches of wearing ease behaves differently from a close-fitting knit top, even when the body size number is the same. If the pattern does not list finished measurements, the line drawings and description may still hint at fit, but you lose precision.
This is the step that often prevents a very common mistake: choosing a size from street clothing habits rather than the pattern chart. A reader who wears a medium in one store may need a different pattern size entirely. If fit is important or unclear, consult the pattern company’s chart and, when needed, a sewing professional. Pattern sizing is proprietary and varies by brand and era, as companies such as Burda and Simplicity note in their own sizing guidance.
Do not solve fit here by “just cutting larger.” A bigger cut line changes the whole garment shape, especially at armholes, shoulder seams, and necklines. It is better to choose the closest pattern size from the chart and adjust later than to assume extra fabric will fix the fit.
If your project is meant to support a beginner, this is where the size chart starts to matter more than the photos. A neat-looking garment on the envelope can still be the wrong size block for your body.
What the layout guide tells you before you lay out fabric
The layout guide tells you how the pieces fit on your fabric width and whether the pattern is even workable with the yardage you have. It is one of the most skipped pages, and one of the most useful.
Find the layout diagrams in the instructions. They usually show fabric folded in a specific way, with pattern pieces arranged for a given size and fabric width. Common widths are 45 inches and 60 inches, though the pattern may specify another width. The diagram may also change by view, because a sleeveless top and a long-sleeve version use different amounts of cloth.
Read the layout guide before you commit to fabric cutting because it exposes practical problems early. If the pattern needs 60-inch fabric and you bought 45-inch fabric, the layout may not work without changes. If the guide says “nap or one-way design,” the pieces all face the same direction, which usually increases fabric use. If it says “without nap,” the pieces can often flip, which may save material.
The layout also hints at what kind of cutting will be needed later. A pattern that uses many small pieces and separate facings demands more careful sorting than a simple tunic with front, back, and sleeve. That is why the number of pieces on the envelope matters. It is not just a count; it is a preview of the workspace you will need.
This is a good place to pause if the pattern and fabric do not match in width, print direction, or amount. A pattern can be perfectly readable and still be a poor match for the fabric on hand.
If you want one rule to keep: the layout guide is not decorative. It is the pattern company telling you, in diagram form, “this is how the pieces are meant to fit before you cut.” Ignore it, and the rest of the sheet becomes much harder to trust.
Common mistakes that make pattern reading harder later
The most common mistakes are skipping the instruction sheet, cutting the wrong size line, and treating notches like optional marks. Each one costs time, and the fix is to slow down for 5 minutes before the first cut.
One mistake is reading only the photos. Photos can make a design look simple when the pattern includes darts, facings, yokes, zippers, and lining pieces. The cost is surprise. The fix is to count the pattern pieces and scan the line drawing on the back of the envelope.
Another mistake is assuming every seam allowance is 5/8 inch. That is common in many commercial sewing patterns, but not universal. If the pattern uses 1/4 inch for a knit seam or a different allowance for hemming, reading the instructions later will feel confusing. The fix is to mark the seam allowance on your pattern piece before you cut, if the pattern does not already show it clearly.
A third mistake is ignoring notches because they look like tiny extras. The cost is misaligned seams, twisted sleeves, and facings that fight the garment shape. The fix is to transfer notches carefully when you trace or cut, then match them as you sew.
A fourth mistake is skipping the grainline arrow because the piece “looks straight enough.” That can distort drape, twist side seams, or make the garment hang oddly. The fix is to align the grainline arrow with the fabric grain before the scissors touch anything.
A fifth mistake is using the wrong view. Many patterns include View A, B, and C, and each view can have a different collar, sleeve, hem, or closure. The cost is cutting pieces you never needed. The fix is to circle the view you plan to sew on the instruction sheet and cross out the others.
None of these mistakes is dramatic on its own. They add up. A pattern that was perfectly readable at the start becomes a tangle because one small symbol got ignored.
What should I check one last time before cutting?
Check the pattern pieces, symbols, and fabric layout one last time before cutting, because this is the cheapest moment to fix a mistake. Once the scissors move, the paper or fabric is committed.
Use a final 60-second scan. Confirm the size line you intend to use. Confirm that every piece needed for your view is present. Confirm that the grainline arrows are visible and that you know where the fold line goes. Confirm that notches have been transferred or at least identified on each piece. Confirm that the seam allowance noted by the pattern matches what you expect.
Then compare the instruction sheet with the pattern pieces. If the instructions call for front, back, sleeve, collar, cuff, facing, and pocket, make sure you can find each one. If a piece seems missing, do not guess and cut anyway. Many PDFs split pieces across pages, and many commercial sheets hide small pieces in the margin.
A good final check also asks a blunt question: does the layout guide still make sense with the size and fabric width I have? If not, stop here and resolve that before cutting. The problem is usually not the pattern itself; it is a mismatch between the chosen size, the chosen view, and the available fabric.
This is the point where a careful reader gains the most. Reading a sewing pattern before cutting is not about memorizing symbols. It is about building a clear picture of what the garment needs so the first cut is deliberate, not hopeful.
If the page has done its job, you now know what the pattern envelope says, which symbols matter, how the size chart works, and where the layout guide can save you from a costly mistake. That is enough to move into cutting with confidence instead of guesswork.
Key Takeaways
- The pattern envelope is your first map; it tells you the view, size range, fabric type, notions, and piece count.
- Grainline arrows, notches, fold lines, and seam allowance are the symbols that affect cutting and sewing the most.
- Size charts are pattern-specific, so use the chart on the pattern, not your usual ready-to-wear size.
- The layout guide can reveal fabric-width problems before you cut a single piece.
- A final 60-second check catches missing pieces, wrong size lines, and view mix-ups before they become wasted fabric.
What do the symbols on a sewing pattern mean?
The symbols on a sewing pattern show how the pieces fit, fold, and join. Grainline arrows tell you how to place the piece on the fabric.
Drafted with AI; not yet reviewed by a person.