Last updated: November 19, 2026
Key Takeaways
- Construction comes first; finishing follows the fabric.
- Match seam finish to fray, thickness, and stretch.
- Pressing shapes seams and reduces bulk.
- Choose finish by the seam’s wear, control, and neatness needs.
Sewing techniques and finishing are the difference between a garment that holds together and one that looks deliberate inside and out. This quick answer for Sewing techniques and finishing — The Complete Guide is simple: the best finish is the one that matches the fabric, the seam’s stress, and the inside appearance you want. If you want clean seams, durable edges, and fewer “why is this puckering?” moments, the answer is to match the stitch, seam finish, and pressing method to the fabric before you start. In this guide, the topic stays practical: construction, finishing, and pressing work together.
A skilled sewer chooses construction first, then finishing. That order matters because a zigzag edge on rayon, a Hong Kong finish on wool, and a flat-felled seam on denim solve different problems. A straight stitch set at 2.5 mm can be right for one fabric and wrong for another.
A useful place to begin is the Textile Society’s fiber and weave guidance and the ASTM and ISO approach to testing textiles, because fabric behavior drives every finishing choice: AATCC, ISO textiles standards.
The one decision that changes everything: construction before finishing
Construction comes first, and finishing follows the fabric’s behavior. That is the core decision a beginner needs, because the “best” finishing technique is rarely universal; it depends on fray level, thickness, stretch, and how visible the inside will be.
A generic sewing article usually treats finishing as decoration. That misses the practical job of finishing: it protects seam allowance from abrasion, controls bulk, and keeps a garment from failing at stress points. A cotton poplin shirt and a heavyweight wool coat do not want the same treatment, even if both are sewn on a straight stitch machine with a standard 2.5 mm stitch length. For project-specific choices, consult a sewing professional or pattern specialist, and check fabric notes from sources such as AATCC and ISO textiles standards.
The simplest rule is this: light, stable wovens can tolerate quick finishes like zigzag or overcasting; loosely woven or high-fray fabrics need enclosed finishes; knits need stretch-preserving seams; and bulky outerwear needs reduced bulk more than speed. If the seam has to survive repeated laundering, sitting, movement, or edge wear, the finish should be chosen for the worst case, not the ideal one.
The first mistake to avoid is finishing before you have tested seam behavior on a scrap. A seam that looks neat on muslin may tunnel on silk charmeuse or stretch out on jersey. The second mistake is assuming every raw edge must be “finished” in the same way. Some seams are meant to be enclosed in the construction itself, which is often cleaner than adding a separate edge treatment afterward. For unusual fabrics or expensive garments, consult a sewing professional or follow a trusted pattern guide.
If the goal is a professional-looking inside, the most suitable choice is not always the most decorative one. It is the one that suits the fabric and the load the seam will carry. That is why garment sewists, home sewers, and costume makers often rely on different seam finishing methods for the same basic stitch line.
Which seam finish should I use for my fabric?
The right seam finish is the one that matches the fabric’s fray behavior, thickness, and stretch. A stable woven can take a simple overcast edge, while a slippery or loose weave usually needs a more enclosed method.
Here is the practical breakdown. For cotton broadcloth, quilting cotton, and other medium-stable wovens, a zigzag finish or serged edge is usually enough if the seam allowance is at least 1 cm. For linen and canvas, a pinked edge is sometimes acceptable on low-stress items, but it is a weak choice for garments that will be washed often. For rayon challis, voile, and loosely woven fabrics, French seams or narrow enclosed finishes are far safer because the cut edge frays quickly. For denim and twill, flat-felled seams are strong and tidy, though they add bulk. For chiffon and organza, French seams or narrow rolled finishes keep the interior clean without leaving a ragged edge. For knits, a stretch stitch or serger seam is usually the right starting point because a straight seam can break when the fabric stretches.
A seam finish is not just about looks; it changes failure mode. Zigzagging can hold a raw edge, but it does not stop fraying as well as a fully enclosed seam. Flat-felled seams are durable but thick. French seams are elegant but awkward on curves or very bulky fabric. That trade-off matters more than the internet’s favorite “professional finish.”
The wrong choice is often the one that looks most polished in a tutorial photograph. For example, a French seam on thick wool adds unnecessary bulk and can create a ridge that shows through the right side. A flat-felled seam on silk can distort the drape. A serged edge on a tightly woven cotton blazer lining may be plenty durable, but on a sheer blouse it can look too utilitarian.
For standards-minded readers, seam behavior is part of textile performance rather than cosmetics. Textile testing organizations such as AATCC and ISO publish methods that measure things like dimensional change and physical performance, which is why fabric choice should drive finishing choice, not the other way around.
What does pressing actually do in sewing techniques and finishing?
Pressing sets shape, reduces seam bulk, and often determines whether the finish looks intentional or homemade. It is not the same as ironing a wrinkle out at the end.
Pressing is one of the most underrated sewing techniques because it affects nearly every construction step. A seam that is pressed as it is sewn sits flatter, matches more accurately, and turns more cleanly at corners. A seam that is only pressed once at the end often carries built-in distortion that no finishing technique can hide.
The basic tools matter. A steam iron, a pressing cloth, a tailor’s ham, a seam roll, and a wooden clapper all have specific jobs. The tailor’s ham supports curved seams such as darts and princess lines. The seam roll prevents seam allowances from printing through on one side. The clapper compresses wool after steam so the fibers set flat. These are not luxury extras; they solve geometry problems that a flat ironing board cannot.
The beginner error is dragging the iron back and forth. That movement can stretch bias edges, flatten texture, and distort knits. Press instead of slide, especially on curved seams and lightweight fabrics. On wool, use steam and pressure. On silk and synthetics, use lower heat and a pressing cloth to avoid shine. On knits, press carefully so the fabric does not grow longer than intended.
Pressing also changes the look of finishing. A serged seam that is not pressed open or to one side can still appear messy inside. A French seam that is not creased crisply will pucker. A flat-felled seam that is not pressed before topstitching can wander. The finish is only as clean as the pressing that supports it.
If a sewing guide skips pressing, it is leaving out one of the main reasons a garment looks polished. Stitching builds the shape; pressing confirms it.
The honest side-by-side: common finishing methods compared
The best finishing method depends on how much bulk, fray control, stretch, and inside neatness you need. No single finish wins every category, which is why experienced sewists keep several in rotation.
| Criteria | Zigzag / serged edge | French seam / flat-felled seam | Winner for this condition |
|---|---|---|---|
| Speed | Fast on most machine setups; a serger is especially quick | Slower because it adds extra stitching and pressing steps | Zigzag / serged edge for quick garment assembly |
| Fray control | Good on stable fabrics, weaker on loose weaves | Strong because the raw edge is enclosed | French seam / flat-felled seam for fraying fabrics |
| Bulk | Low bulk, especially with a serger trim | French seams add layers; flat-felled seams add even more | Zigzag / serged edge for lightweight or bulky fabrics |
| Stretch | Works well if the stitch allows stretch | Poor choice for high-stretch knit seams | Zigzag / serged edge for knits |
| Inside appearance | Clean, but utilitarian | Very neat and often fully enclosed | French seam / flat-felled seam for visible interiors |
| Durability under wear | Reliable on everyday garments if stitch tension is correct | Excellent in high-stress seams such as jeans or shirts | Flat-felled seam for abrasion and repeated use |
| Best on curves | More forgiving on curved seams | Can be difficult on tight curves | Zigzag / serged edge for curved seams |
| Best on sheer fabric | Can show through or look heavy | Cleaner because it hides the edge inside the seam | French seam for sheers |
| Equipment needed | Sewing machine only, or a serger if available | Sewing machine; no special machine required | French seam for a simple machine-only setup |
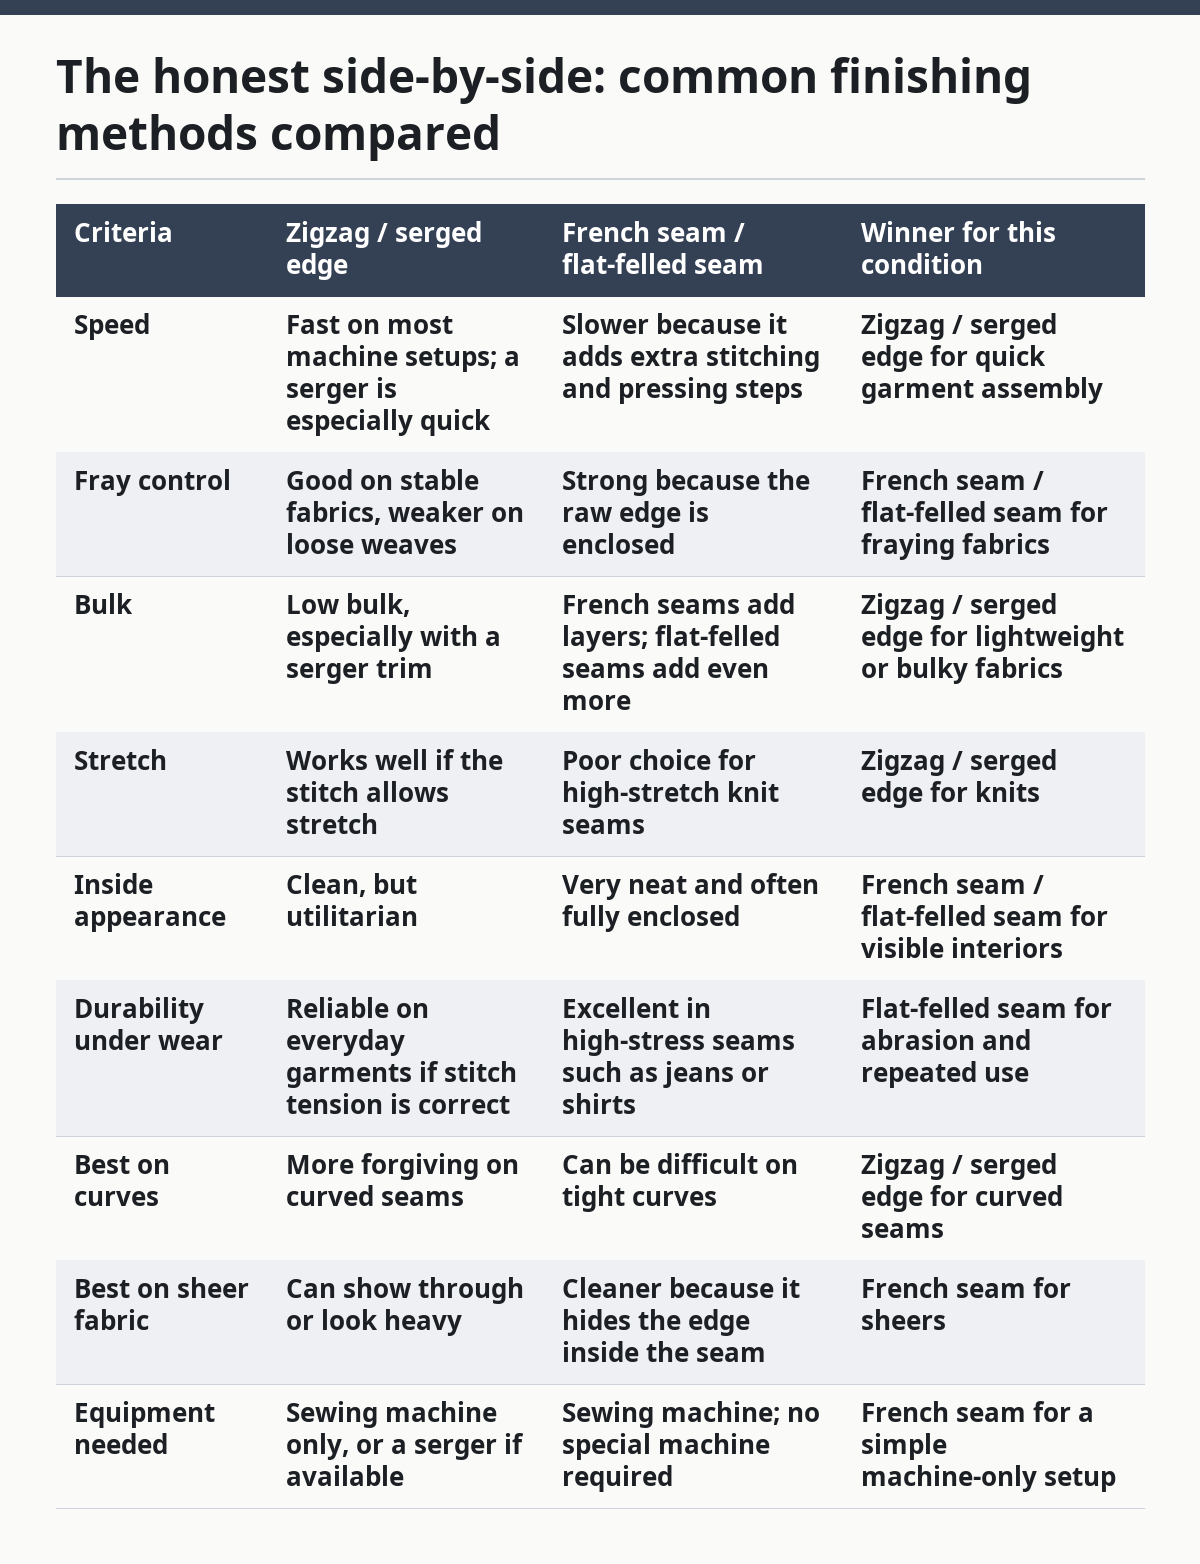
The practical verdict from that comparison is simple: use zigzag or serged finishes when speed, stretch, or low bulk matter most; use enclosed finishes when edge control and appearance matter more. A beginner who wants one dependable habit should learn a narrow zigzag and a French seam first. Those two cover a large part of garment sewing without special equipment.
The weak point of machine-edge finishing is that it can look unfinished if the thread is too heavy, the tension is off, or the fabric frays under the stitches. The weak point of enclosed finishing is time. It is slower, and on bulky fabrics it can become clumsy. That is the trade-off: utility versus refinement.
The techniques that make seams look professional
Professional-looking seams come from consistency, control, and the right finishing for the fabric. Topstitching, understitching, edge stitching, staystitching, and clipping are the techniques that usually separate careful sewing from merely joined fabric.
Topstitching is visible stitching used for reinforcement or decoration. On denim, it can define the seam line and add strength, usually with longer stitch lengths than a plain seam. Understitching is less visible but often more important: it keeps facings and linings from rolling to the outside of a garment. Edge stitching sits very close to the edge and gives a crisp boundary on collars, waistbands, and plackets. Staystitching stabilizes curved edges before they distort; it is especially useful on necklines cut on the bias or armholes before assembly.
Clipping and grading are finishing steps, not optional extras. Clipping into a seam allowance at an inward curve lets the fabric spread when turned, while grading seam allowances trims each layer to a different width so the finished edge is less bulky. Both matter most in collars, facings, cuffs, and lined garments. If a pattern asks for them, it is because the shape needs the relief.
A common mistake is using the same stitch length and thread for every visible line. A dense topstitch on fine lawn can overwhelm the fabric. A weak topstitch on denim can look accidental and wear out early. Thread weight should suit the fabric and the job. The same is true of needle size; a universal needle is not ideal for everything.
If a seam is puckering, the cause is usually one of three things: tension, feed, or pressing. If a corner is blunted, the likely cause is poor clipping or too much seam allowance left in the point. If a neckline waves, staystitching was probably skipped or the fabric was stretched during construction.
These are not decorative tricks. They are control techniques. A garment that sits flat and keeps its shape is usually the result of several small finishing choices made correctly in sequence.
When should I use French seams, flat-felled seams, or overlocking?
Use French seams for light, fray-prone fabrics, flat-felled seams for strength and abrasion resistance, and overlocking when speed and edge security matter more than a fully enclosed interior. That is the cleanest rule, and it covers most home sewing decisions.
French seams work best on sheer blouses, lightweight dresses, and delicate woven fabrics like voile, lawn, and chiffon. The first seam encloses the raw edge in a second seam, so the inside looks tidy and the fraying edge is hidden. The drawback is bulk: even a narrow French seam can become awkward on thick fabric, and it is poor on tight curves or heavy layers.
Flat-felled seams are the workhorse of denim, workwear, and shirts that will be washed hard and worn often. The seam is strong because the raw edge is folded under and topstitched down. The drawback is thickness, especially at side seams, crotches, armholes, and cross seams where several layers meet. A flat-felled seam on the wrong fabric can turn a flexible garment into a stiff one.
Overlocking, often called serging, trims and encloses the edge in one pass. It is efficient and neat on stable fabrics, and it works very well on knits when the stitch is set correctly. The drawback is that it depends on correct tension and differential feed; if either is off, the seam can wave or stretch. It also gives a utilitarian look that may be fine inside a casual garment but less desirable in a couture-style finish.
The choice becomes clearer if you think in terms of function. Is the seam seeing stress? Choose flat-felled. Is the fabric delicate or transparent? Choose French. Is the project casual, fast, or stretchy? Choose overlocking. A generic “best finish” answer misses that the best finish is the one that fails least in the exact conditions the garment will face.
For a reader trying to decide quickly: if the seam will show through the fabric, prioritize enclosed seams. If it will be rubbed hard, prioritize strength. If it needs stretch, prioritize a stitch that can move with the fabric.
What should I do before I finish a seam?
You should test the stitch, trim the allowance, and press the seam in the right direction before you commit to the final finish. Those three steps prevent most avoidable problems.
Start with a scrap in the same fabric, same thread, and same needle. If the stitch tunnels, skips, or ripples, adjust before sewing the garment piece. This matters on silk, stretch fabrics, and anything with a nap or sheen. A 2.0 mm to 3.0 mm stitch length is common for many garment seams, but the right choice still depends on fabric weight and stress.
Then grade and trim seam allowances only when the construction asks for it. Removing everything at once can take away margin for error. On a French seam, the first allowance is trimmed close after the first pass, then enclosed in the second seam. On a bulky corner, removing excess from the seam intersection often matters more than shaving the entire allowance. The goal is controlled bulk, not no bulk at all.
Press each seam according to its function. Press open if the pattern and fabric benefit from reduced bulk. Press to one side if the finish will be topstitched or enclosed later. Press with steam on wool, dry or low steam on fabrics that mark easily, and always use a press cloth when shine is a risk. The seam should look set, not flattened into a dead line.
The mistake many beginners make is rushing from stitching to final assembly. That is how seams twist, allowances roll, and hems wave. Finishing is not the last cosmetic step; it is part of the structural sequence.
The verdict: which sewing finish should you choose?
Choose French seams if you sew lightweight, fray-prone fabric and want a clean inside without special equipment. Choose flat-felled seams if the garment needs strength, durability, and a hard-wearing edge, especially on denim or shirts. Neither if the fabric is very bulky, highly elastic, or so sheer that even enclosed seams distort the drape.
That call is not vague. If the project is a blouse in voile, a dress in lawn, or anything sheer, French seams are the smarter default because they solve fray control and appearance at once. If the project is jeans, a work shirt, or a bag that will take abrasion, flat-felled seams are the better investment because they resist wear and keep the edge locked down. If the project is a knit tee, use a stretch-safe seam method instead of forcing a woven-fabric finish onto it.
The wrong move is picking a finish because it looks “professional” in a photo. A finish is professional when it suits the fabric, not when it is the most decorative option. That is why many experienced sewists keep a serger for knits and utility work, but still hand-pick French seams or flat-felled construction when the fabric and garment call for it.
If the garment is lined, heavily tailored, or built from mixed fabric weights, re-evaluate before choosing any of the standard finishes. A lining may hide seam allowances entirely. Tailoring may call for bound seams, pad stitching, or hand finishing. In those cases, the most basic choices are not always the best ones.
When should I reconsider the usual finishing rules?
You should reconsider the usual rules when the fabric, garment structure, or end use creates a special case. A standard finish works well in normal garment sewing, but it can be wrong in several common exceptions.
First, reconsider if the fabric is unusually bulky, such as coating wool, fleece, or layered quilted material. In those cases, even a neat enclosed seam may create a ridge that affects fit and drape. A simpler edge treatment or a construction method that reduces layers may work better. Second, reconsider if the garment is reversible. Then the inside is the outside, which means seam finish becomes a design feature and may require binding or clean-finished construction throughout. Third, reconsider if the fabric is highly unstable, like bias-cut silk or loosely woven viscose. A standard seam may stretch or grow as you sew, so stabilization matters before finishing. Fourth, reconsider if the garment will be washed aggressively, exposed to abrasion, or used in workwear conditions. Durability may matter more than neatness.
The common thread in all these cases is that finishing is not a fixed rulebook. It is a response to fabric behavior and garment use. A finish that wins in one setting can fail in another. That is why the best sewers think in layers: stabilize first, construct second, finish third, press throughout.
The safest habit is to ask four questions before choosing a finish: Does this fabric fray quickly? Does it stretch? Will the seam show? Will it wear hard? Those four questions narrow the answer faster than any generic chart.
FAQ
What is the most beginner-friendly seam finish?
A narrow zigzag or simple overcast edge is the most beginner-friendly seam finish. It is fast, uses standard machine settings, and works on many stable woven fabrics without extra tools. If the fabric is delicate or frays badly, a French seam is the better beginner choice for the learning curve it adds.
Do I need a serger to finish sewing seams properly?
No, a serger is helpful but not required. A sewing machine can handle many seam finishes with zigzag, straight stitching, and French seams. A serger mainly saves time and produces a cleaner edge on knits and everyday garments, but it is not the only correct way to finish a seam.
Why does my seam pucker after I finish it?
Puckering usually comes from tension, stitch length, feed issues, or pressing too aggressively. Lightweight fabric can also pucker if the stitch is too short or the thread is too thick. Test on a scrap with the same fabric and thread, then adjust before sewing the final seam.
What is the cleanest finish for inside a garment?
French seams are one of the cleanest finishes for the inside of a garment. They hide the raw edge completely and look polished on lightweight woven fabrics. Flat-felled seams are also very clean, but they are better known for strength and can be bulky on fine fabric.
Can I use the same finishing method for every fabric?
No, and that is usually where sewing goes wrong. Knits, sheers, denim, and bulky fabrics all need different treatment because they behave differently under tension and wear. The safest choice is to match the finish to the fabric rather than forcing one method onto every project.
Drafted with AI; not yet reviewed by a person.