Last updated: November 19, 2026
Quick Answer: To sew a straight seam on a sewing machine, set a straight stitch to about 2.5 mm, align the fabric edge with the correct seam allowance mark, sew 2 or 3 backstitches at the start and end, and keep the fabric moving without pushing or pulling it. This article on How to Sew a Straight Seam on a Sewing Machine explains the steps, the common seam allowances, and the mistakes that throw the line off.
A straight seam on a sewing machine comes from three things: a marked seam allowance, steady fabric feeding, and a consistent stitch line. If those line up, the seam will look straight even before you press it. For most woven fabrics, a medium stitch length of about 2.5 mm is a good starting point rather than a hard rule.
What you need before you start
You need two fabric pieces, pins or clips, thread, scissors or snips, and a sewing machine with a standard straight stitch set to a medium stitch length, usually around 2.5 mm. You also need a seam allowance marked on the fabric, because the seam is only straight if you know where the fabric edge is supposed to travel.
Start with fabric that is already cut on grain if you can. Wavy edges, stretchy knits, and very slippery cloth make straight stitching harder. A plain woven cotton in a 1/4-inch or 5/8-inch seam allowance is a better practice choice than satin, chiffon, or a bulky quilt sandwich.
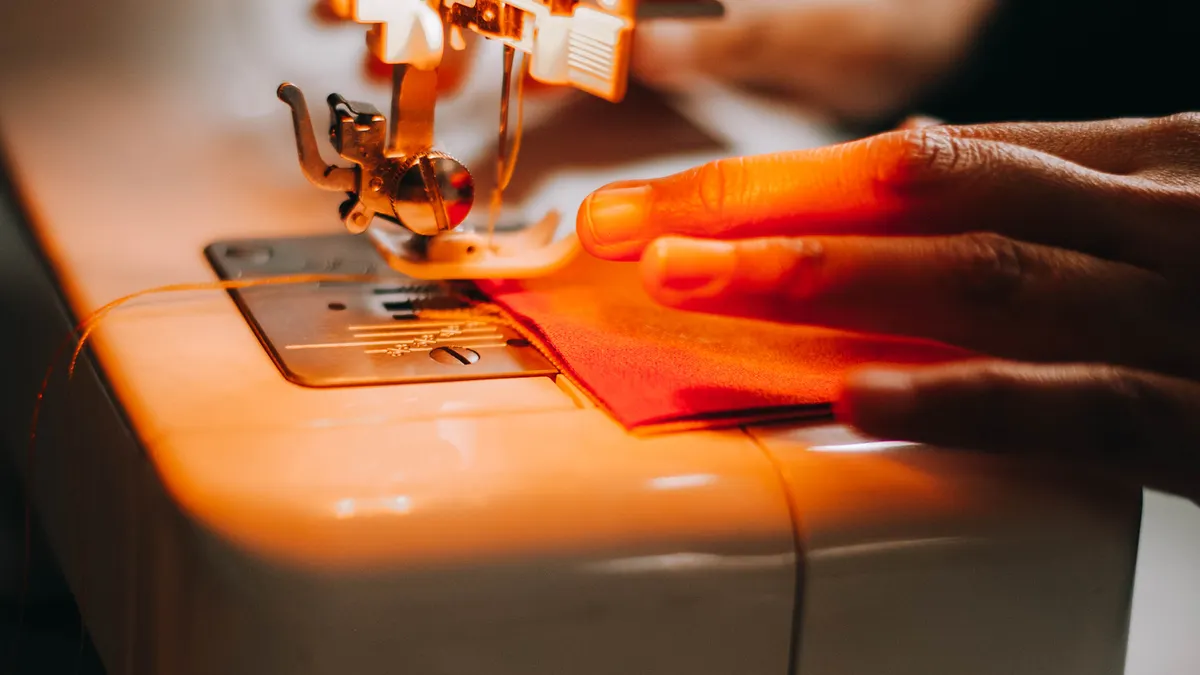
Use the needle plate guides if your machine has them. Most machines have etched lines beside the presser foot opening that show common seam allowances, and those lines are easier to follow than trying to judge distance from the needle by eye. For machine basics and setup, see your machine manual and resources from the Sewing & Craft Alliance and Singer.
Key takeaways
- A straight seam is mostly a control problem, not a speed problem.
- The fabric edge must stay at a fixed distance from the needle.
- The needle plate guide is there to save you from guessing.
- Backstitch only at the start and end, not through the whole seam.
- A medium stitch length is usually about 2.5 mm for a general straight seam.
How do I sew a straight seam on a sewing machine?
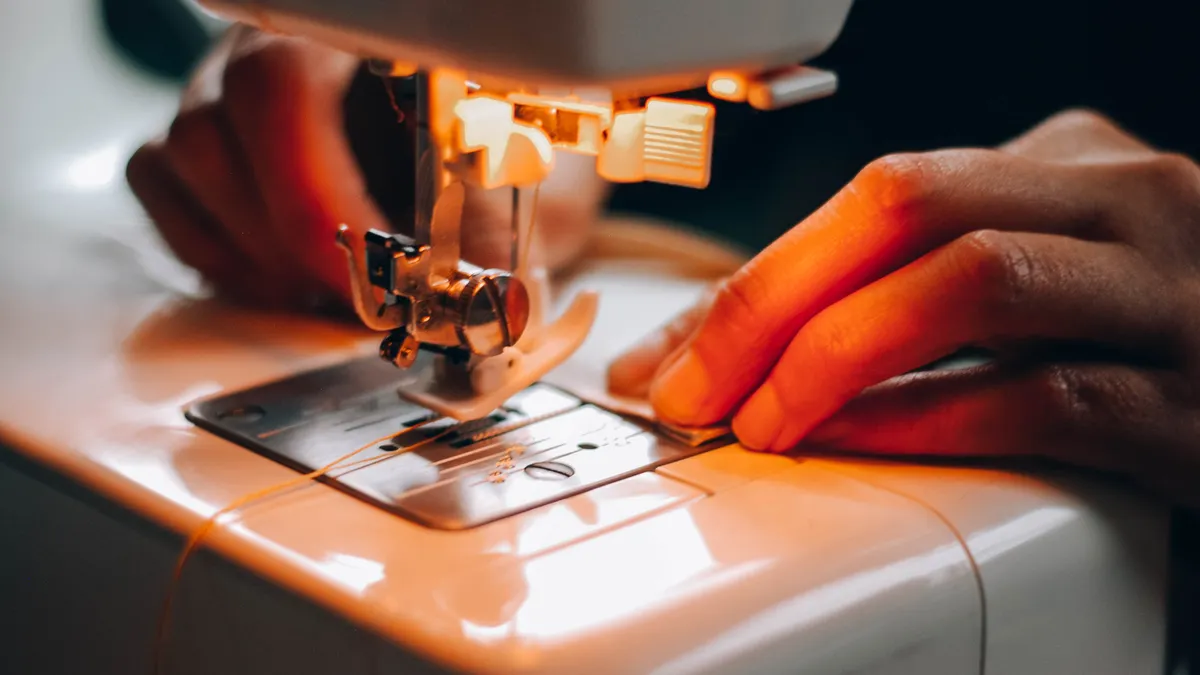
You sew a straight seam by lining up the fabric edge with a seam allowance guide, lowering the needle, stitching a short backstitch to lock the start, then sewing forward while watching the guide instead of the needle. The seam comes out straight when the fabric moves evenly and the edge stays parallel to the plate line.
-
Place the fabrics right sides together and align the edge.
Match the raw edges and pin or clip if the pieces want to shift. The seam line is only as straight as the cut edge you feed into the machine, so trim obvious bumps before you begin. -
Choose the seam allowance you will sew.
Common allowances are 1/4 inch for small construction seams and 5/8 inch for many garment seams. Pick one allowance and keep it the same for the full seam so the pieces line up later. -
Line the fabric edge up with the correct mark on the needle plate.
Put the chosen seam allowance mark under the fabric edge, not under the needle. If your needle plate has 5/8-inch and 1/2-inch lines, use the one that matches your pattern or project. -
Lower the presser foot and take 2 or 3 stitches in reverse.
This backstitch anchors the seam so the first few stitches do not unravel. The start should look locked in place, with no loose thread tail pulling free. -
Sew forward at a steady pace while watching the guide line.
Keep the edge of the fabric touching or hovering exactly over the chosen line. If the line drifts under the cloth by even a few millimeters, correct it before the drift grows. -
Guide the fabric with your hands, but do not push or pull it.
Let the feed dogs move the fabric through the machine. If you push from behind, the seam can stretch; if you pull from the front, the stitches can skew. -
Slow down before you reach the end of the seam.
Stop with enough room for the last backstitch, usually 2 or 3 stitches from the edge. A neat end is easier to control at slow speed than at full machine pace. -
Backstitch 2 or 3 stitches, then cut the thread tails.
The seam should end locked in place, with both thread tails trimmed to a short length. After that, open the seam or press it as your project requires.
How do I keep the seam straight while the machine feeds the fabric?
You keep the seam straight by tracking the needle plate guide, feeding the cloth lightly with both hands, and correcting tiny drifts before they become visible. The machine’s feed dogs do the pulling; your job is only to keep the fabric aligned.
The most useful habit is to look a little ahead of the needle, not directly at it. If you stare at the needle, your hands tend to chase the wrong point. Instead, watch where the fabric edge meets the seam allowance line 1 to 2 inches in front of the needle.
Use your left hand to keep the raw edge flat and your right hand to support the fabric behind the presser foot. That support matters more on long seams, where the weight of the fabric can drag the line off course. If the fabric starts to veer left or right, stop with the needle down, lift the presser foot if needed, and realign the edge before continuing.
Pins or clips help when the layers slip against each other. Place them perpendicular to the seam so you can remove them as you sew. On a simple cotton seam, pinning every 2 to 3 inches is enough. On slippery fabric, closer spacing gives you more control.
A flat, uncluttered machine bed also helps. Keep the fabric from hanging off the table so it does not tug the seam. Long panels like curtain lengths or trouser legs sag more than short samples, and that extra weight can pull the seam off the guide line. For more setup help, see guides on sewing machine tension and presser foot pressure.
What stitch length should I use for a straight seam?
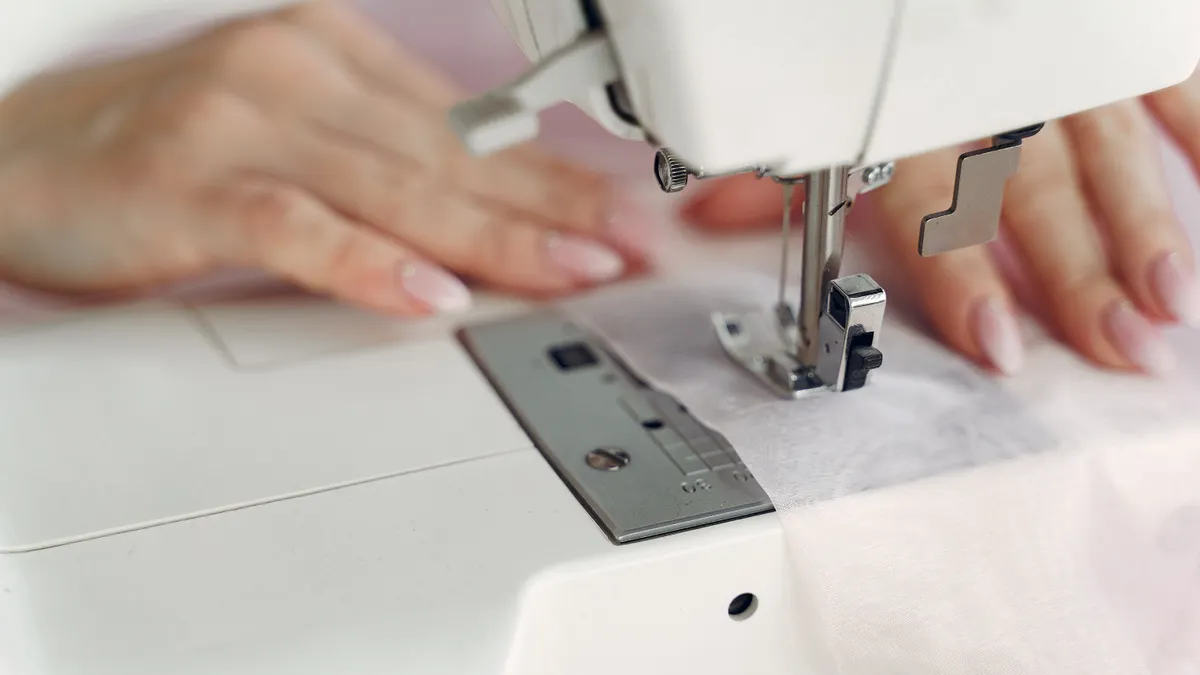
A medium stitch length, usually around 2.5 mm, is a sensible starting point for most straight seams on woven fabrics. It gives enough hold without punching too many holes into the cloth or making the seam hard to correct.
Very short stitches can make the seam look crowded and stiff, especially on medium-weight cotton or quilting fabric. They also slow you down, which can tempt you to steer the fabric too aggressively. Very long stitches can look loose and may leave the seam easier to separate if the thread is stressed.
For lightweight woven fabric, a slightly shorter medium setting can help the seam hold shape. For thicker layers, a slightly longer setting may feed more smoothly. The exact number depends on the machine and fabric, but the useful range for general straight seams is usually between 2 and 3 mm.
If your machine has a stitch selector with numbered settings instead of millimeters, use the straight stitch setting recommended in the manual and adjust the length toward the middle of the dial. The goal is not decorative stitching; it is a line of even stitches that disappear into the seam and stay balanced.
Do not change the stitch length to fix crooked sewing. A crooked seam comes from steering and guiding, not from the length setting. Keep the stitch length stable and correct the fabric path instead. For broader stitch guidance, see your manual and standard sewing references such as the Singer sewing machine instructions.
Why backstitching matters at the start and end
Backstitching locks the seam so the first and last few stitches do not unravel under wear. Without it, a straight seam can still split open at the ends, especially when the fabric gets tugged or pressed apart.
Most seams need only 2 or 3 reverse stitches at each end. That short lock is enough for ordinary sewing and keeps the bulk down. Too much reverse stitching can create a thick lump at the seam end, which is noticeable on light fabric and awkward to press flat.
If the fabric is very delicate, such as sheer material, a backstitch can leave a visible knot of stitches. In that case, a short stitch length at the end or a different seam finish may be a better choice. Because that depends on fabric and construction, consult a sewing professional or the pattern instructions for delicate-fabric methods before changing the finish. For a basic straight seam, backstitching is the normal answer.
Do not backstitch through the middle of the seam to “reinforce” it. That creates extra bulk and makes the seam harder to press smoothly. The straightest-looking seam is usually the one with the fewest interruptions in the stitch line.
A common mistake is forgetting to backstitch at the beginning because the fabric looks held in place by the presser foot. The presser foot holds fabric down, not together. The first tug on the seam can open those loose starter stitches fast.
Common mistakes that make a straight seam wobble
A straight seam wobbles when the fabric shifts, the seam allowance changes, or the sewer tries to force the machine to go faster than the fabric can follow. The fixes are simple, but each mistake costs you either accuracy or time.
Watching the needle instead of the guide makes the seam drift. The needle moves side to side as it stitches, so staring at it encourages micro-corrections that curve the line. Watch the fabric edge against the needle plate mark instead.
Pulling the fabric from behind stretches the seam and changes the stitch spacing. The feed dogs are designed to move the fabric at a steady rate. Let them do the work and only support the fabric lightly.
Ignoring the seam allowance mark produces a seam that is technically straight but still wrong. If you sew 3/8 inch when the pattern expects 5/8 inch, the project pieces may no longer fit together, even if the stitch line looks perfect.
Sewing too fast on the first pass leads to jittery steering. Slow, even stitching gives your hands time to correct the path. Speed comes later, after the motion feels automatic.
Starting without a backstitch leaves the seam vulnerable at the ends. If you are sewing test samples, you may skip locking stitches, but for construction seams, the ends should be secured.
Using a wavy cut edge as a guide makes the seam drift even when your hands are steady. Trim or true the edge first if it is visibly uneven. A crooked raw edge is a bad ruler.
The biggest trade-off is this: the more you rush, the more likely you are to sacrifice seam line accuracy. Straight seams reward patience more than force.
Practice drills that make straight stitching easier
You build a straight seam faster by practicing on 6-inch by 8-inch scraps than by jumping straight into a garment panel. Short samples show mistakes quickly and waste little fabric.
Draw three parallel lines on plain cotton with a washable fabric pen: one at 1/4 inch, one at 1/2 inch, and one at 5/8 inch from the edge. Then sew each line once, keeping the raw edge aligned with the matching needle plate mark. This makes it obvious which distance feels natural under your hands.
A useful drill is to sew 3 straight seams on the same scrap without stopping to adjust the machine. If the first line veers but the second and third improve, your hands are learning the feed rhythm. Another drill is to sew around a square and stop at each corner with the needle down; that teaches control without adding curves.
Use a ruler or seam gauge to check the result after sewing. The aim is not perfect-looking stitches on the first try; the aim is an even seam allowance from start to finish. If the allowance varies by a few millimeters, repeat the drill before moving to a real project.
When the seam is straight, the finished edge looks parallel to the fabric edge and the stitch line sits evenly where it belongs. That is the sign to move on to seams that meet, turn, or finish. For broader sewing skill building, this sits naturally within the sewing techniques and finishing hub.
Can a straight seam go wrong on certain fabrics?
Yes, a straight seam is harder on slippery, stretchy, or bulky fabrics, and those materials may need slower feeding or a different construction approach. The stitch line can still be straight, but the fabric may not stay obedient without extra help.
Silky fabrics slide under the presser foot, so pinning or clipping closer together helps. Knits can stretch out of shape if you tug them, so gentle handling matters more than speed. Thick denim or layered seams can climb under the presser foot unevenly, which makes the seam look wavy even when your hands are steady.
If a fabric is so bulky that the seam starts climbing to one side, stop and flatten the layers before continuing. If it is so slippery that the layers shift, use more pinning and slower stitching. If it is so stretchy that the seam grows while sewing, that material may need a different stitch type or handling method than a plain straight seam.
This is the limit of the basic straight seam: it works best when the cloth feeds predictably. It is the wrong first technique for very delicate sheer fabrics, very elastic knits, and heavy multi-layer corners.
How do I keep seams straight?
I keep the fabric edge aligned with the needle plate mark and watch that mark ahead of the needle. That keeps the seam allowance consistent, which is what makes the seam look straight. I also slow down before corrections, because tiny drifts are easier to fix than a long wavy run.
What stitch length should I use for seams?
A medium stitch length around 2.5 mm is a good starting point for most straight seams. It gives a balanced seam that holds without becoming stiff. If the fabric is very light or very thick, adjust a little within the normal medium range, but keep the setting consistent across the seam.
Do I need to backstitch at the start and end?
Yes, you should backstitch 2 or 3 stitches at the start and end of a seam. That locks the thread so the seam does not open at the ends. Skip it only when a separate construction method calls for something different, such as a specialty delicate-fabric finish.
Drafted with AI; not yet reviewed by a person.